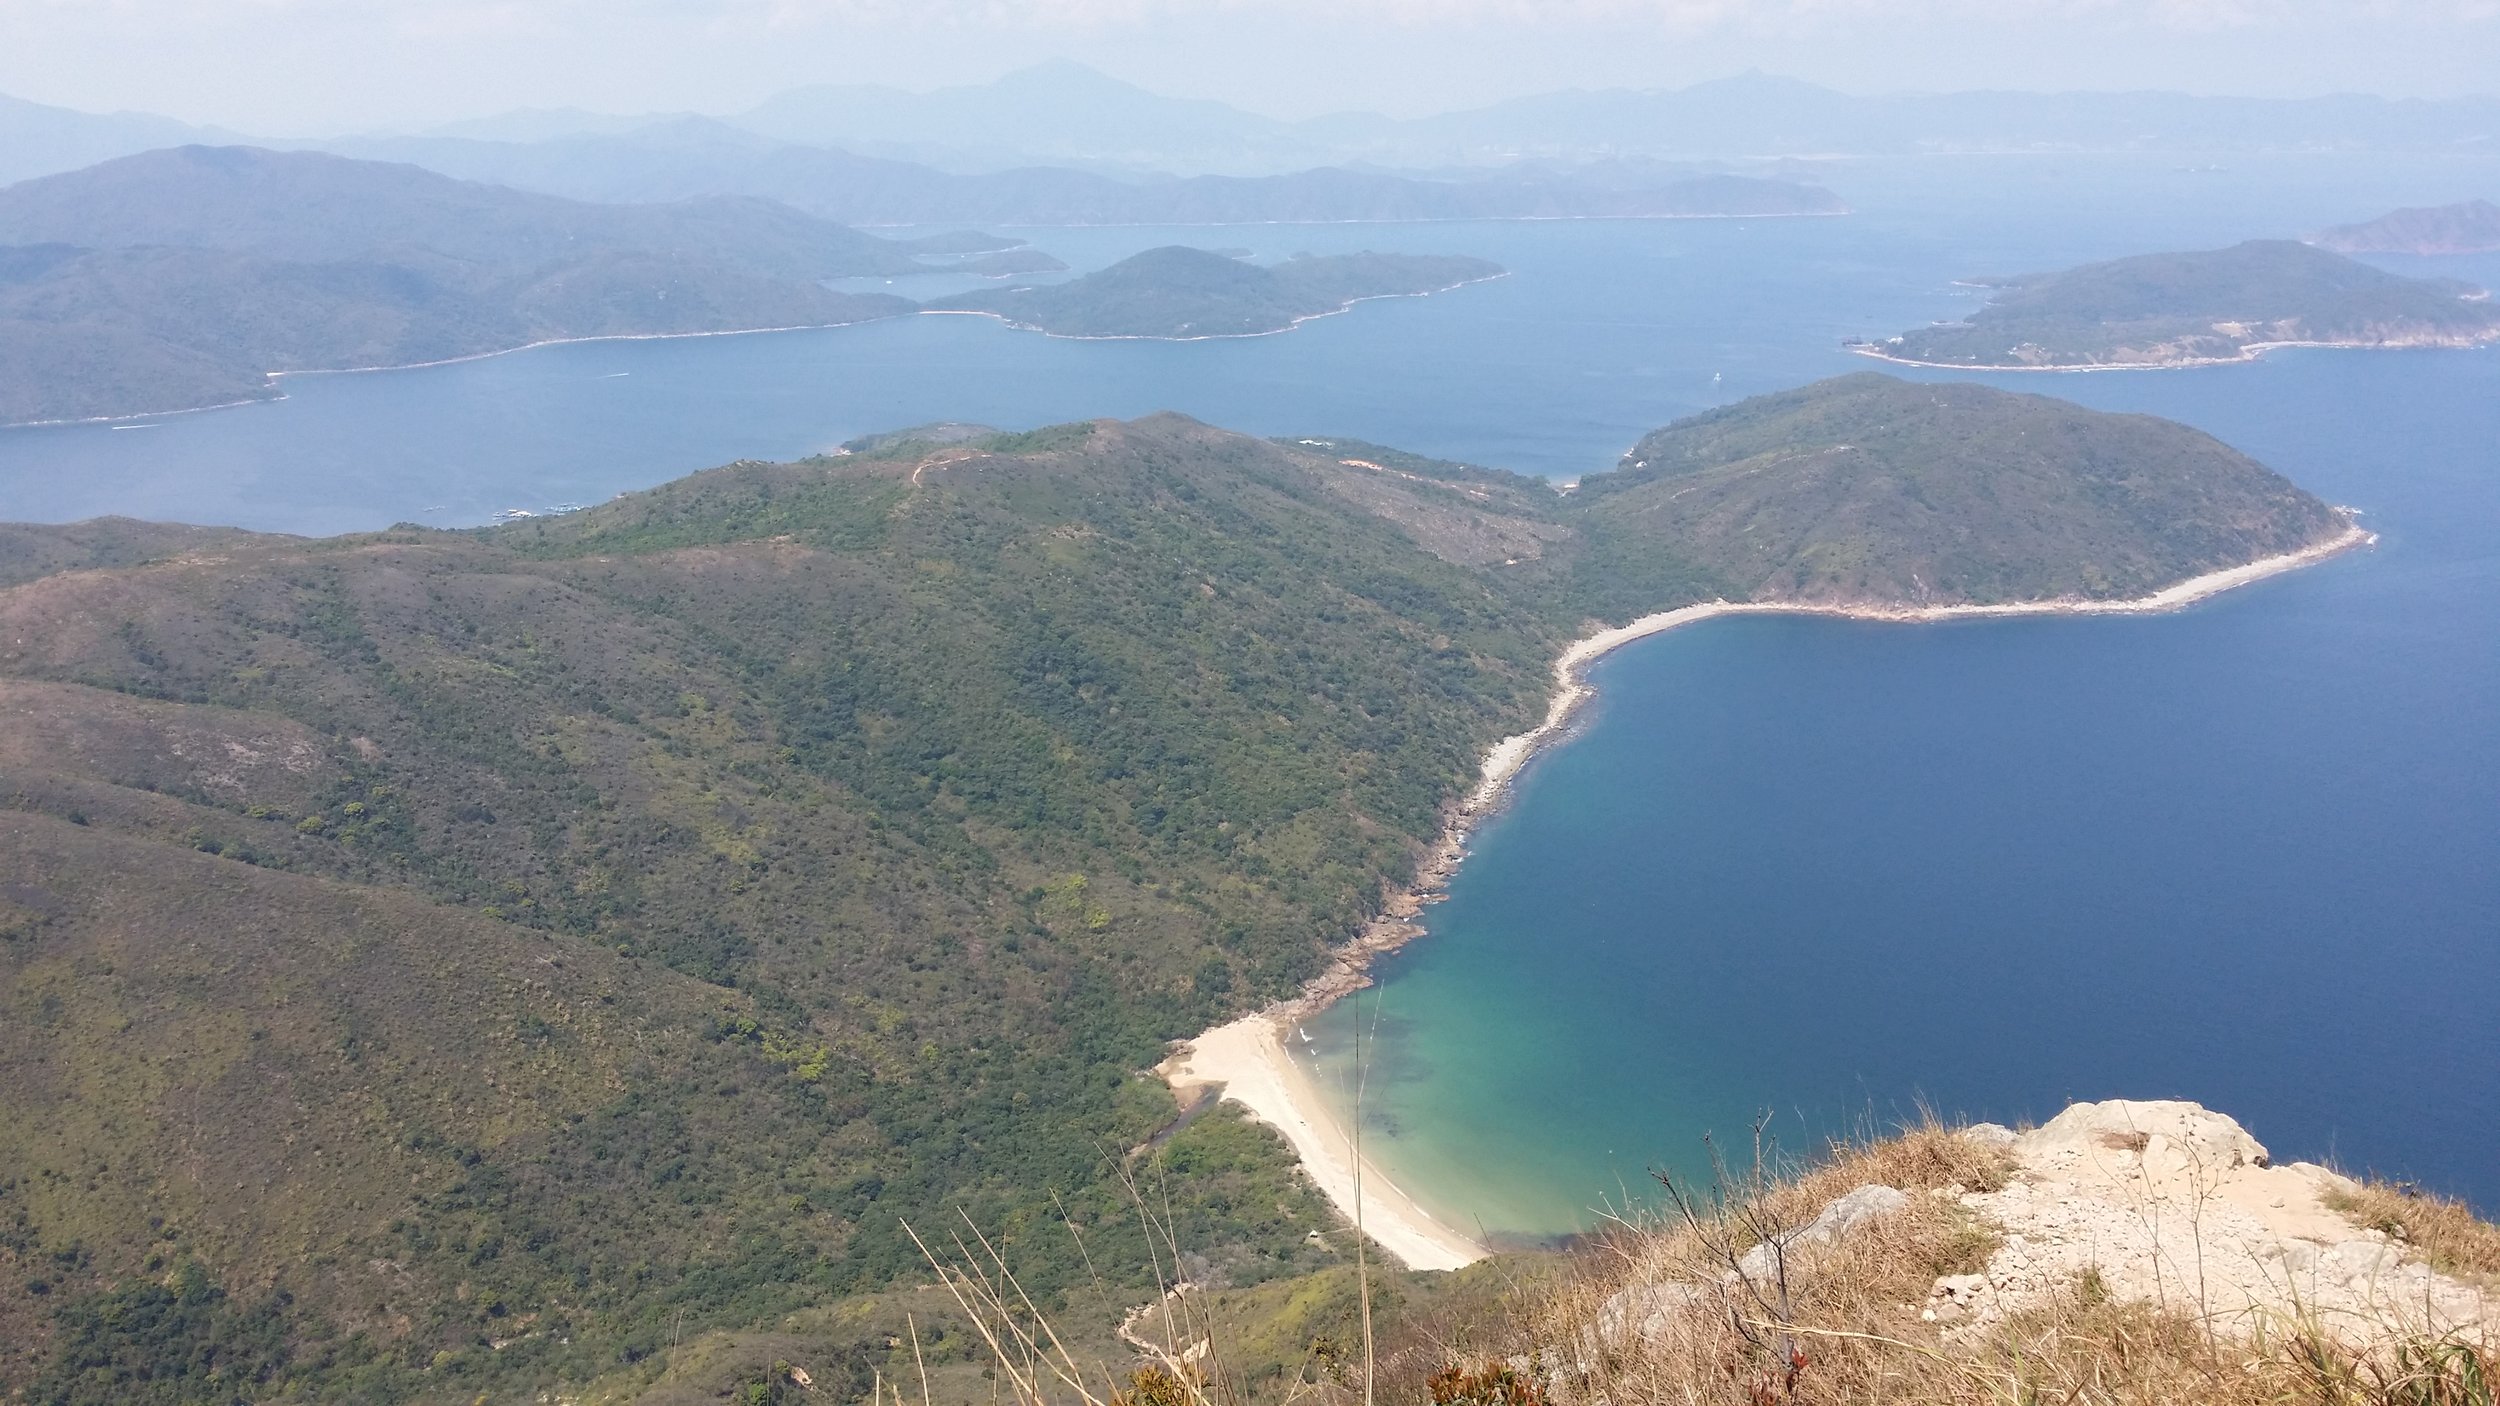
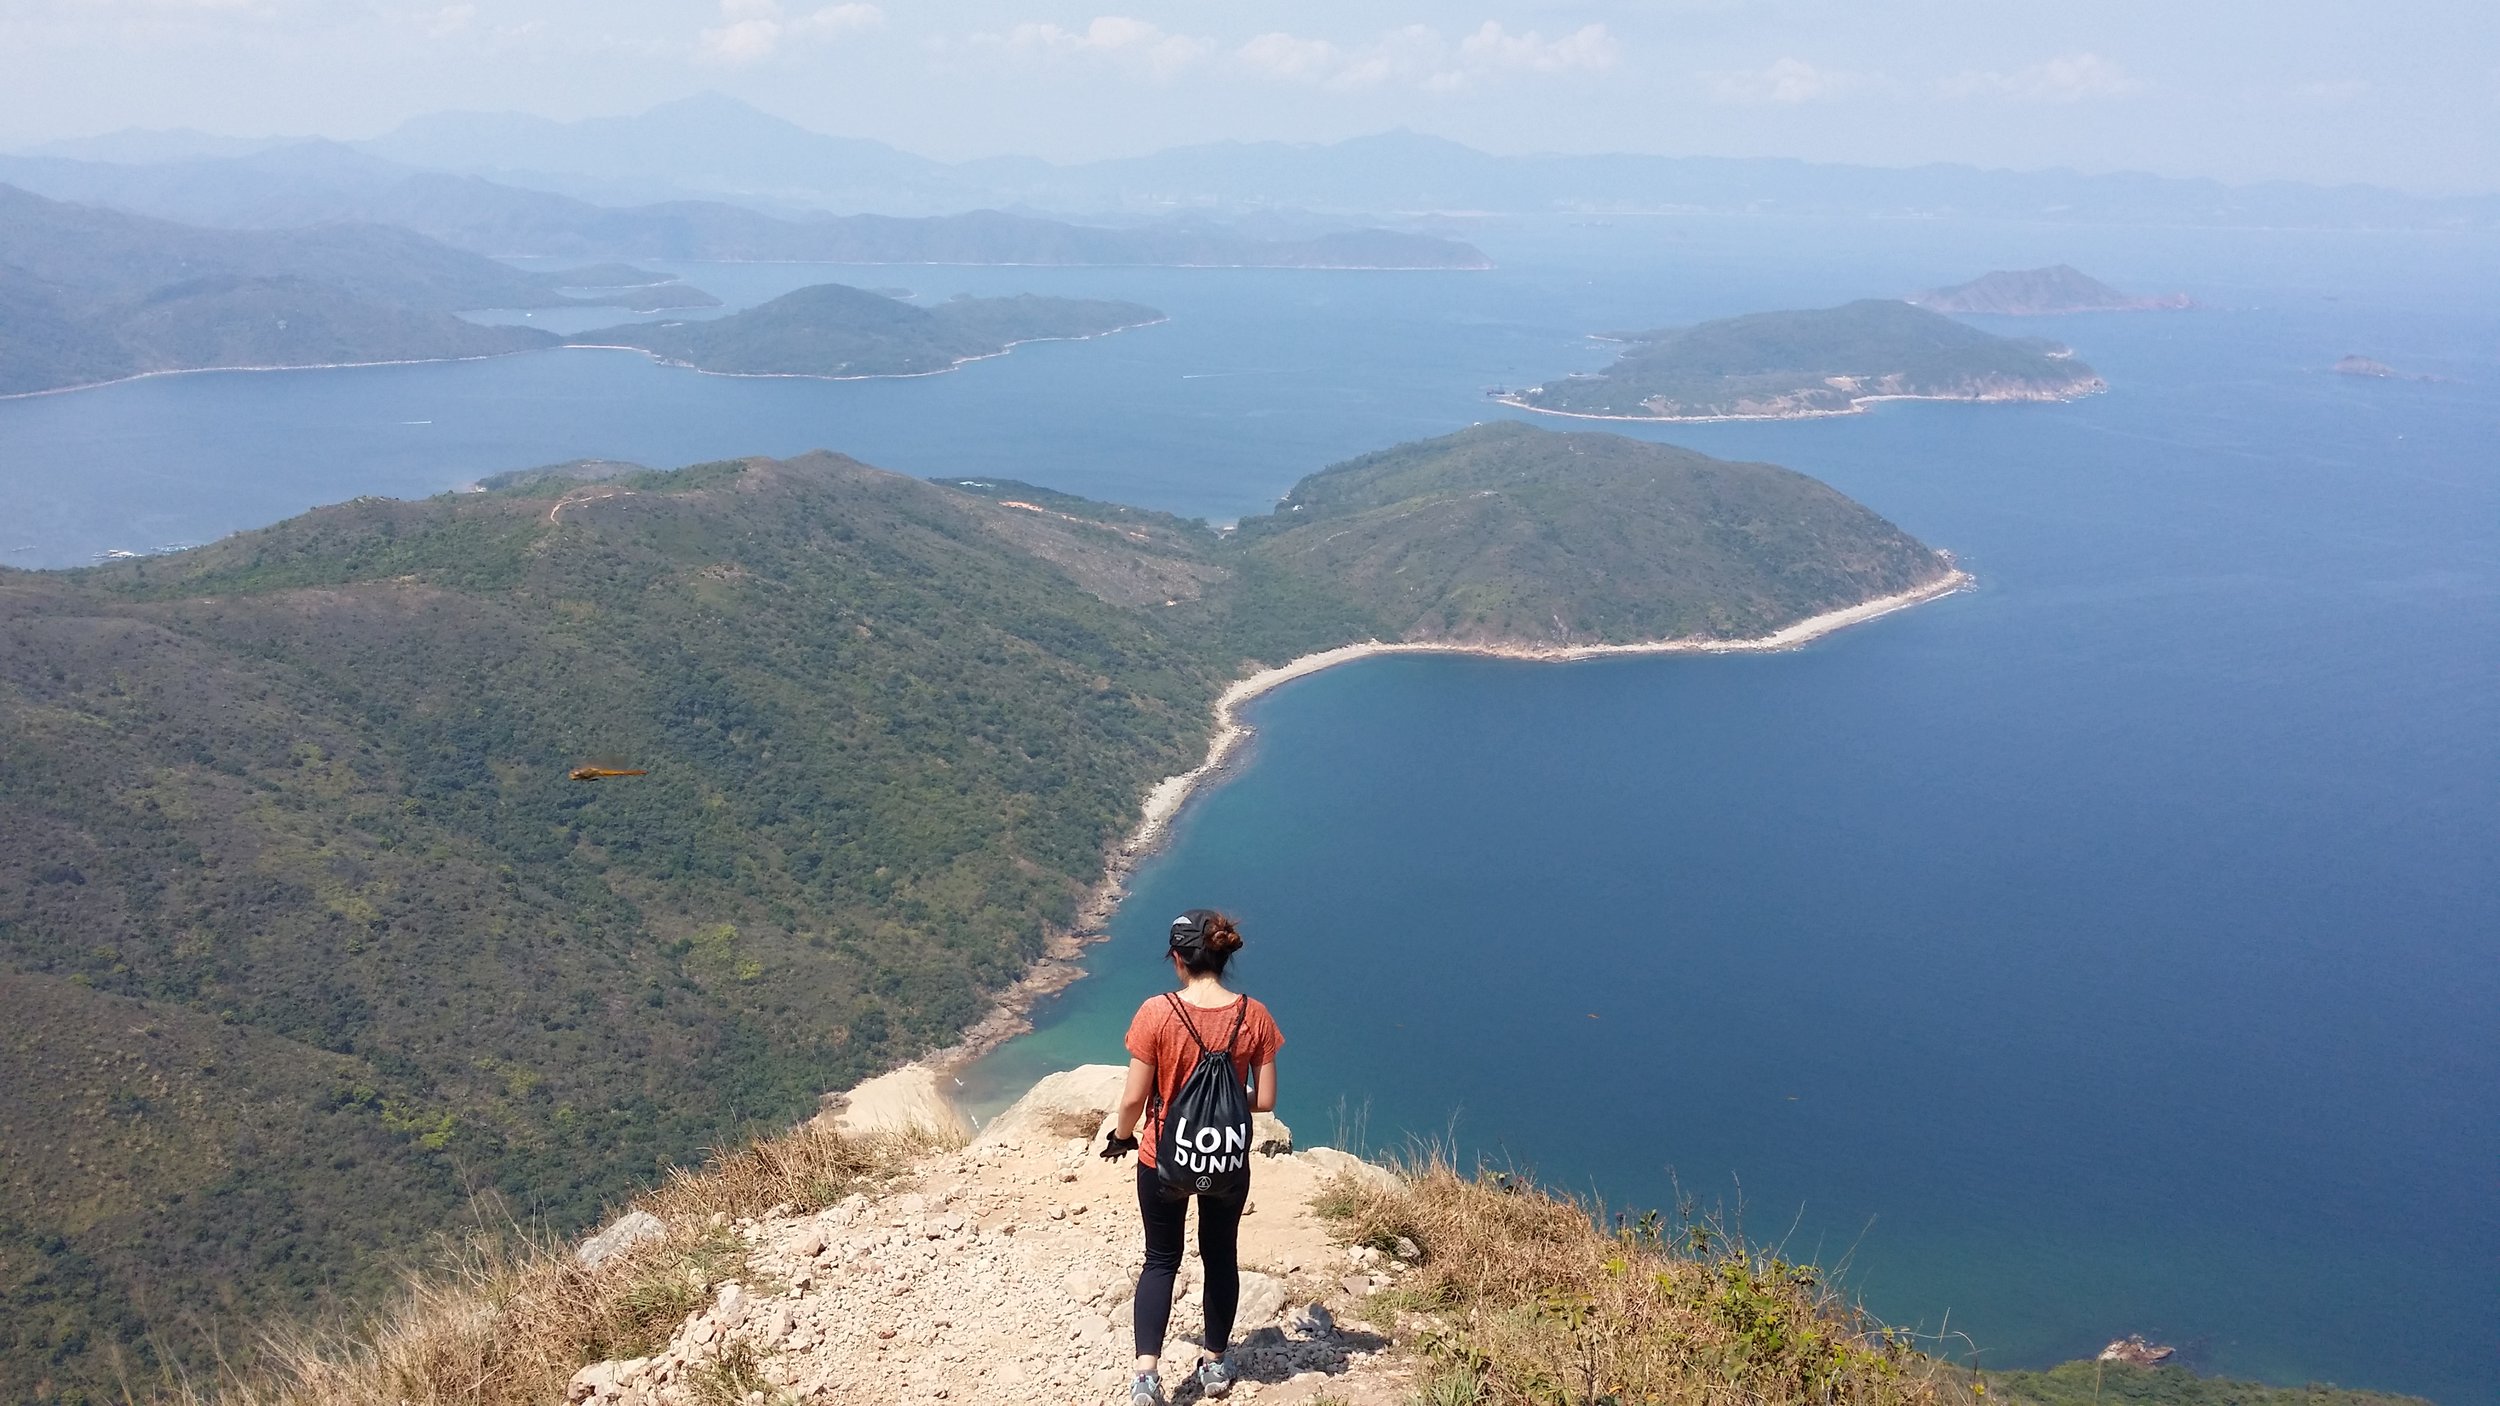
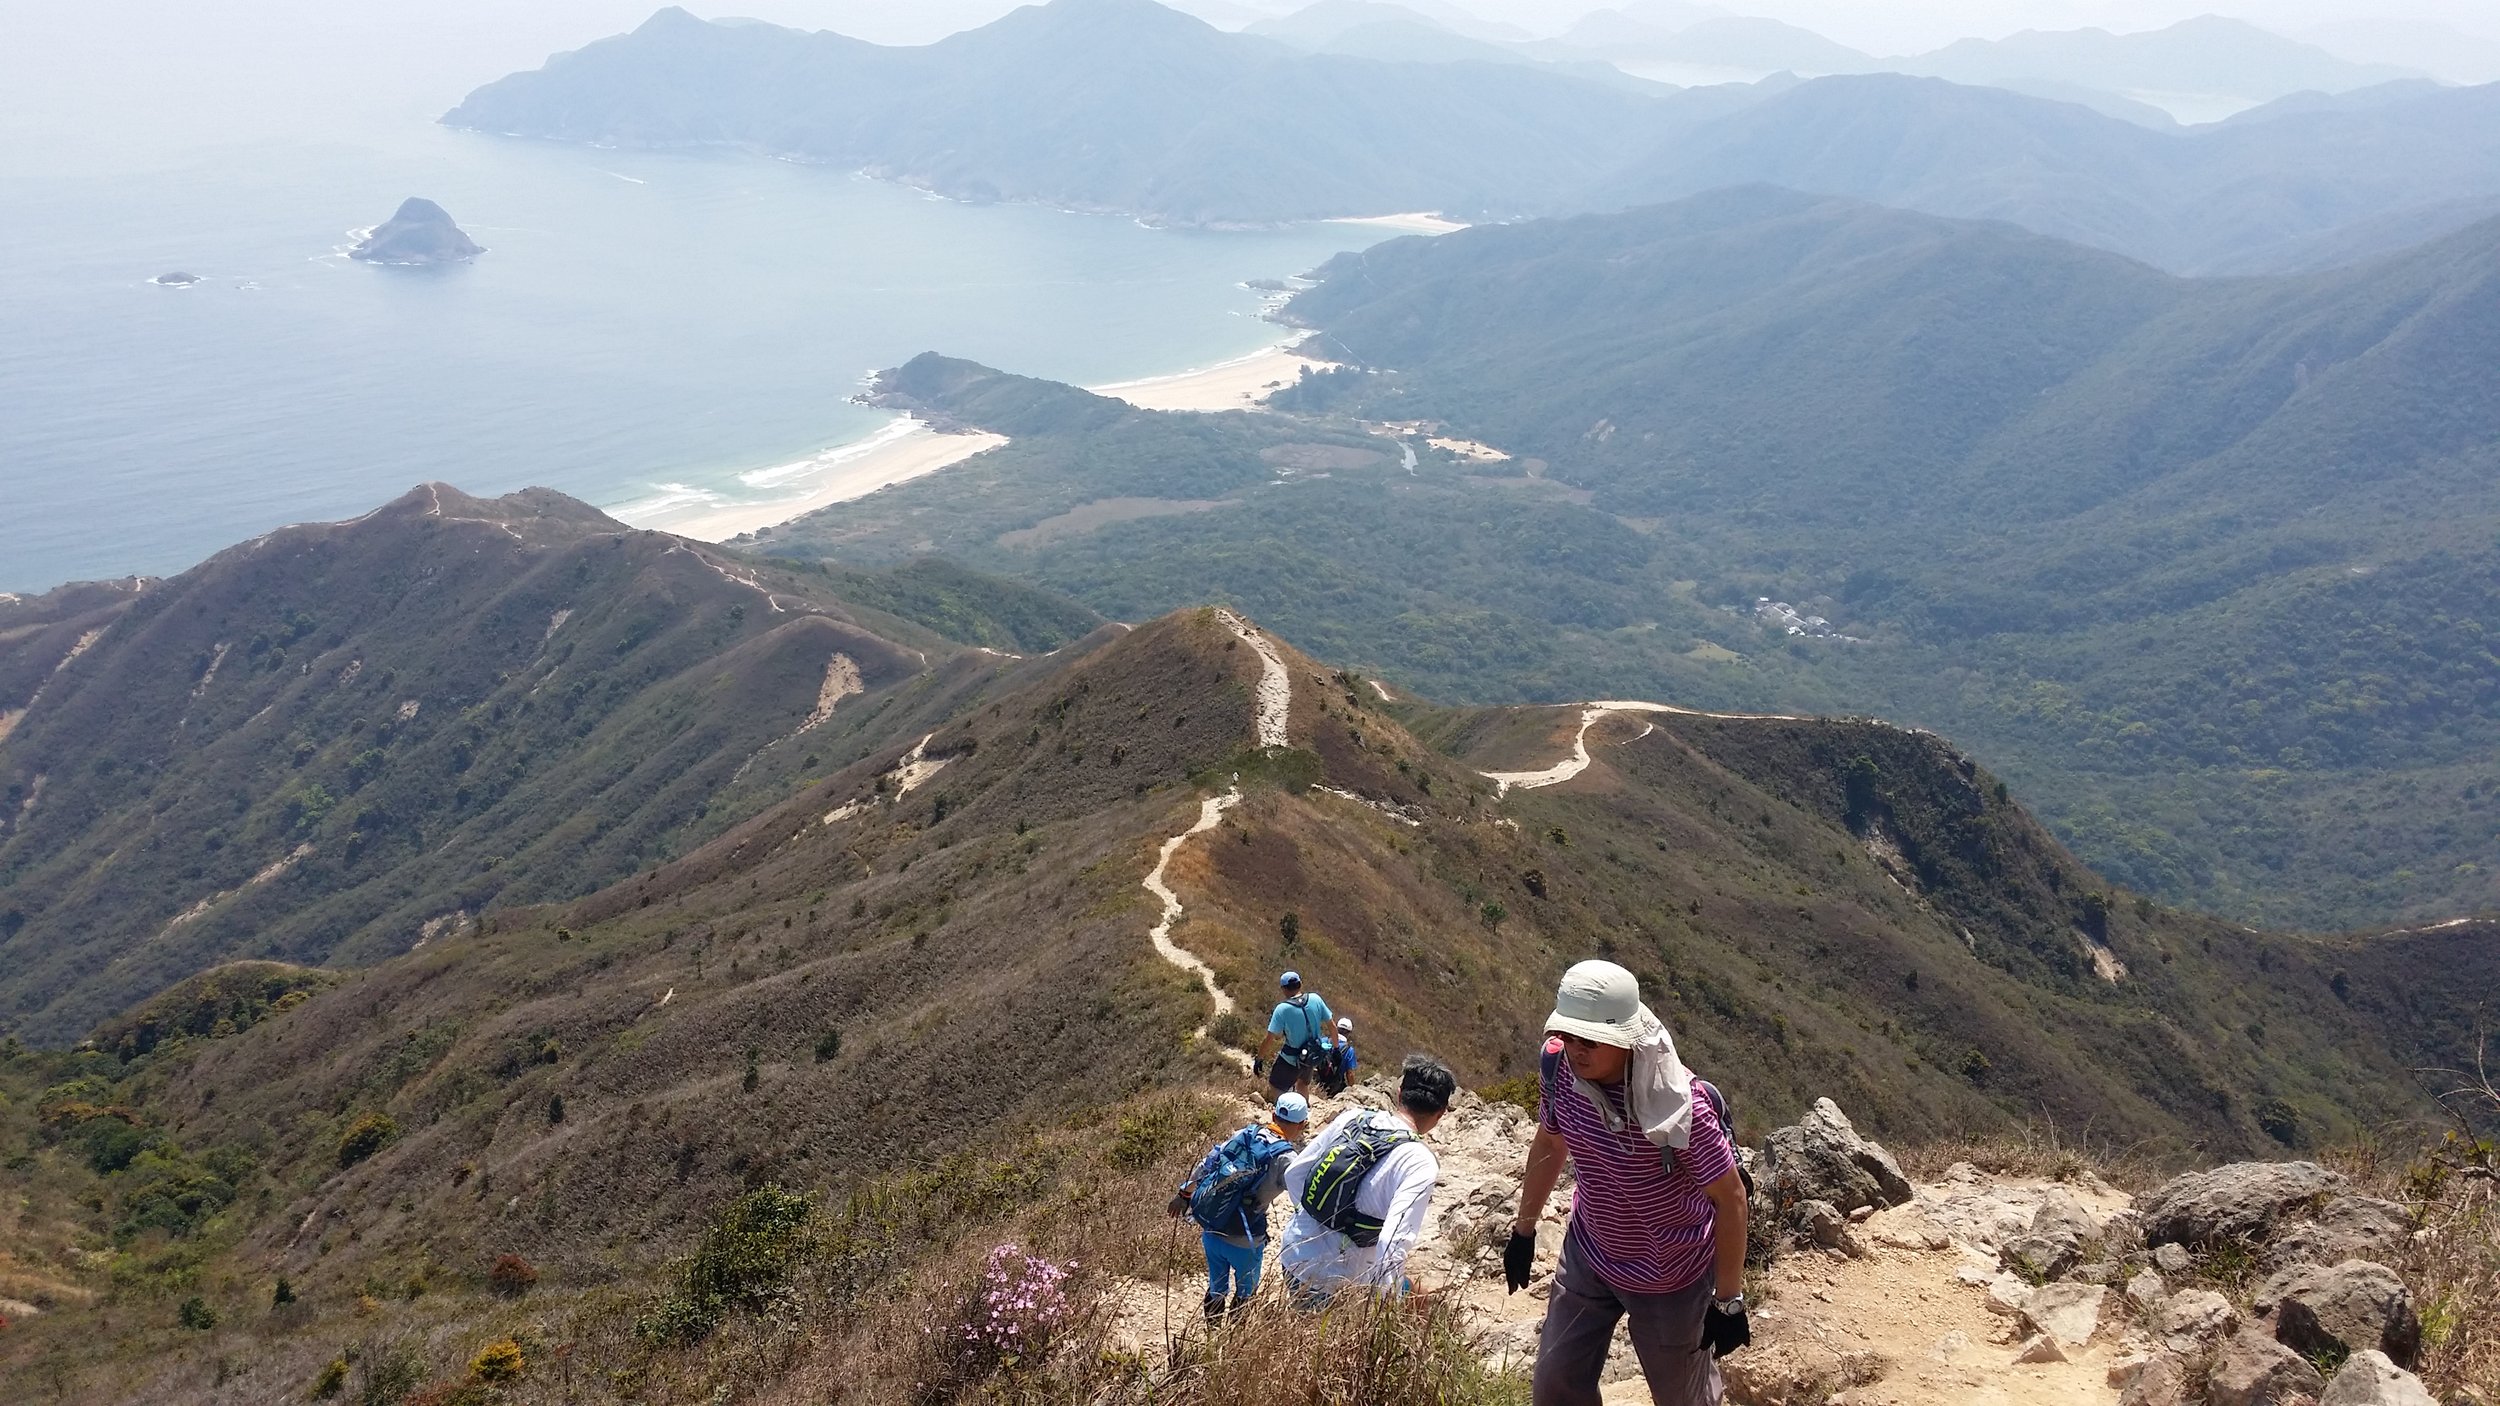
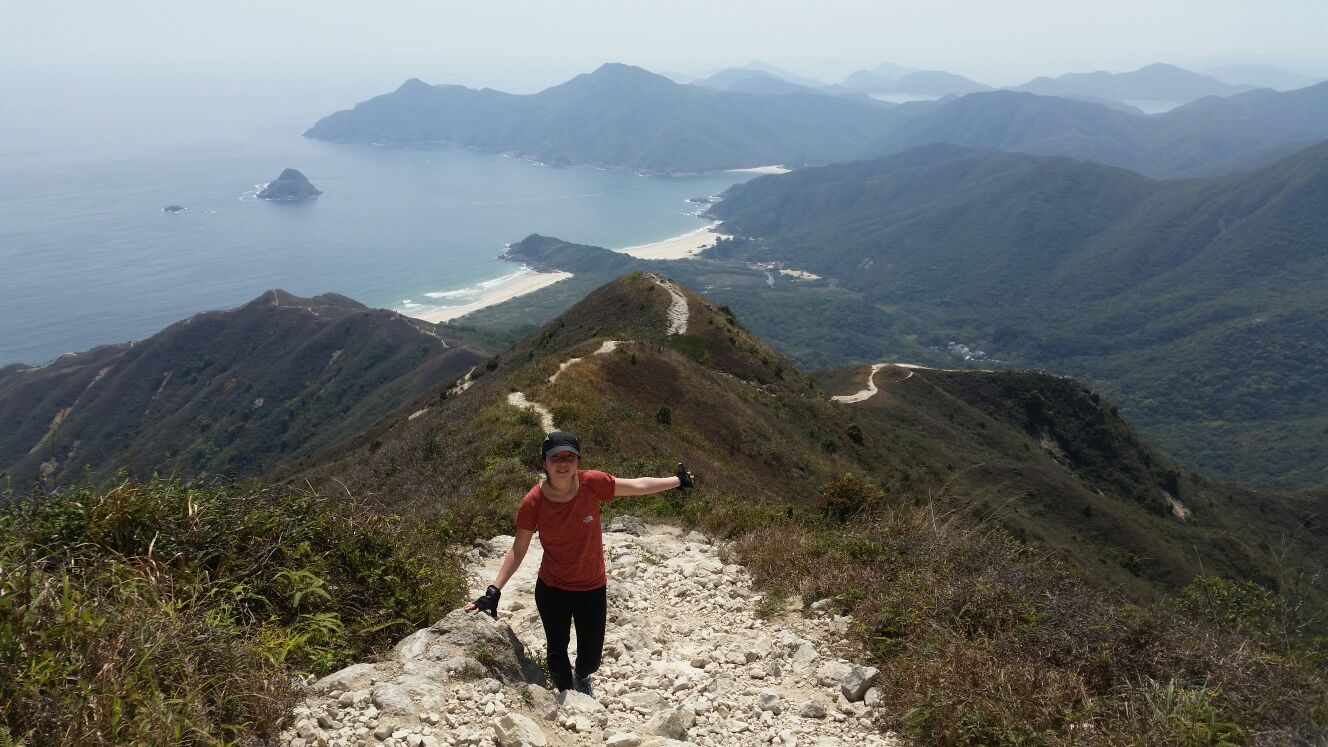
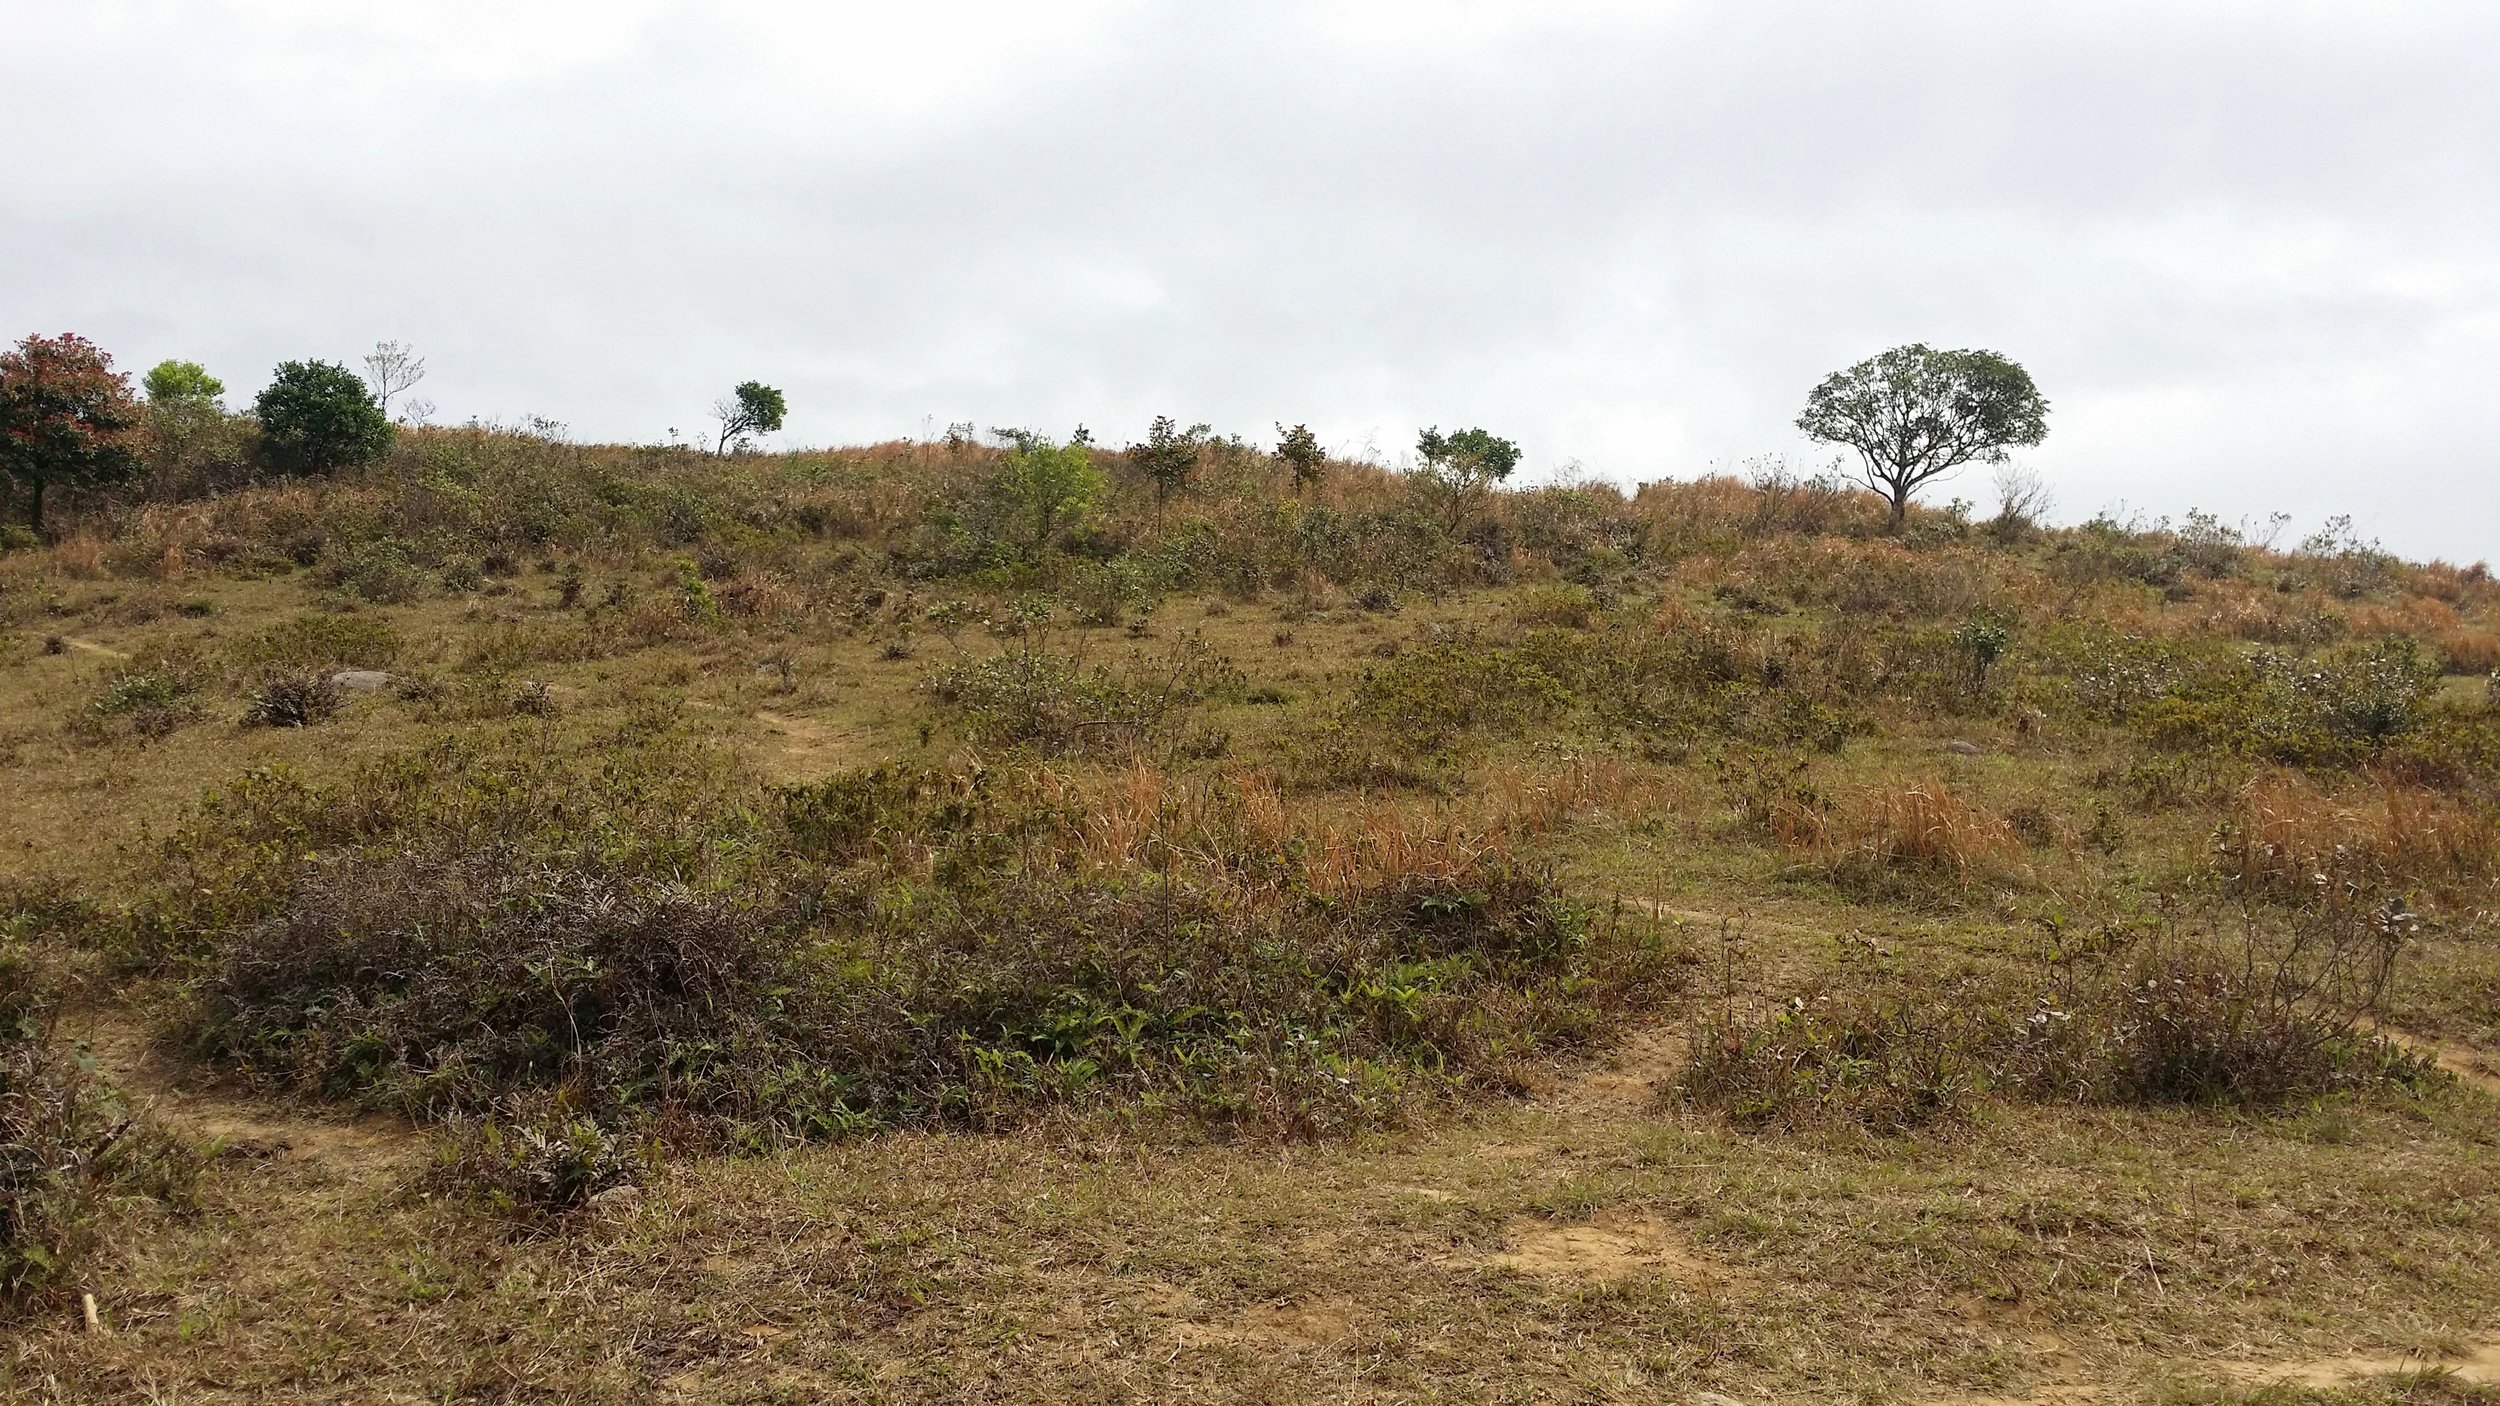
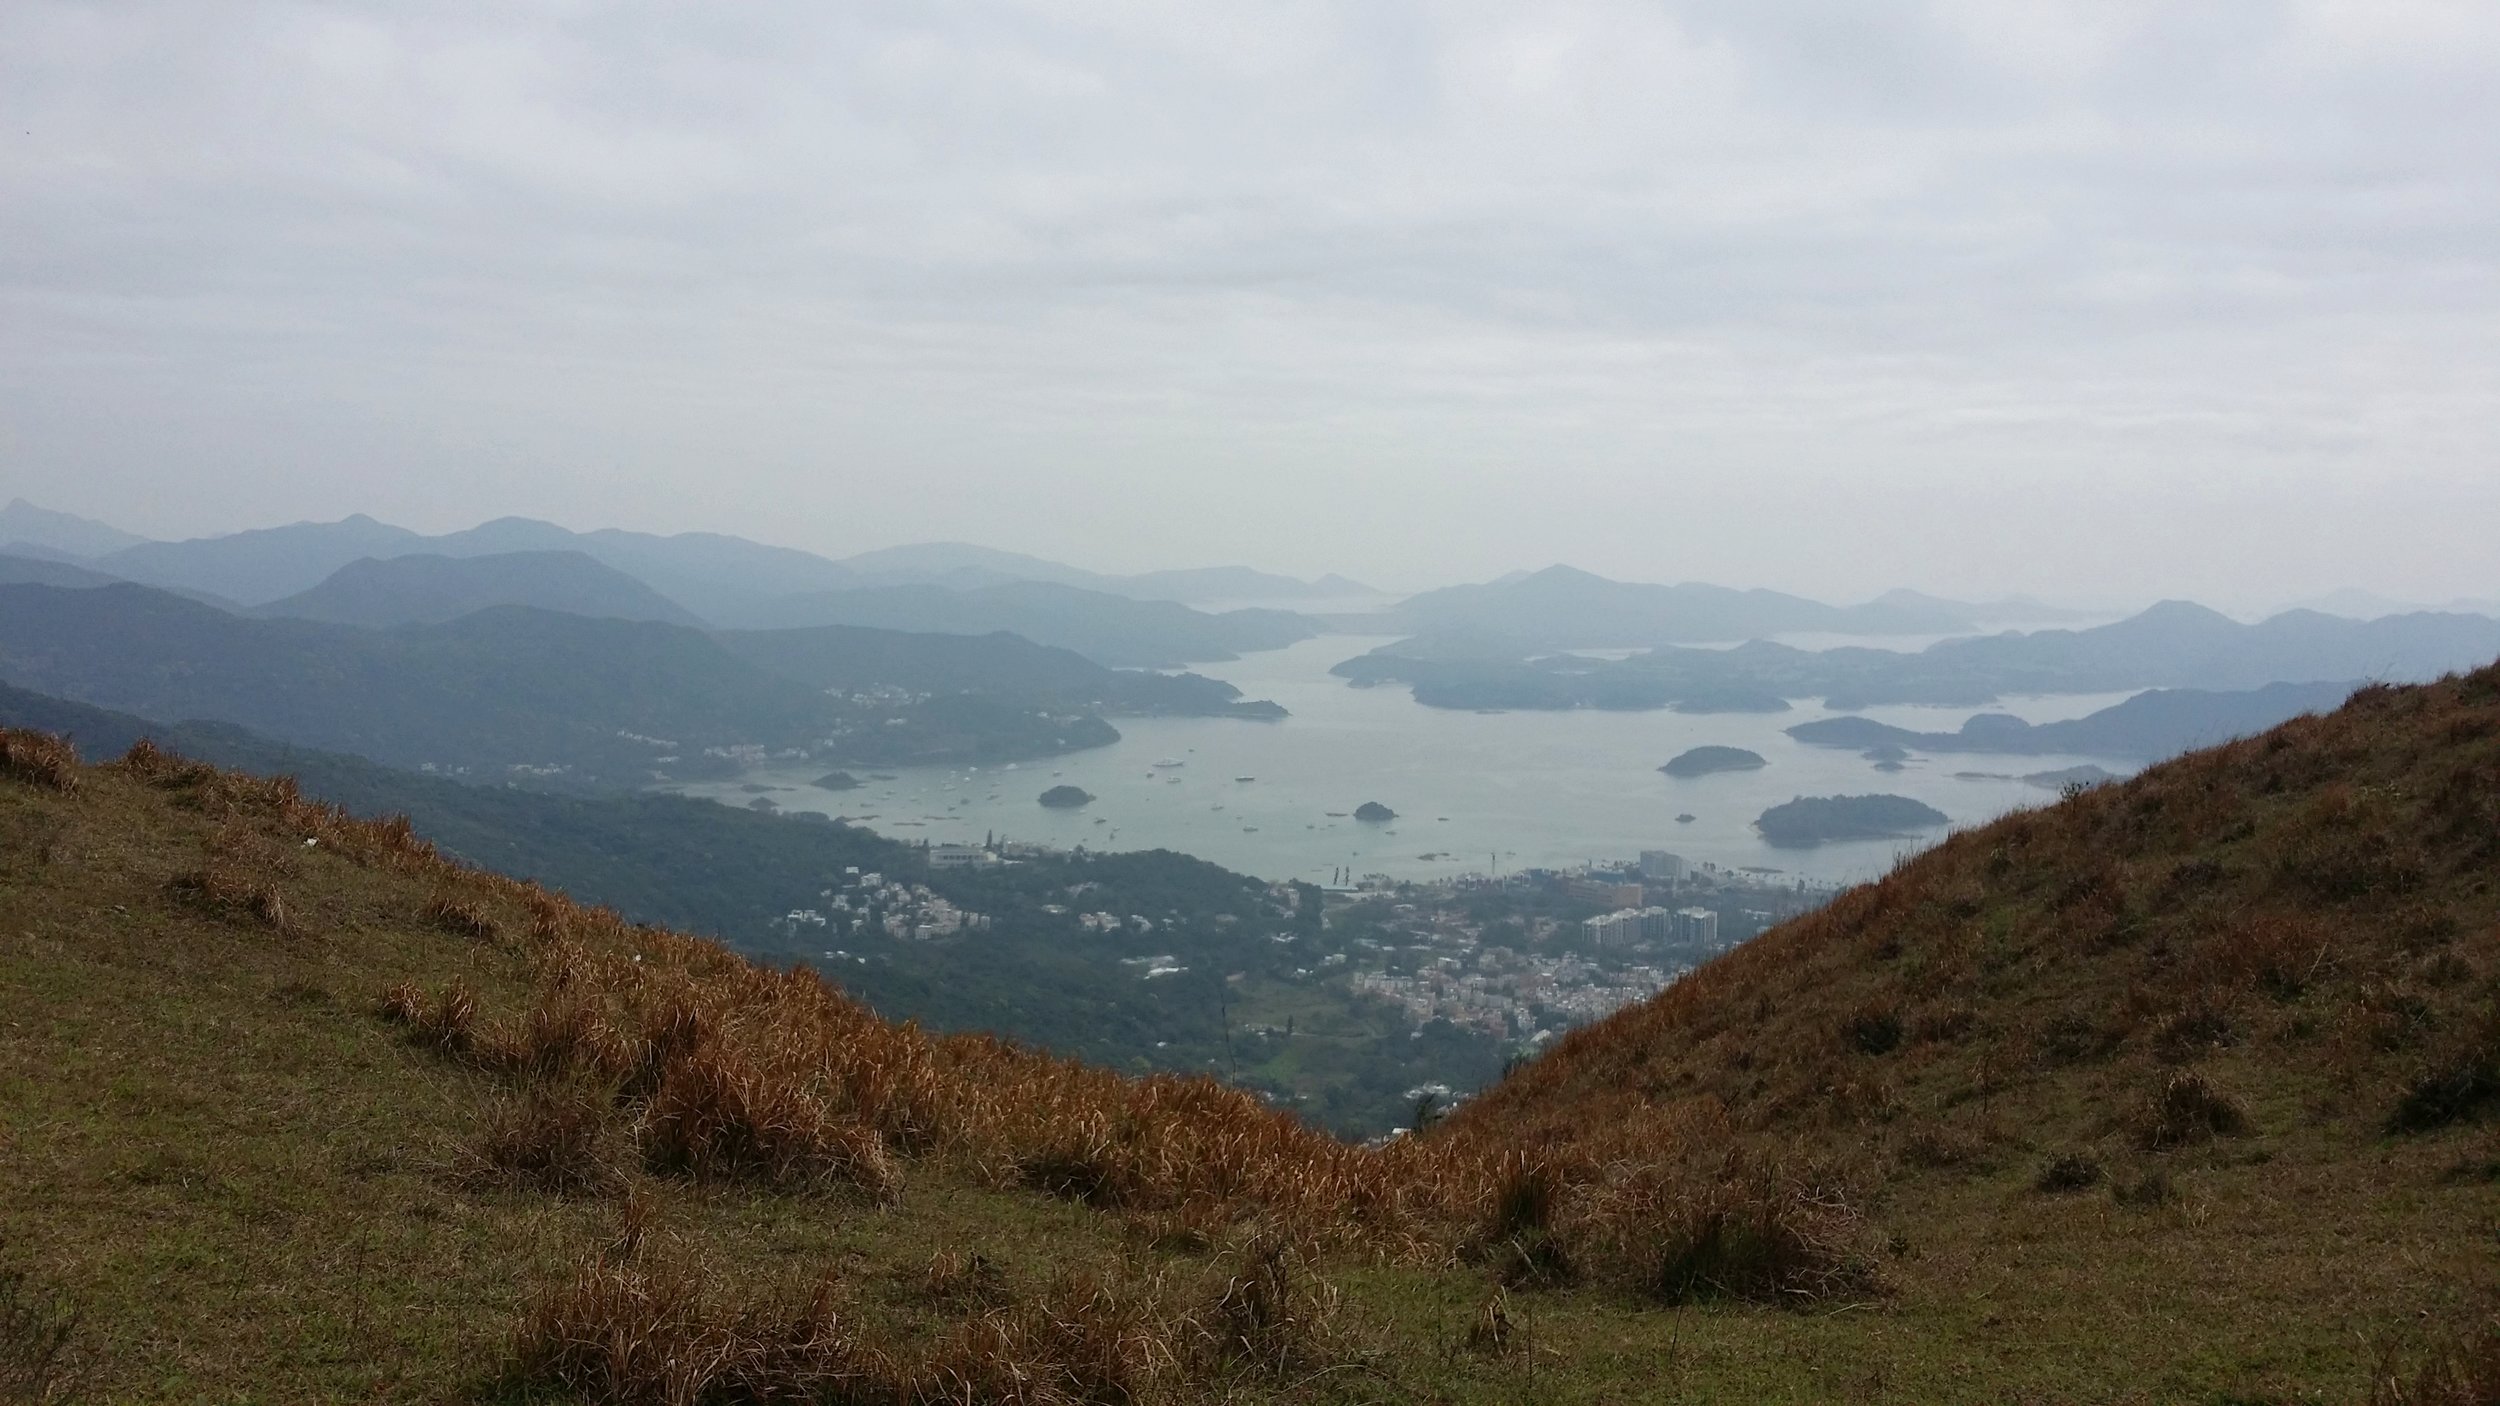
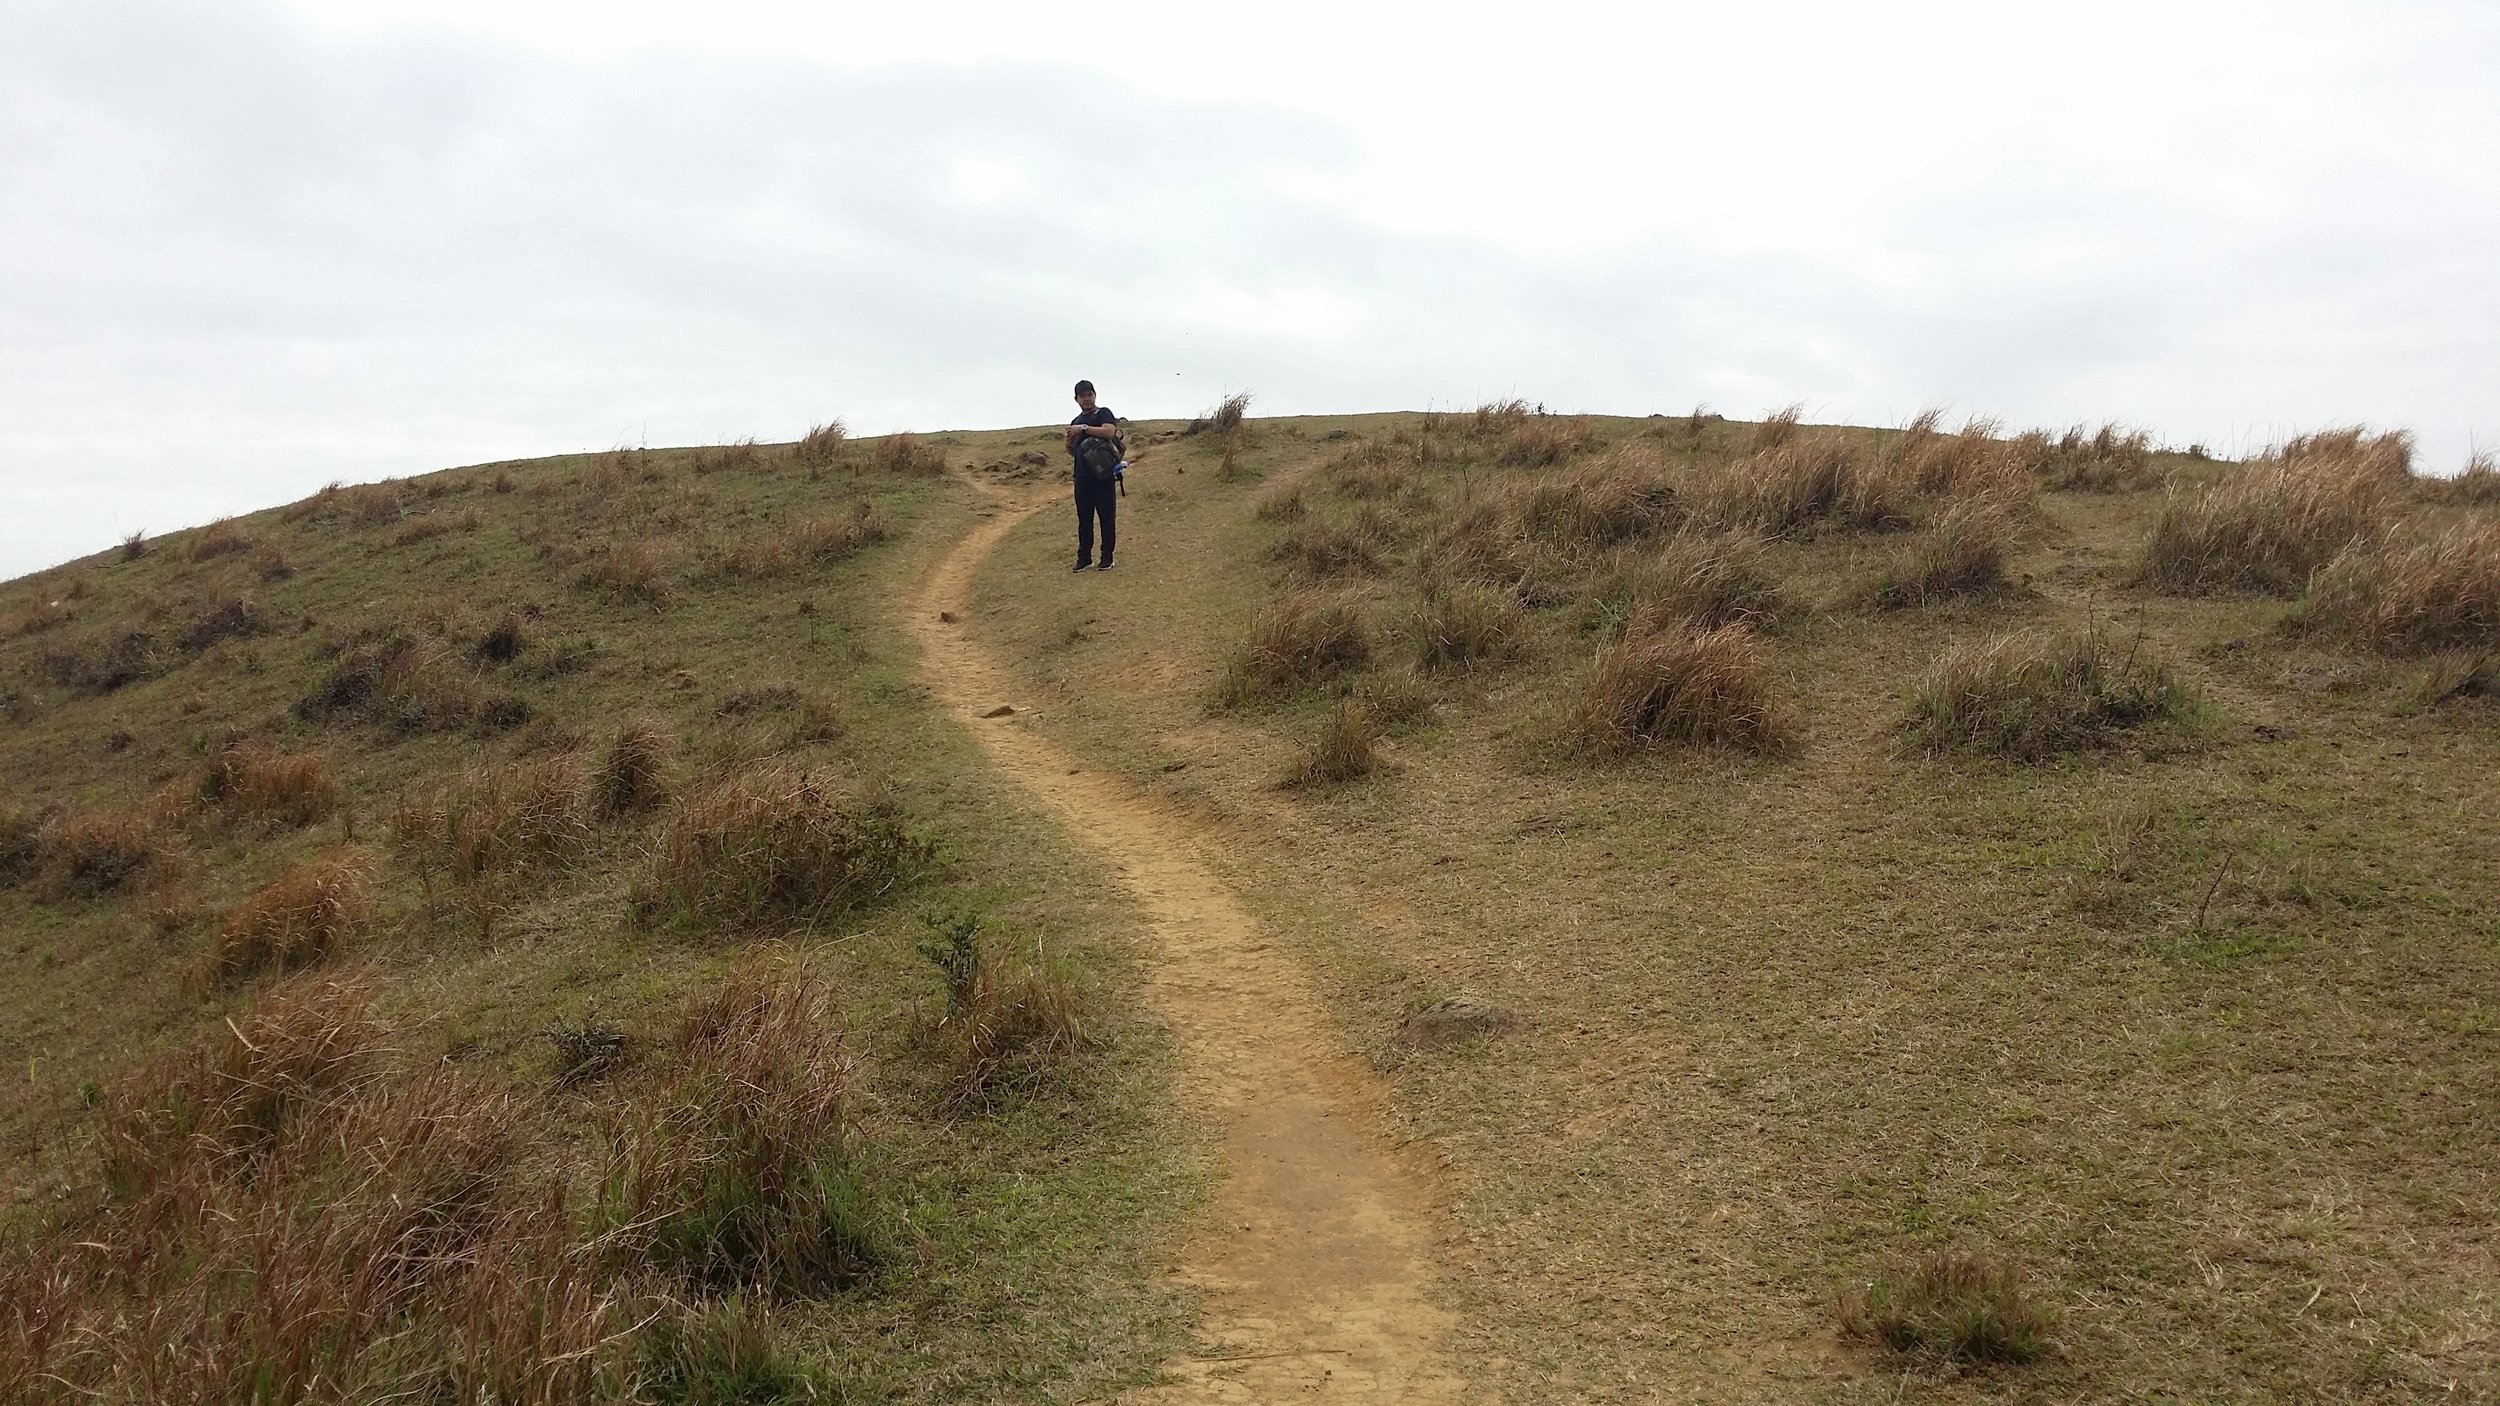
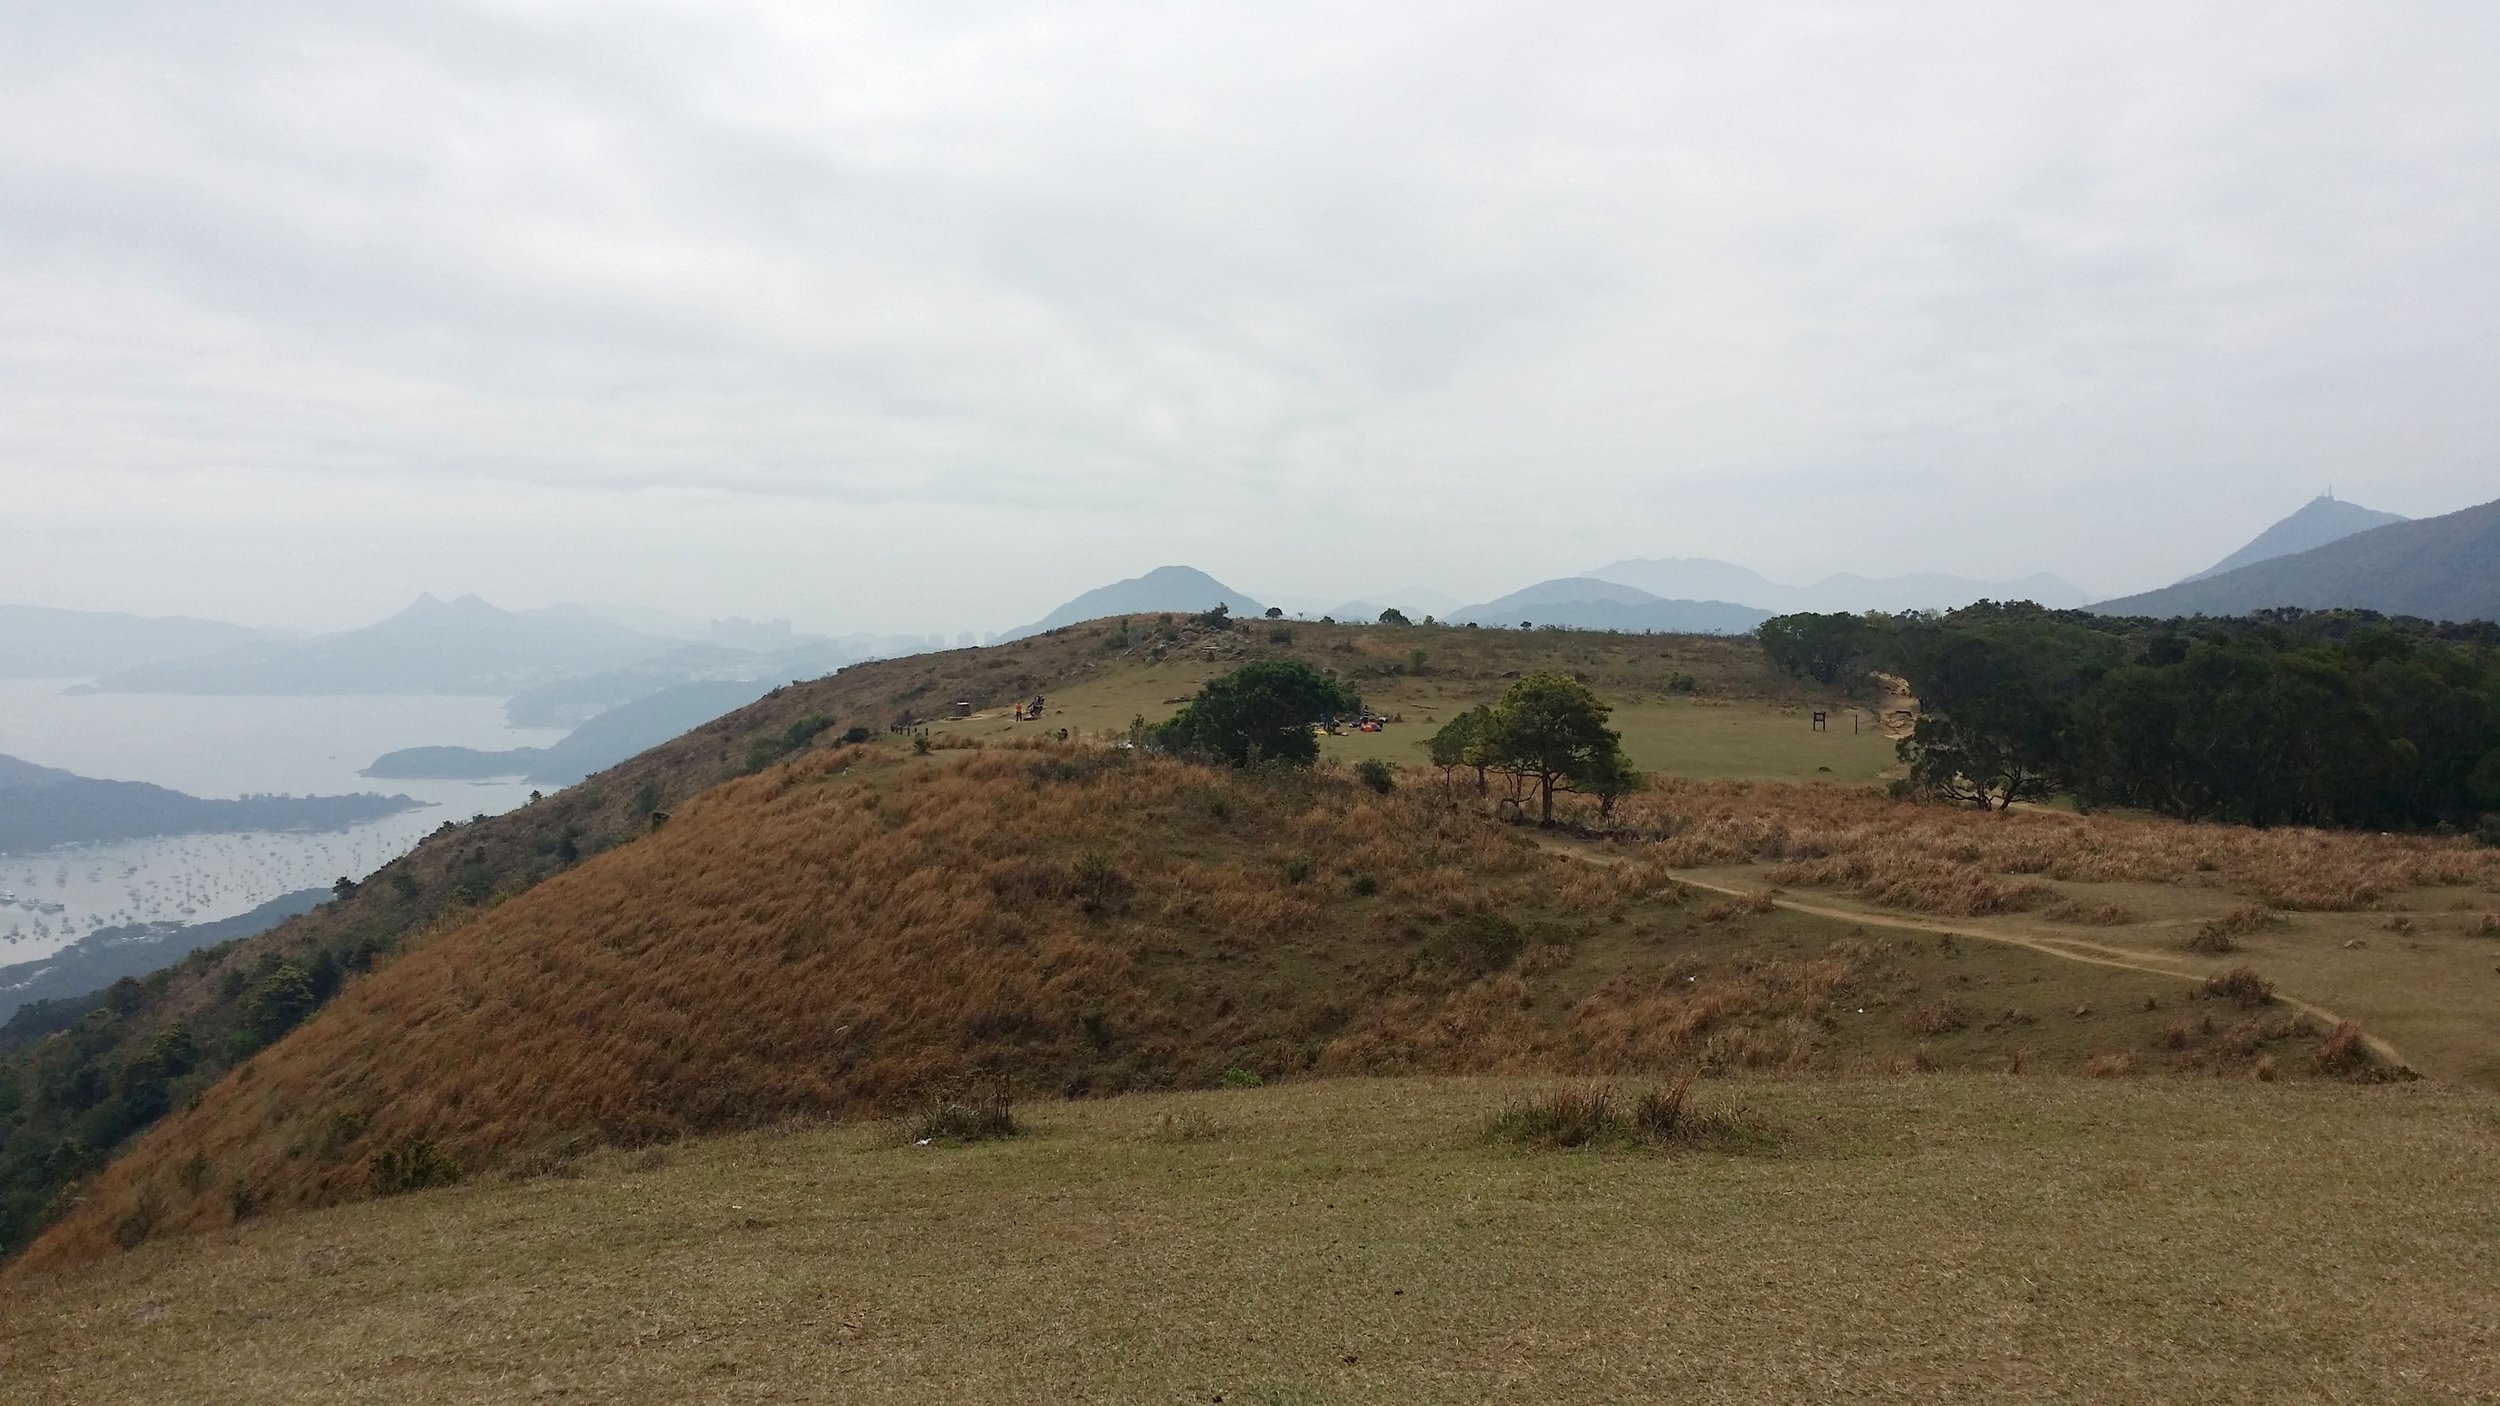
The Treacherous Sharp Peak Hike

COVER.jpg

Sharp Peak has always been on my "To hike list". It took me years to finally conquer this treacherous hike. Why the long wait? It is mainly because of work and personal schedules, seeking a good weather to do it and also preparing myself to be fit enough to do this hike. I have only known 2 people who had done this hike before. Is it really that difficult? Let's find out!


ABOUT SHARP PEAK

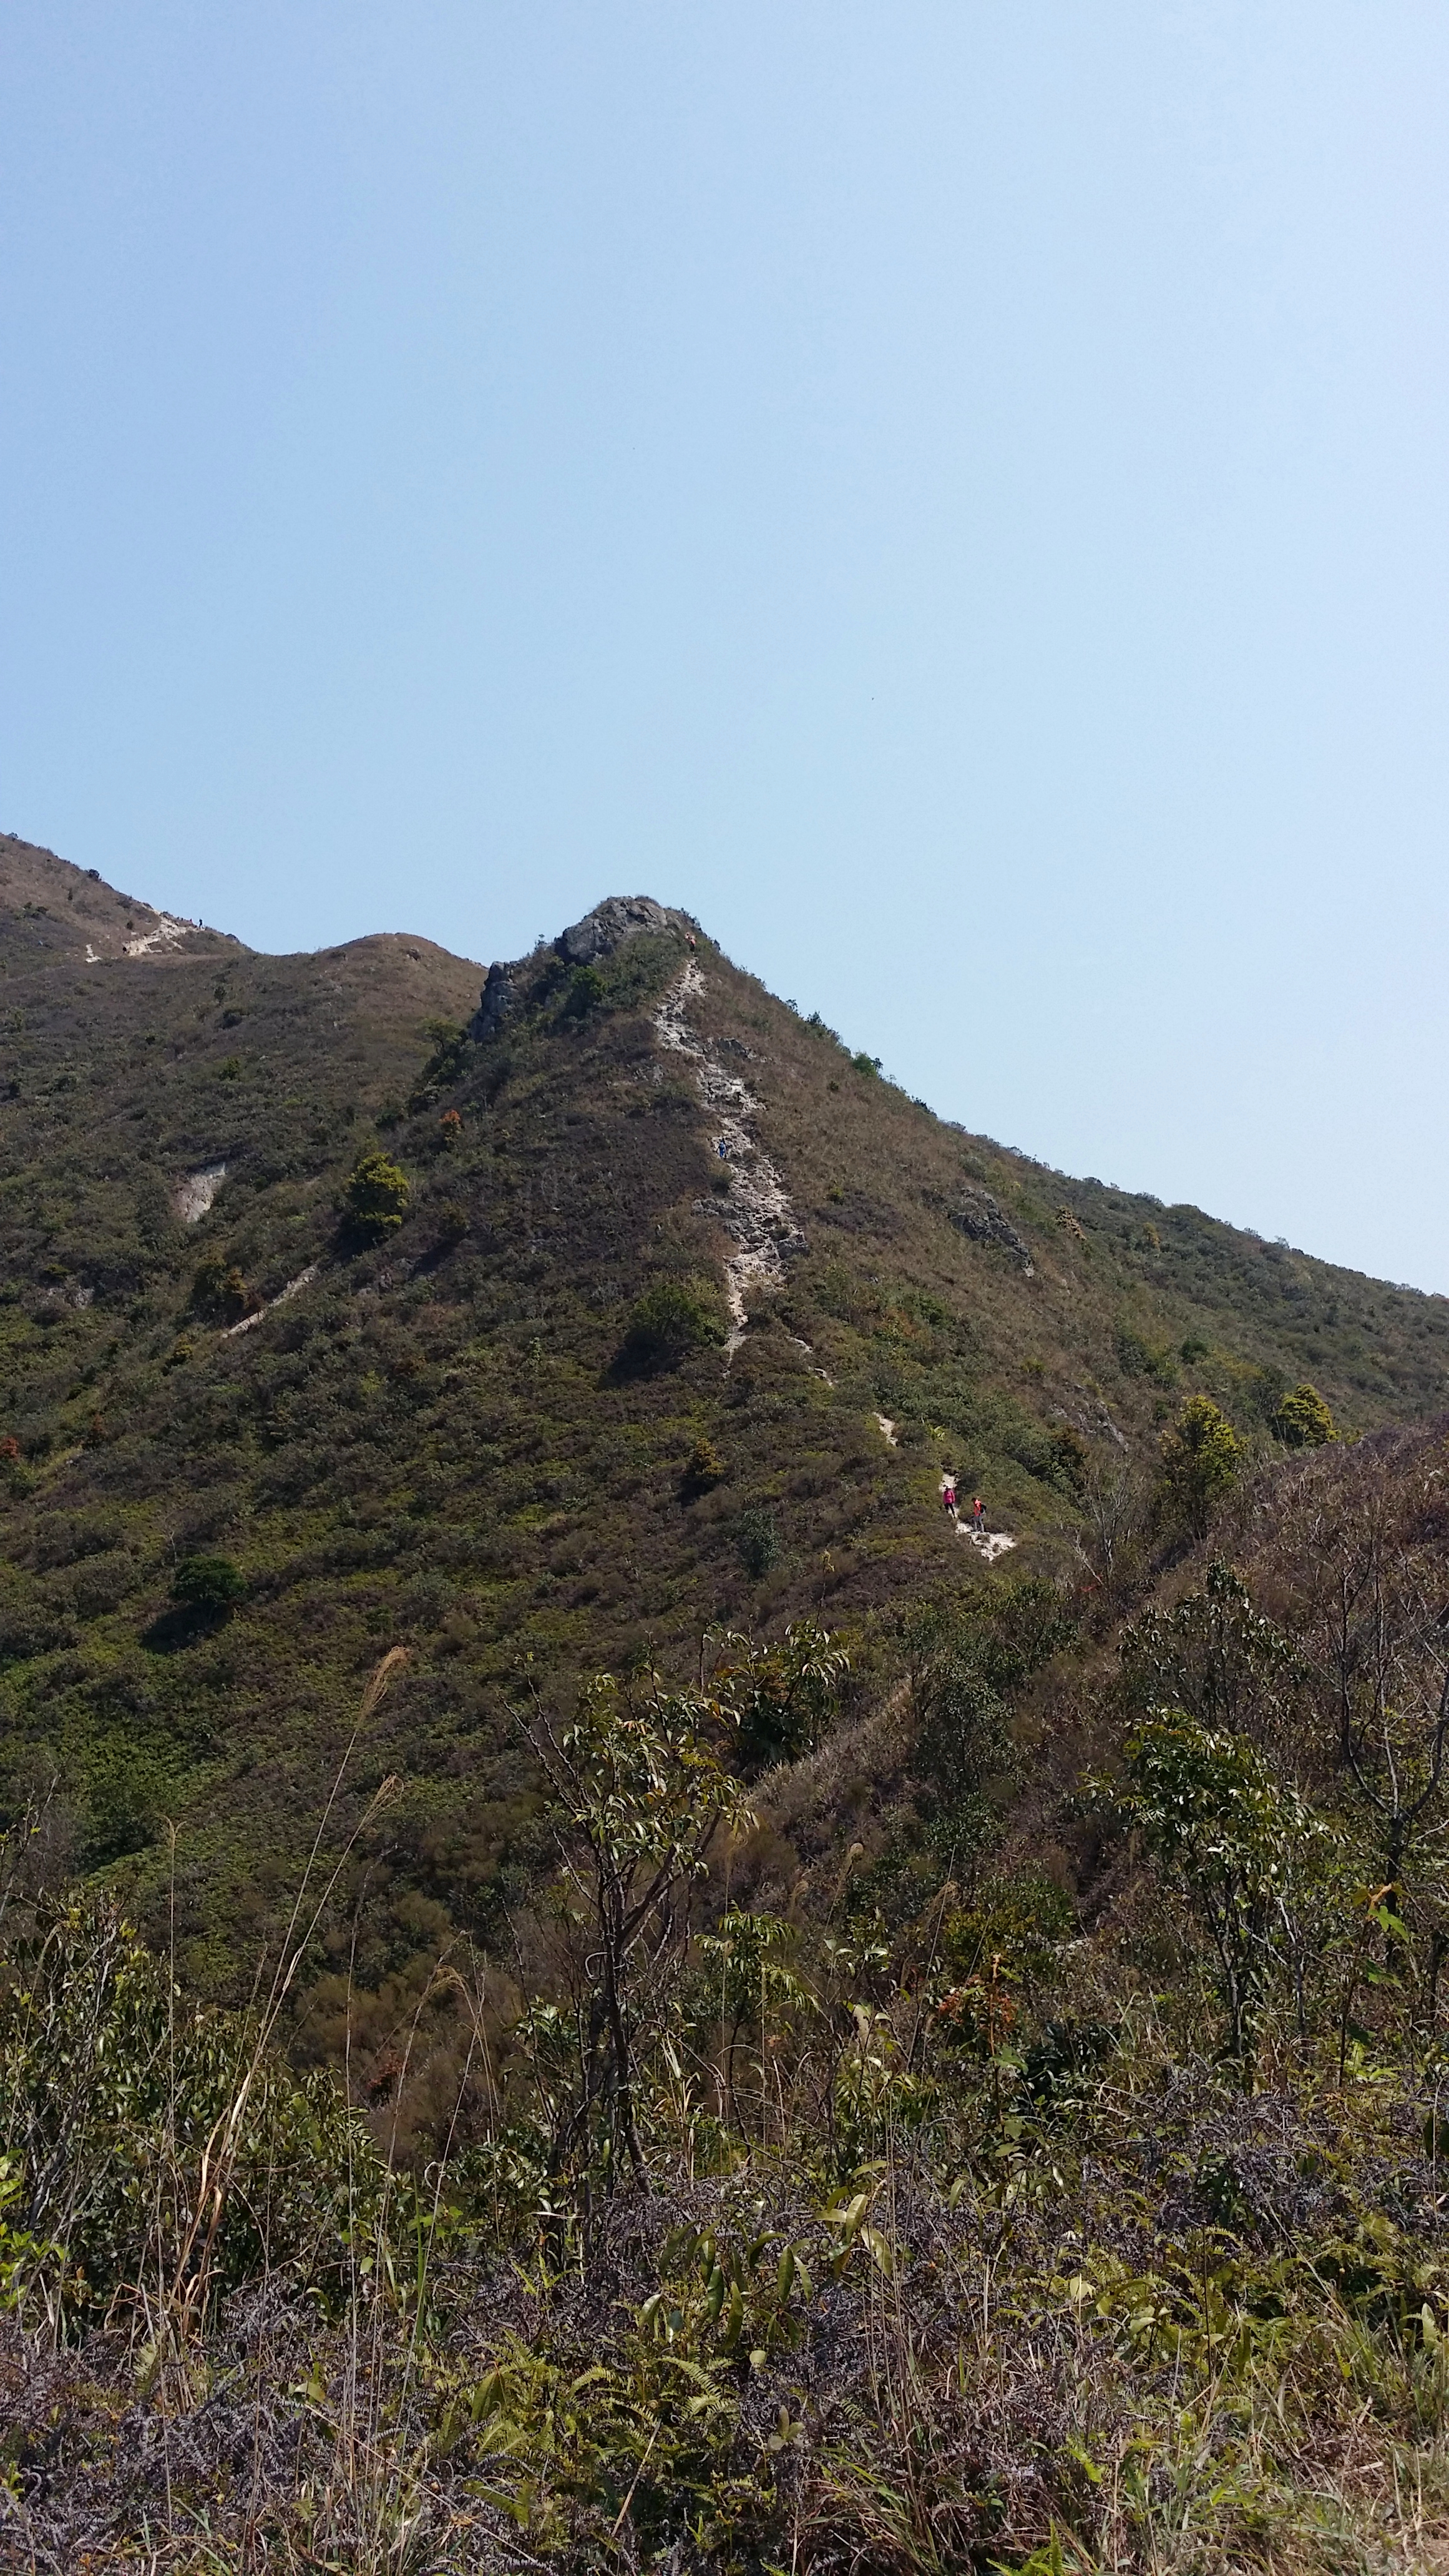
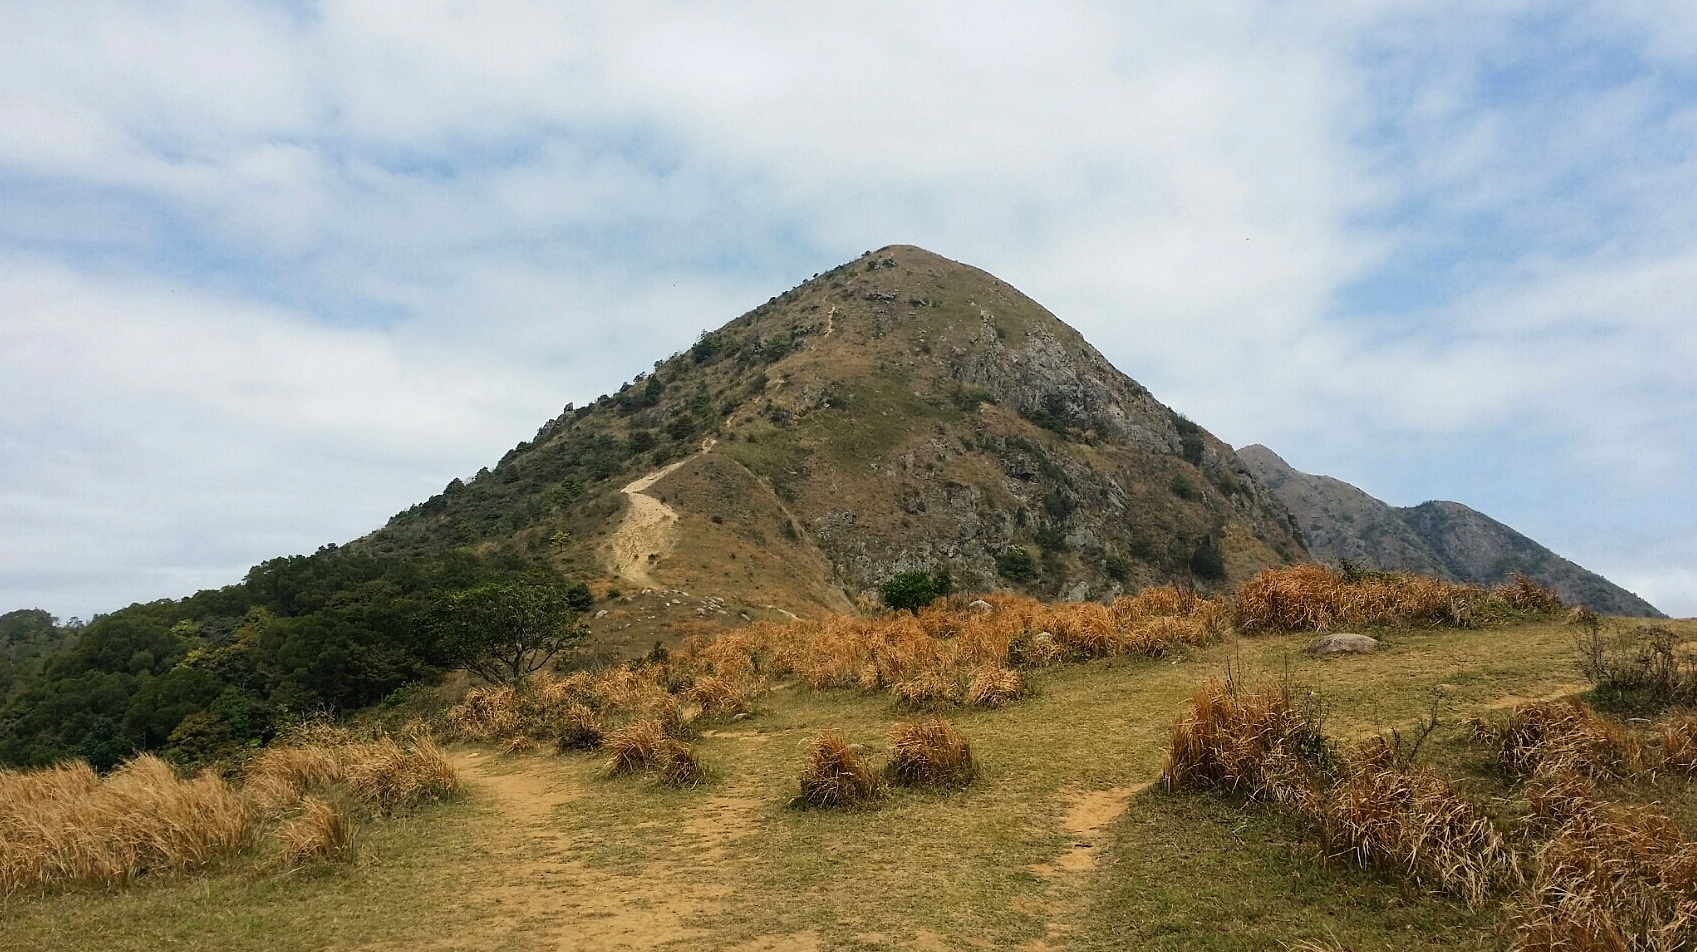
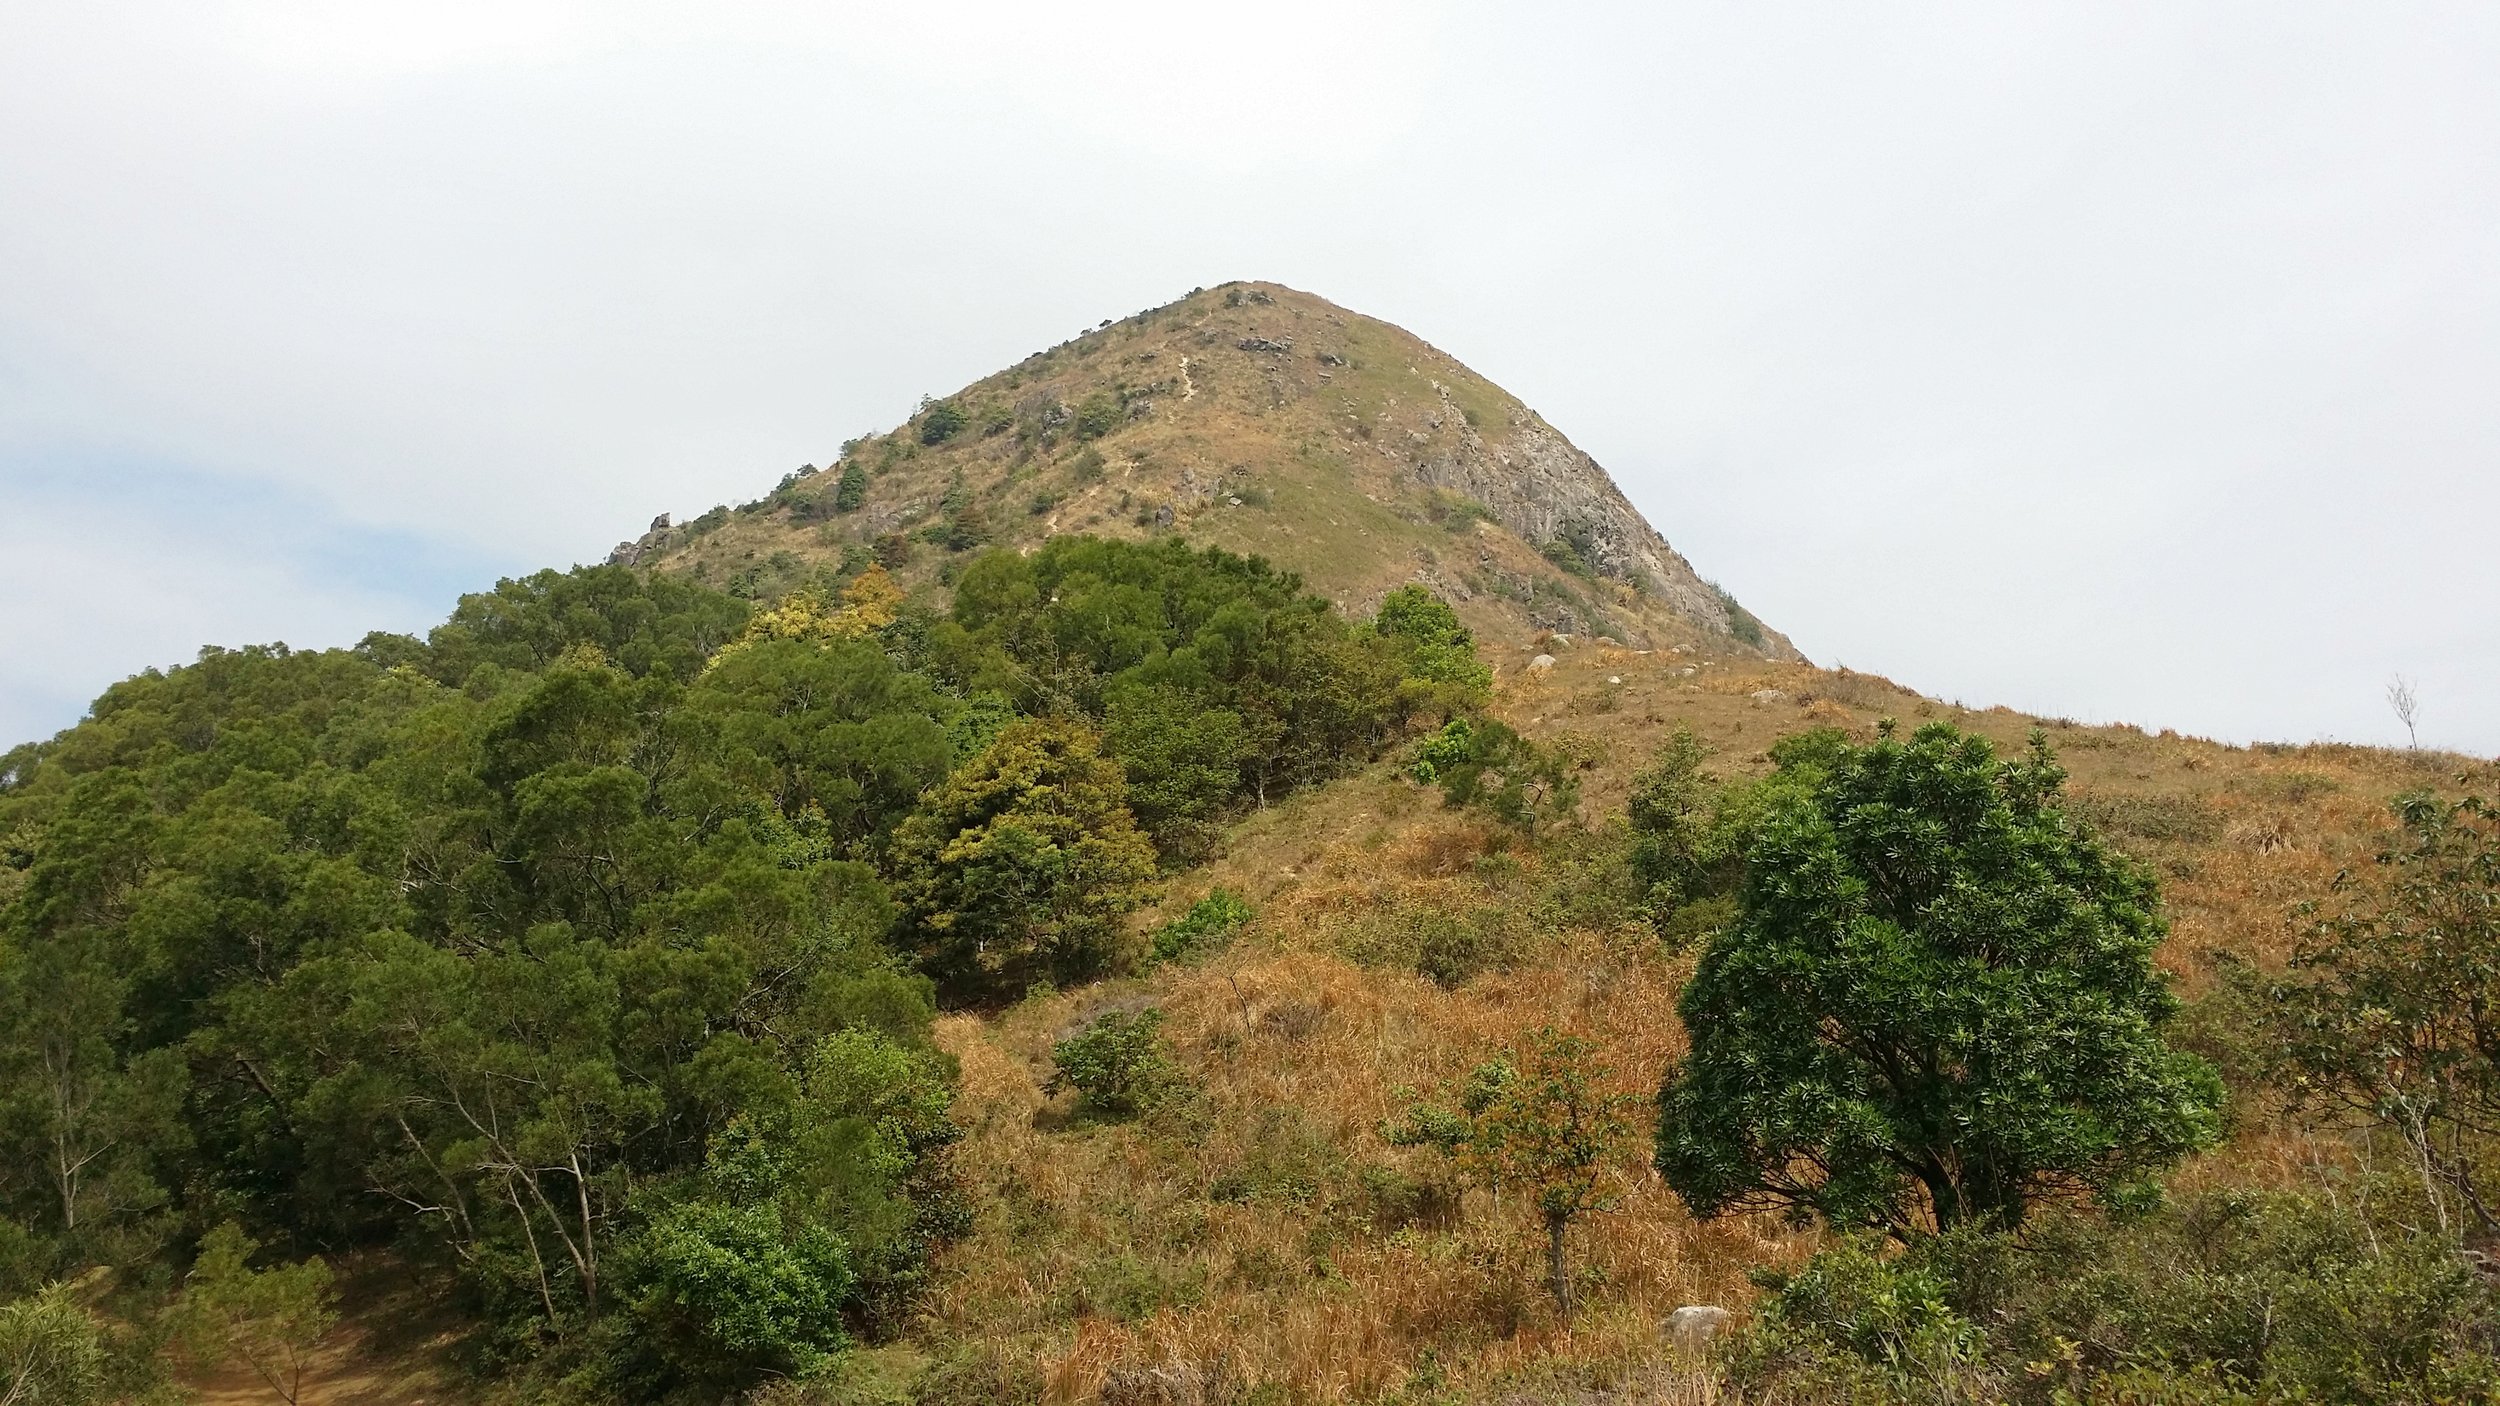
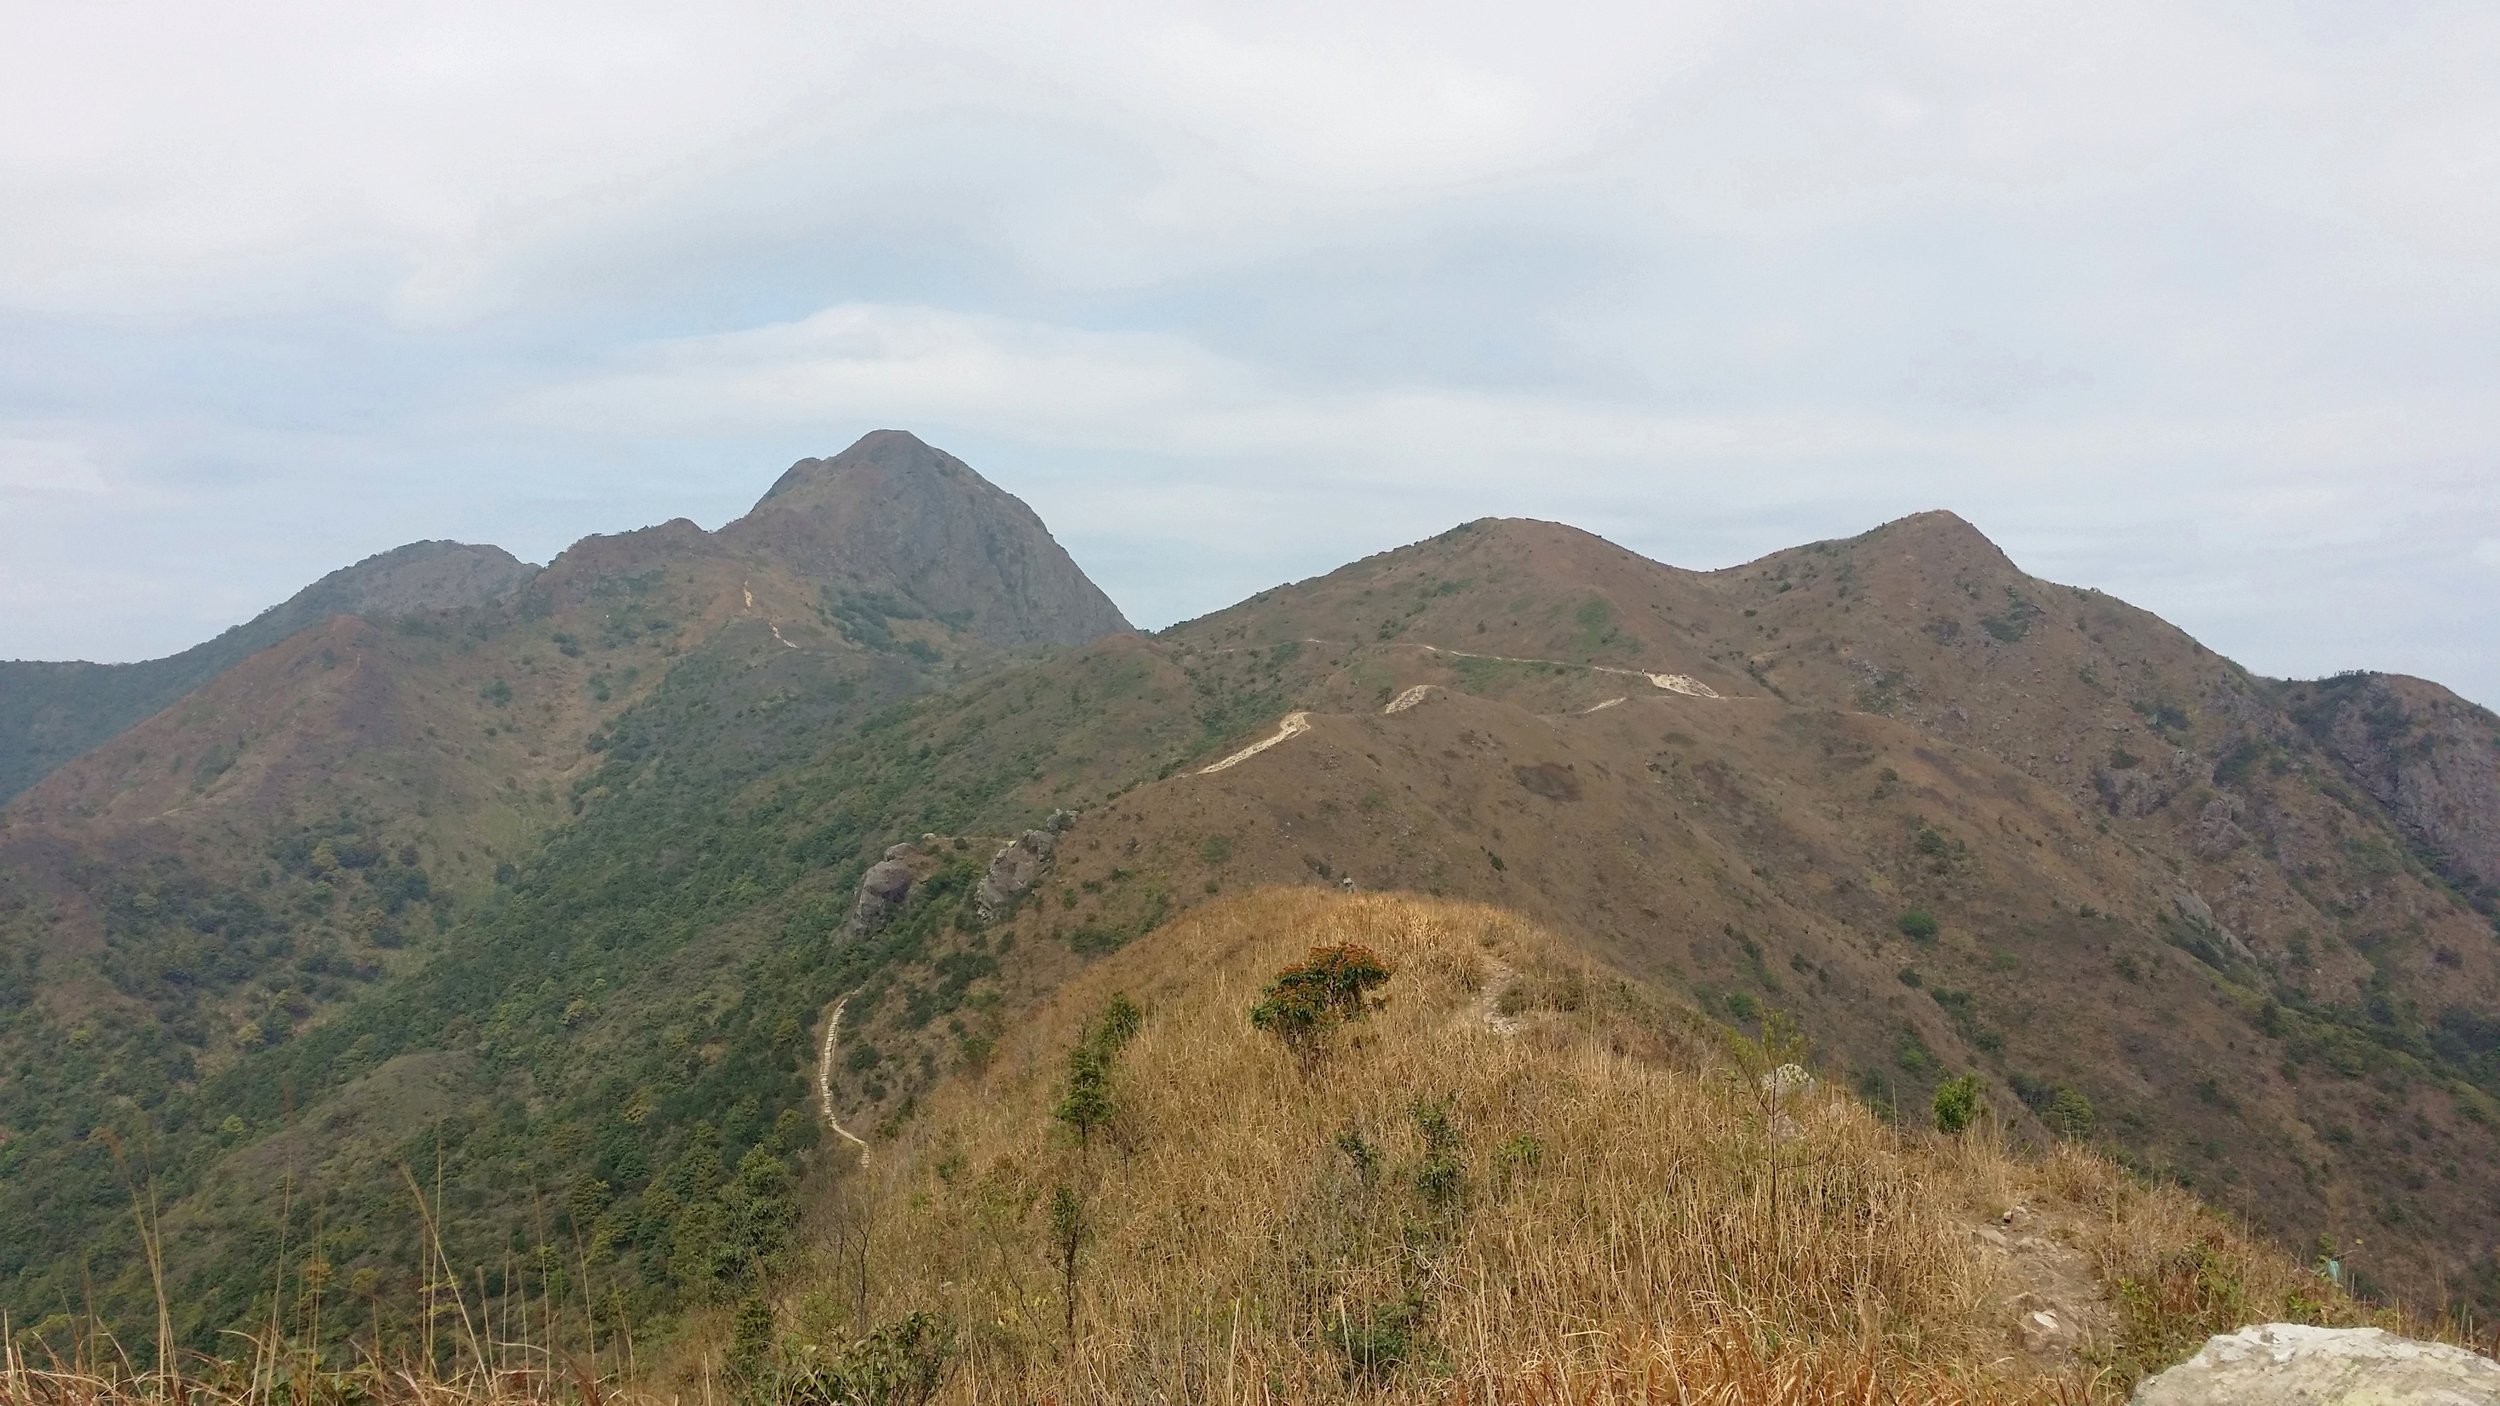
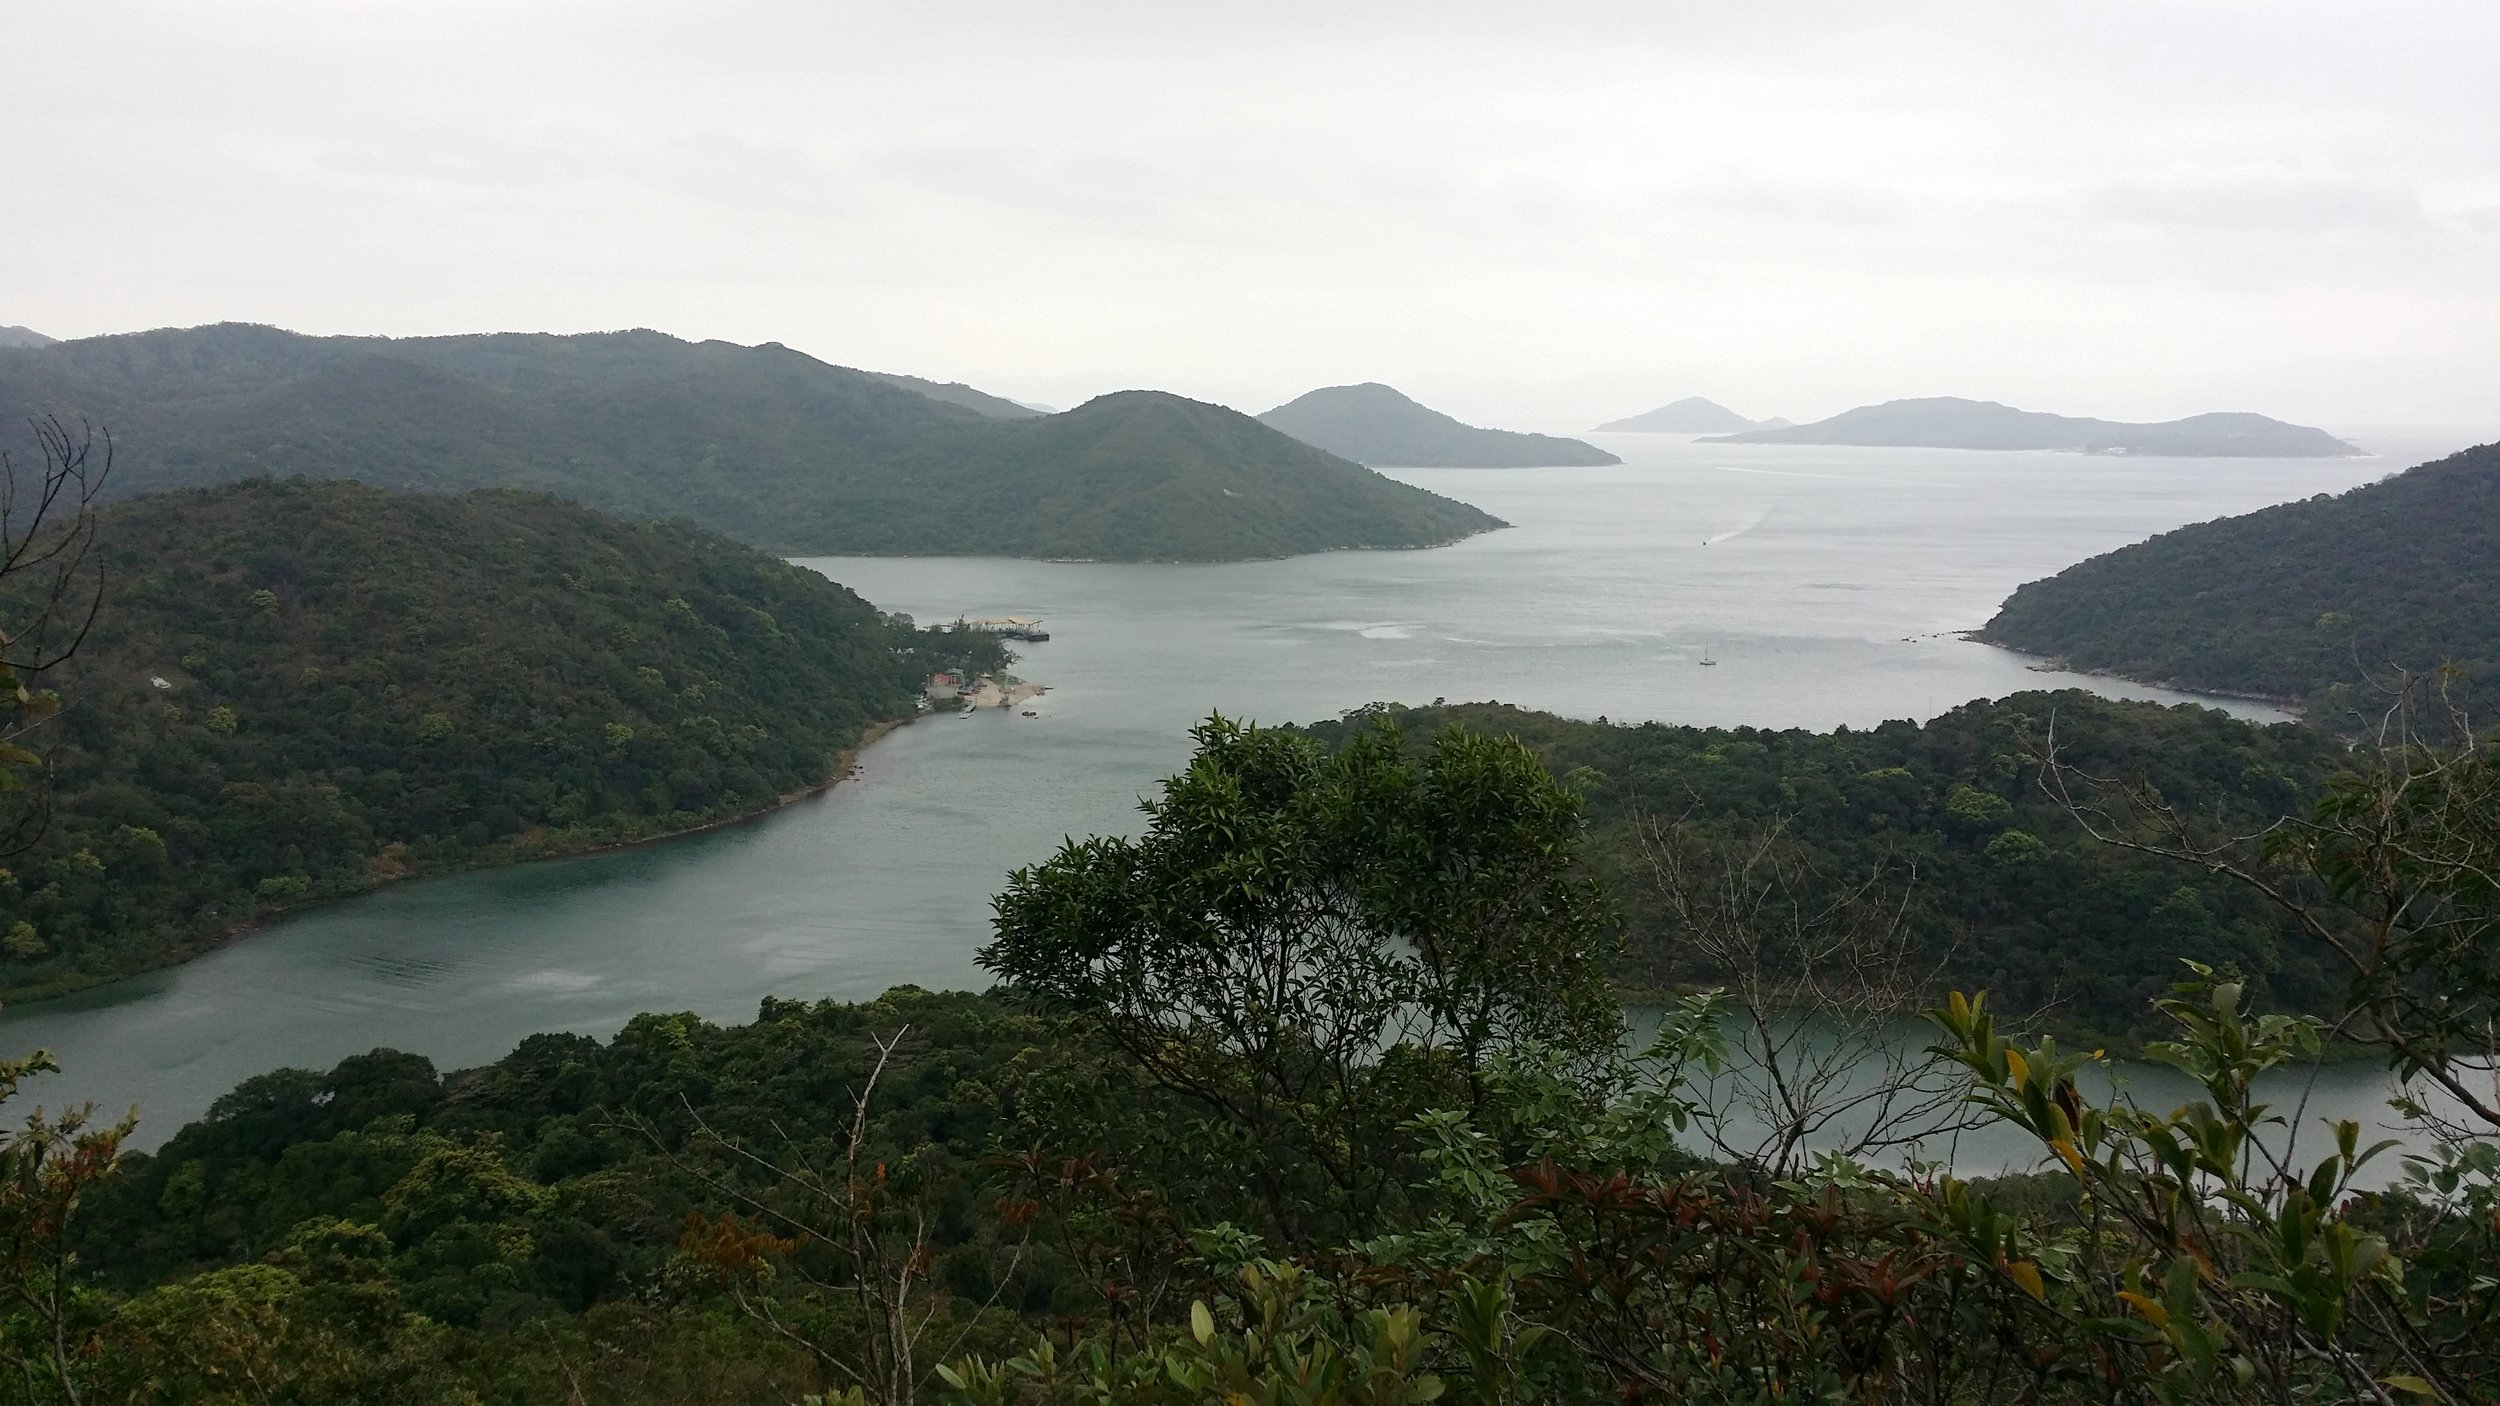
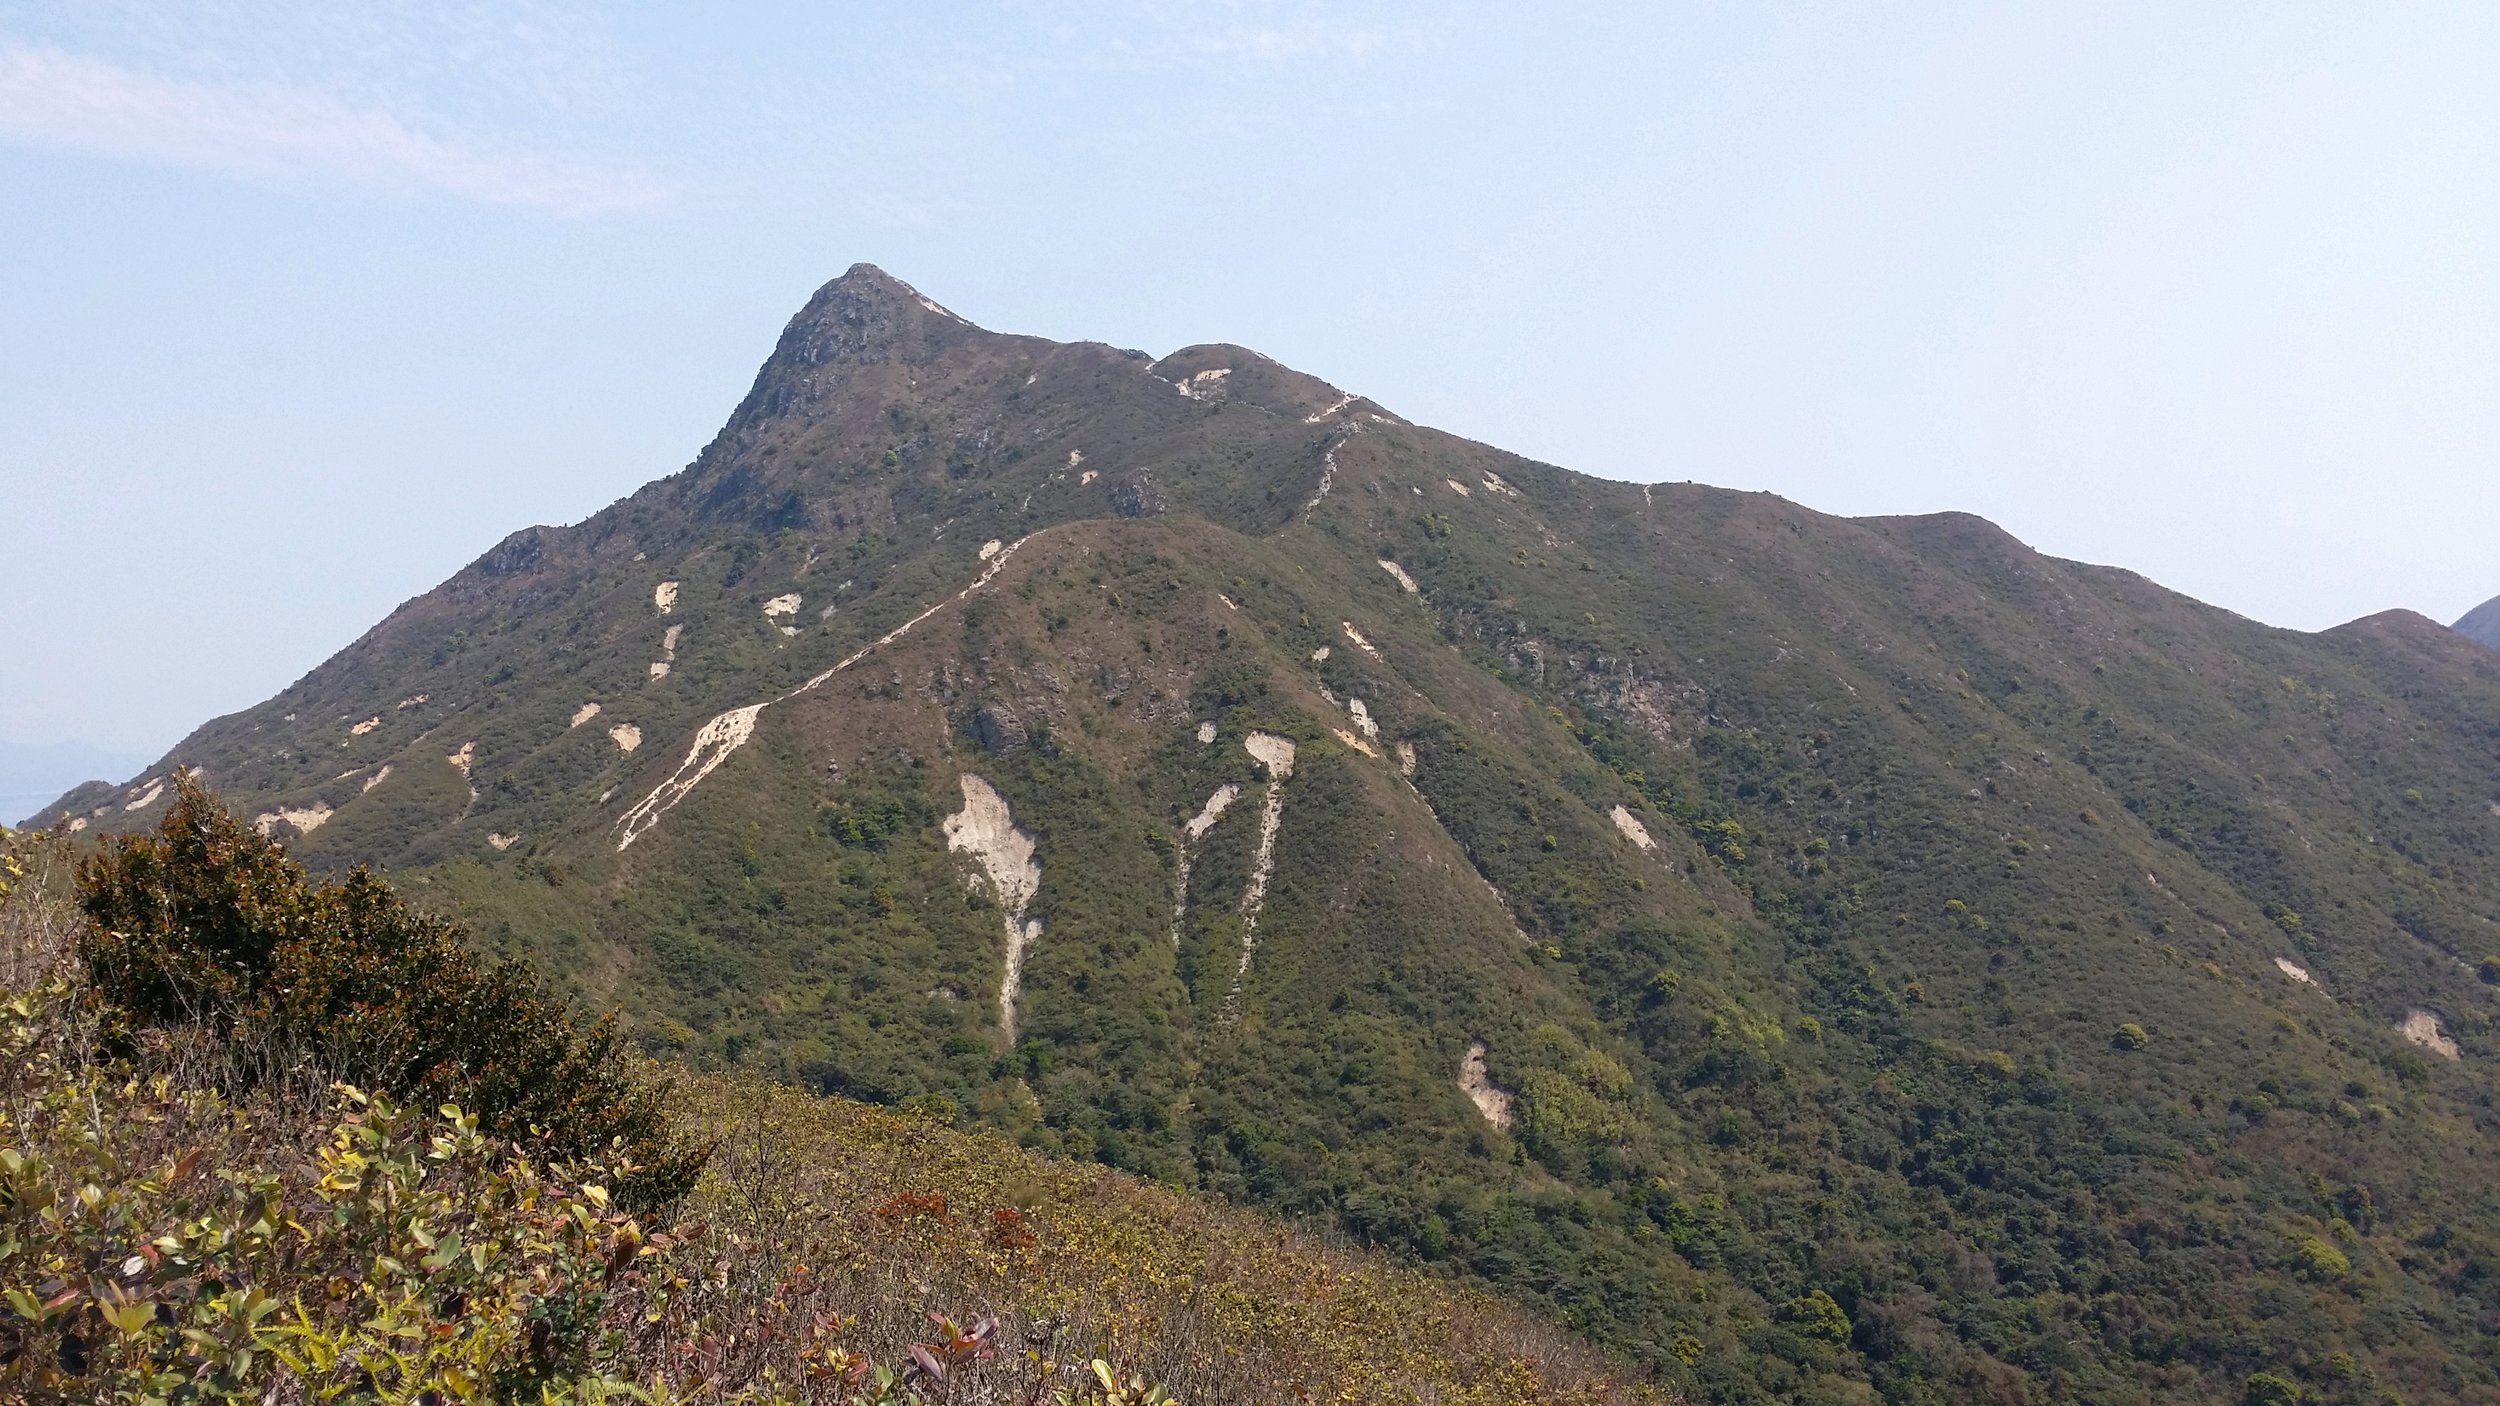
Sharp Peak measures about 468m. It is located in Sai Kung. Sharp Peak has been categorized as one of the toughest hikes in Hong Kong. This spot is famous for many hikers and it also attracts beginner hikers. It is indeed a very challenging hike as it is a very steep hike and the non-stop clambering up and down the hills can be overwhelming.

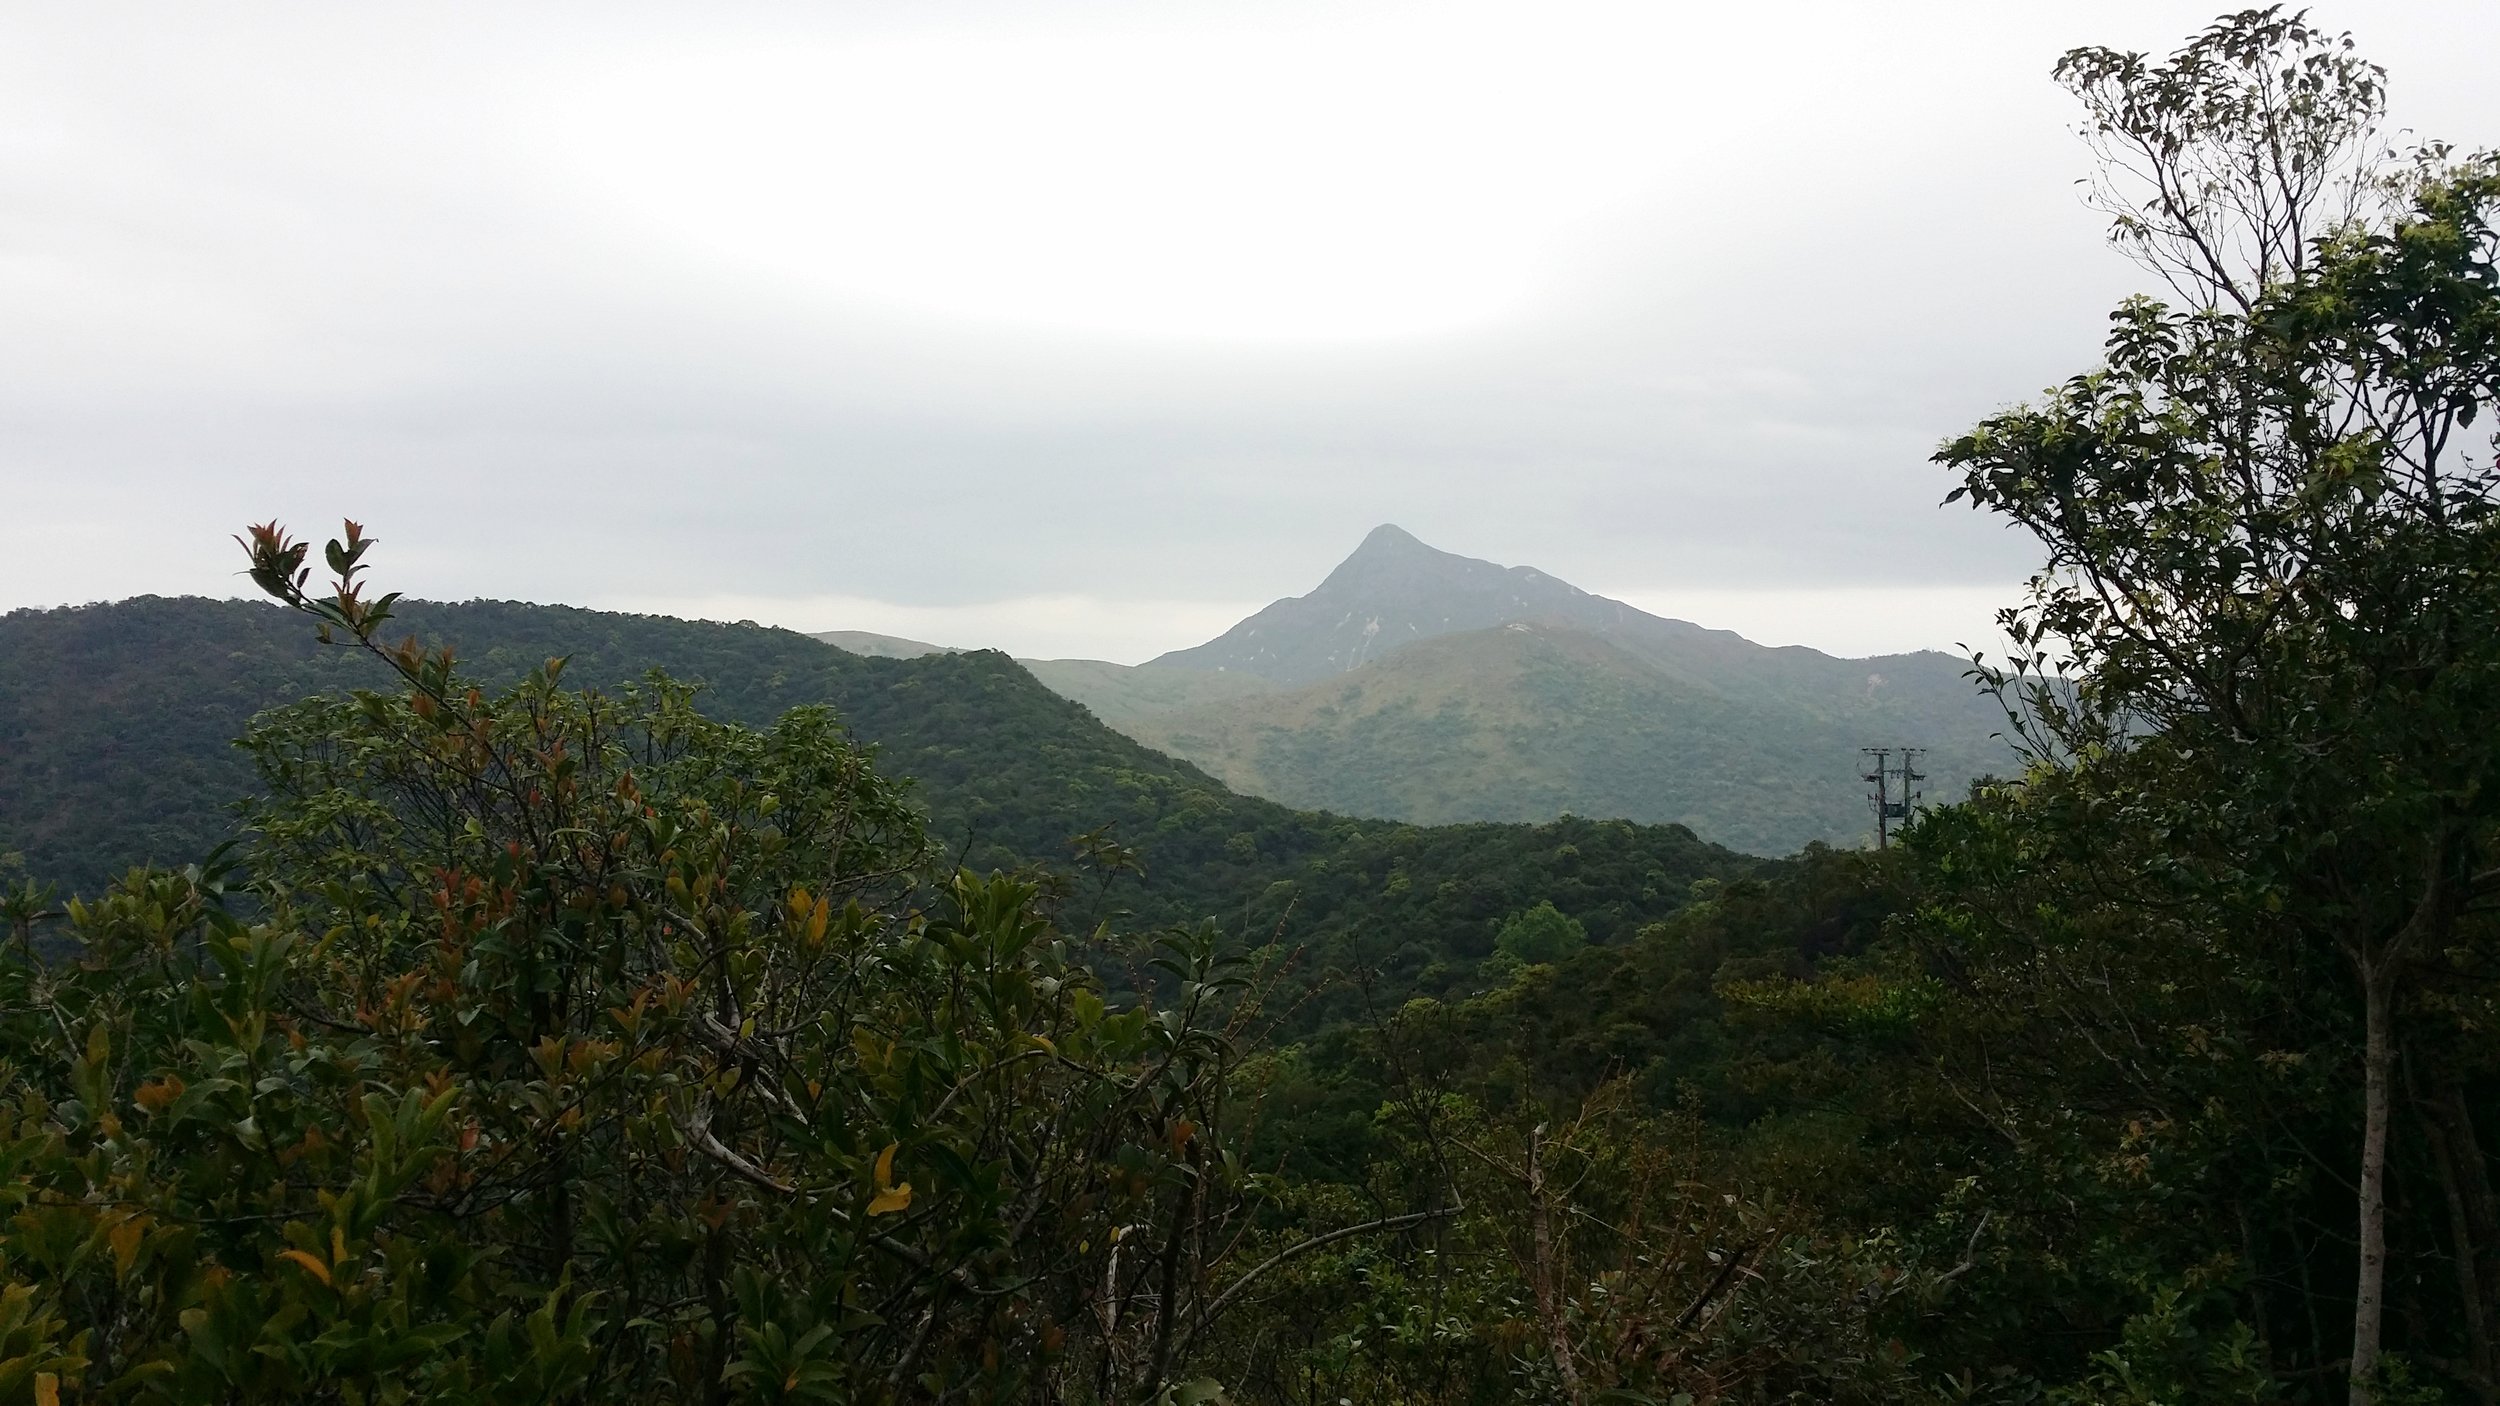
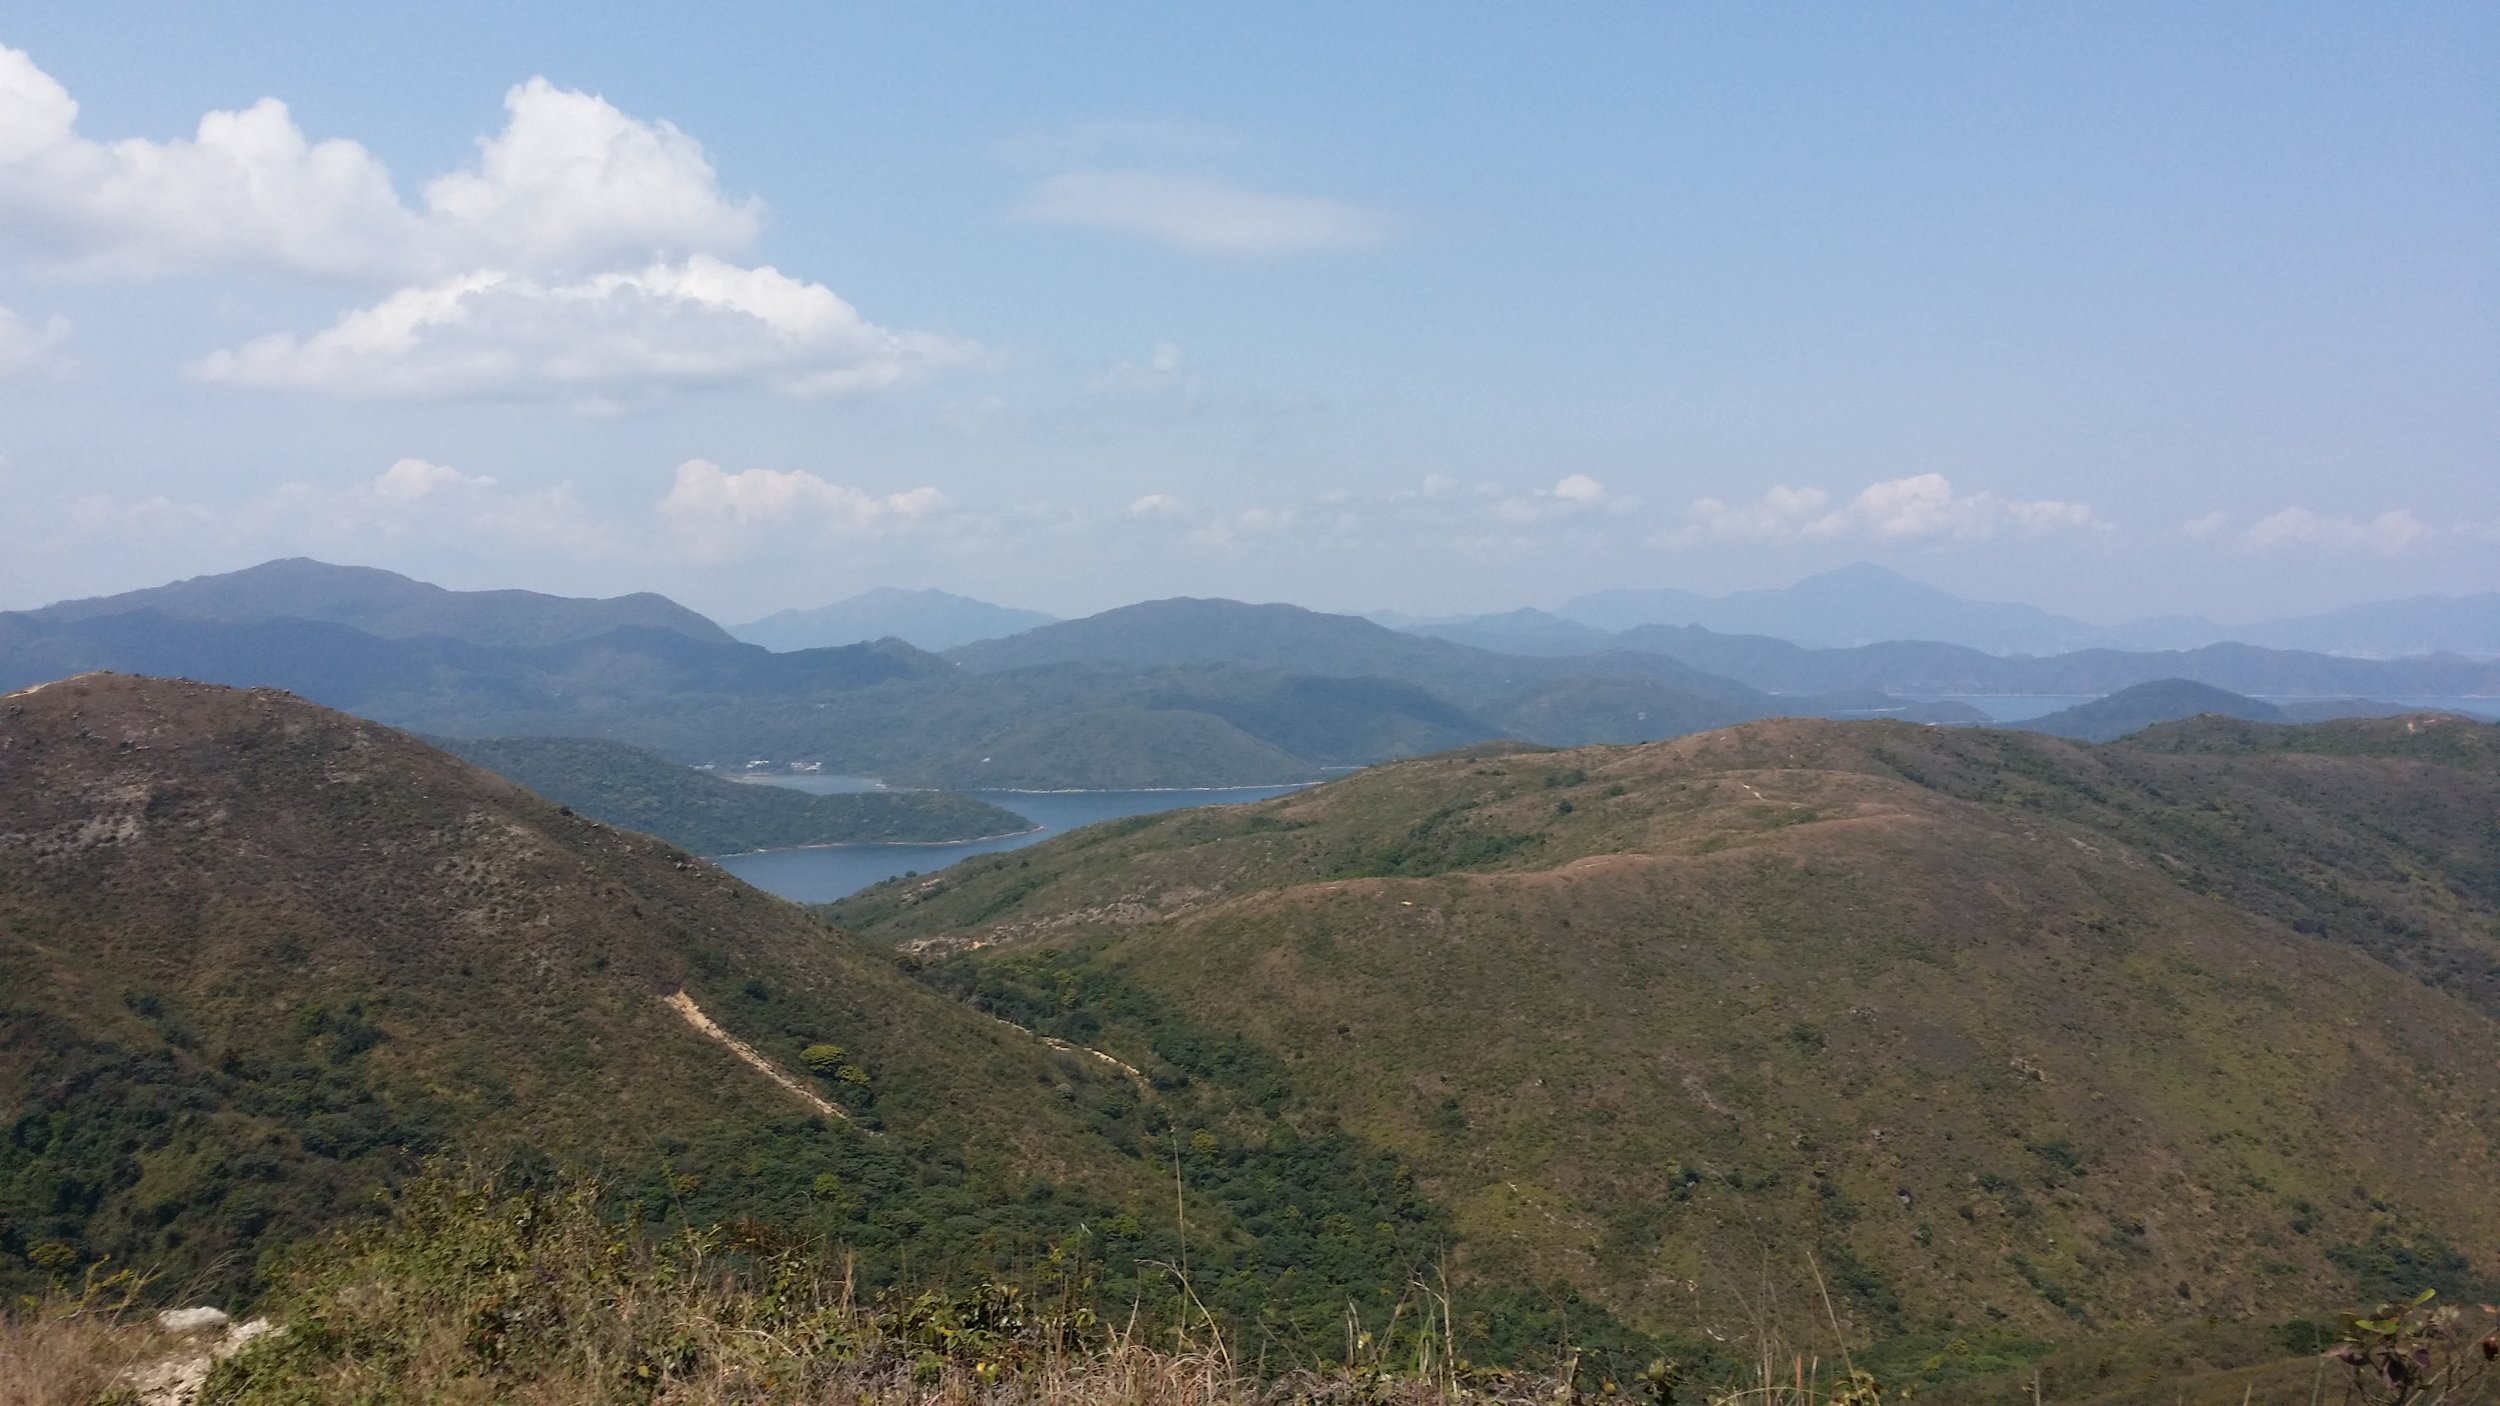
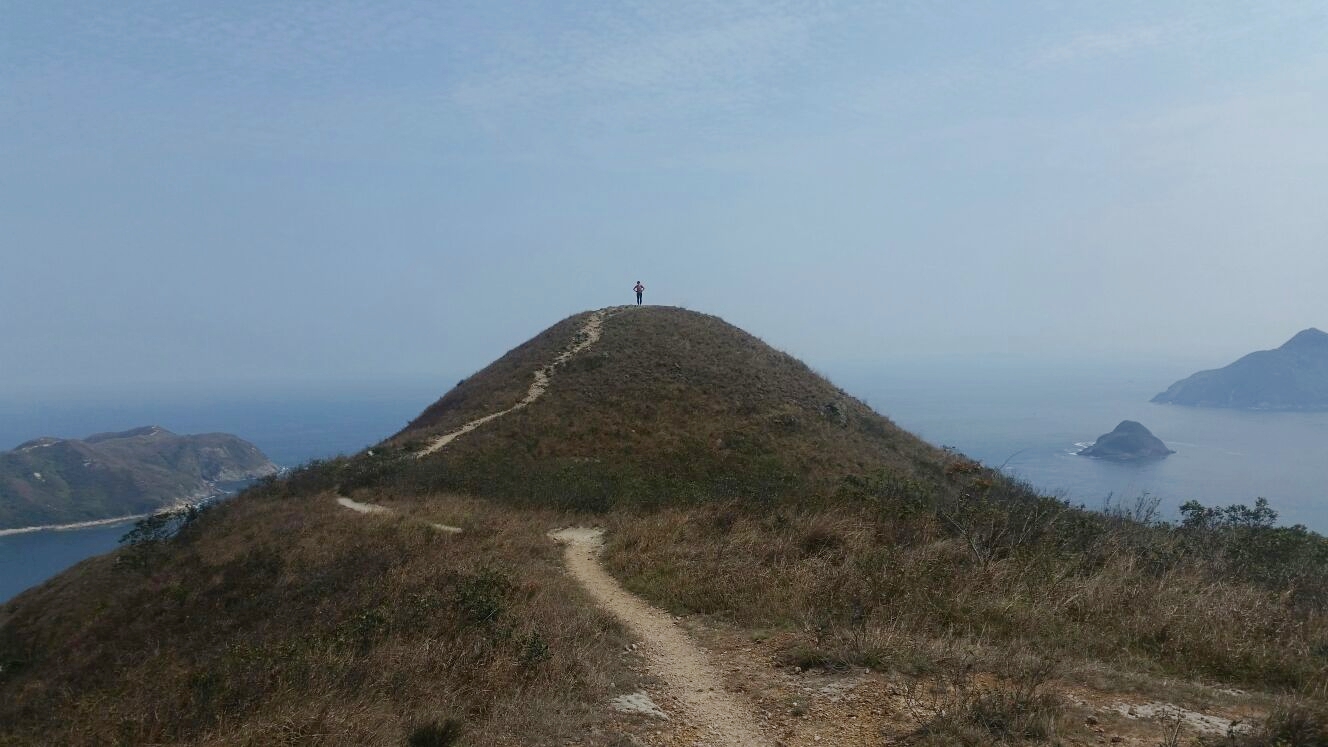
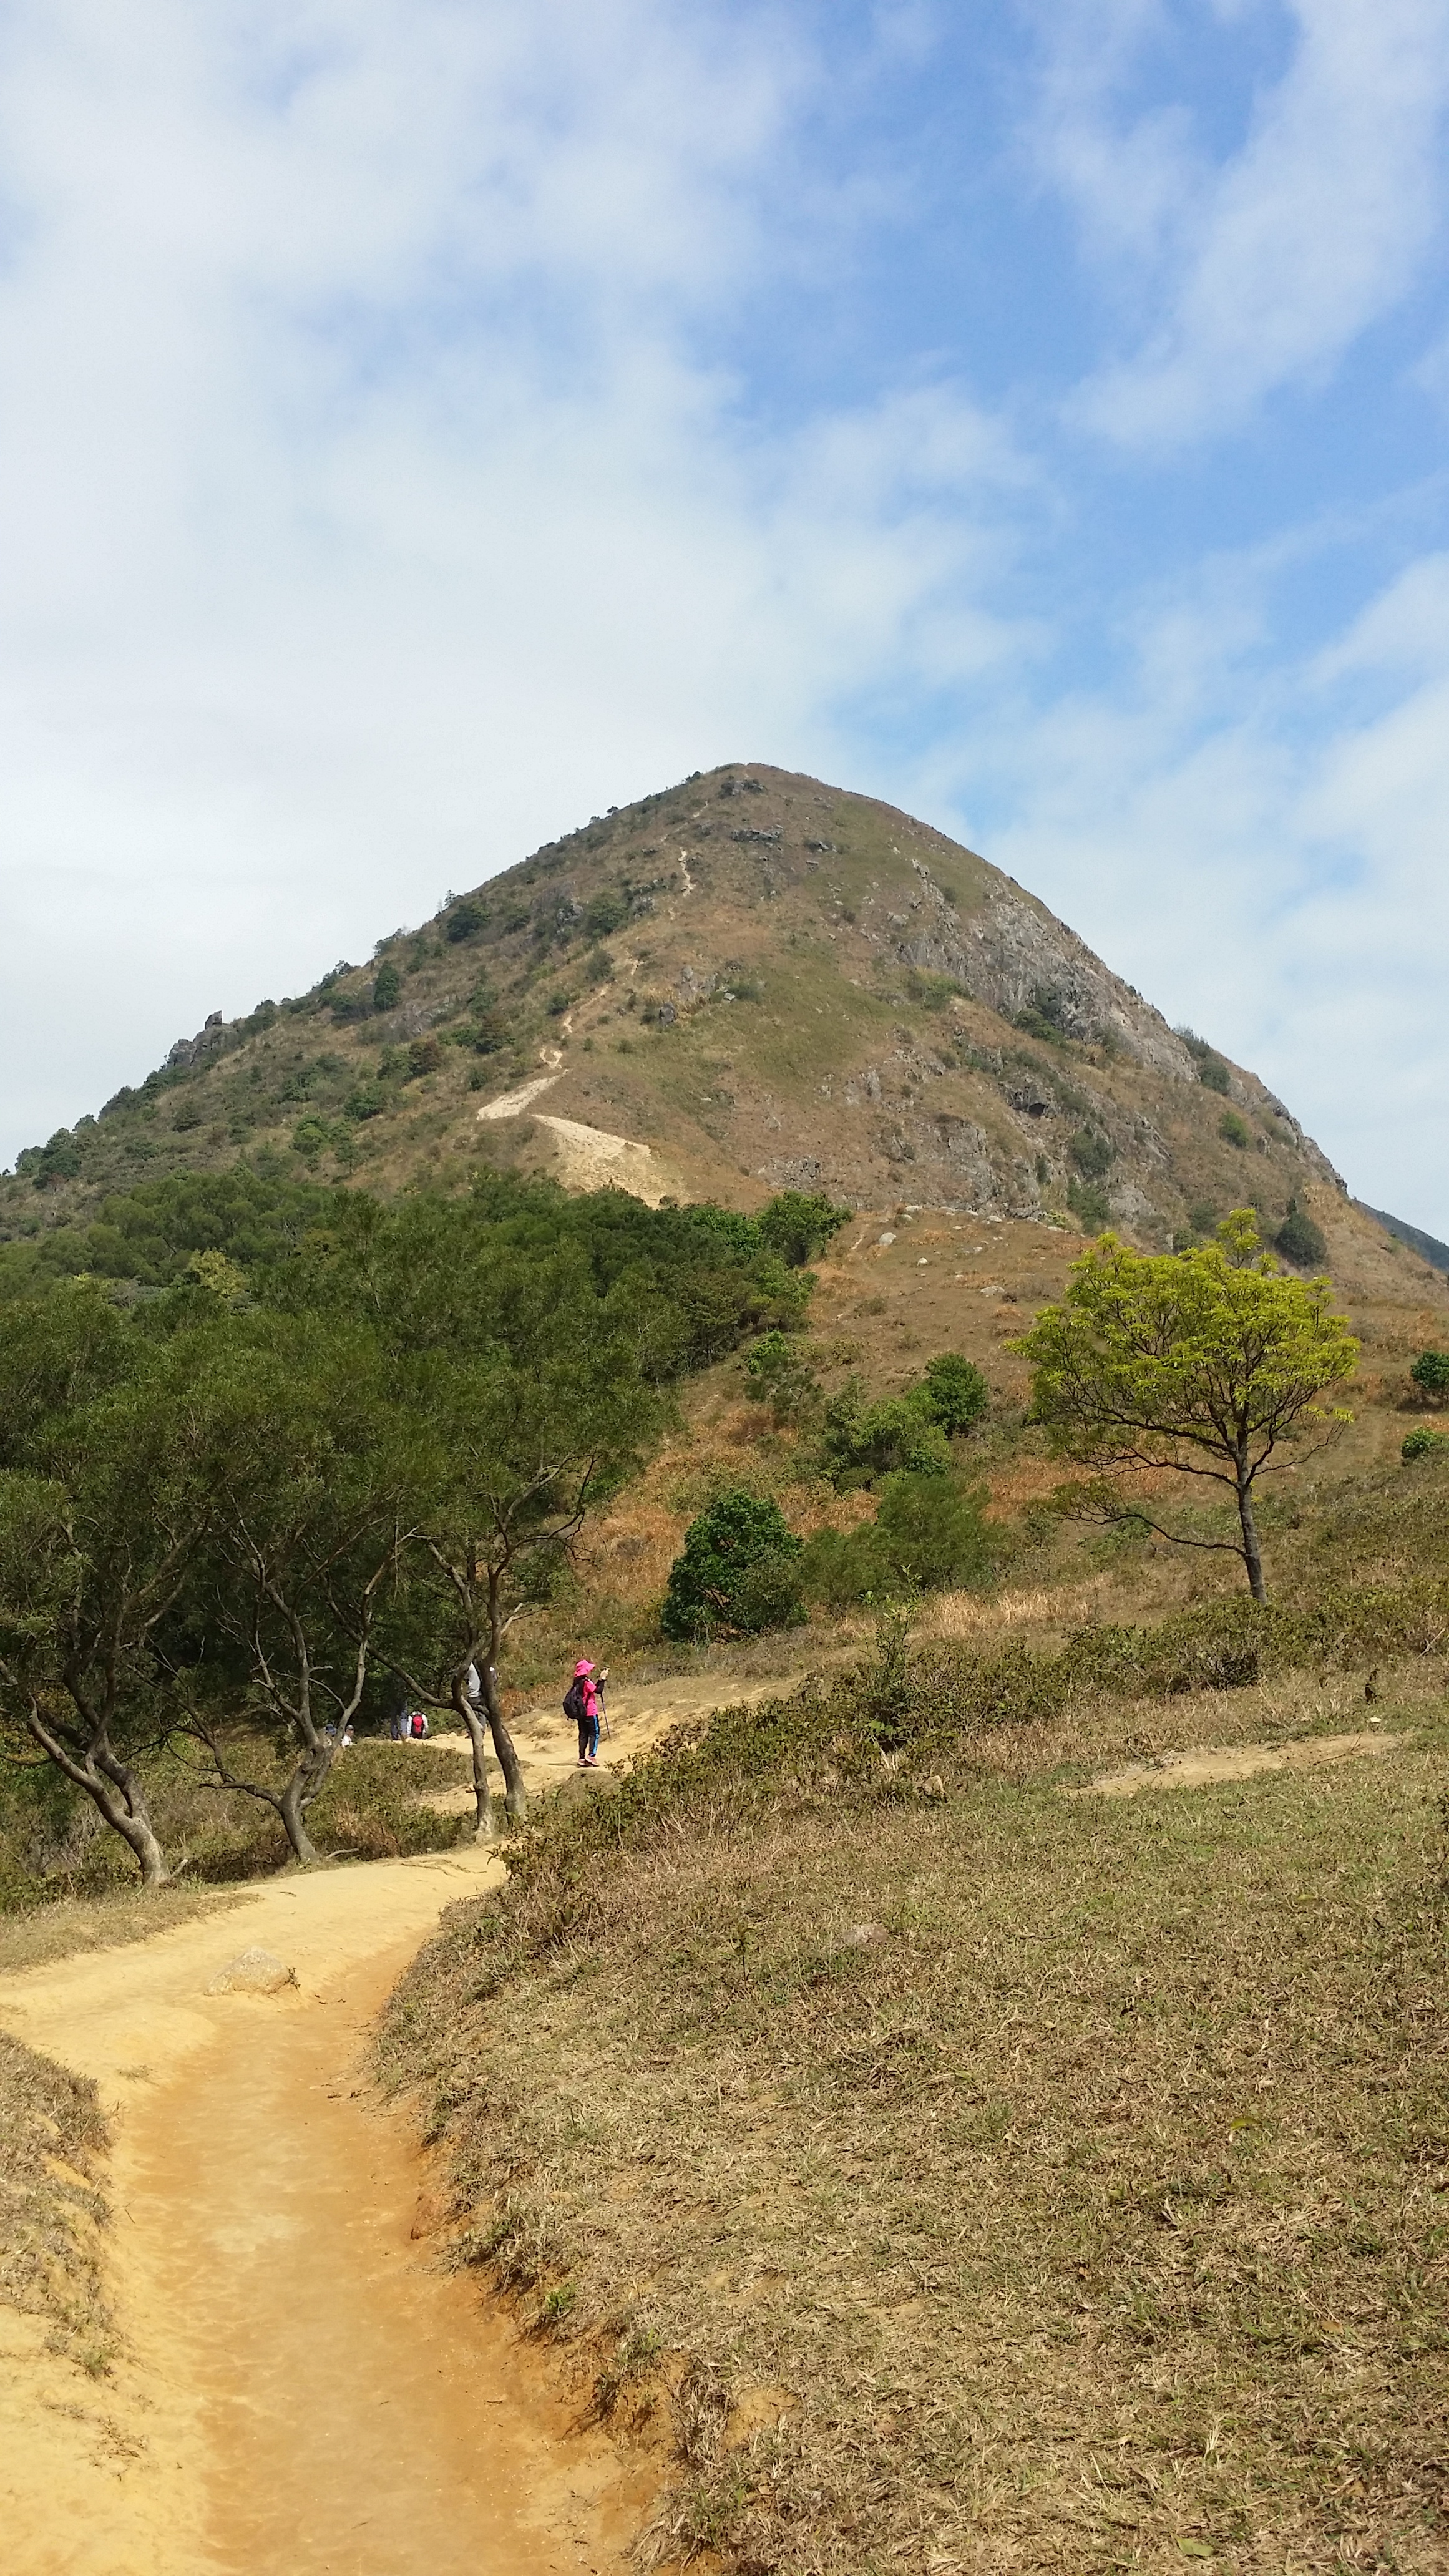
Sharp Peak is visible in most part of Sai Kung. It is not hard to point out which mountain is Sharp Peak as the peak is probably the sharpest one you can see in Sai Kung. 


BASIC INFORMATION OF THE HIKE

DURATION - 7 hours

DISTANCE - Around 15-16km

DIFFICULTY LEVEL - Difficult

CELLPHONE/ INTERNET COVERAGE - Everywhere

BEST TIME TO HIKE - Winter or Autumn (Do not go during rainy season)

WATER LEVEL - 2.5L 

STARTING POINT - Pak Tam Au

FINISHING POINT - Sai Wan Village


HOW TO GET THERE AND WHAT TO TAKE

EASIEST WAY AND MOST CONVENIENT WAY TO START THE HIKE

Take MTR or bus to Choi Hung MTR (Exit C1) and take green minibus no. 1A. Get off at the last stop in Sai Kung Pier/ Town area. From there, you may take the bus no. 94 and get off at Pak Tam Au. 

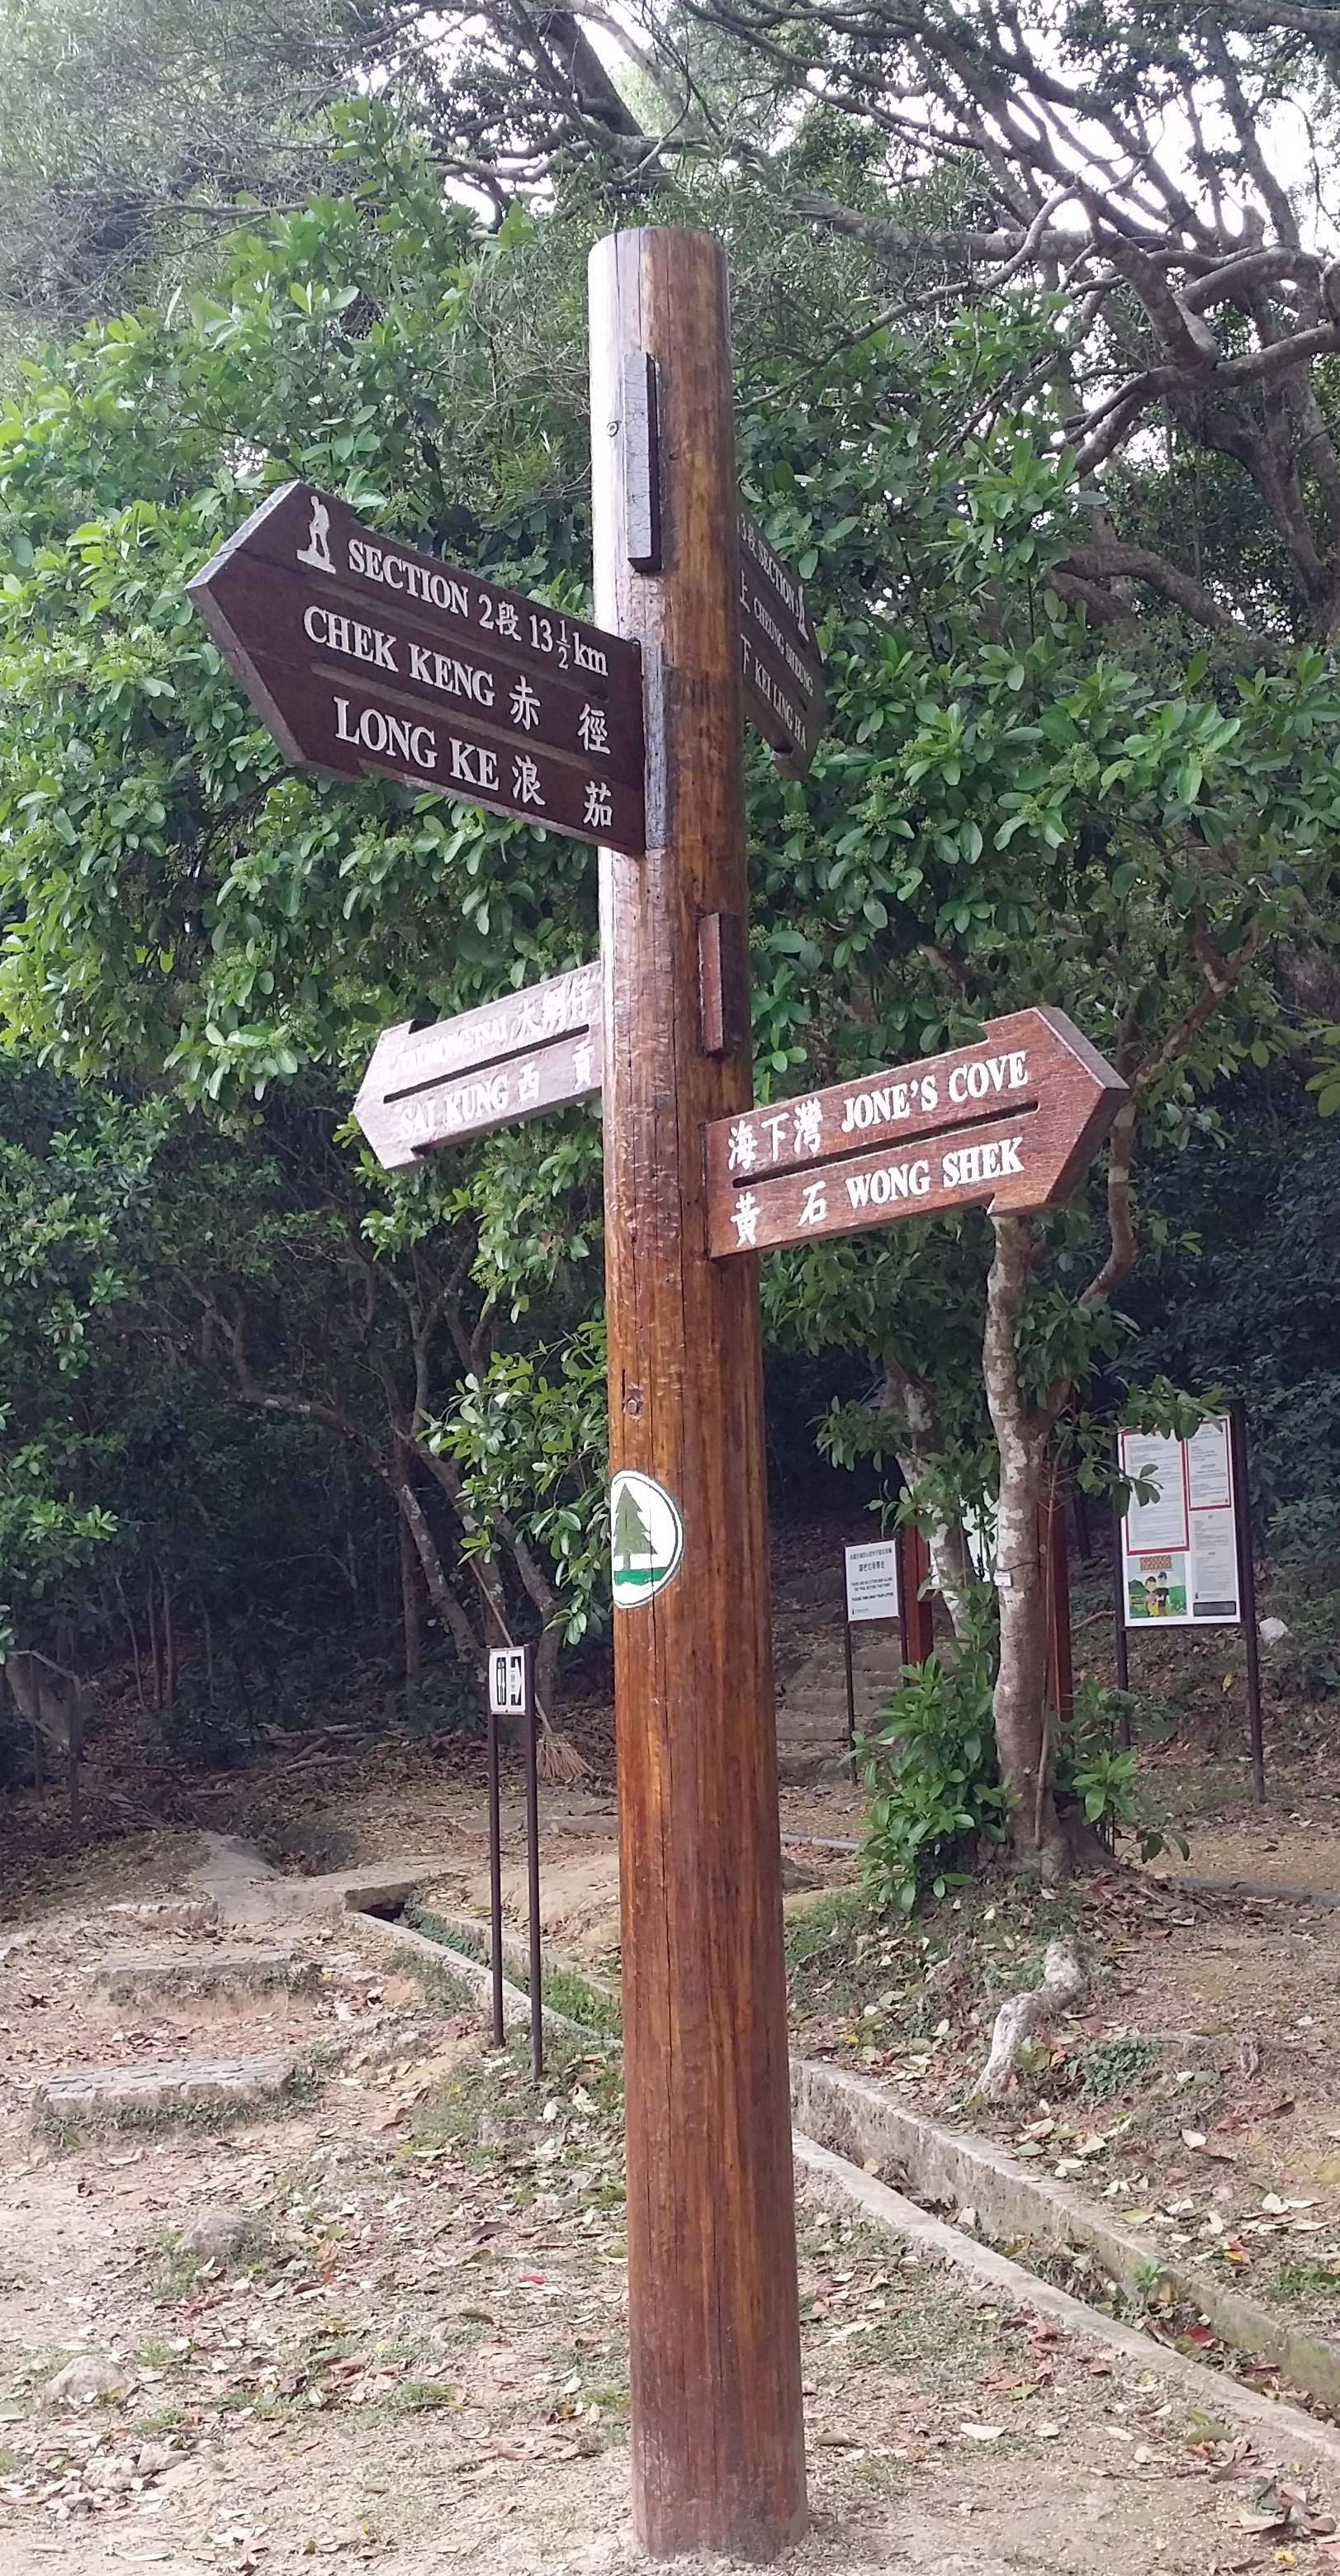
Once you get off the bus, find the sign to Maclehose Section 2 (via Chek Keng). It should be the opposite side of the bus stop. There is a public toilet for you to use before starting the long hike. 

ENDING THE HIKE IN SAI WAN VILLAGE

If you are not ending your hike back to the starting point or to Wong Shek Pier or Ham Tin. Then, you may definitely end your hike in Sai Wan Village. From the village, there is boat service to bring you back to Sai Kung Pier, however, the boat service is only available during summer and peak season. You may also take a village minibus back to Sai Kung Town. All you have to do is to hike/ walk a little bit more for at least 30-45 minutes to reach the minibus stop area. During non-peak season, there is only 1 minibus service and it leaves exactly at 4:45 pm sharp.

It is better to ask the people in Sai Wan Village for ways of transportation just to be sure. Frequent transportation in Sai Wan village varies in what season it is. 


HIKE DIARY

SAI KUNG TOWN TO PAK TAM AU

As mention in "How to get there and what to take", you may take the bus no. 94 from Sai Kung Town and get off at Pak Tam Au. You may also take a taxi ride if you don't mind paying more. The taxi fare should take around HK$90-120. If you're taking the bus, keep track on the bus stops as the bus ride goes very fast. Once you get off Pak Tam Au, you will see the Machelose signpost to Section 2. You must cross the road and look for the public toilet if you need to take any toilet break before starting your hike. 

STARTING POINT - MACLEHOSE SECTION 2 TRAIL TO CHEK KENG

The starting of the hike will take you to a straight path for about half an hour. There will be a little bit of uphill then followed by some downhill. You will pass by Chek Keng and from there you will see many abandoned houses and ruins as you pass through the area. There is a public toilet area for you to take the last toilet break before starting the difficult and long hike. 

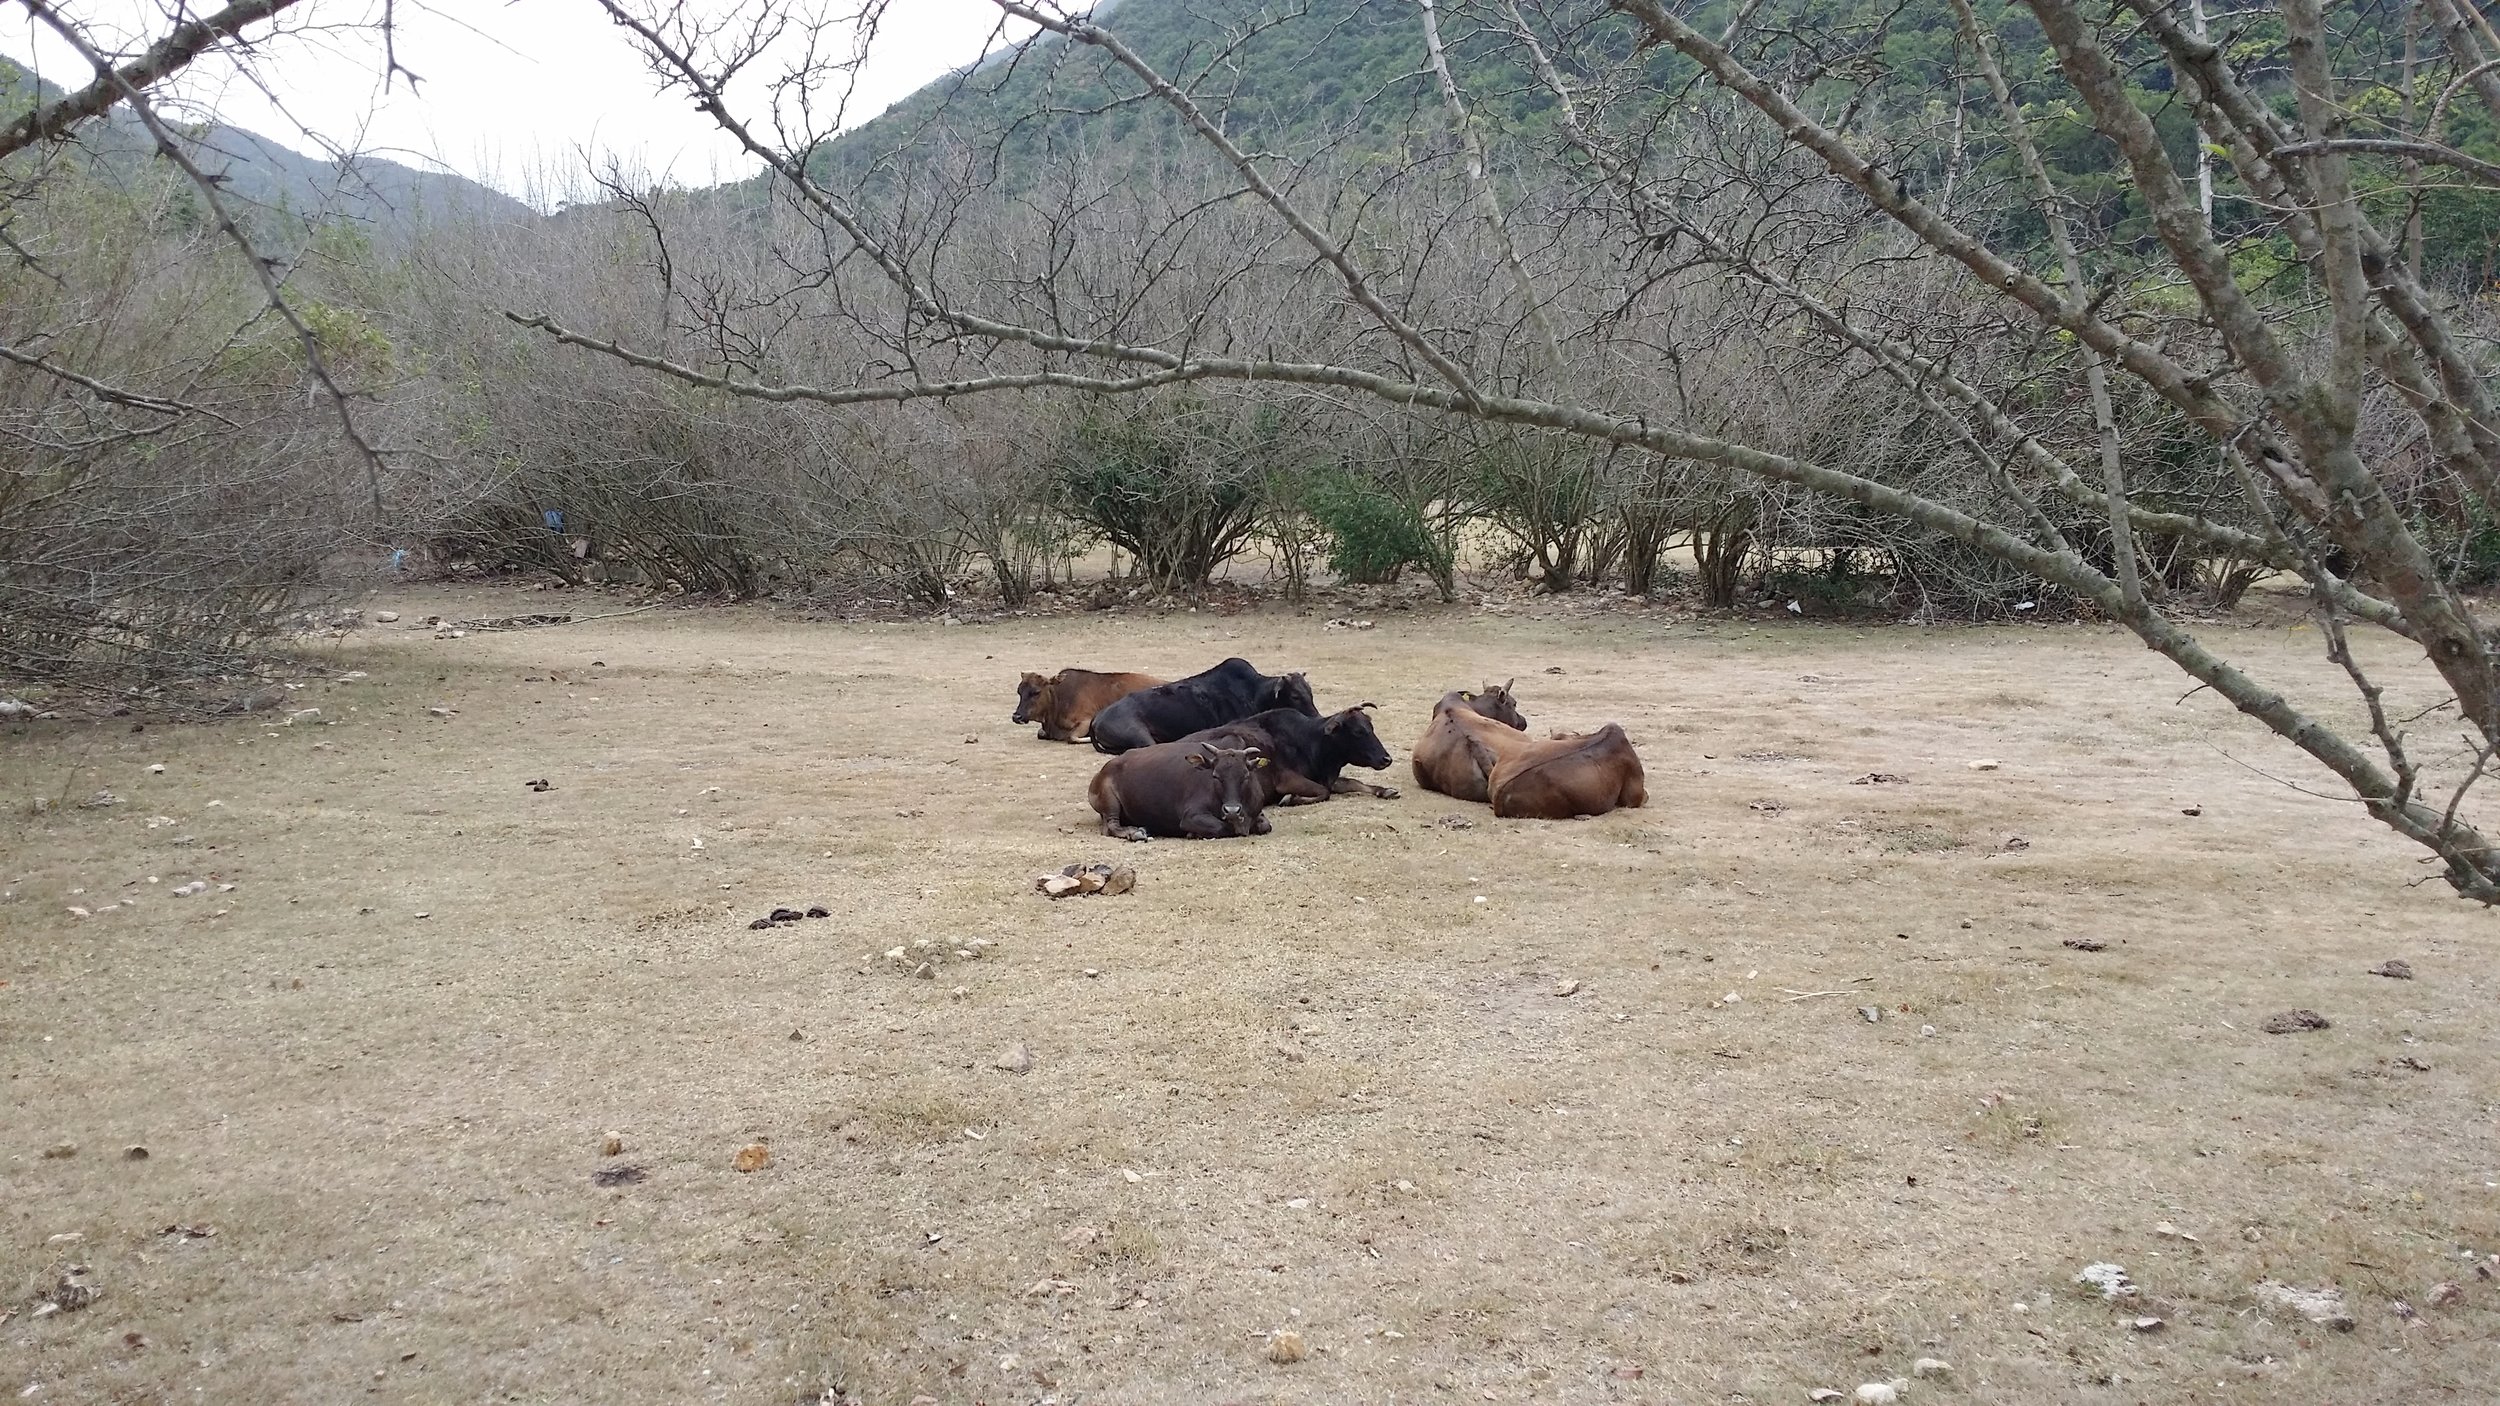
Don't forget to say hello to some cows along the way. They are friendly and they enjoy chilling on the grass. 
QUICK REST IN TAI LONG AU

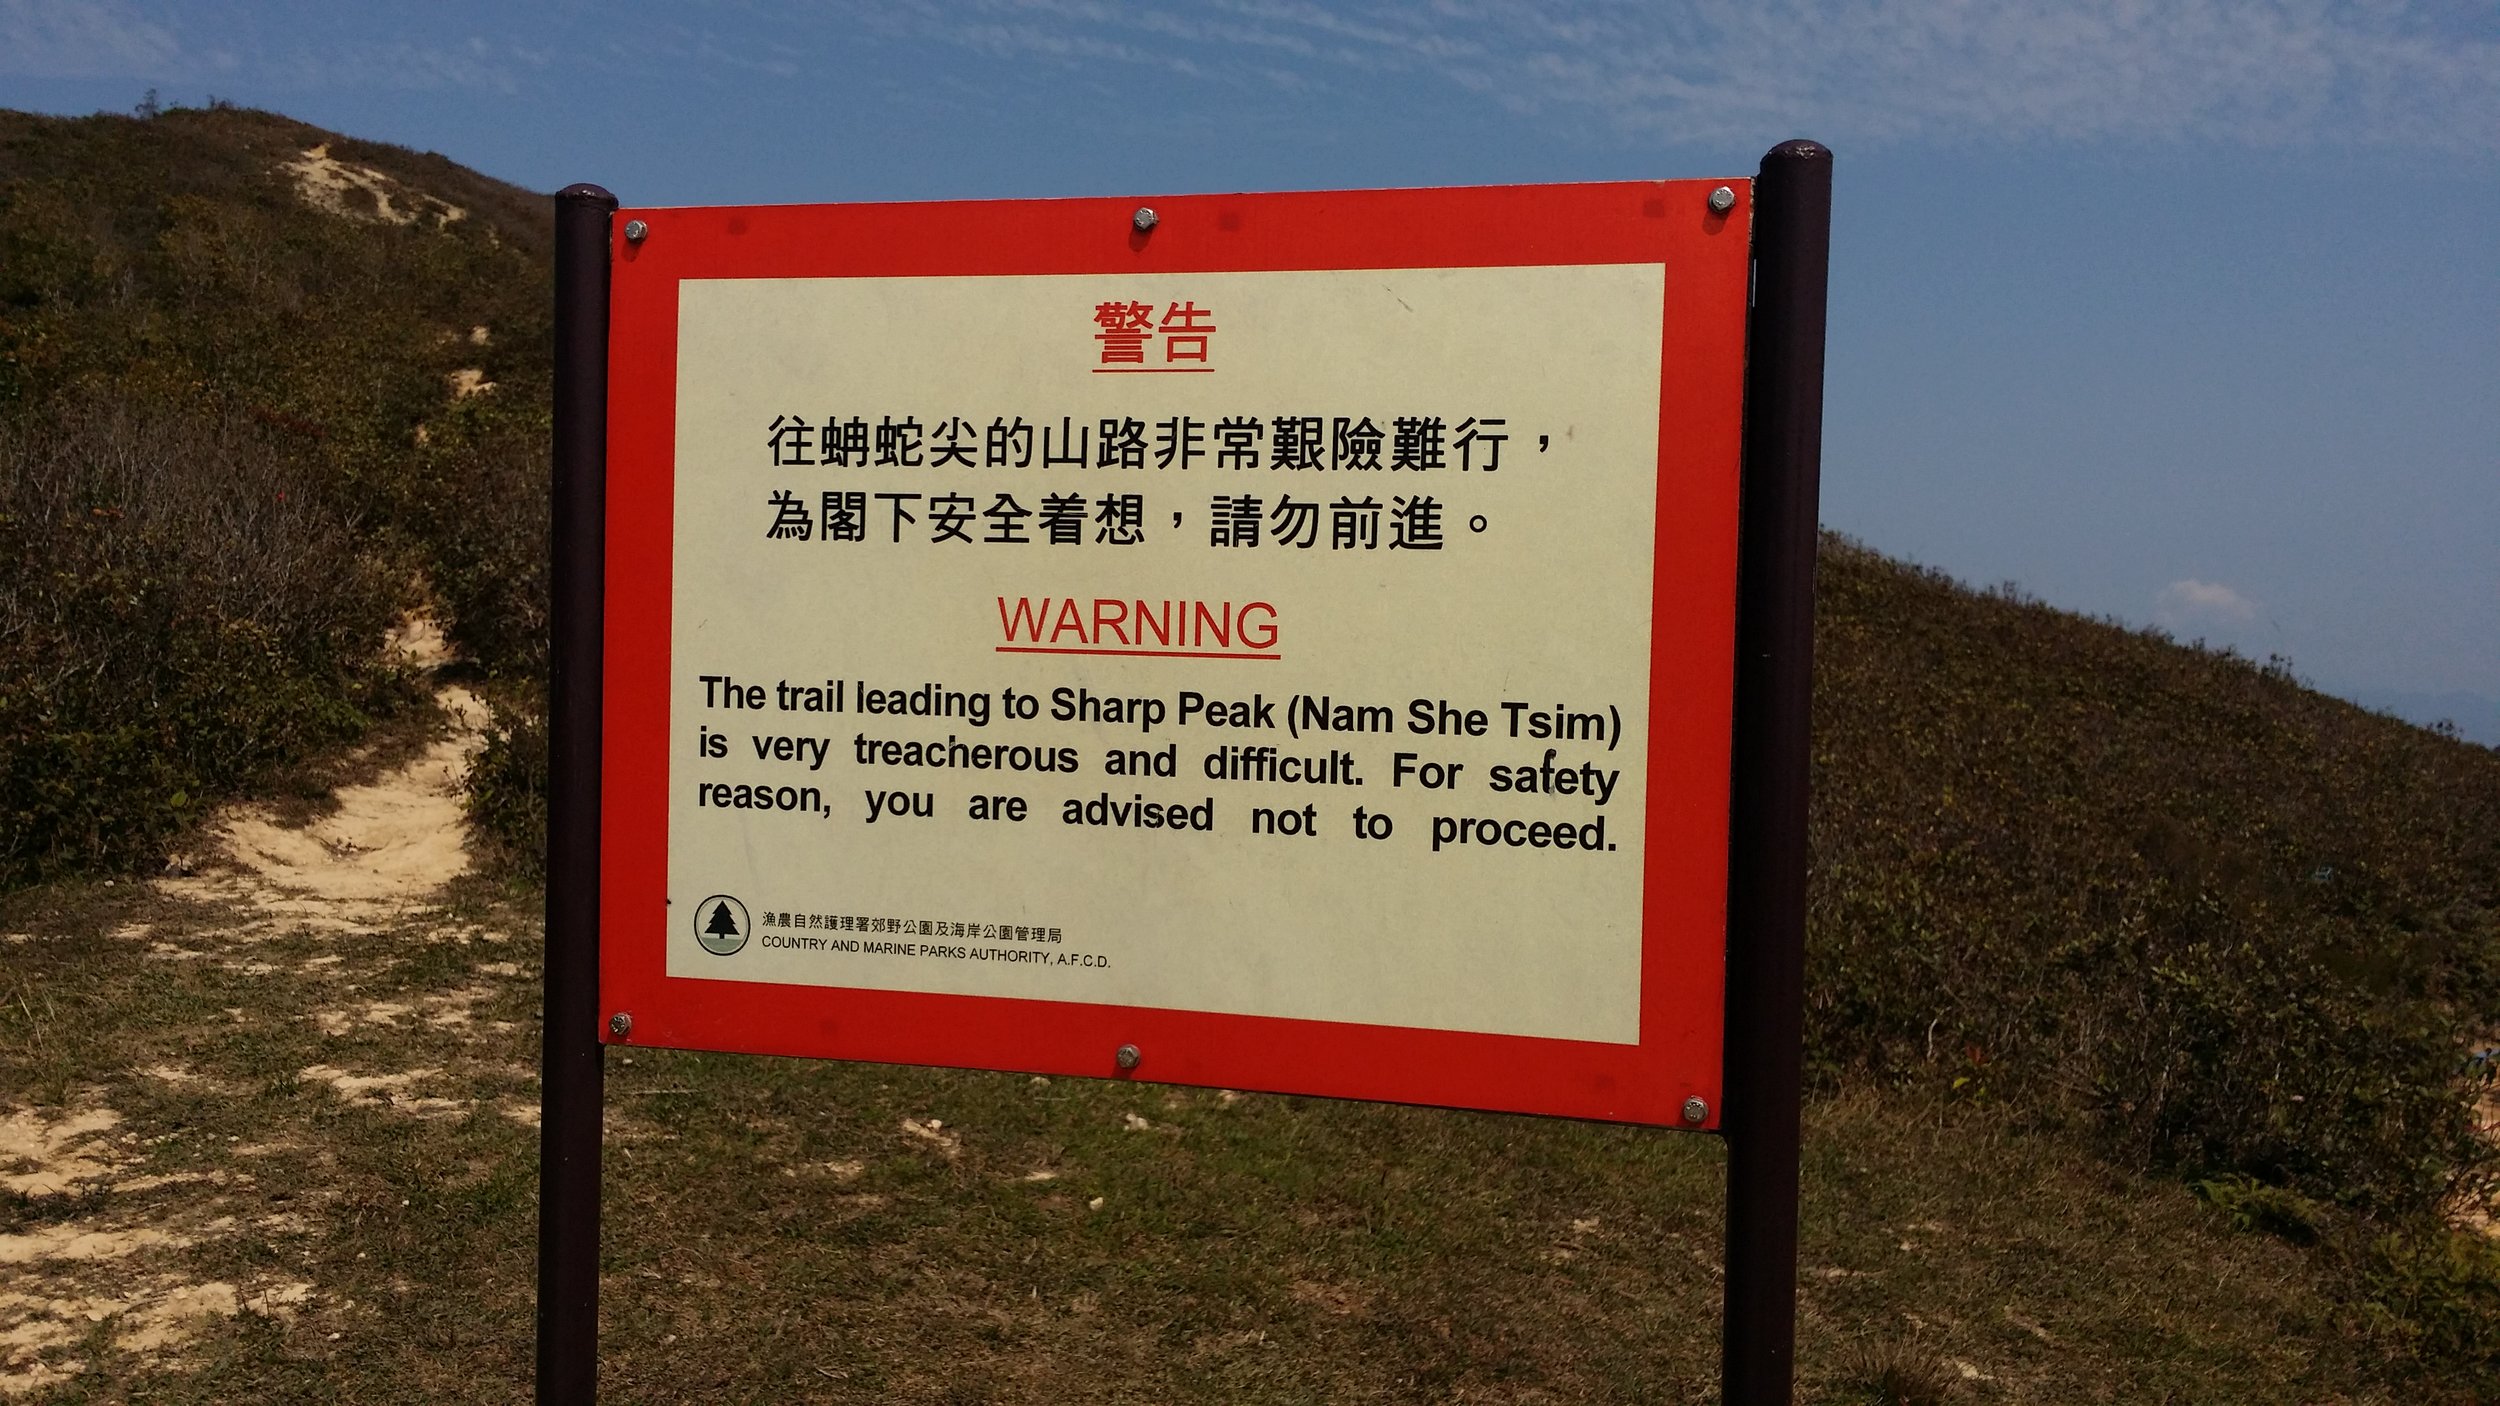
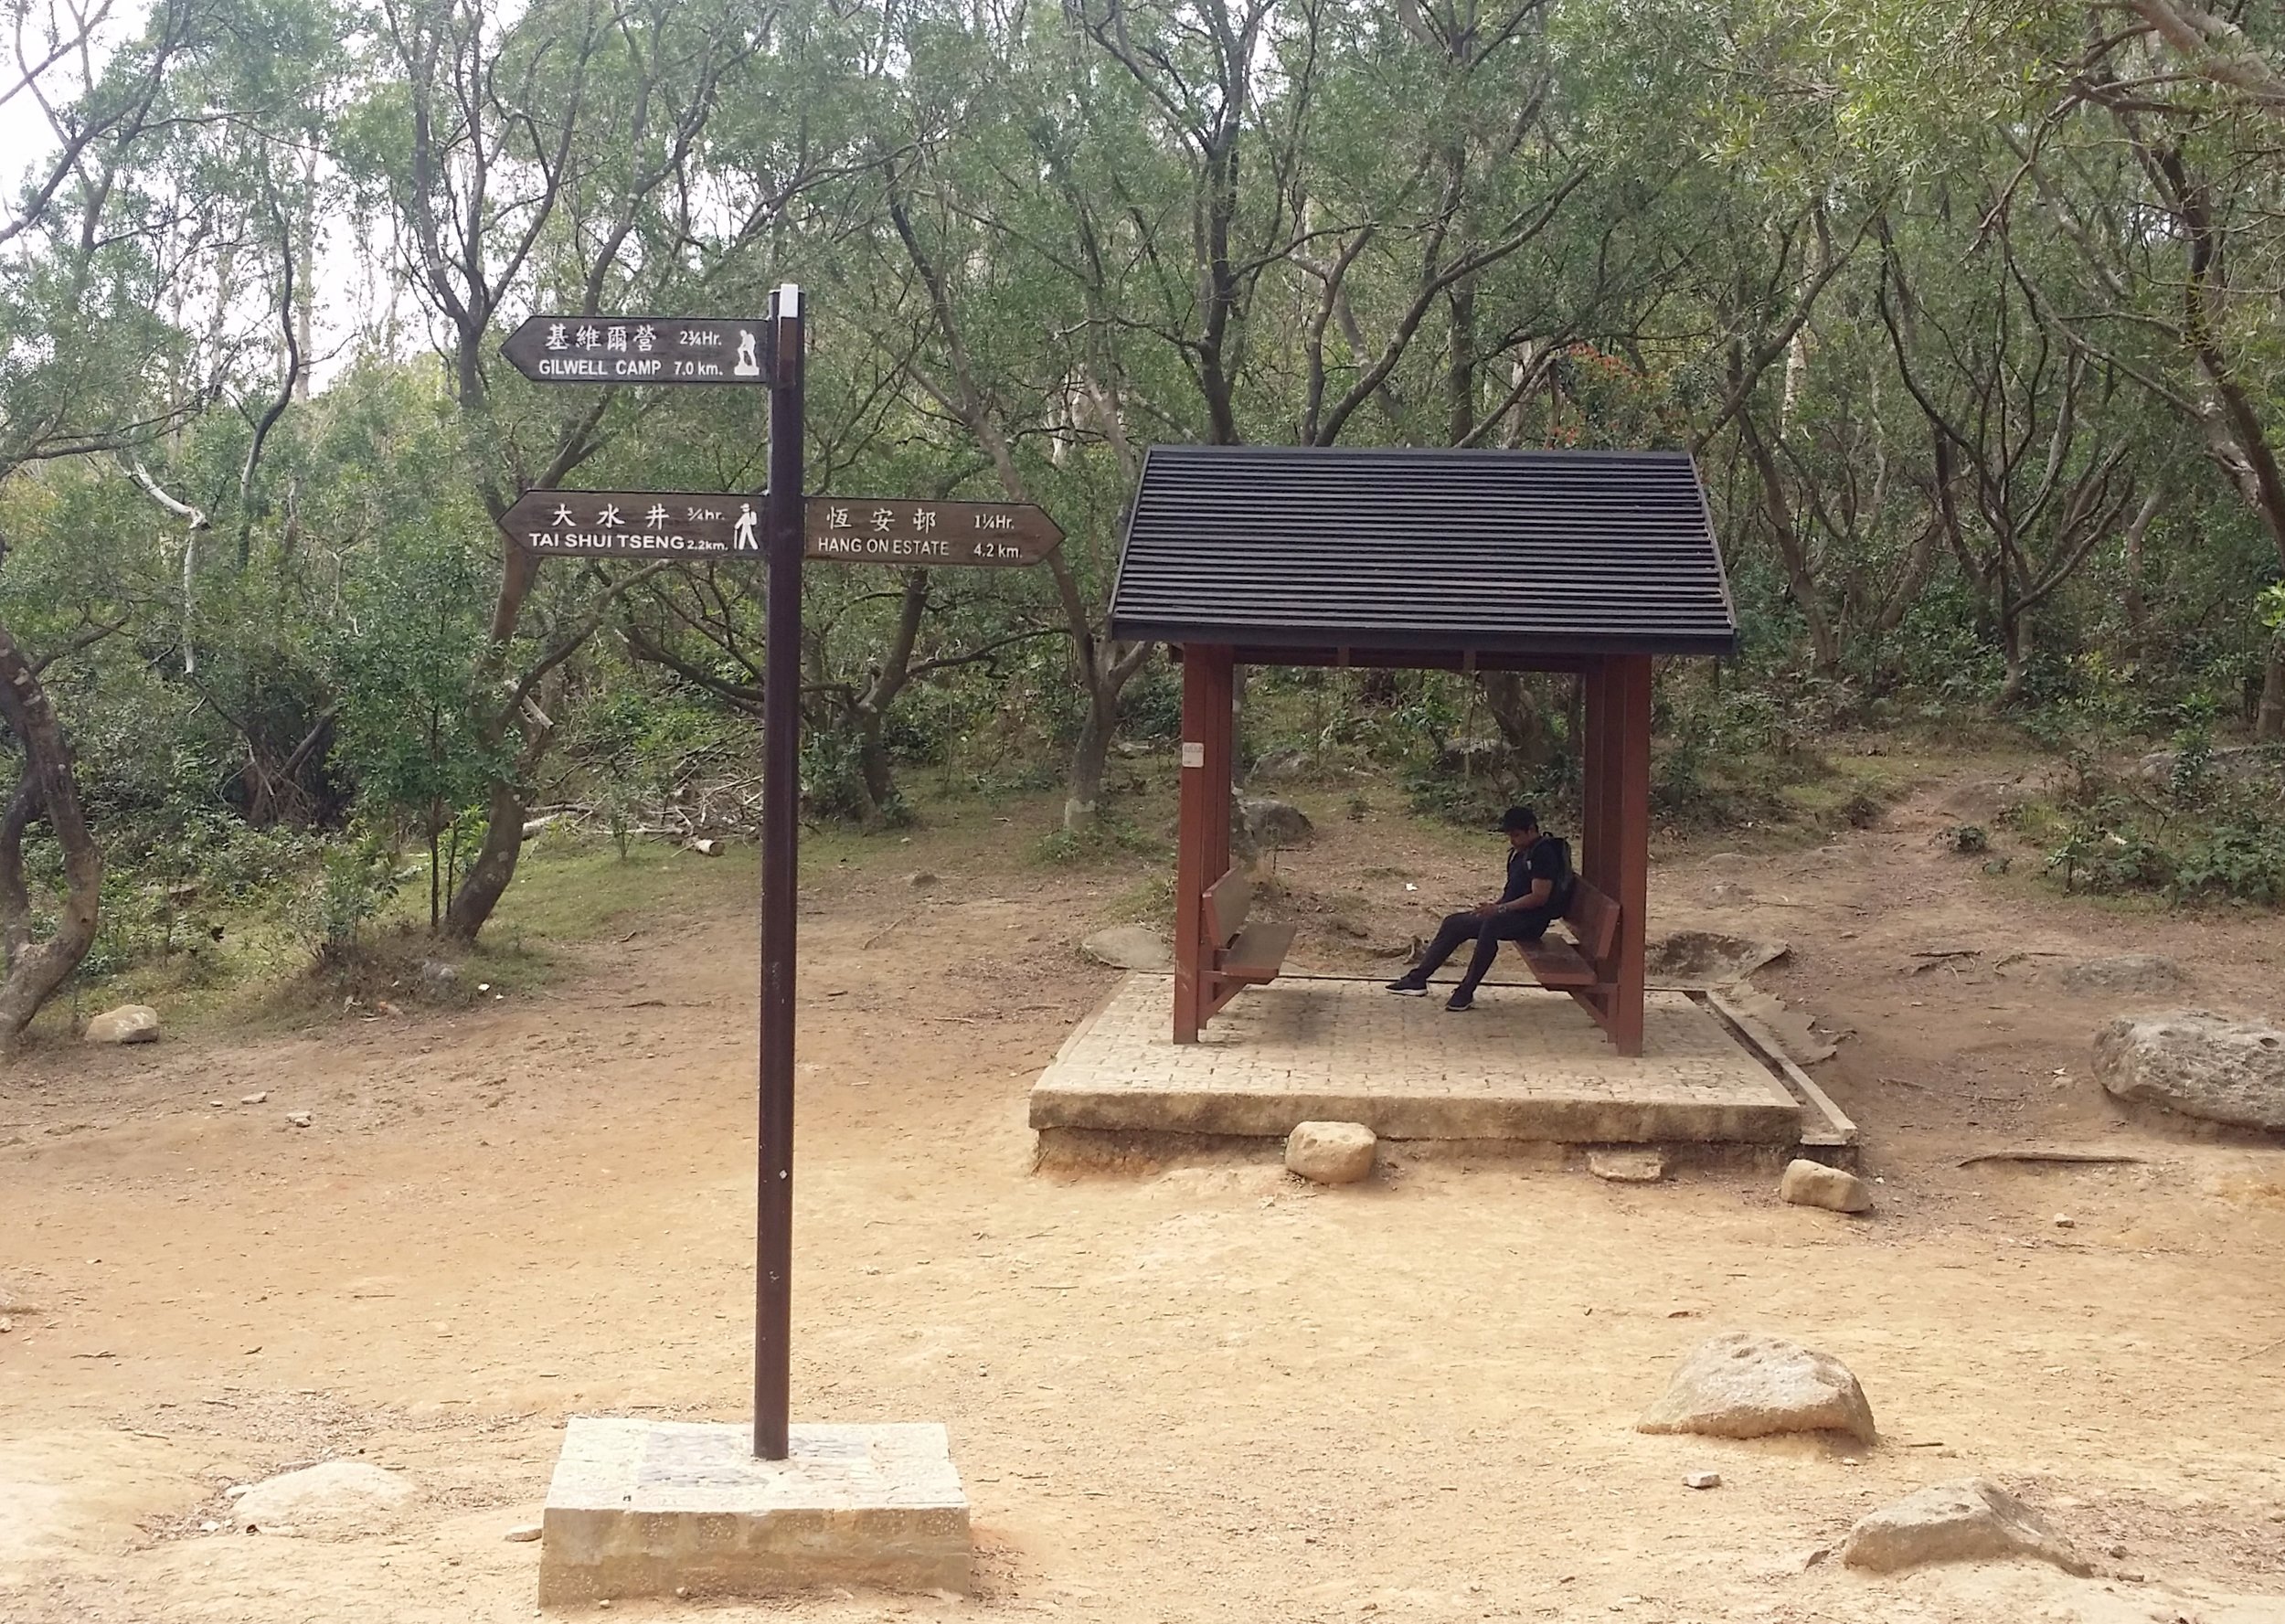
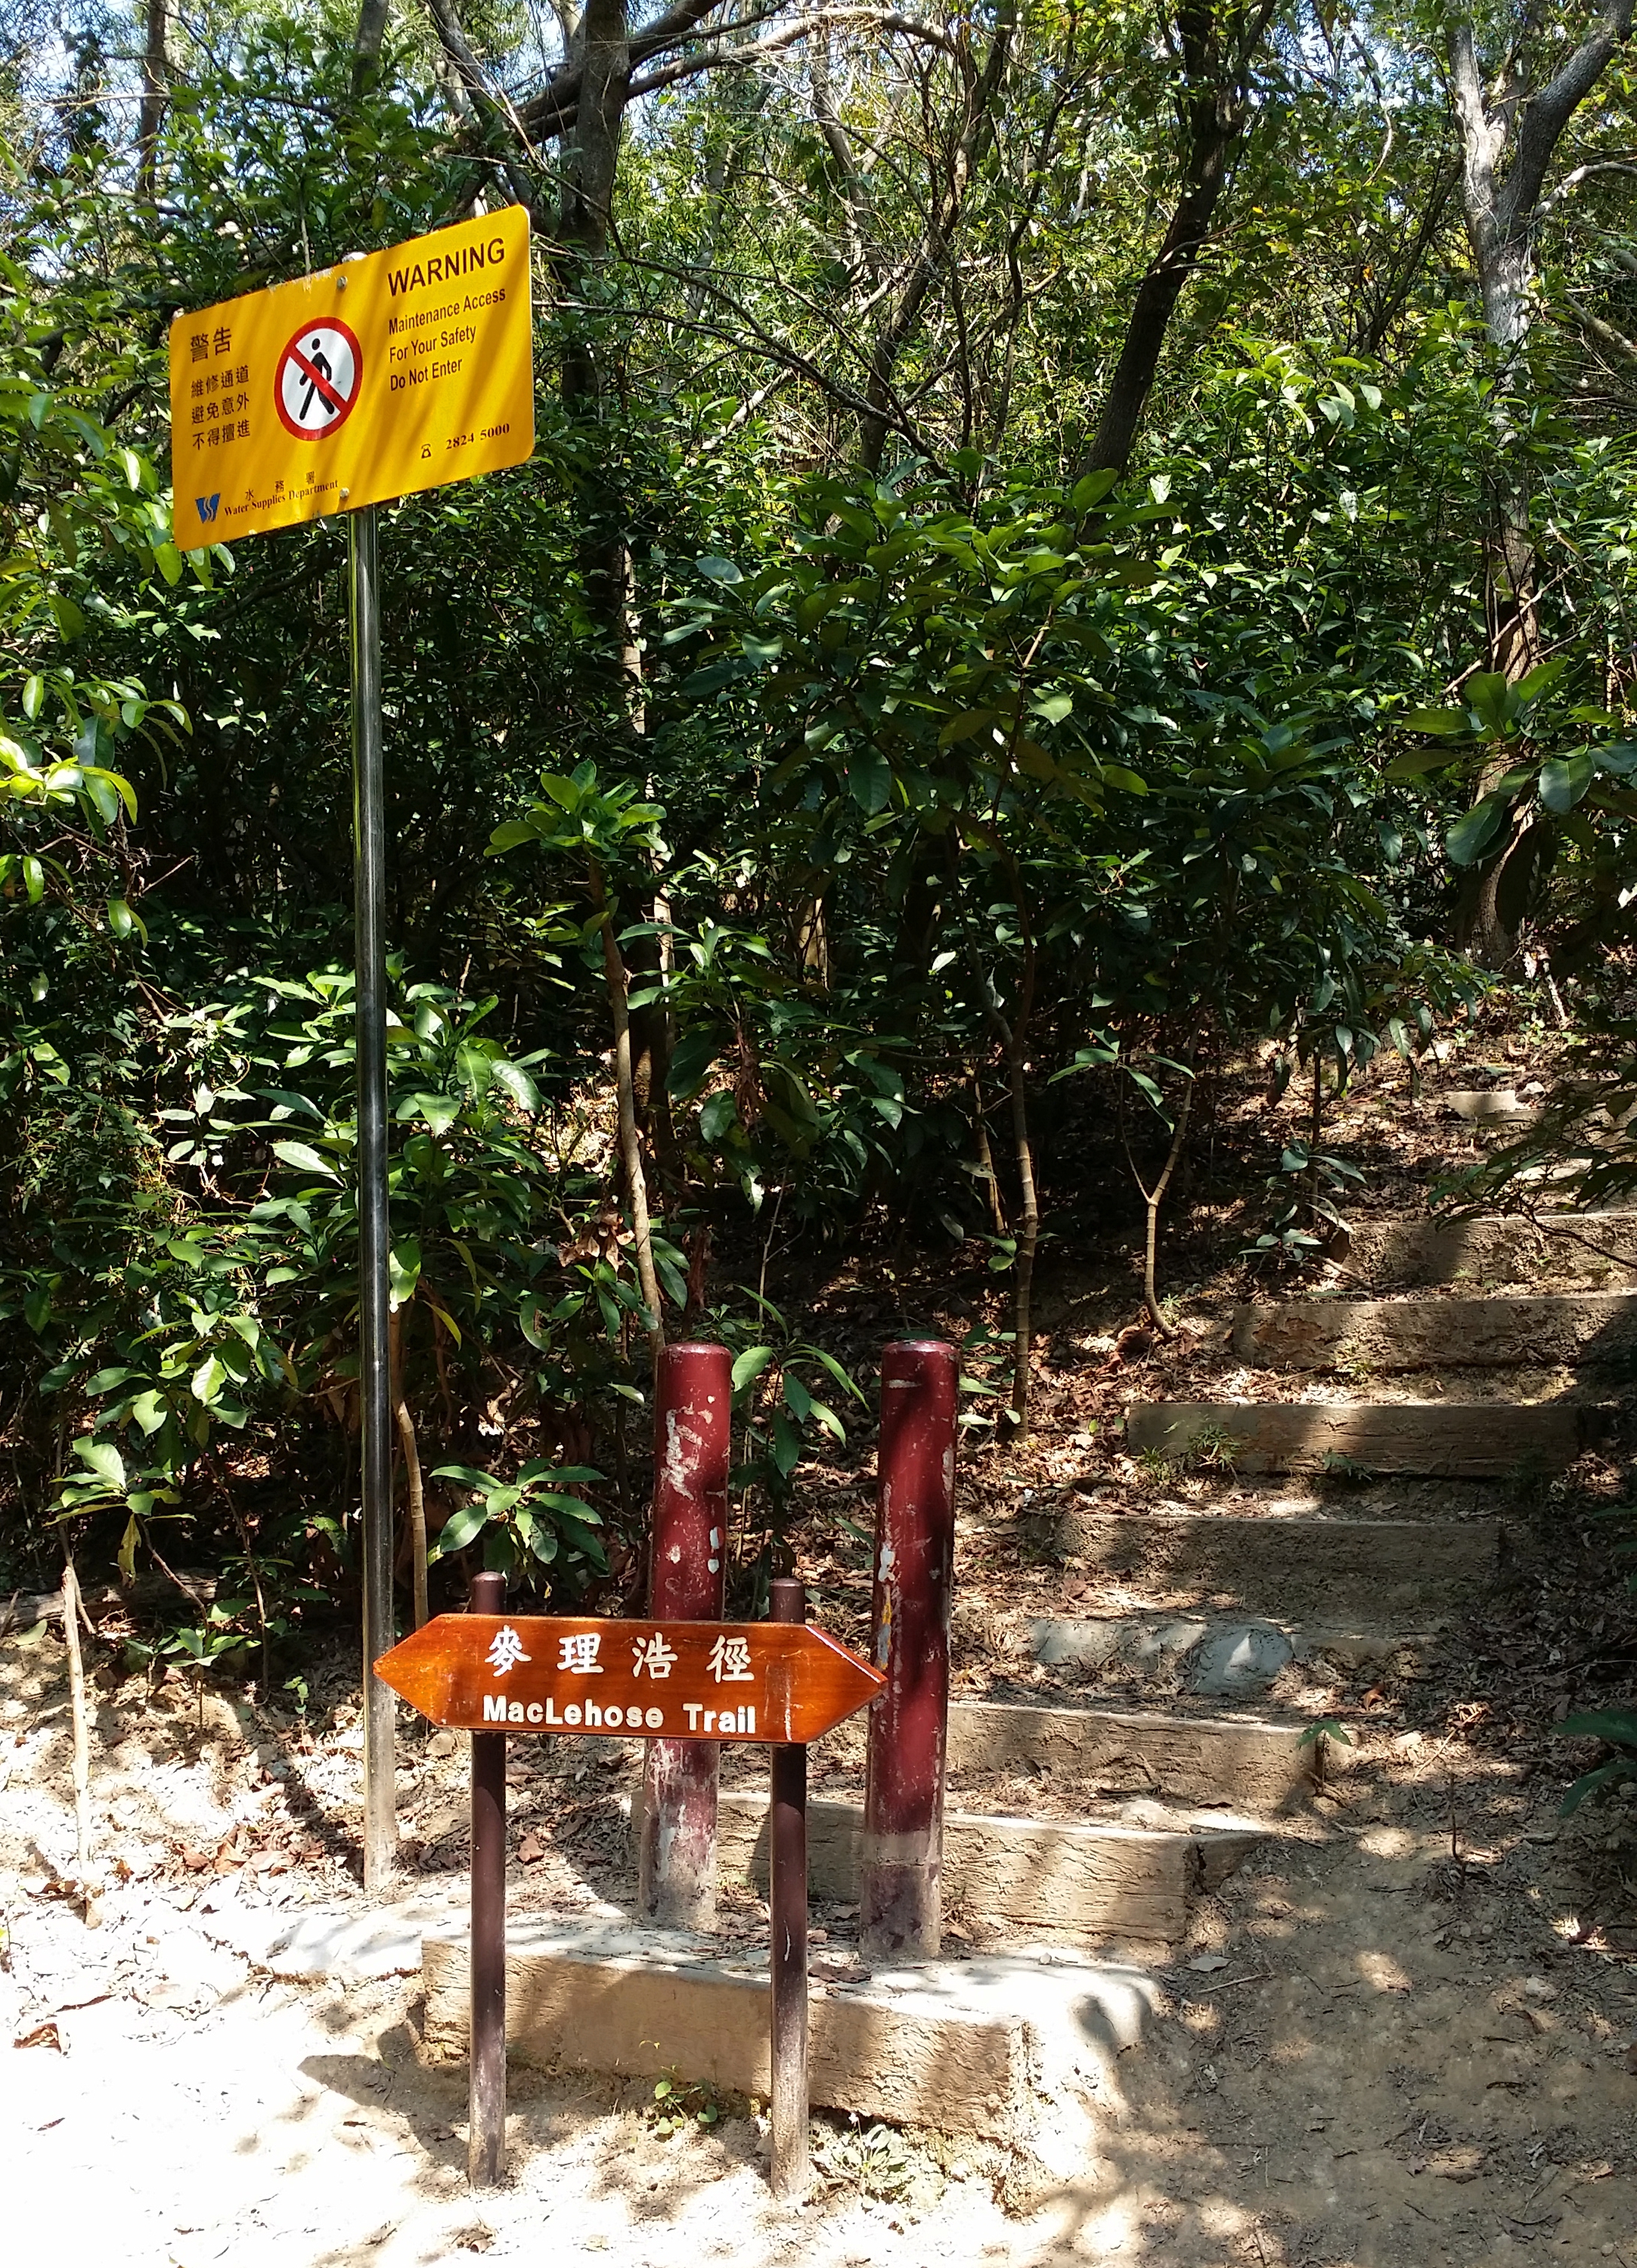
After half an hour or so, you will come across a mini pavilion at Tai Long Au. You can put down your bags and have a quick rest here. On the left side, you may see a warning sign about not proceeding the hike upstairs. In that case, you are on the right path. This is where the Sharp Peak hike begins. The reason why a sign has been put up there is that hiking Sharp Peak is not ideal for everyone. You must be prepared for this hike as it requires a very demanding one. 

WATCH OUT FOR THE WARNING SIGNS

As you walk up the unstable stairs, you will come across plenty of warning signs. Once again, you are on the right path if you see those posts. You can also follow the ribbons tied up in the stems. Once you've reached a ridge-like path, you will see a warning signpost again and you must continue hiking on the right side as that this the way to Sharp Peak. 
CLAMBERING UP AND DOWN TO SHARP PEAK

The tricky and hard part begins when you have to start clambering up the hill. It is required to maintain your balance while clambering up. The whole process took me about 1 and a half hour to finish climbing up to the top. The hardest part for me is figuring out which way is the best way to climb. Make sure not to speed up while hiking up, hike at your own pace. 

PS: Wear a pair of gloves to protect yourself while clambering up.
A LONG WAY AT MEI FAN TEN

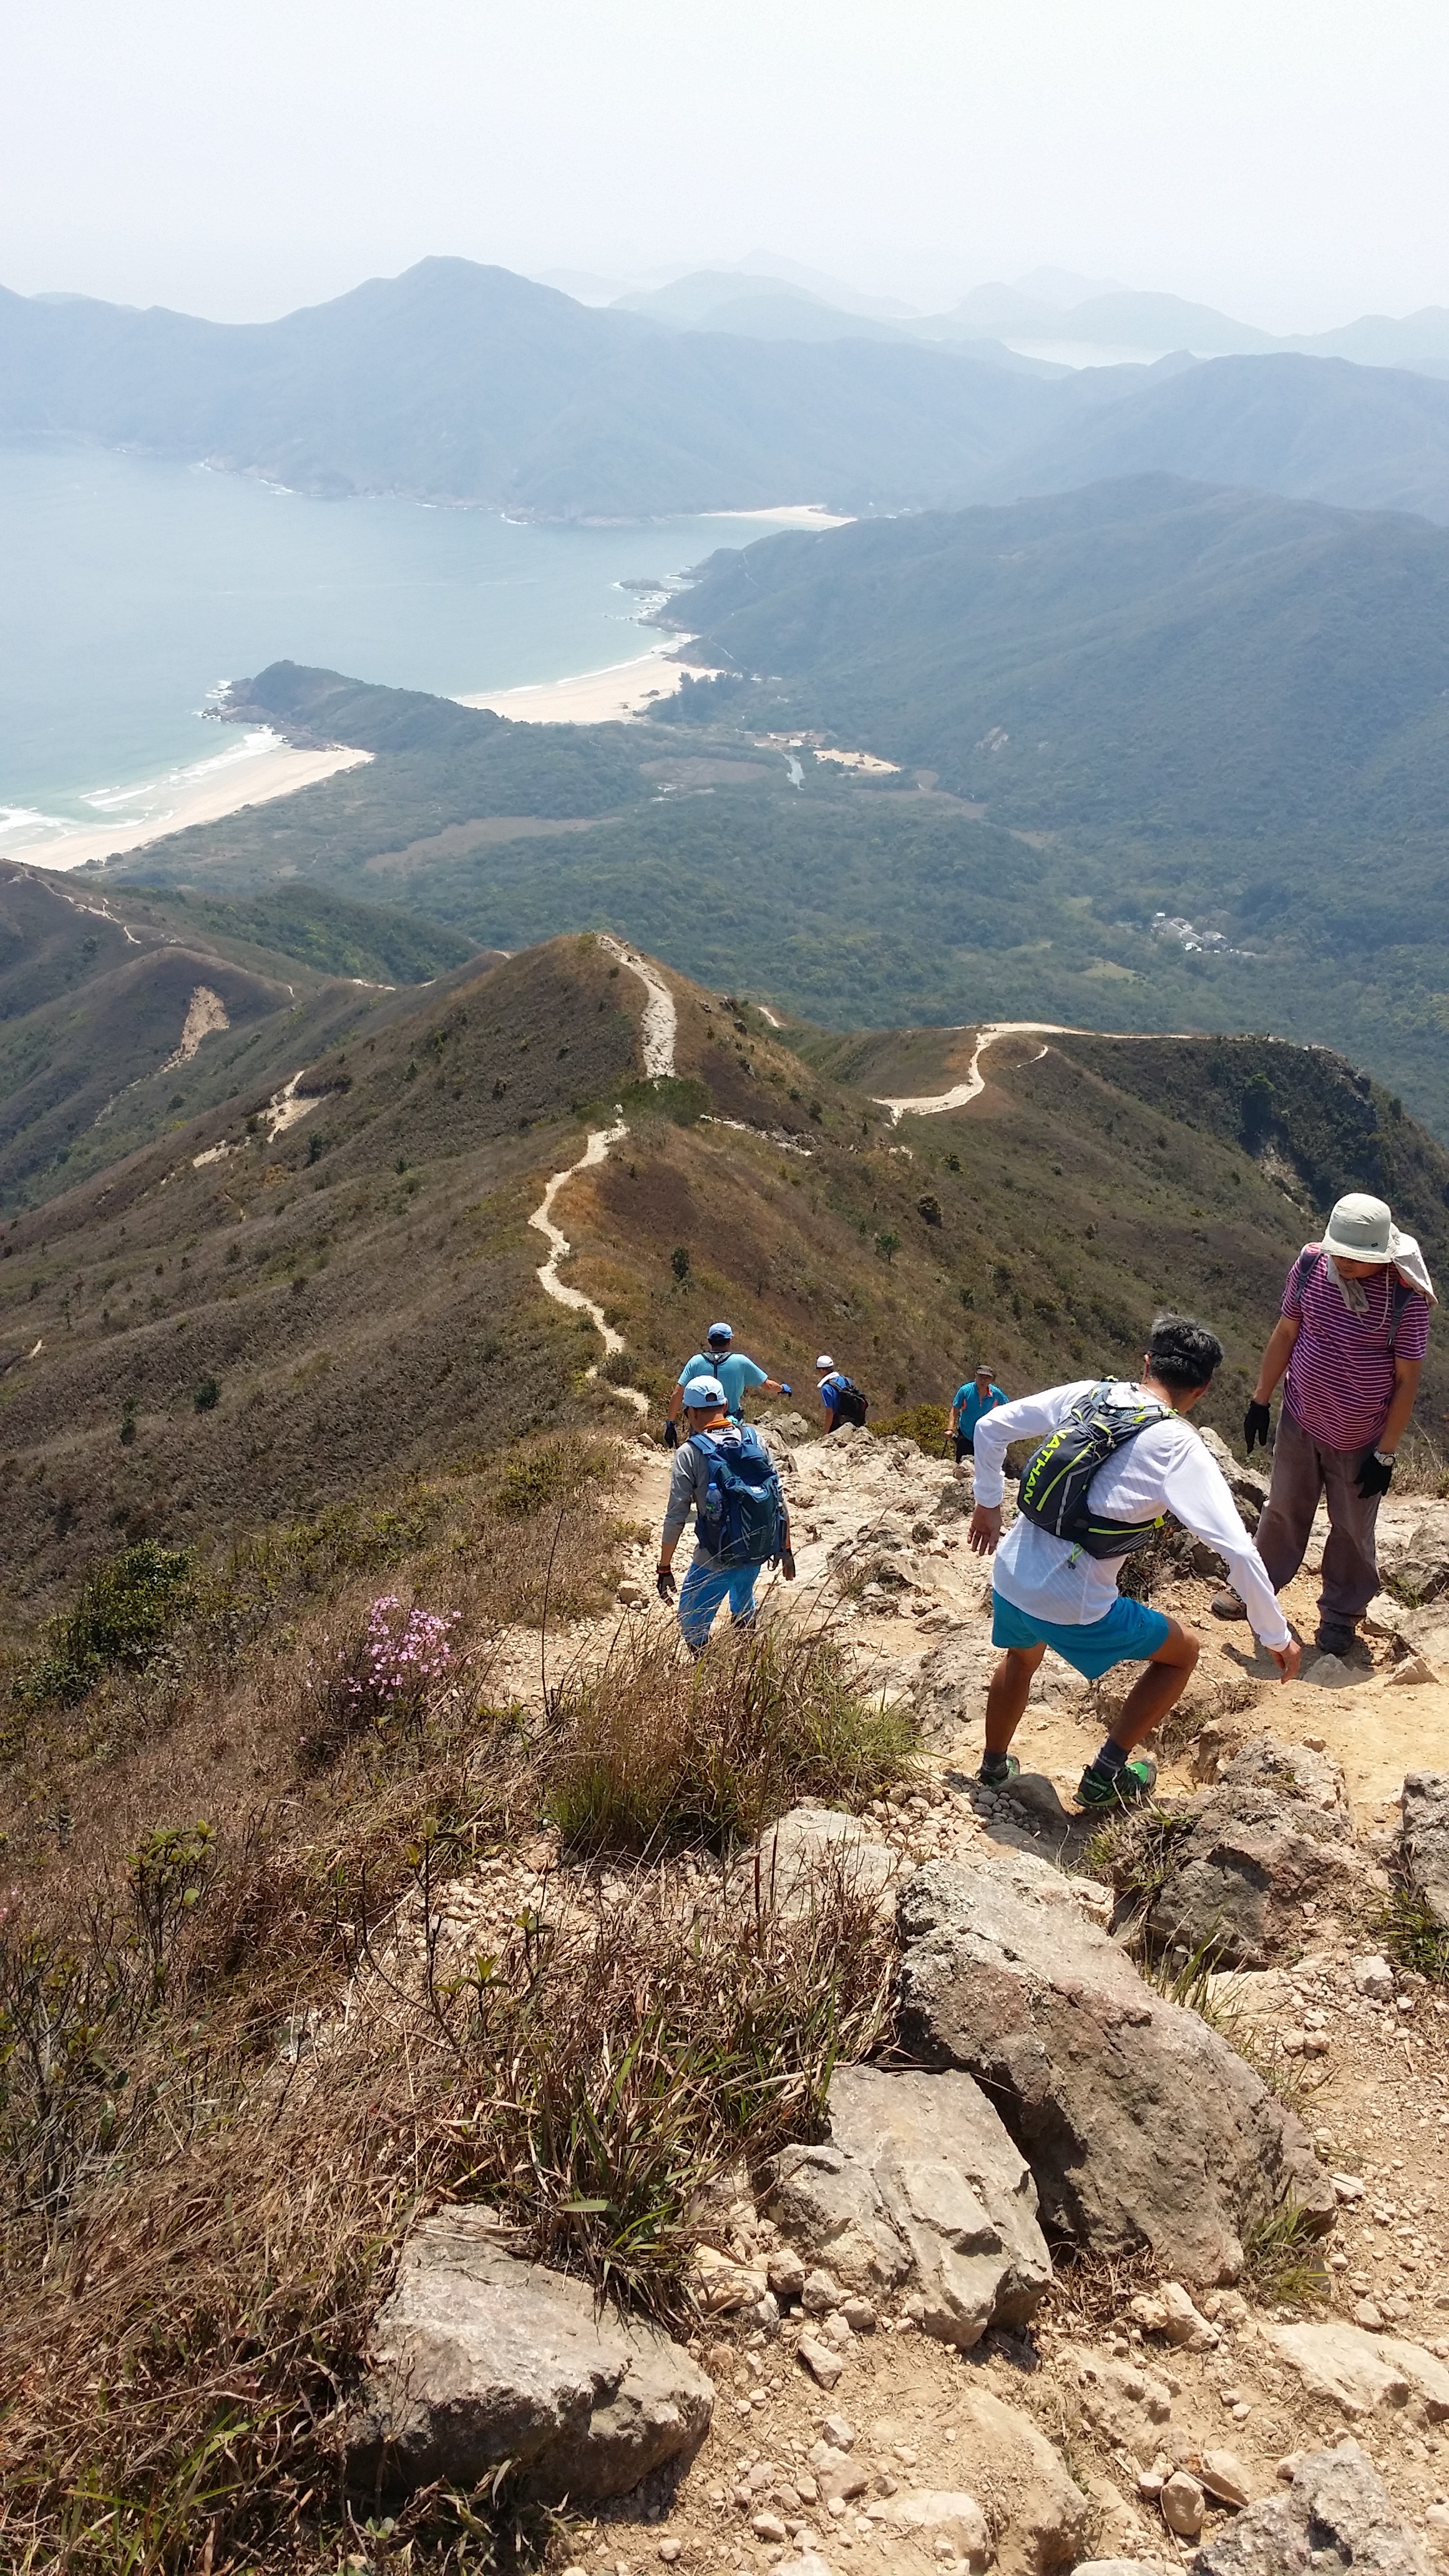
Once you are done admiring the views from the top. You will come across Mei Fan Ten when you descend down. It is a long way down and it is very steep too. Honestly, there were many moments where I was completely sick of how this path took ages to finish. Just when you think that the hill that you are looking at is the last one, then there goes another one at back. 

You must be very patient and you must watch out where you step as there are countless of small stones and rocks in the way. Stepping on them would probably be a bad idea and would end up making you slip down. 
VIEWS OF TAI WAN BEACH AND HAM TIN BEACH

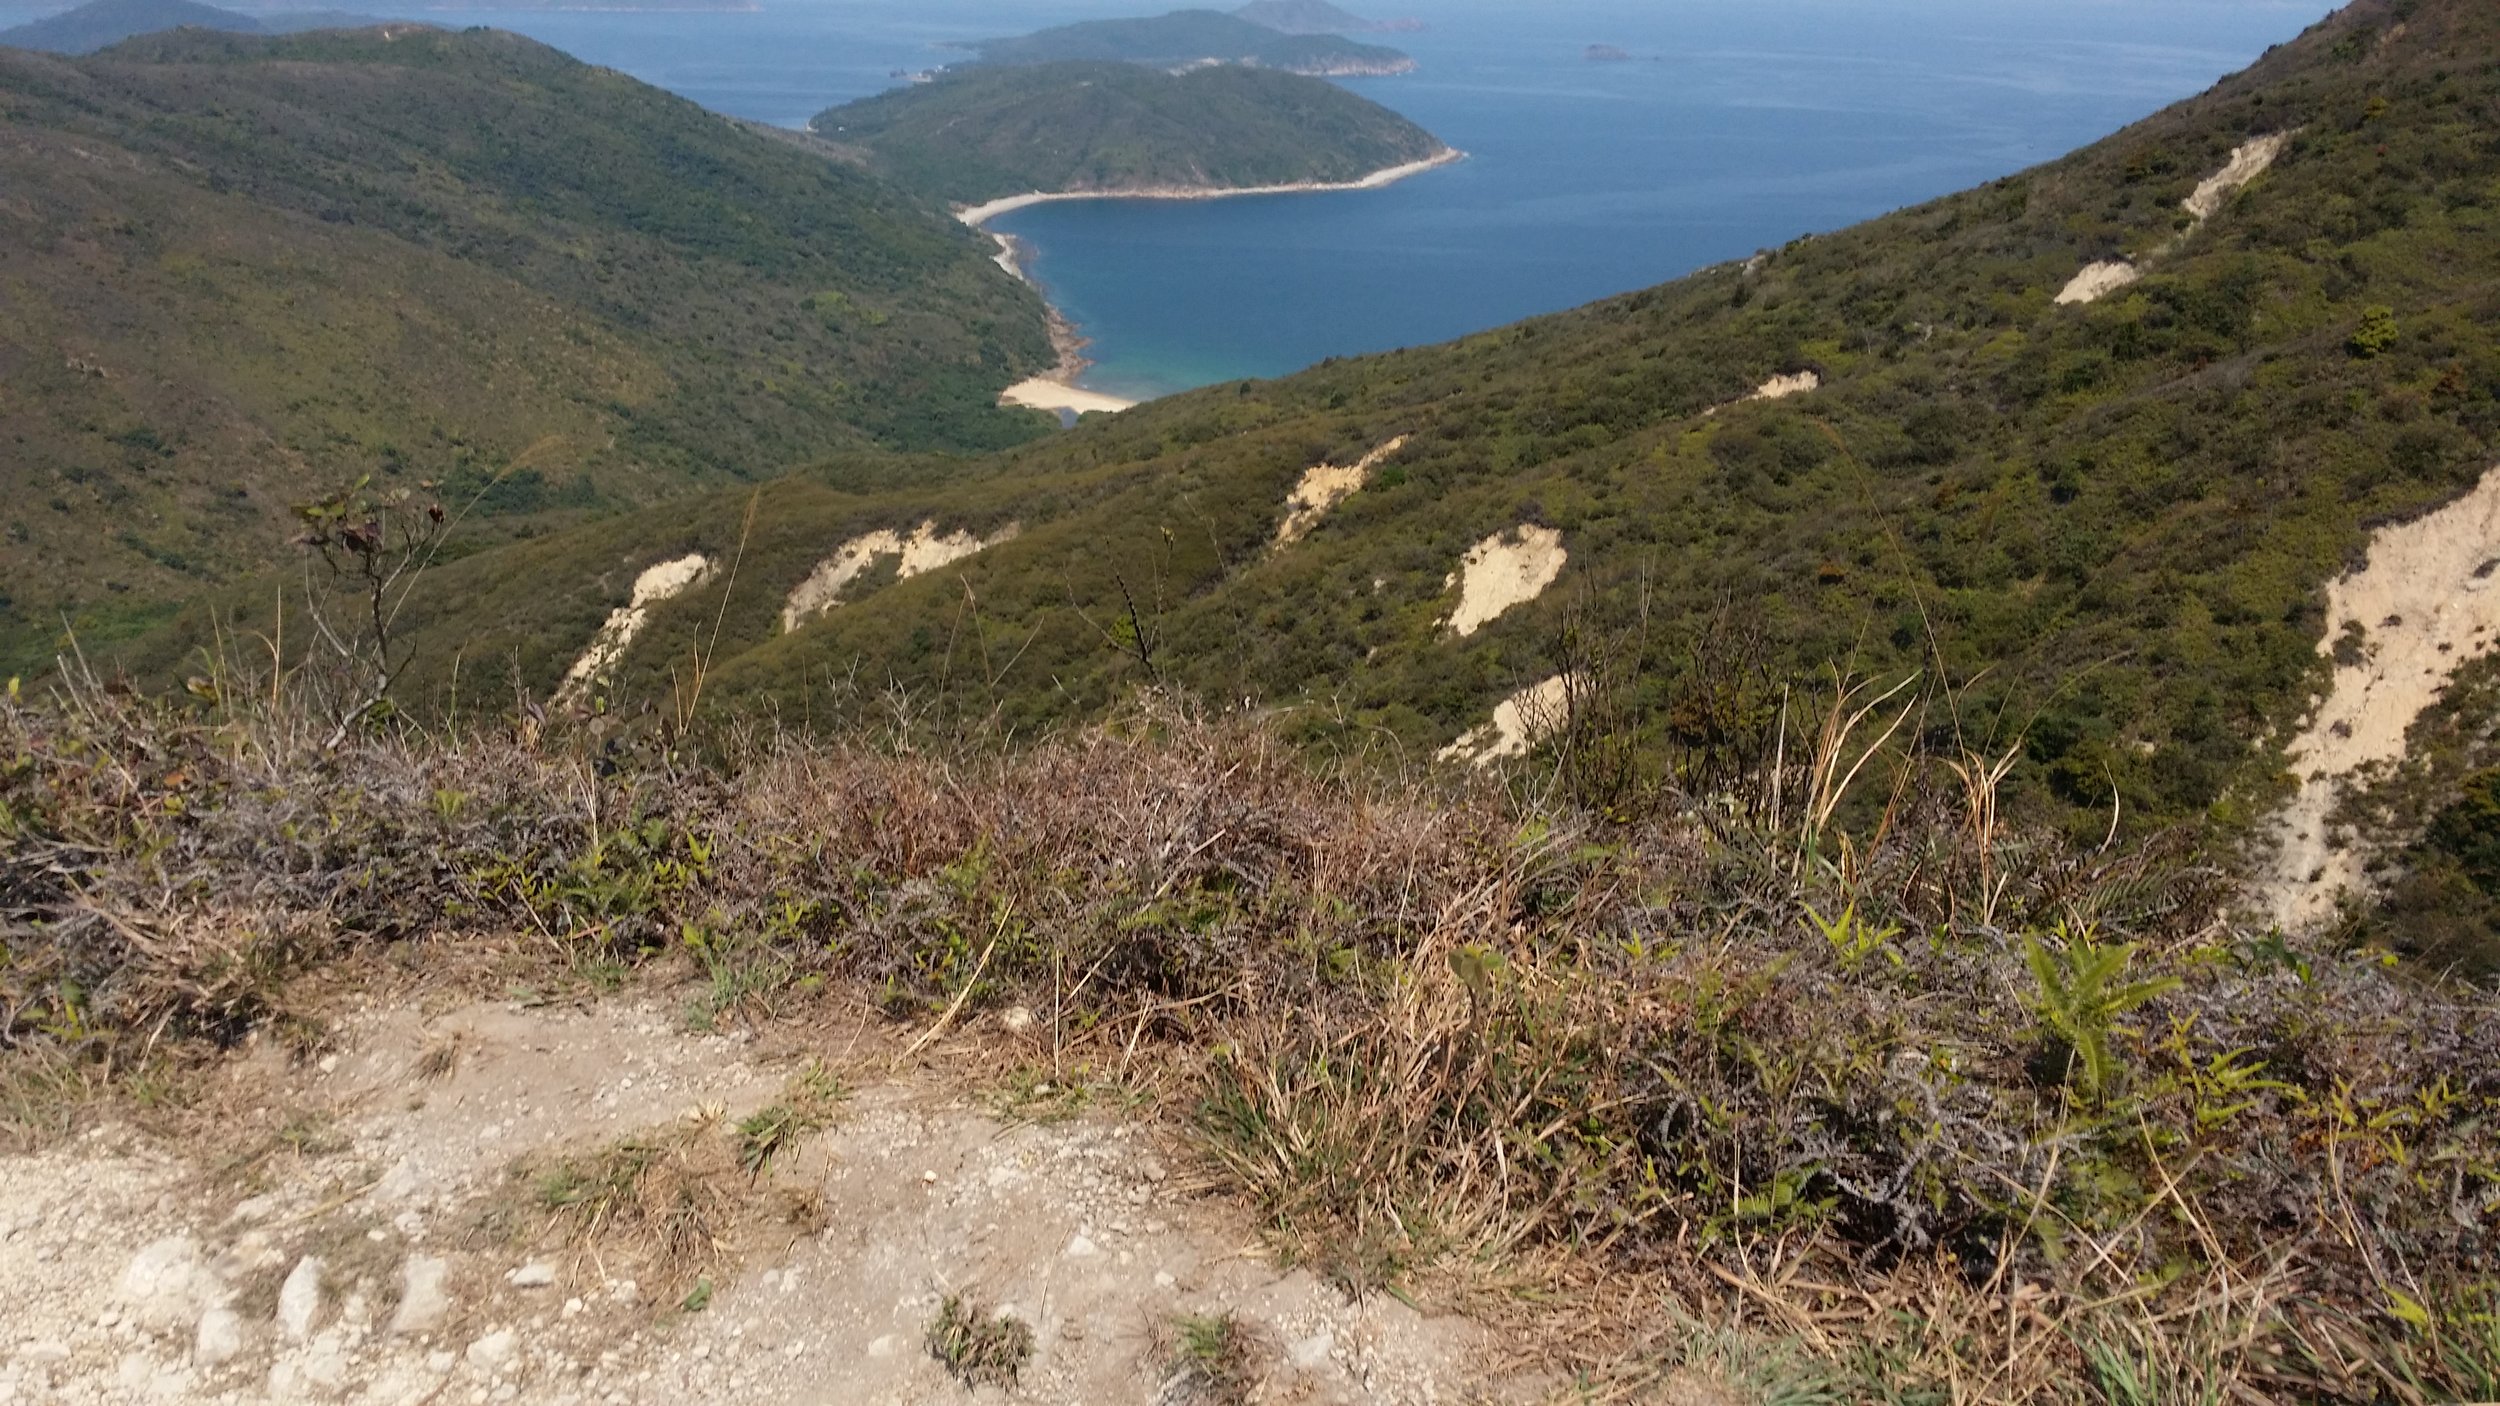
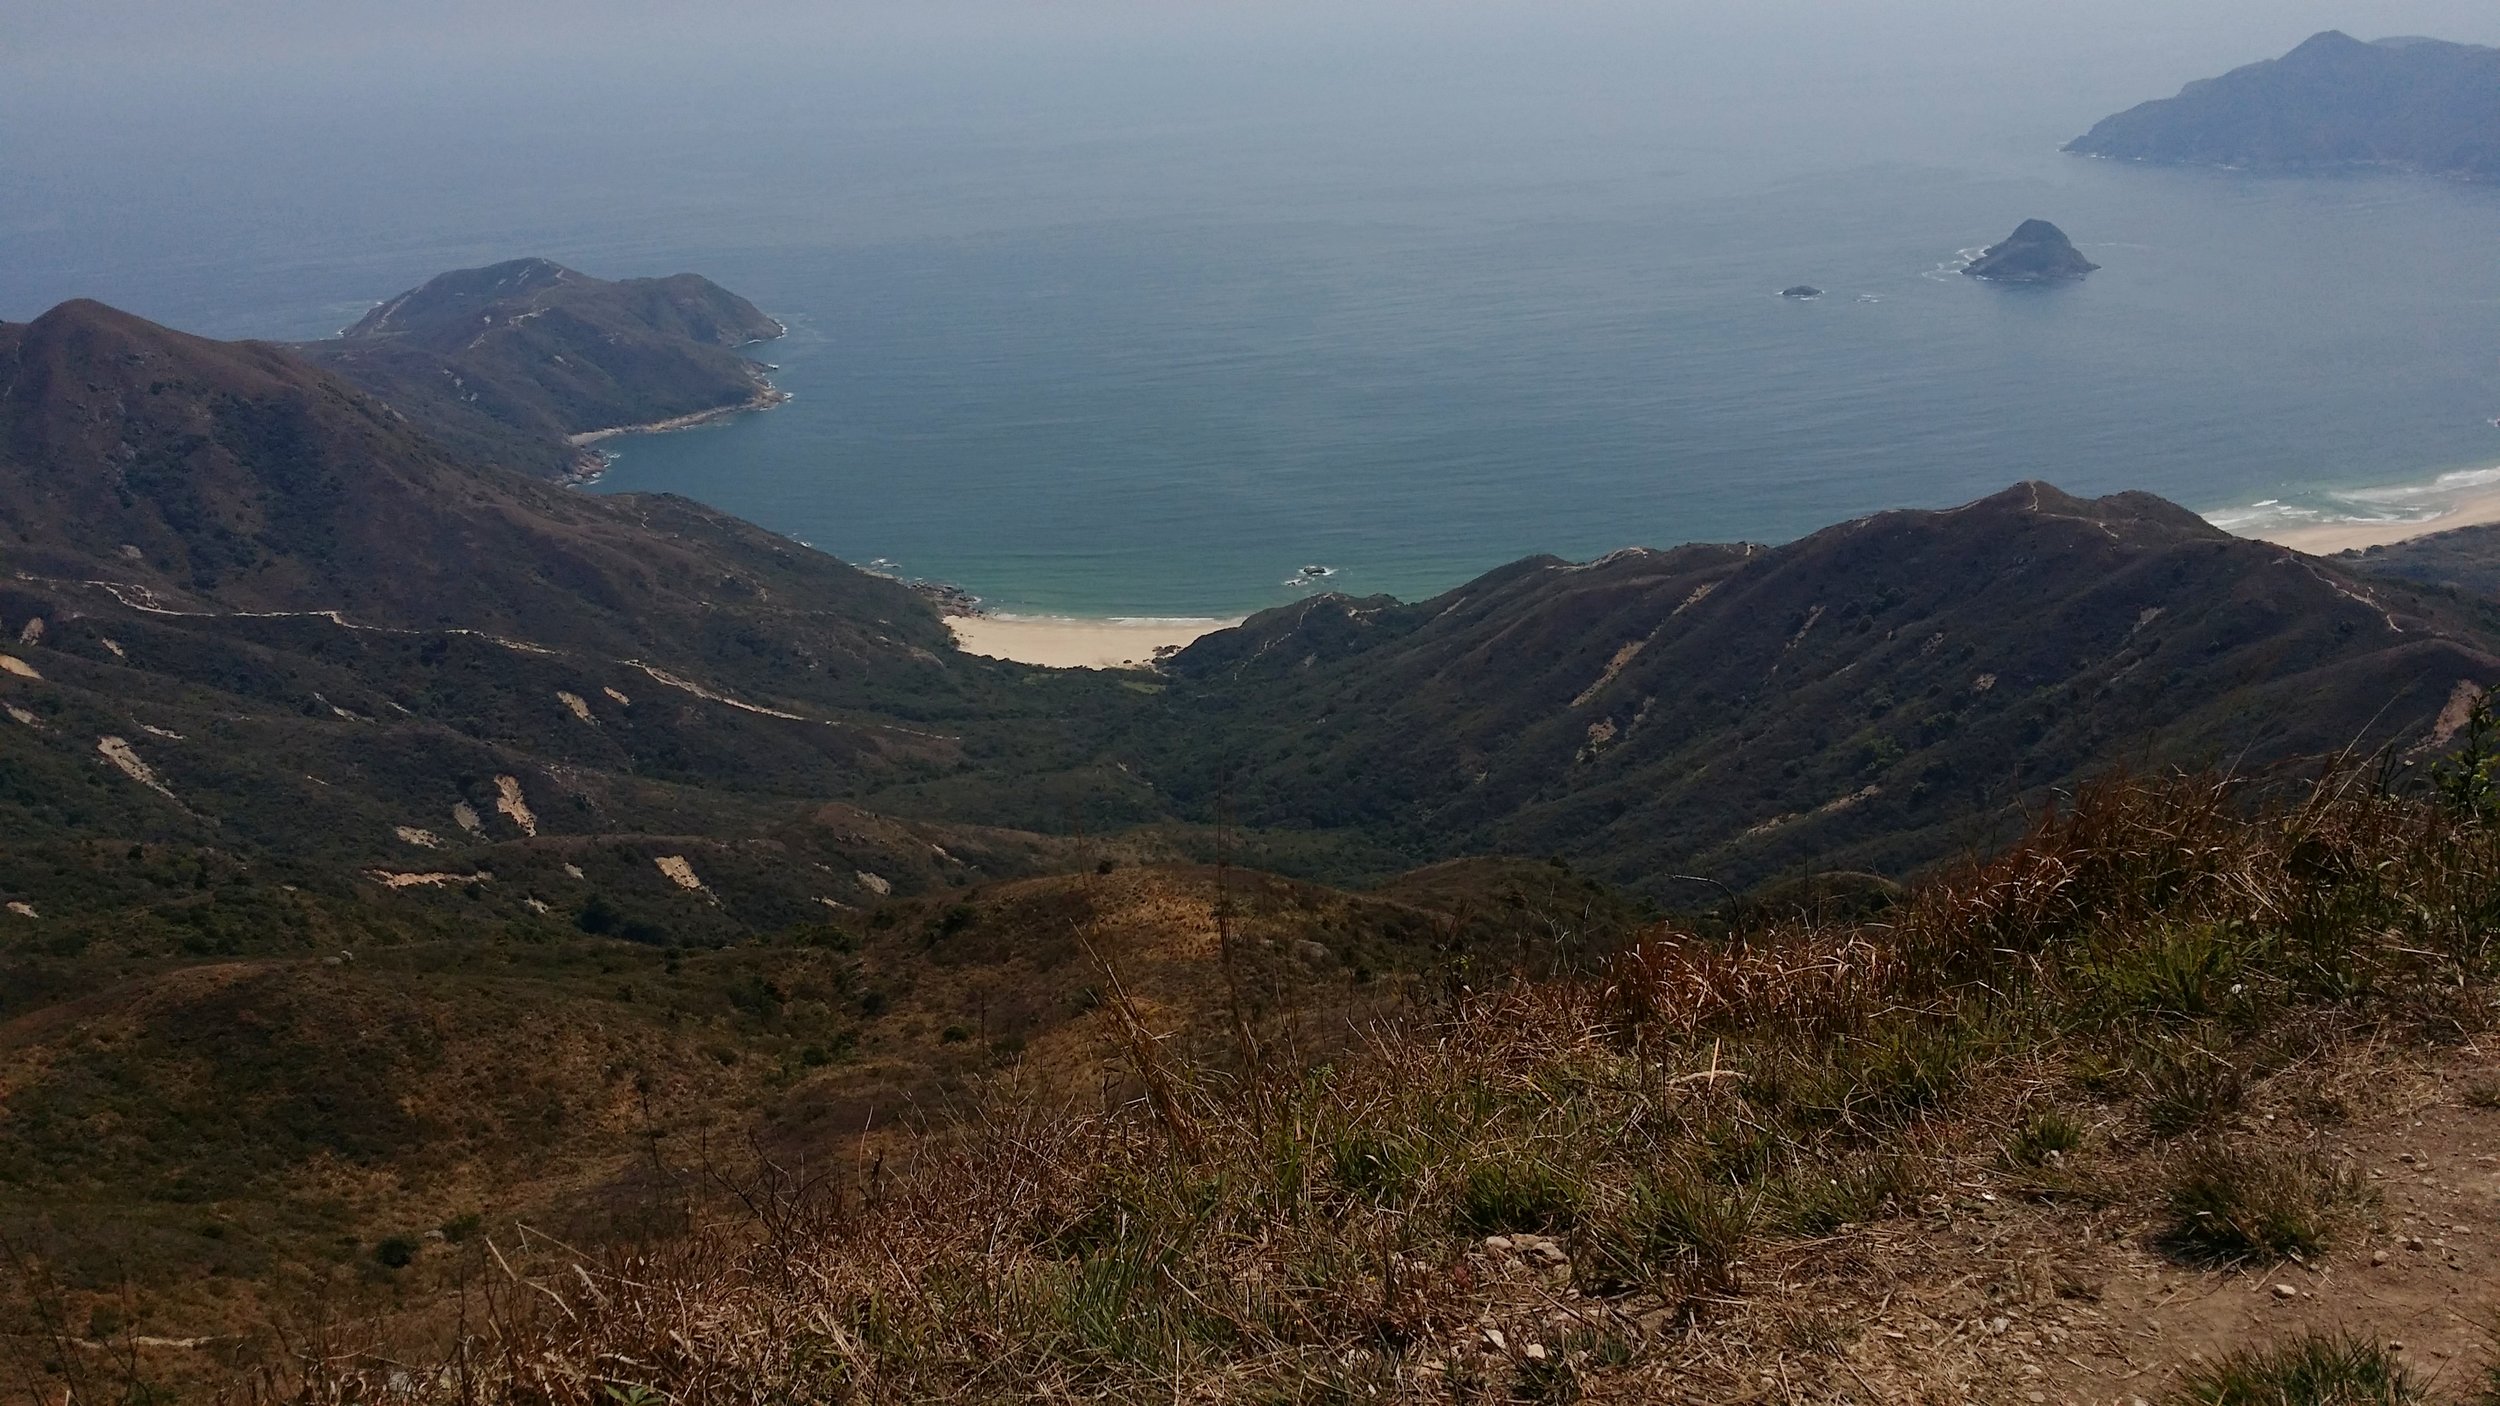
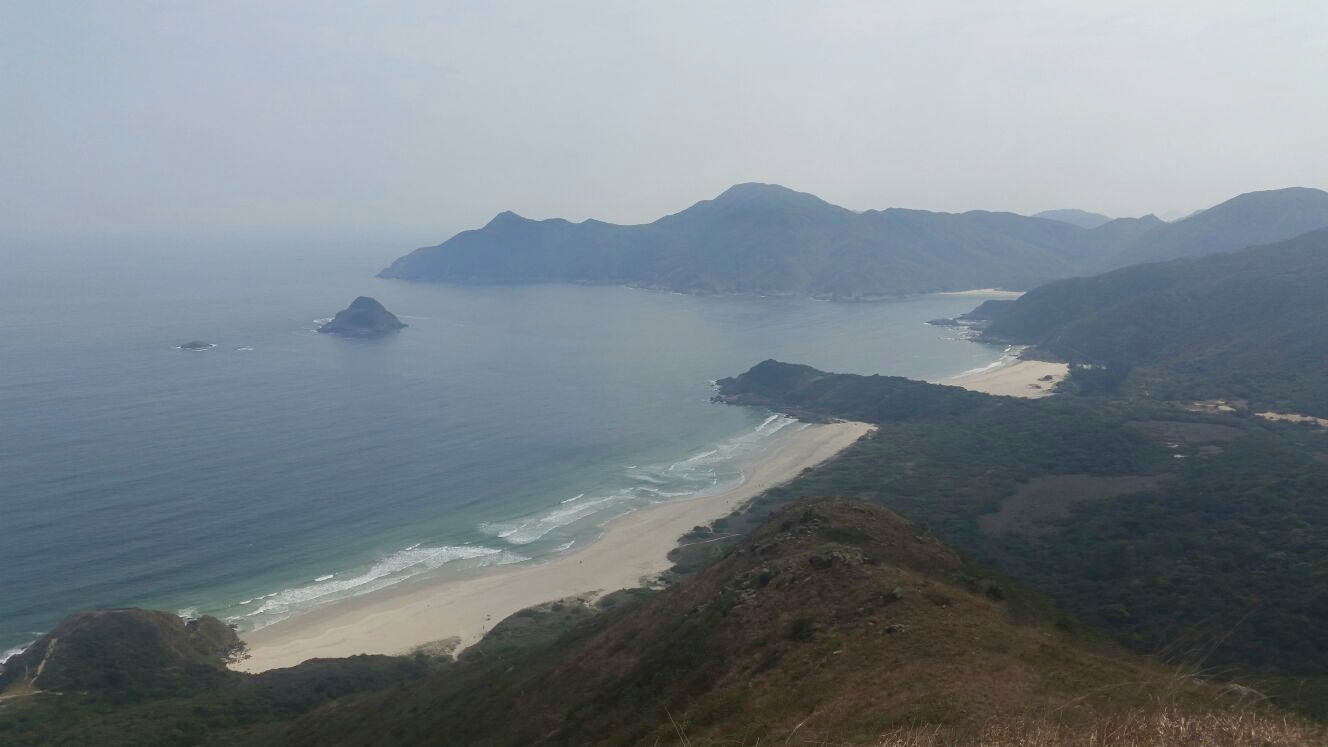
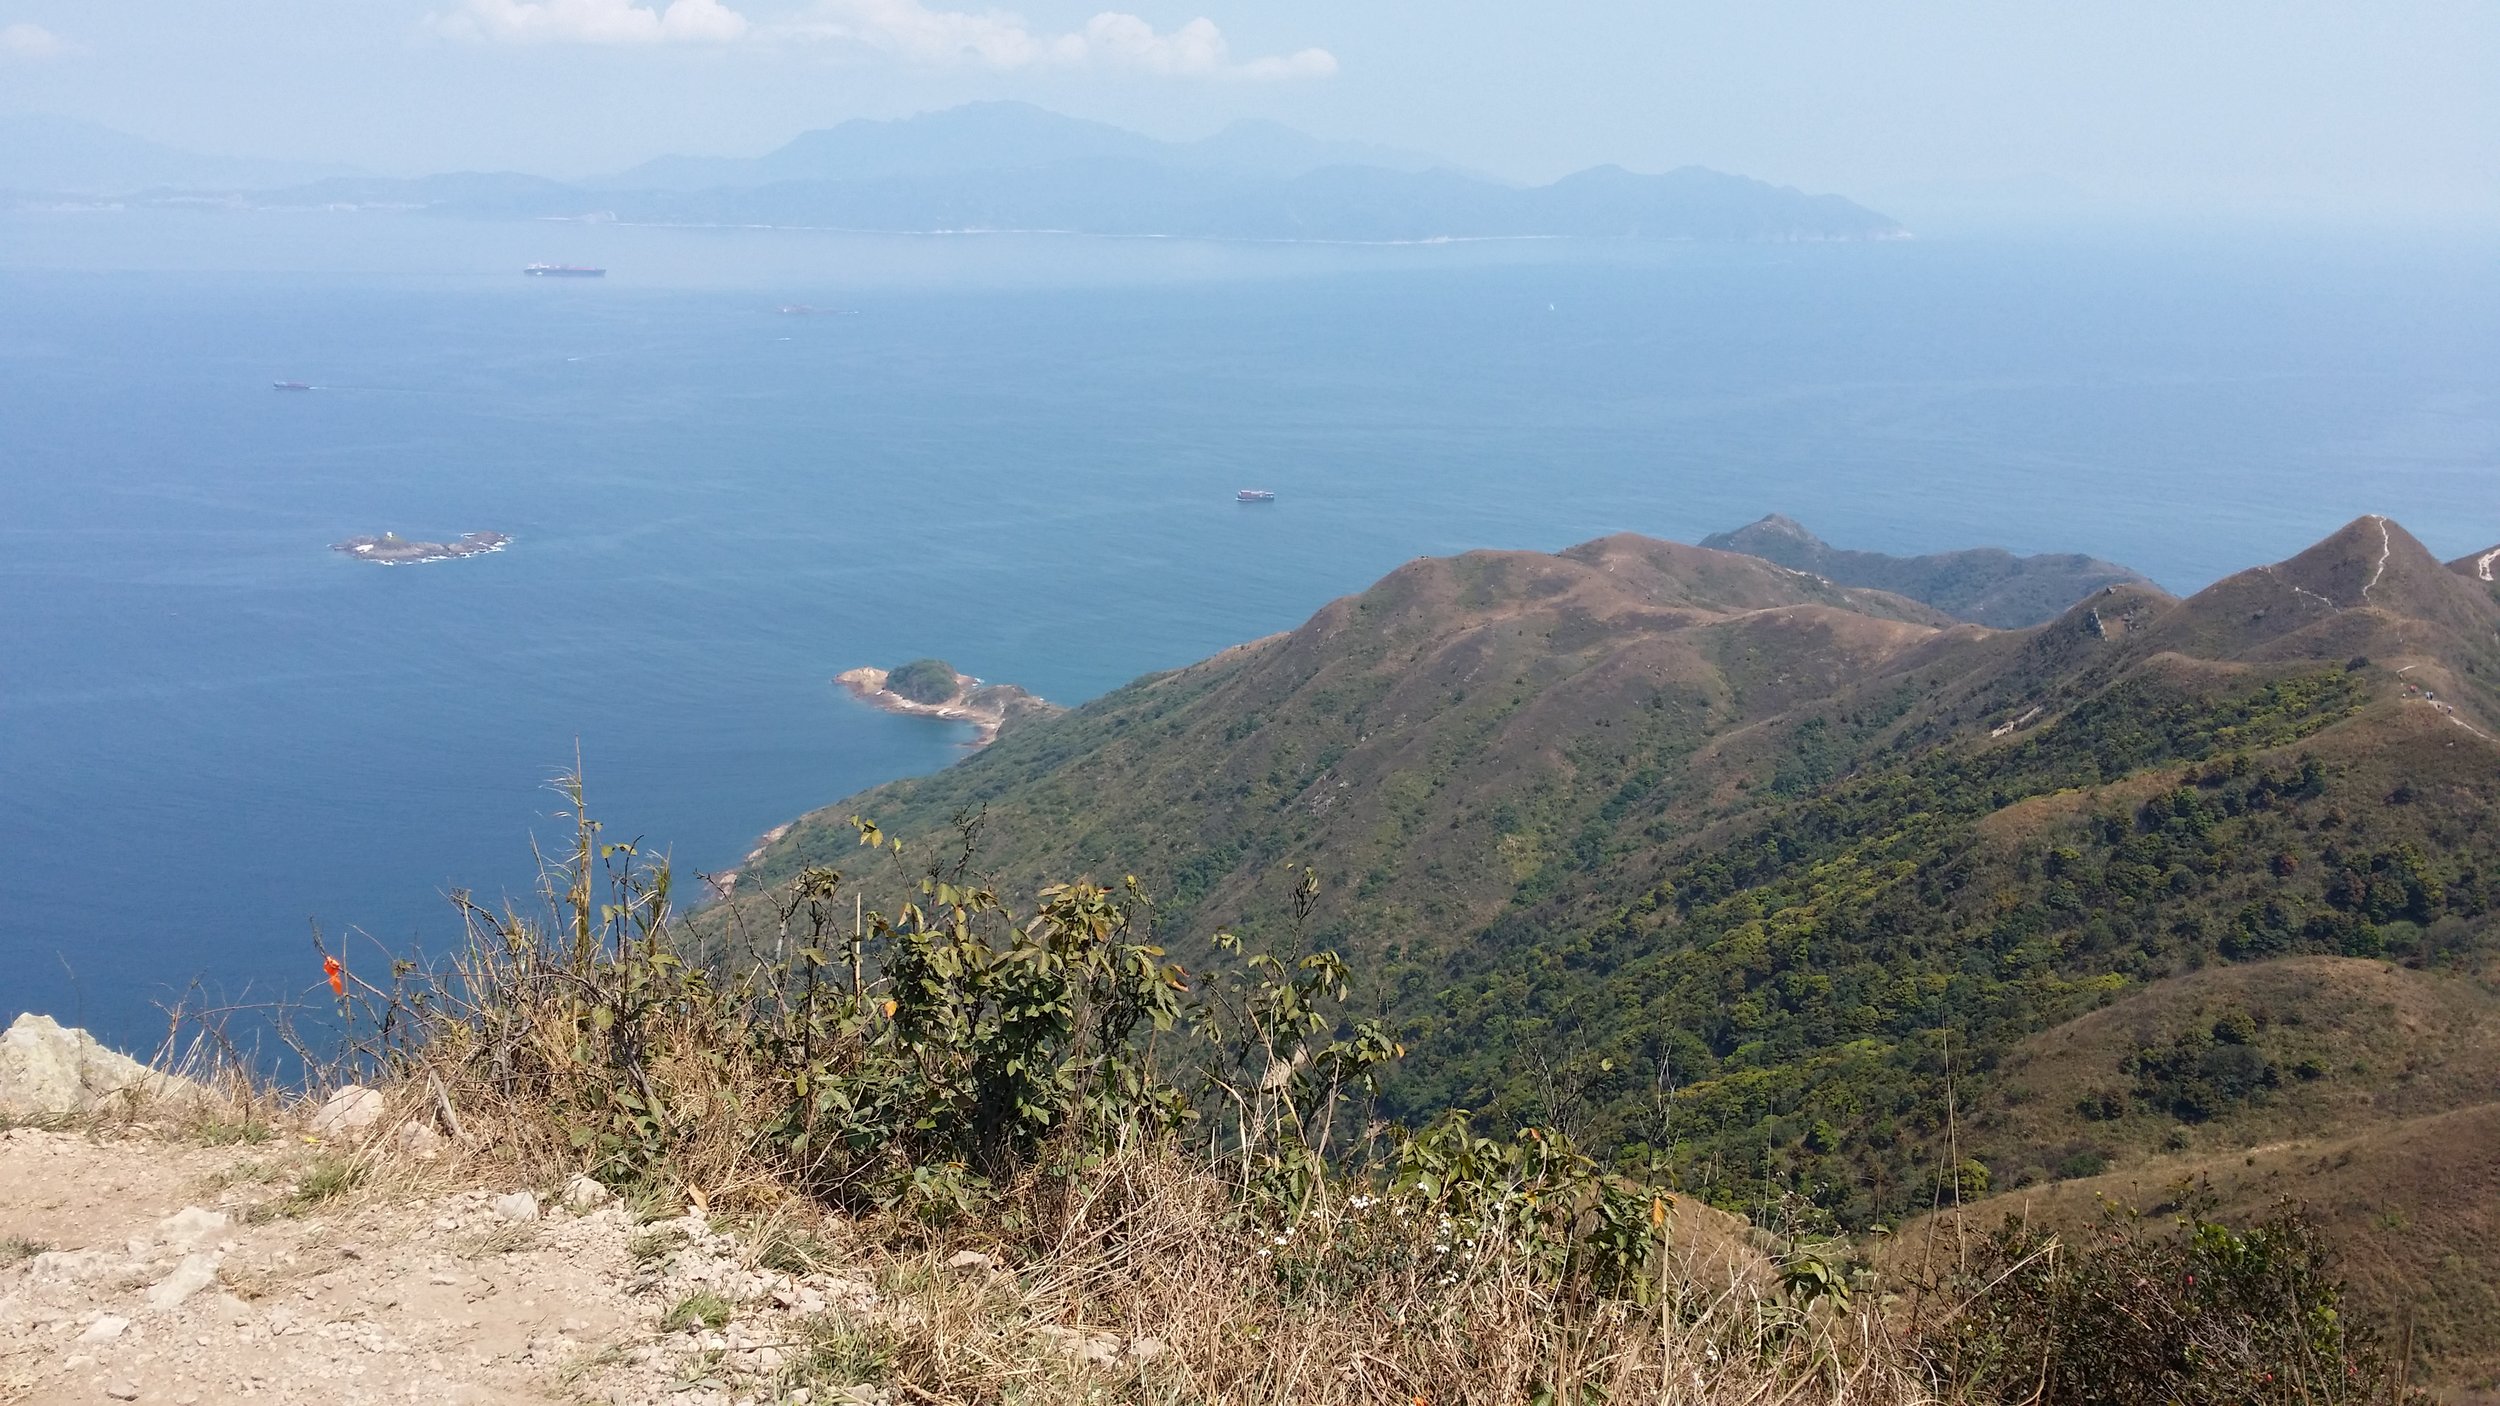
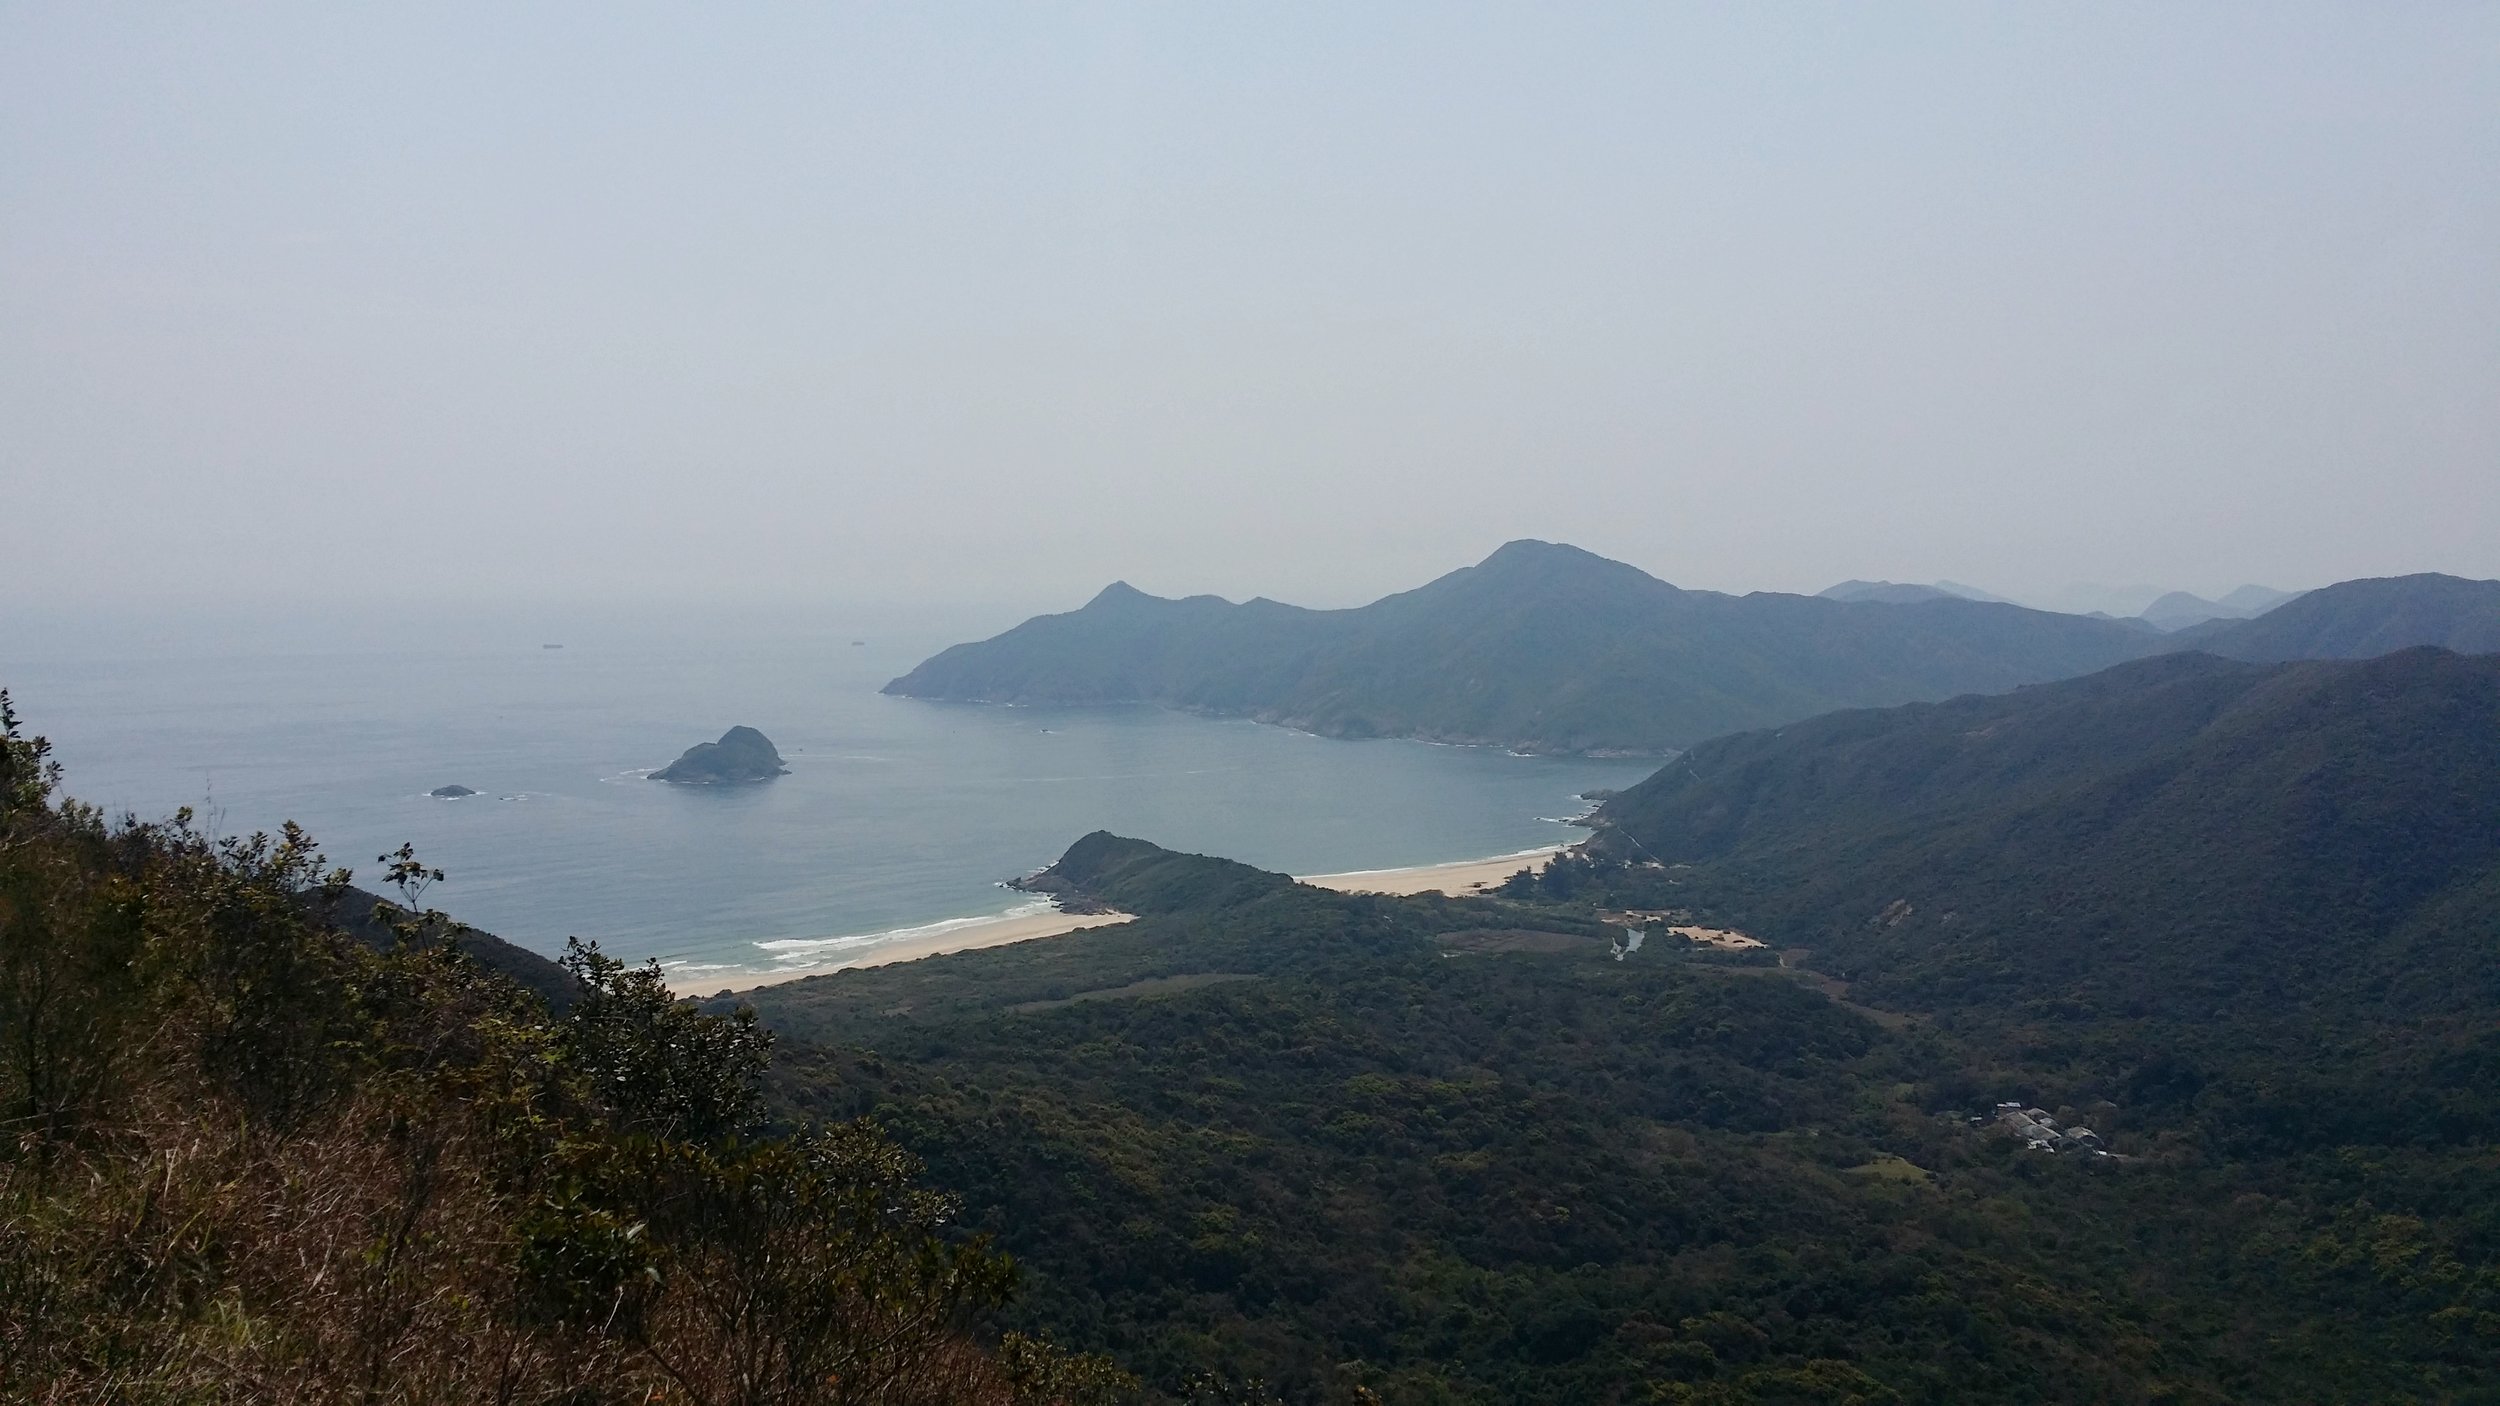
You may enjoy the views of Tai Wan Beach and Ham Tin Beach while you are on your way to Sai Wan. The beaches are very clear and not very crowded. The beaches remind of an island in the Philippines called Malaspacua Island. It is as calm and beautiful as this 2 beaches. 
ENDING THE HIKE VIA SAI WAN VILLAGE

You will know that you've reach Sai Wan when you start stepping on sands instead of small stones and rocks. Walking on the sand may tire you up a little bit more. There are 2 campsites that you must pass before reaching the village area. 

Once you reached Sai Wan village, you may take a quick rest and perhaps reward yourself with some nice snacks before hiking for another 45 minutes to catch the village minibus to bring you back to Sai Kung Town. Don't forget to ask the shopkeepers about the time slot of the minibus or you may also inquire about boat service if you do not wish to catch the minibus. 

When you are back in Sai Kung Town, do not forget to reward yourself with a nice and satisfying meal. You've just conquered one of the toughest hikes in Hong Kong. Hiking Sharp Peak is not a joke and by finishing this hike only makes you stronger. 


WHAT TO BRING AND WEAR

  • Small towel
  • Hiking pants/ jogging pants (no jeans/denim!)
  • Short/ Long-Sleeve Shirt
  • Hiking shoes
  • Trekking pole - can be useful when descending 
  • Extra shirt - for changing
  • Cap - to protect your face from sun exposure
  • Umbrella/ waterproof jacket with hoodie - in case of rain 
  • Windbreaker jacket (optional) - It will be very windy in the middle of the hike from Violet Hill path to Tse Long Bridge
  • Toiletries - tissue/ wet tissue, sunscreen, OFF spray (to avoid insects)
  • Portable charger
  • Water - 2.5L
  • Snacks - fruits (apples or bananas), boiled eggs, protein/ energy bars, digestives biscuits or bread


OVERALL EXPERIENCE

My overall experience was good and bad. Good, because I have finally conquered this difficult hike. bad, because I was extremely tired. However, it was satisfying and it was probably the best hike I ever did in Hong Kong. The only thing I did not enjoy was the countless small stones and rocks around the paths. I have no more recollection of how many times I slipped and fell on the ground because of those annoying little things. But I'm glad that I didn't injure myself. 

I wouldn't mind doing this hike again after a few years. I will surely recommend Sharp Peak to people and for those who are seeking a tough challenge. 


If you have any questions or concerns about Sharp Peak hike, feel free to leave a comment below. I will be more than happy to help. 


Yours Truly,

Michelle Chan

The Hong Kong "Pyramid Hill" Hike

COVER.jpg

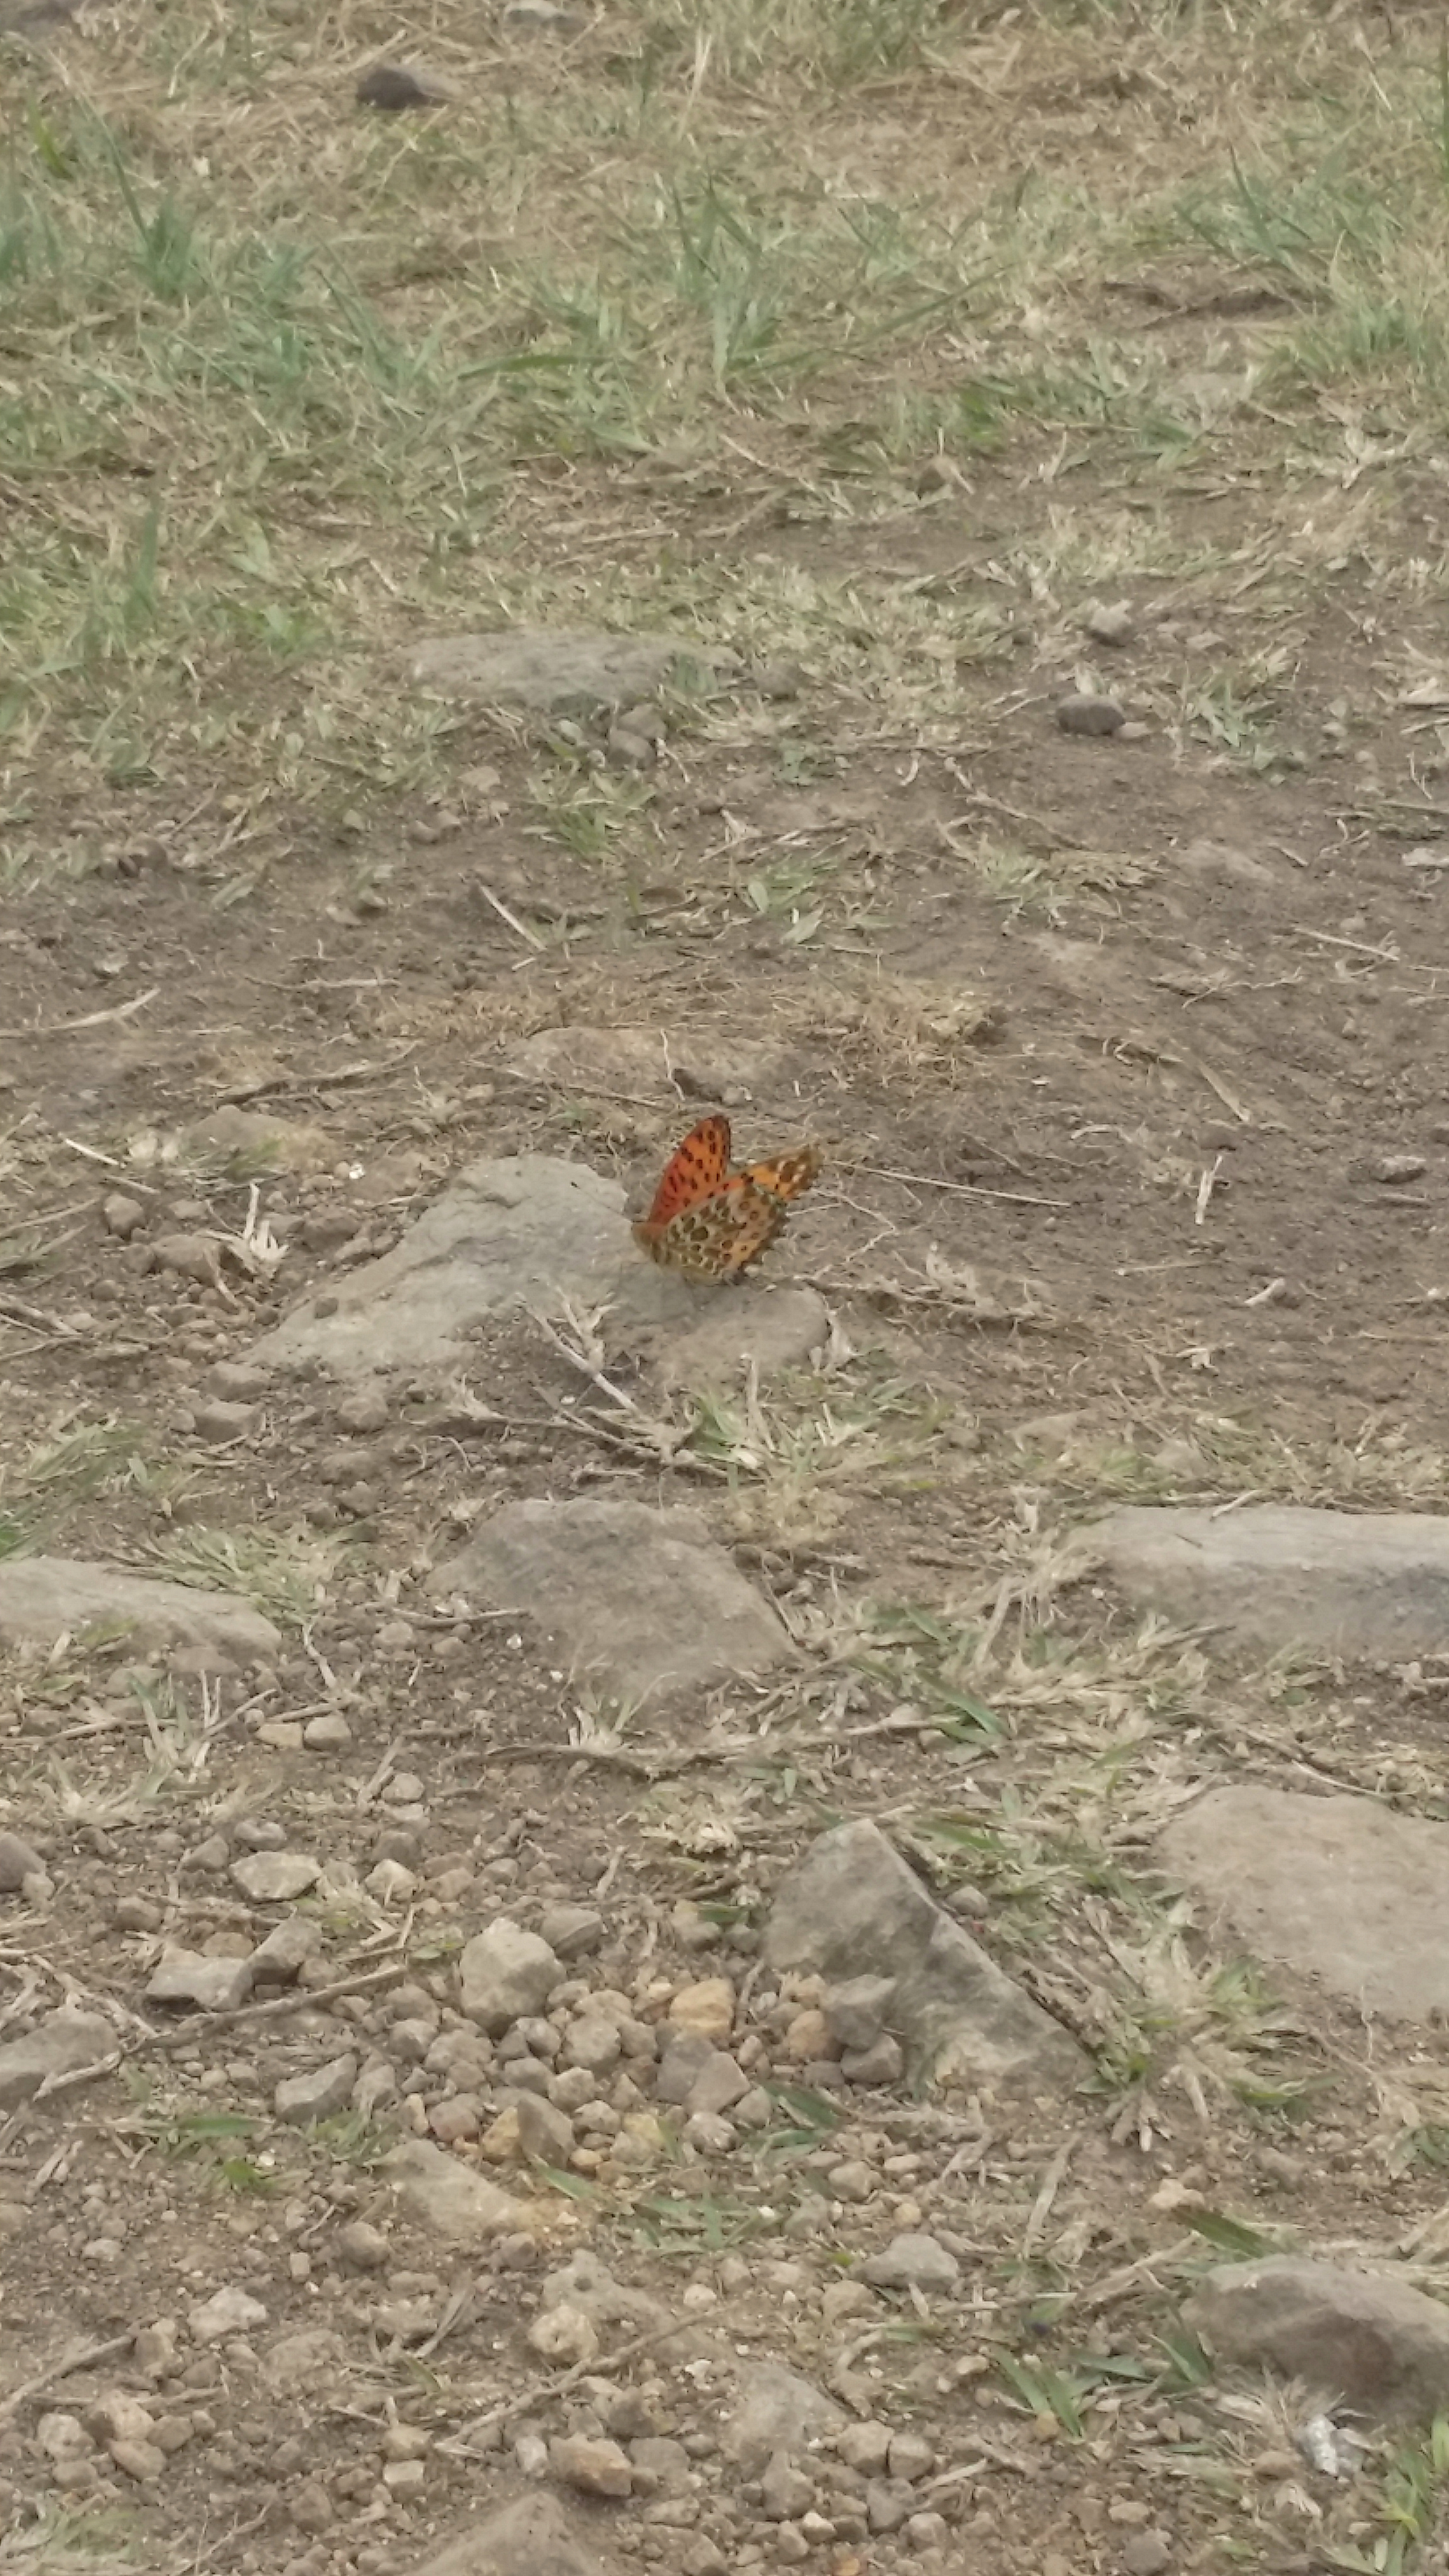
It is springtime in Hong Kong. Therefore, paying a visit to the hills or mountains in Hong Kong is probably the best time whilst all the flowers are starting to bloom and beautiful butterflies flying around while you trek. Sound relaxing isn't it? The weather is also cool and warm. 


THE PYRAMID HILL

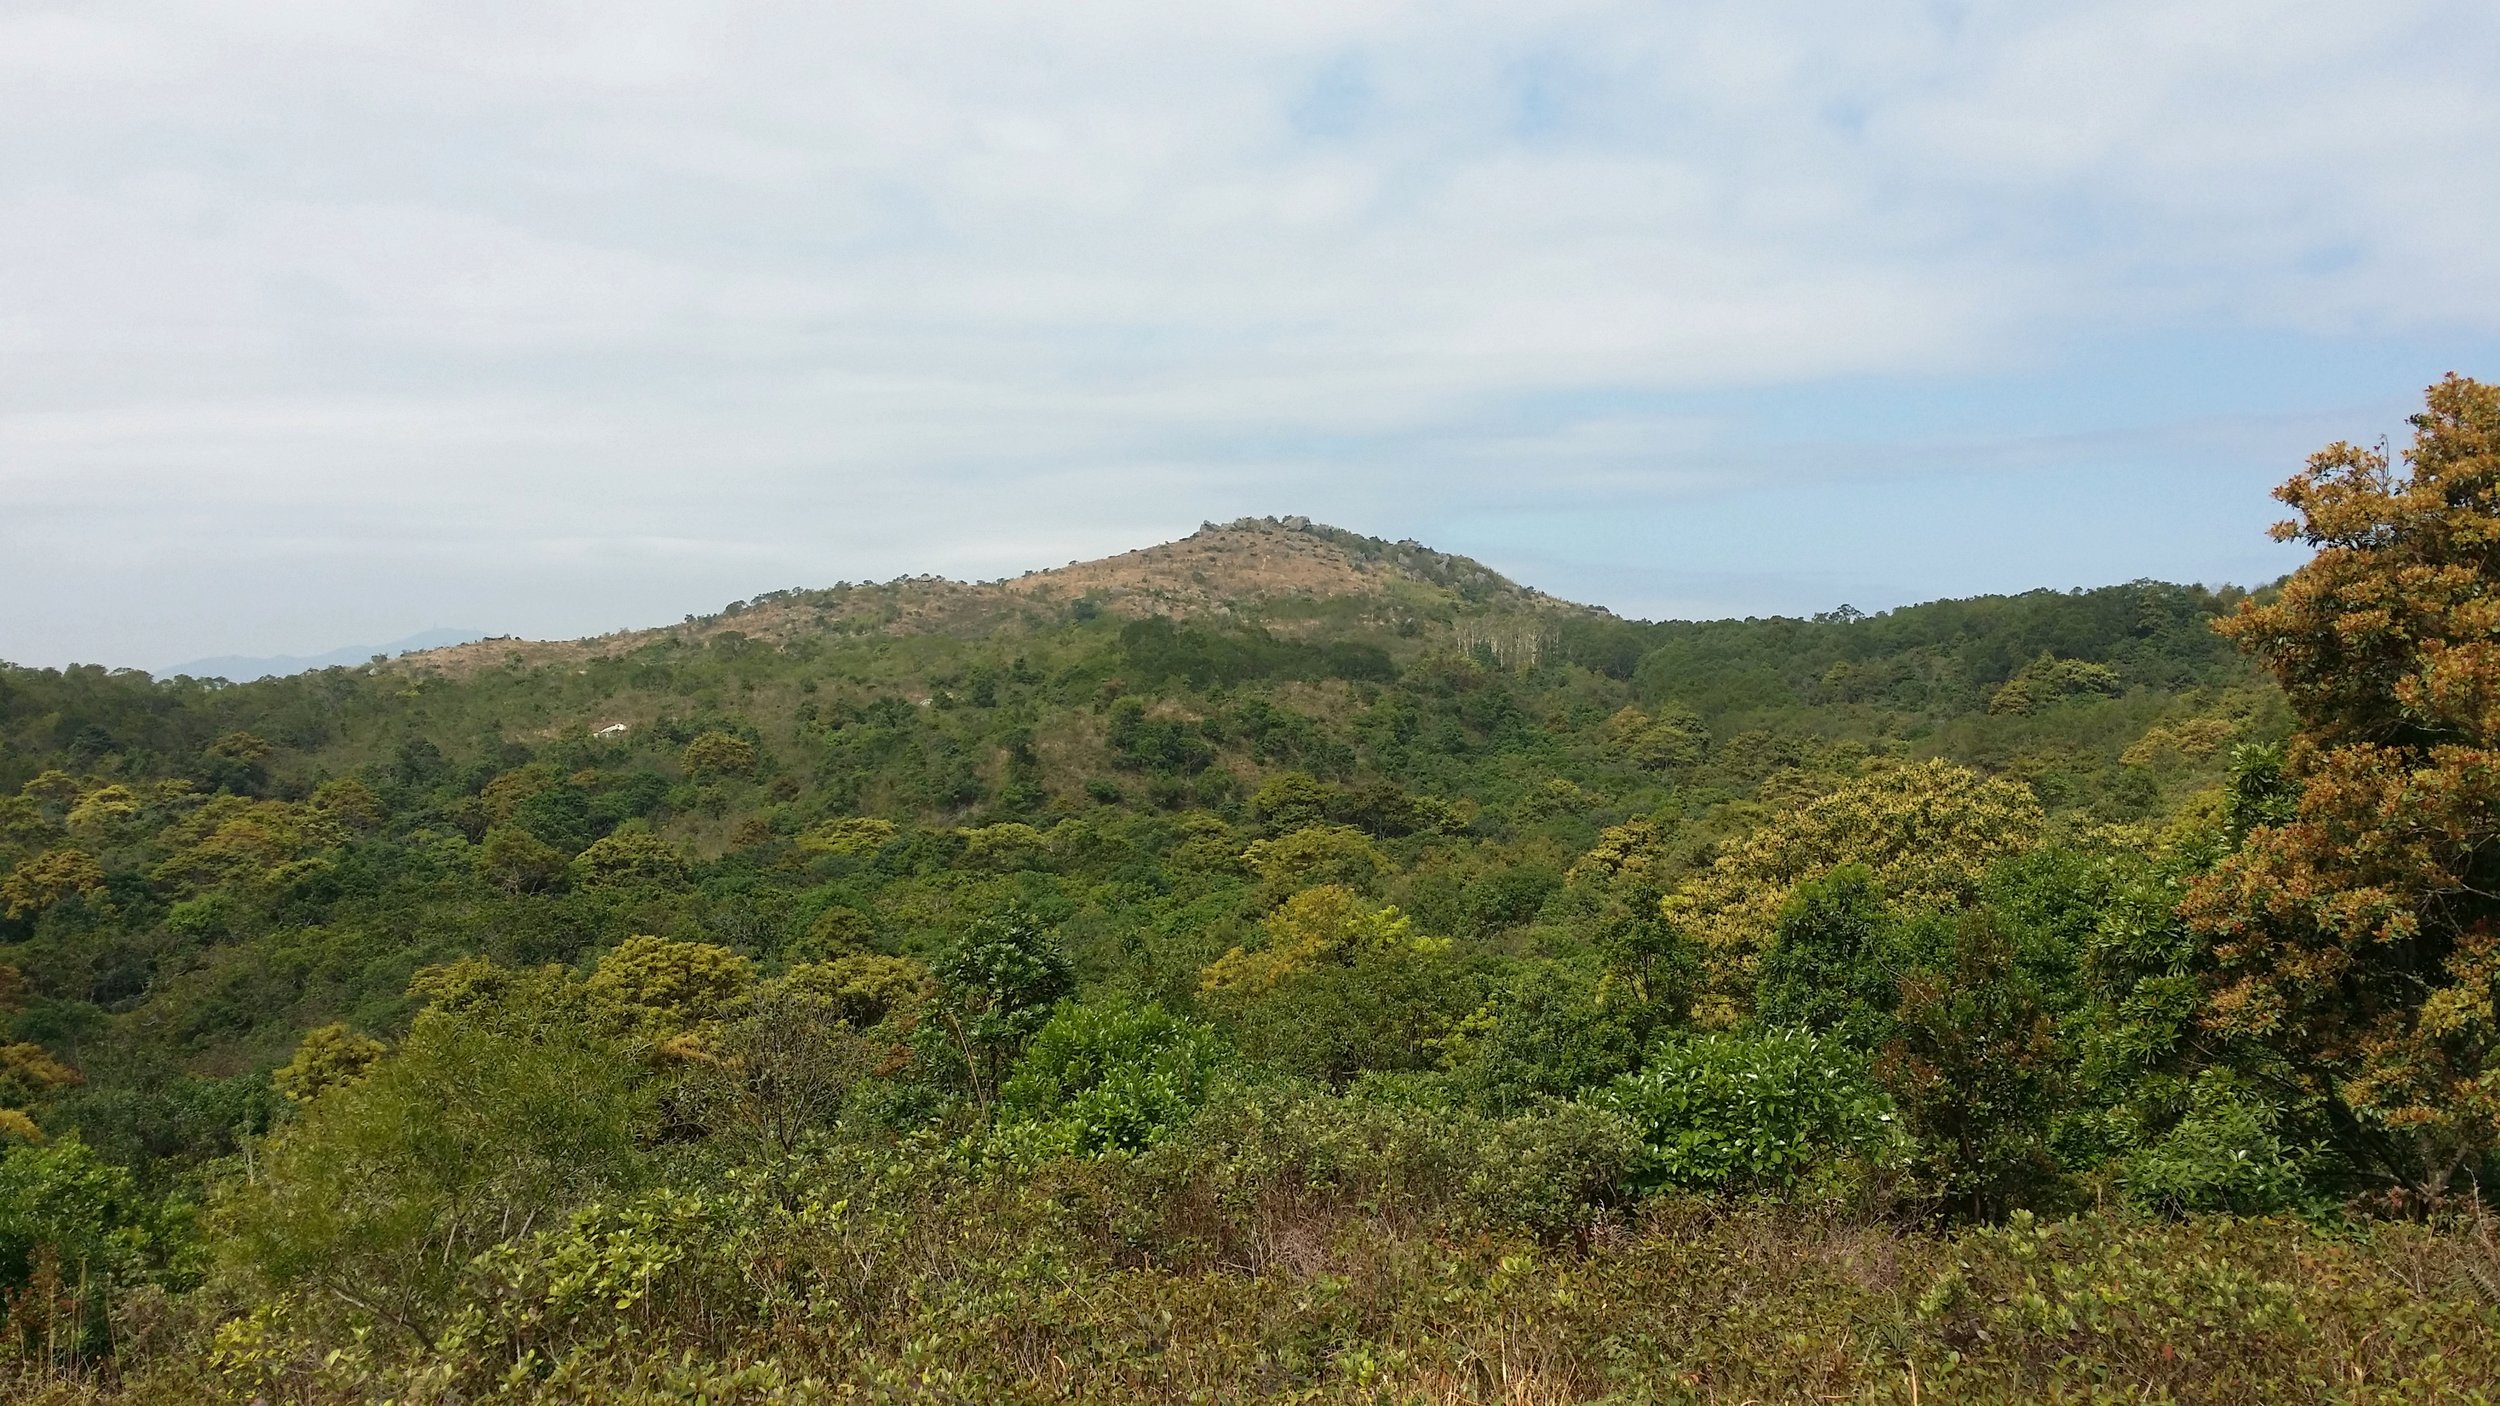
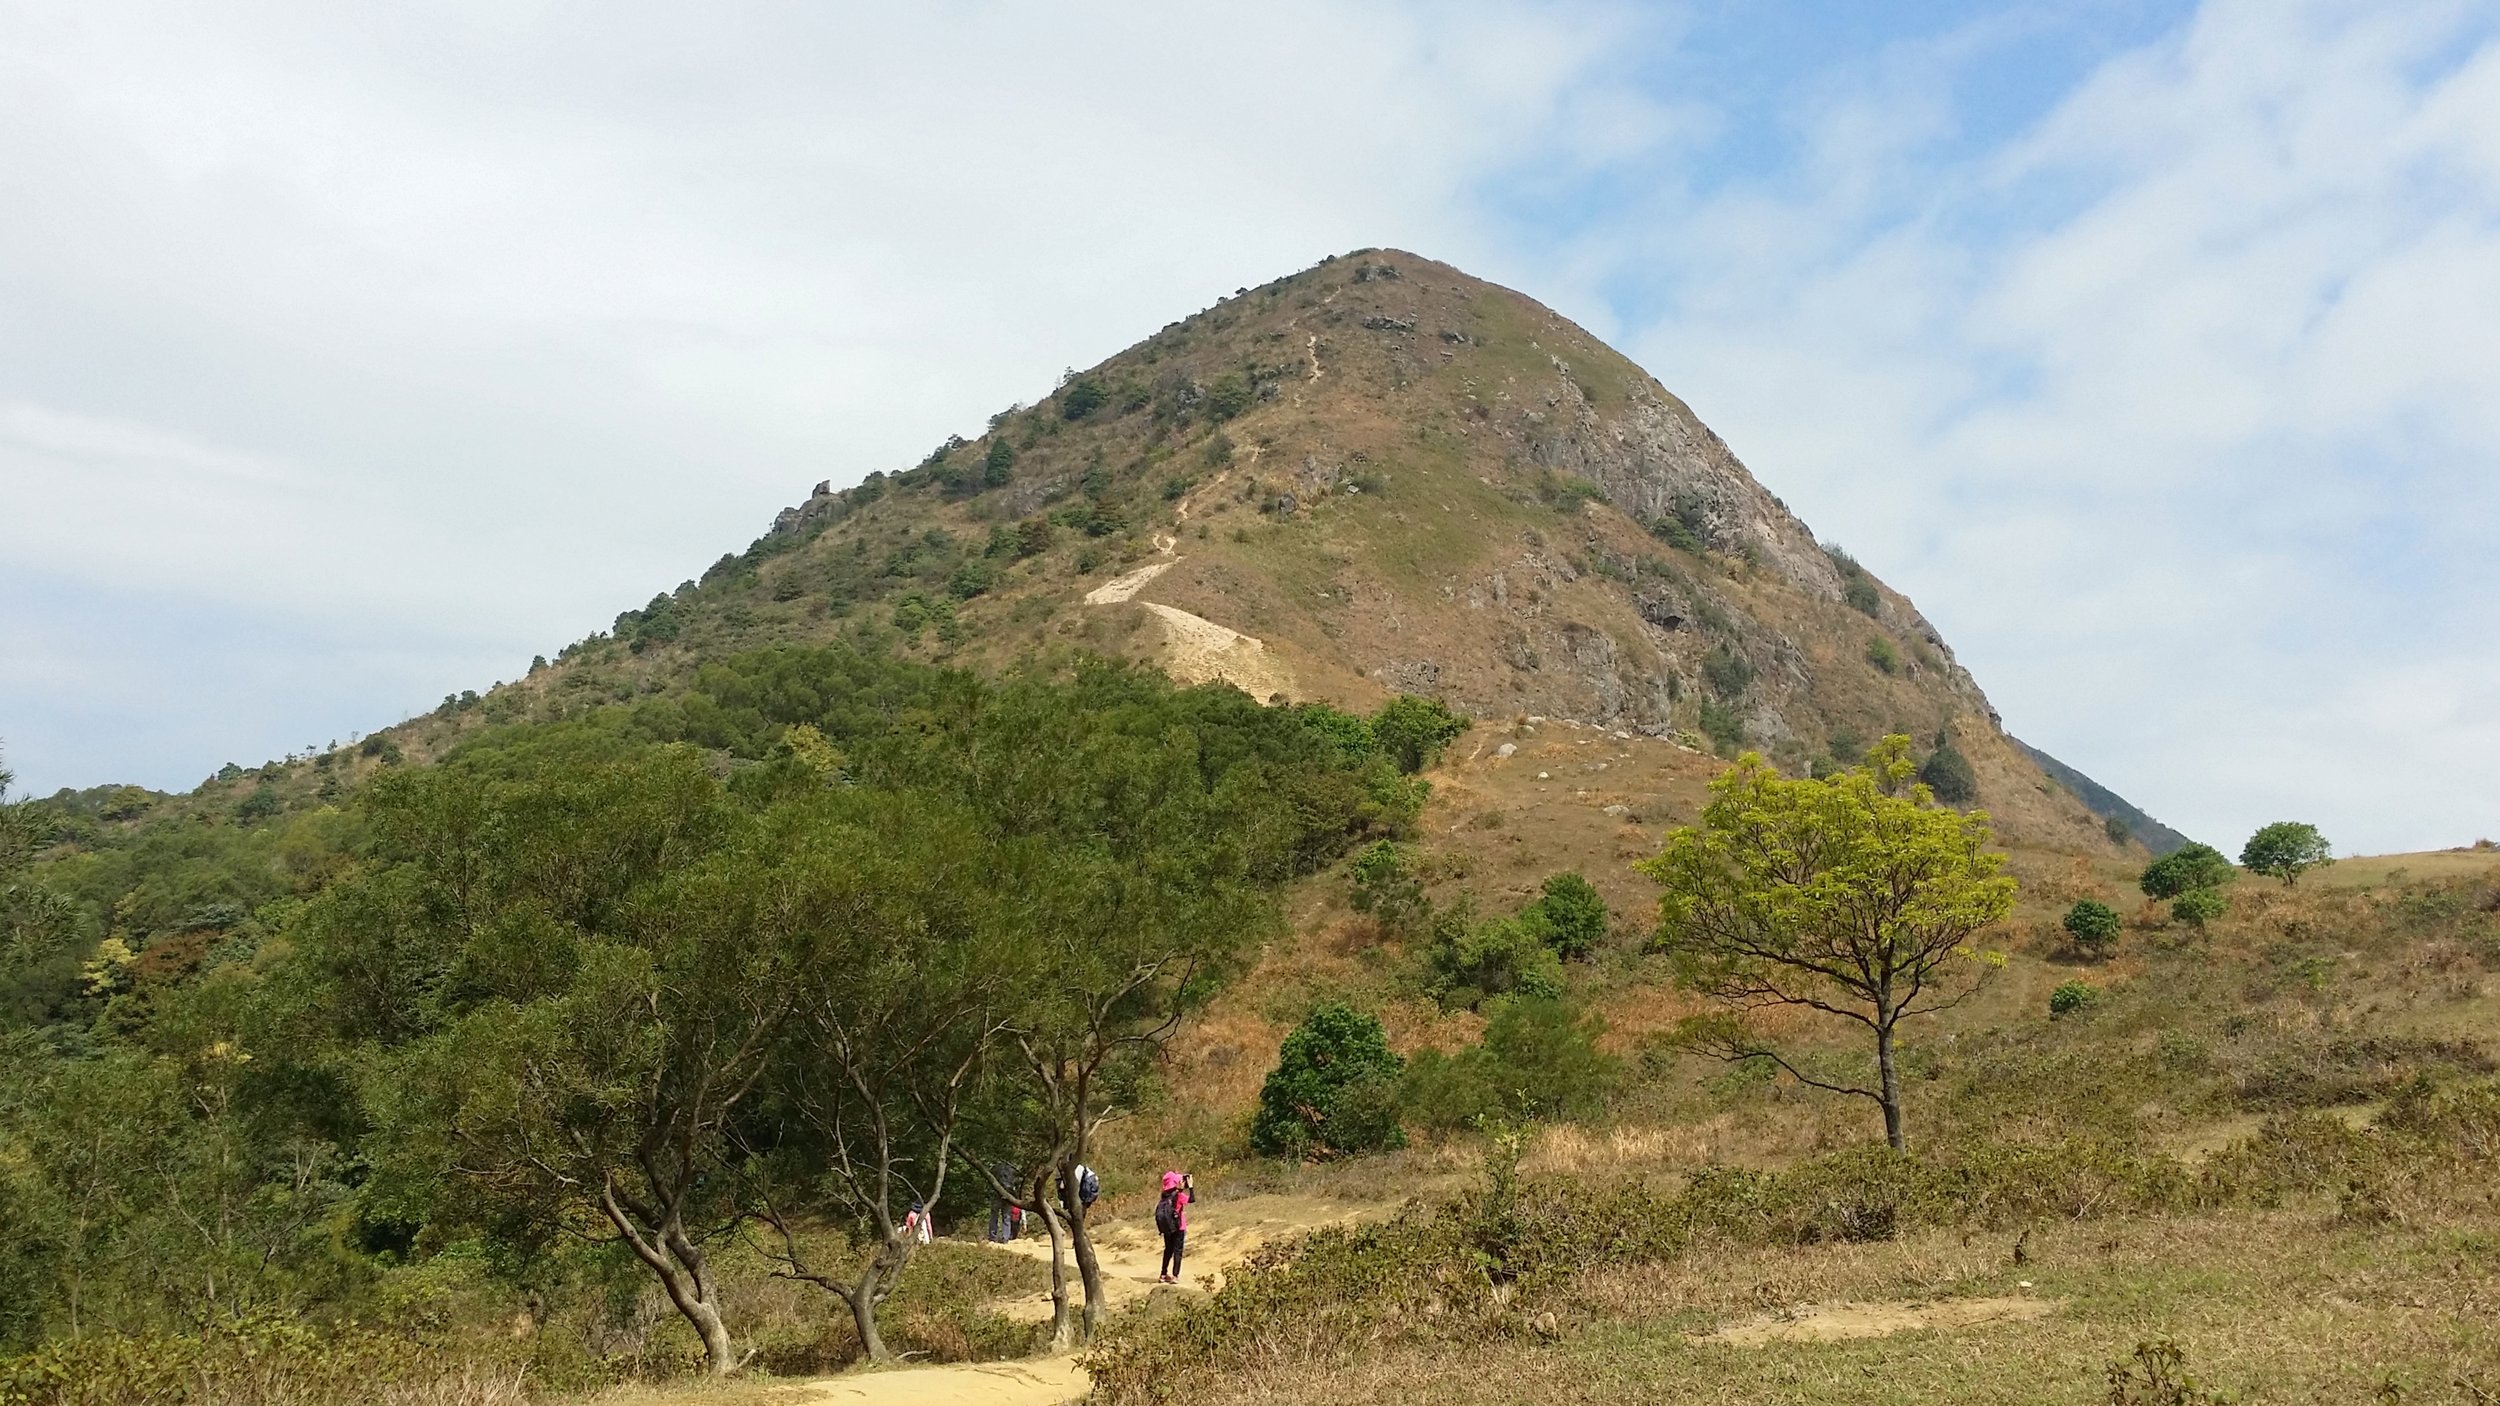
The Pyramid Hill is located in the Ma On Shan trail. Pyramid Hill is probably one of the famous hiking spots in Hong Kong. It measures about 536 meters above sea level. Does it really look like a pyramid though? You'll find out whilst you continue reading this blog. 


BASIC INFORMATION OF THE HIKE

DURATION - 3.5 hours

DISTANCE - Around 5-6km

DIFFICULTY LEVEL - Medium (Hard - when climbing up the Pyramid Hill)

CELLPHONE/ INTERNET COVERAGE - Everywhere

BEST TIME TO HIKE - Autumn or Winter season

WATER LEVEL - 1.5L

STARTING POINT - Ma On Shan BBQ site

FINISHING POINT - Tai Shui Tseng


HOW TO GET THERE AND WHAT TO TAKE

CONVENIENT AND EASIEST WAY TO START THE HIKE

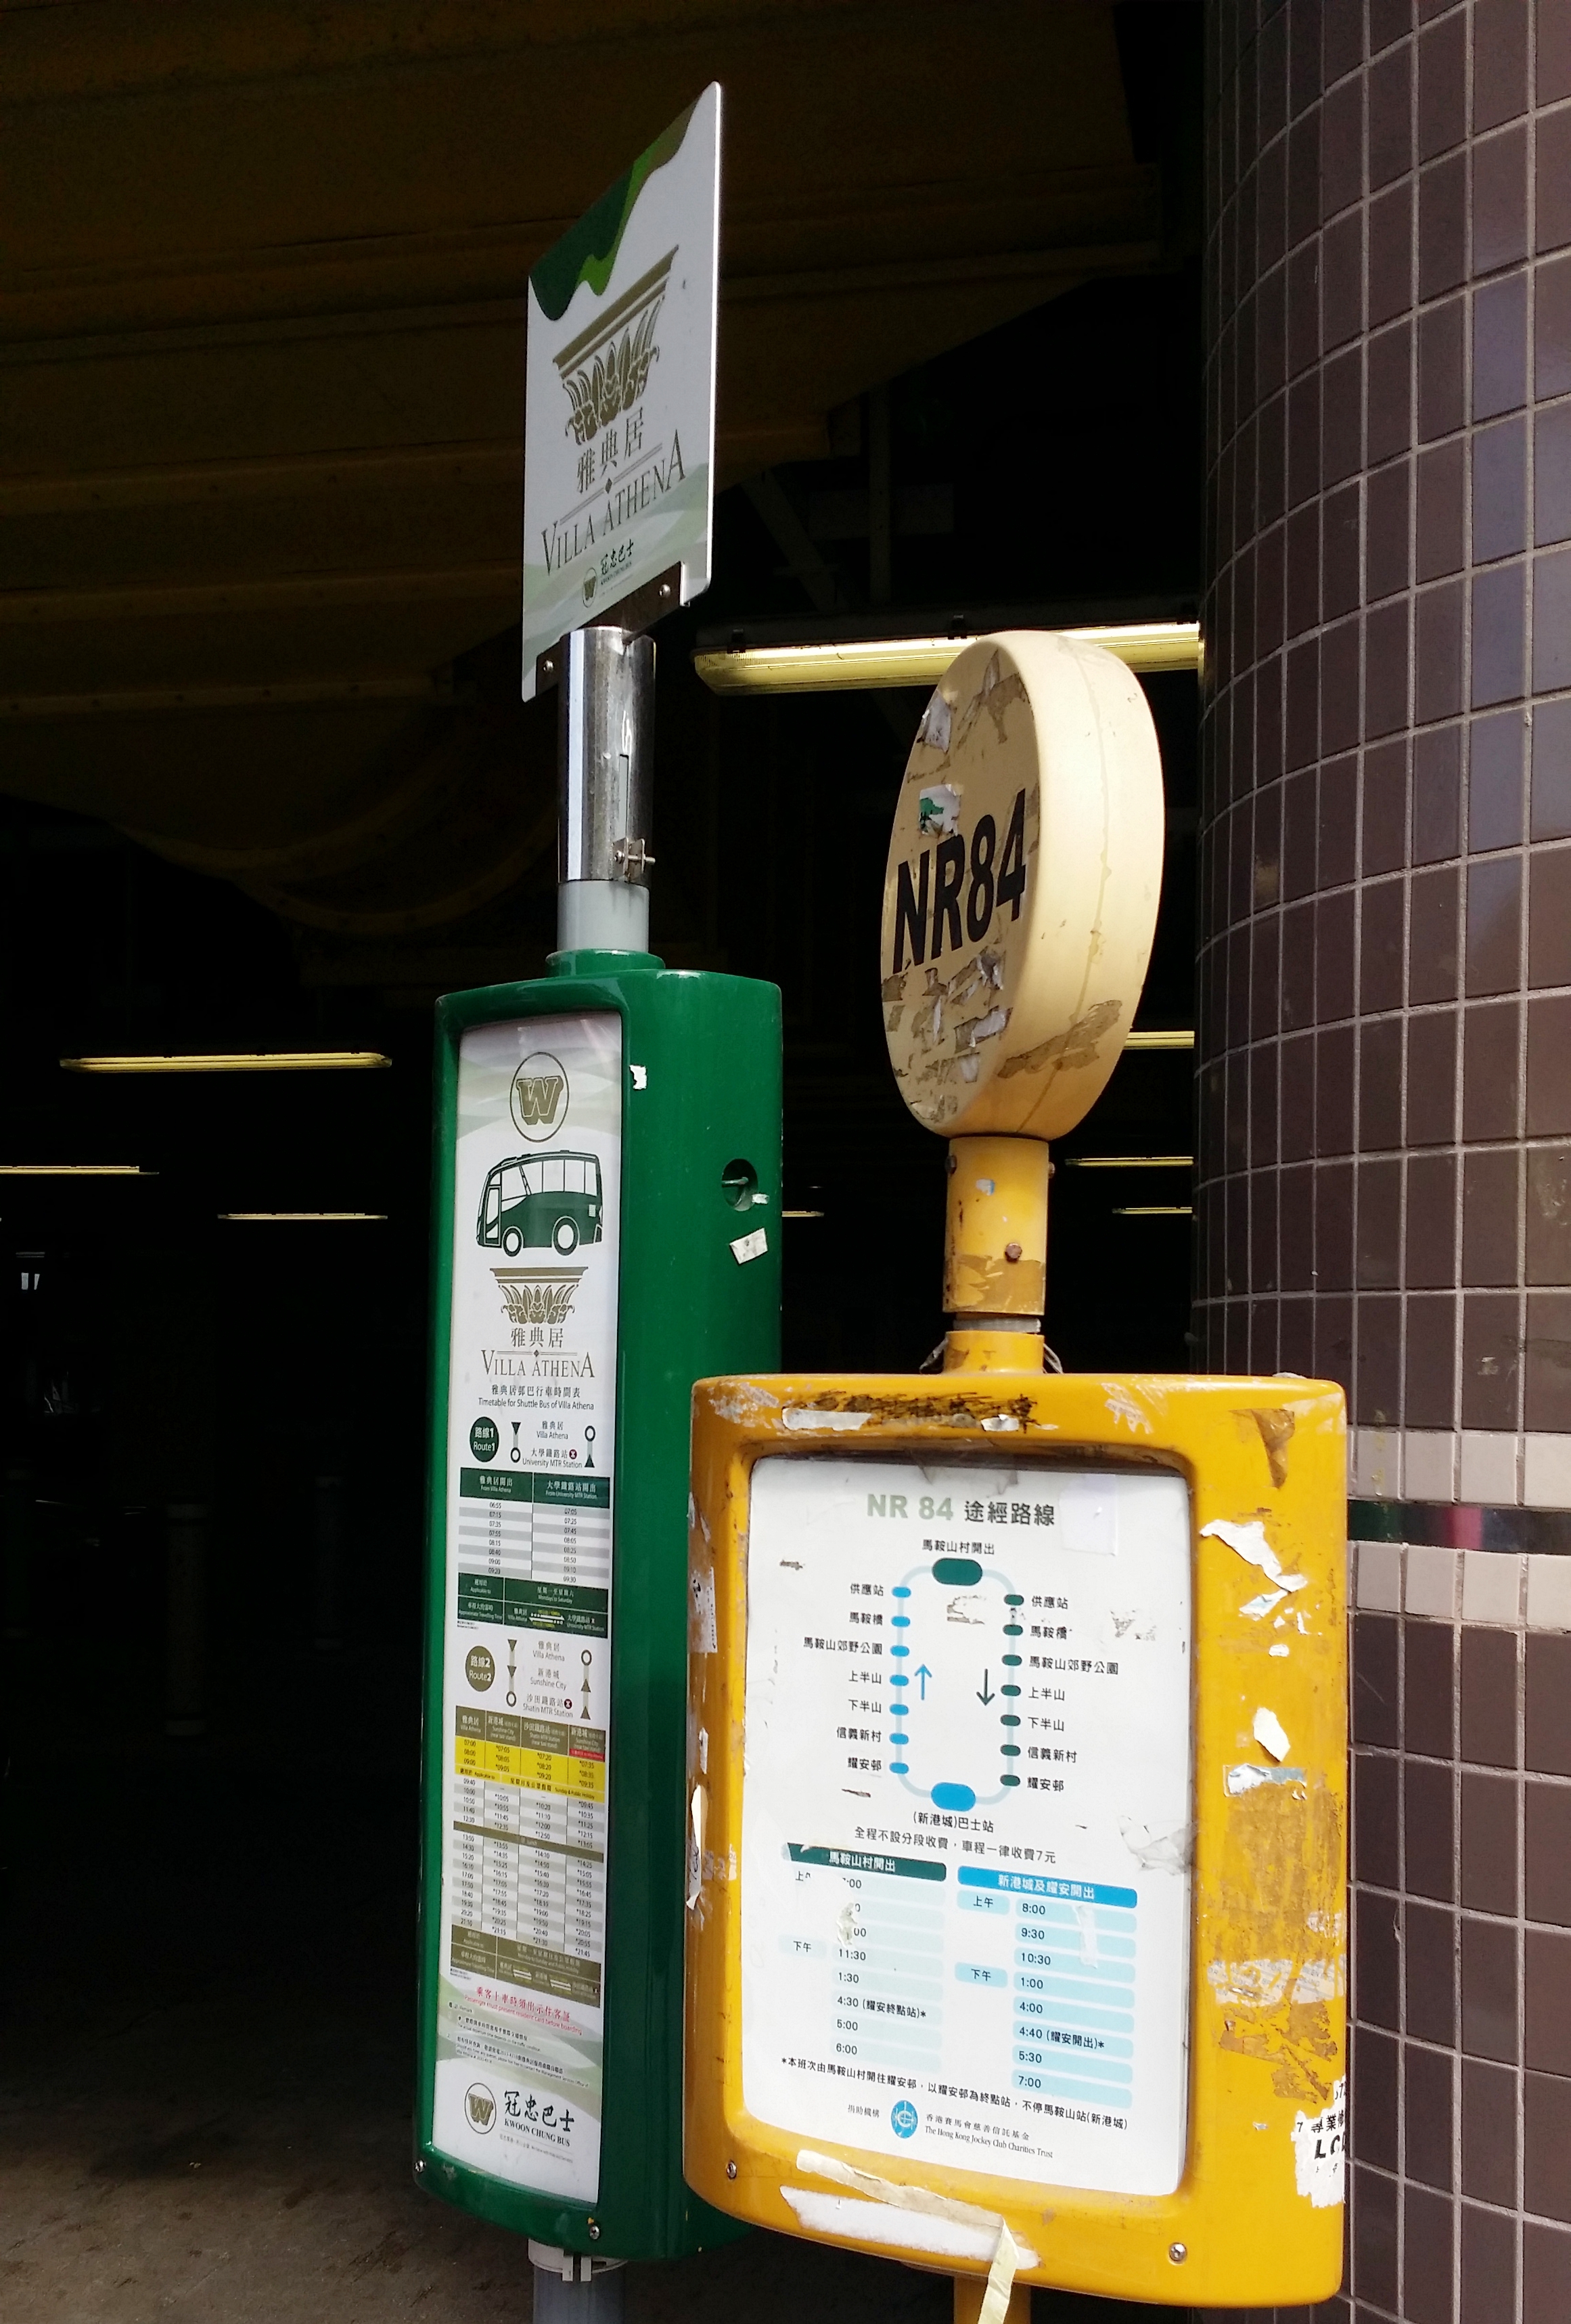
The most convenient way to get to Ma On Shan is by taking the MTR then a village minibus. Get off at Ma On Shan Exit B and go down to the ground floor of Sunshine City Plaza at the bus terminal. Look for the green taxi stand and the village minibus is right there. Take the village minibus no. NR84. Take note that this minibus isn't the normal green minibus. It looks more like a mini shuttle bus and it is white in color.

There are only 3 timeslots in the morning - 8 am, 9:30 am and 10:30 am. The next one and the only time and the last one you can take will be at 1:00 pm. This minibus leaves on time, so make sure to be there in advance. 

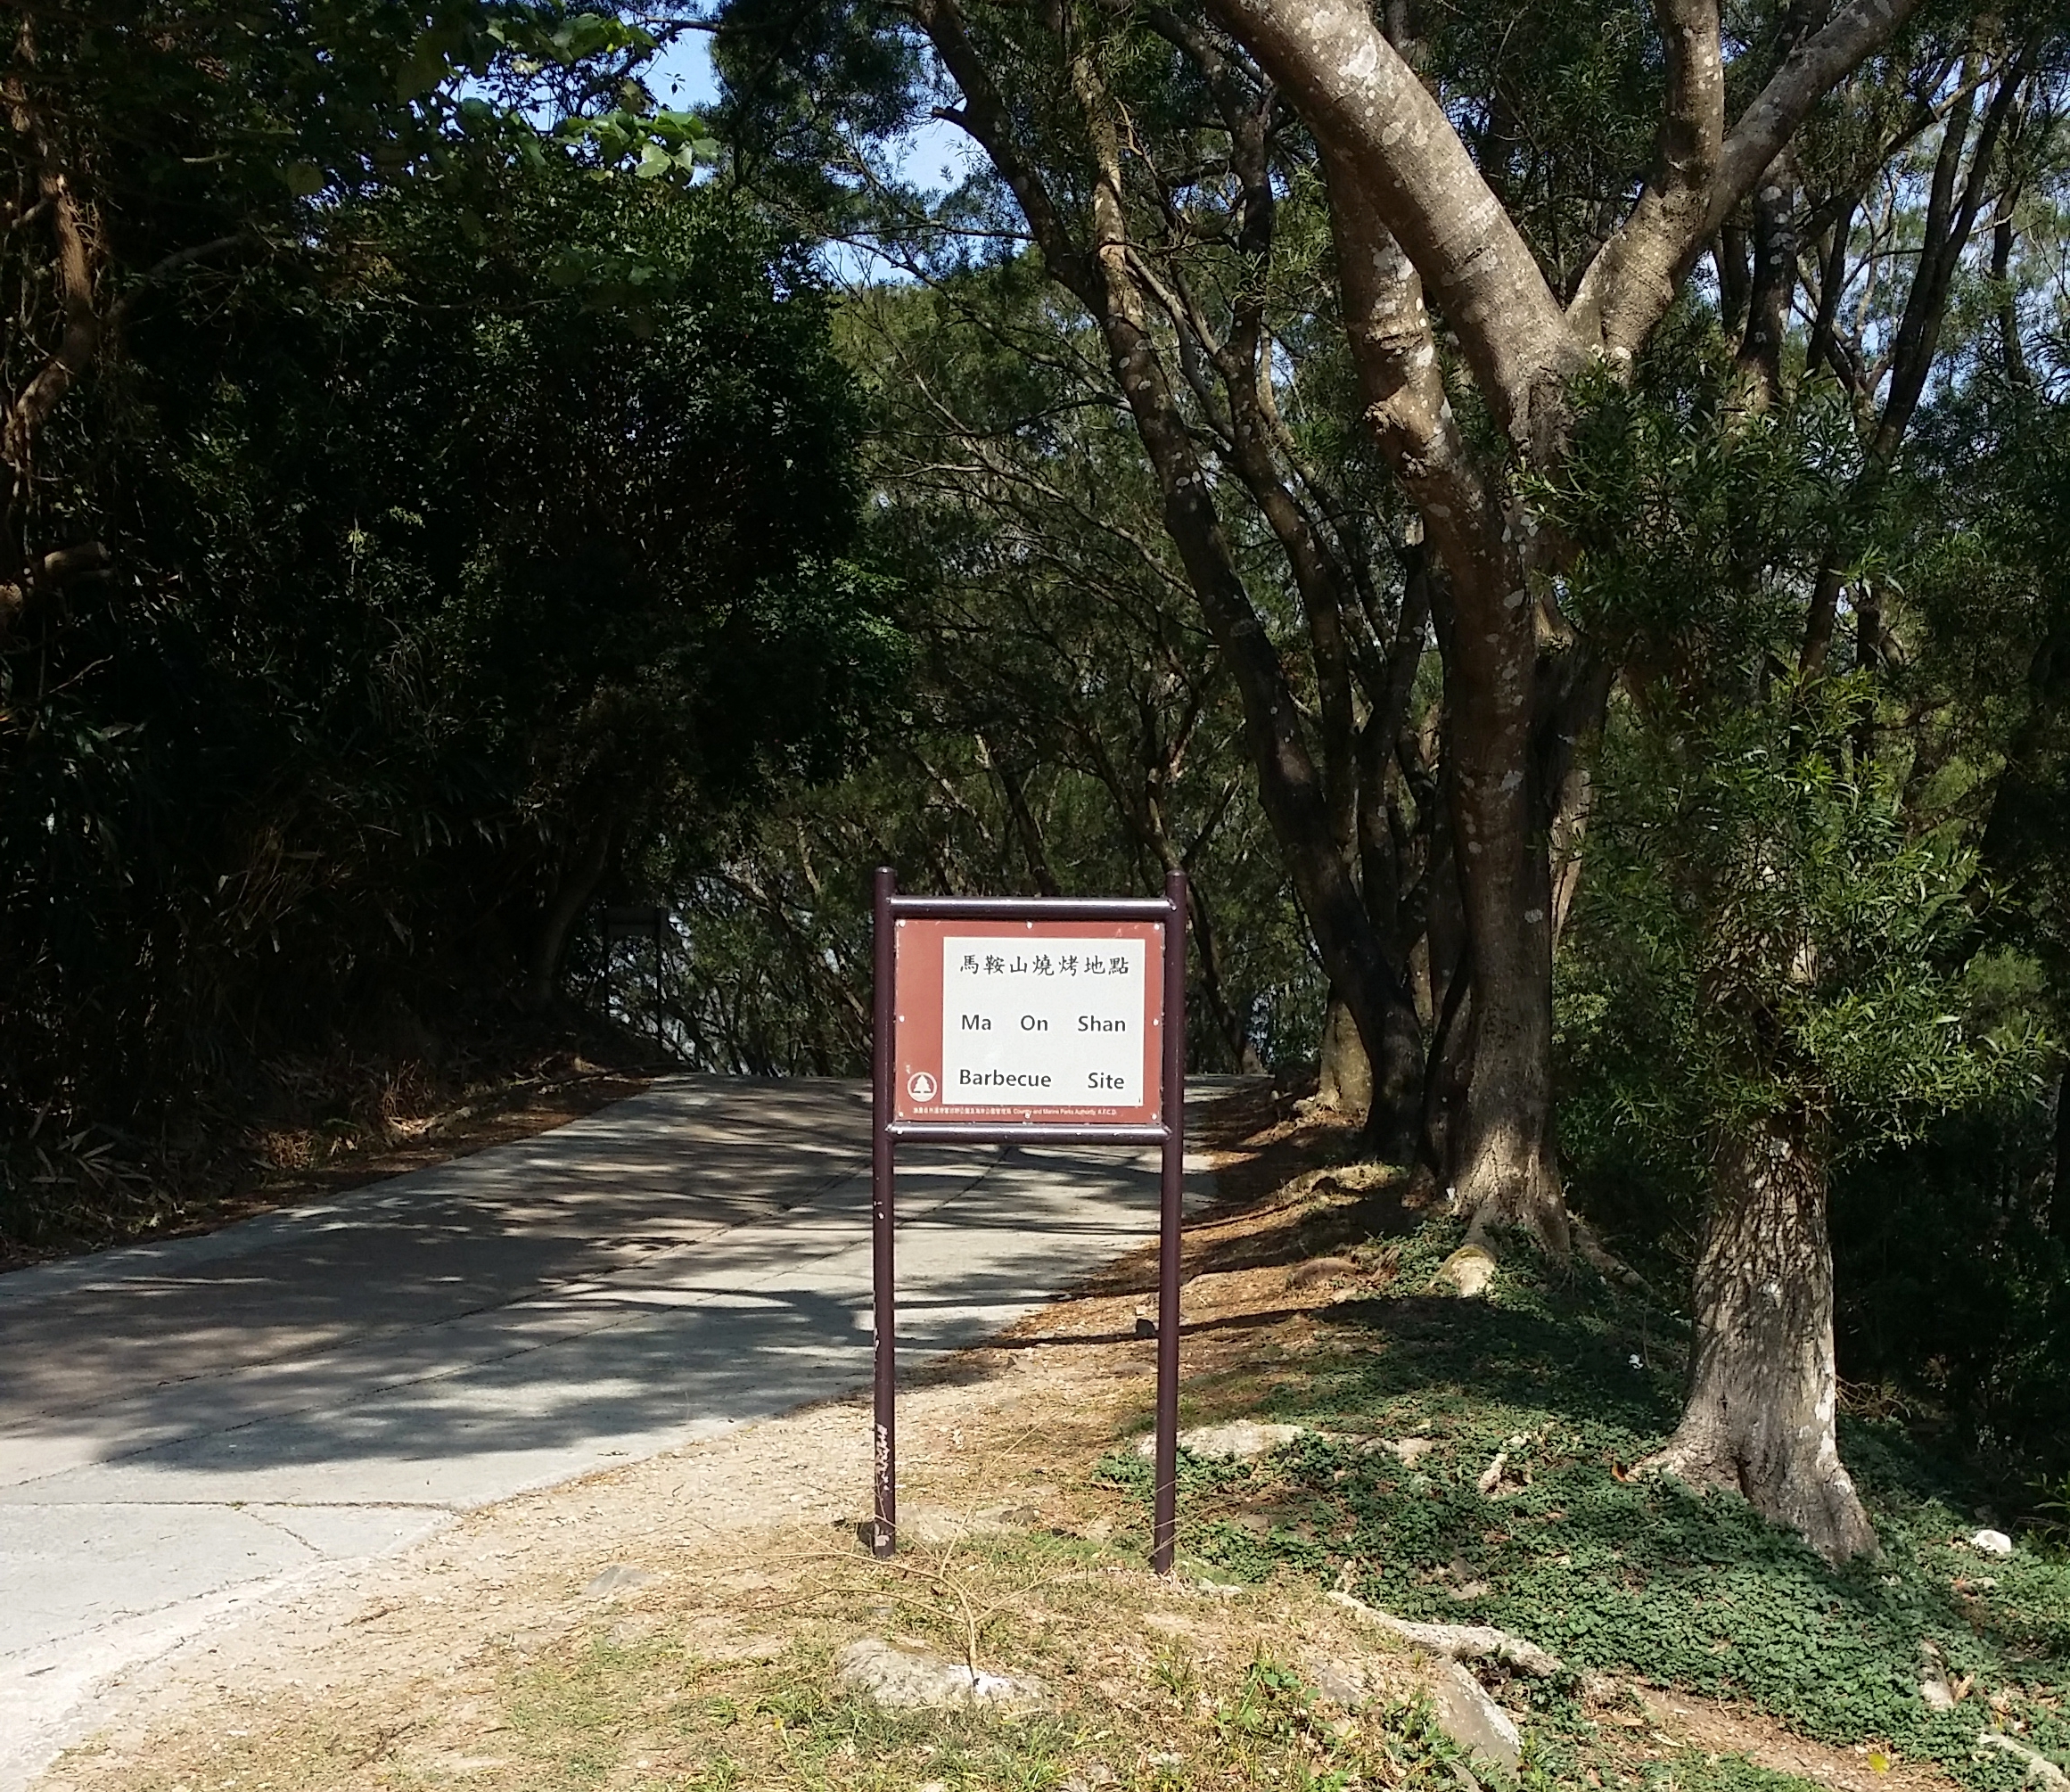
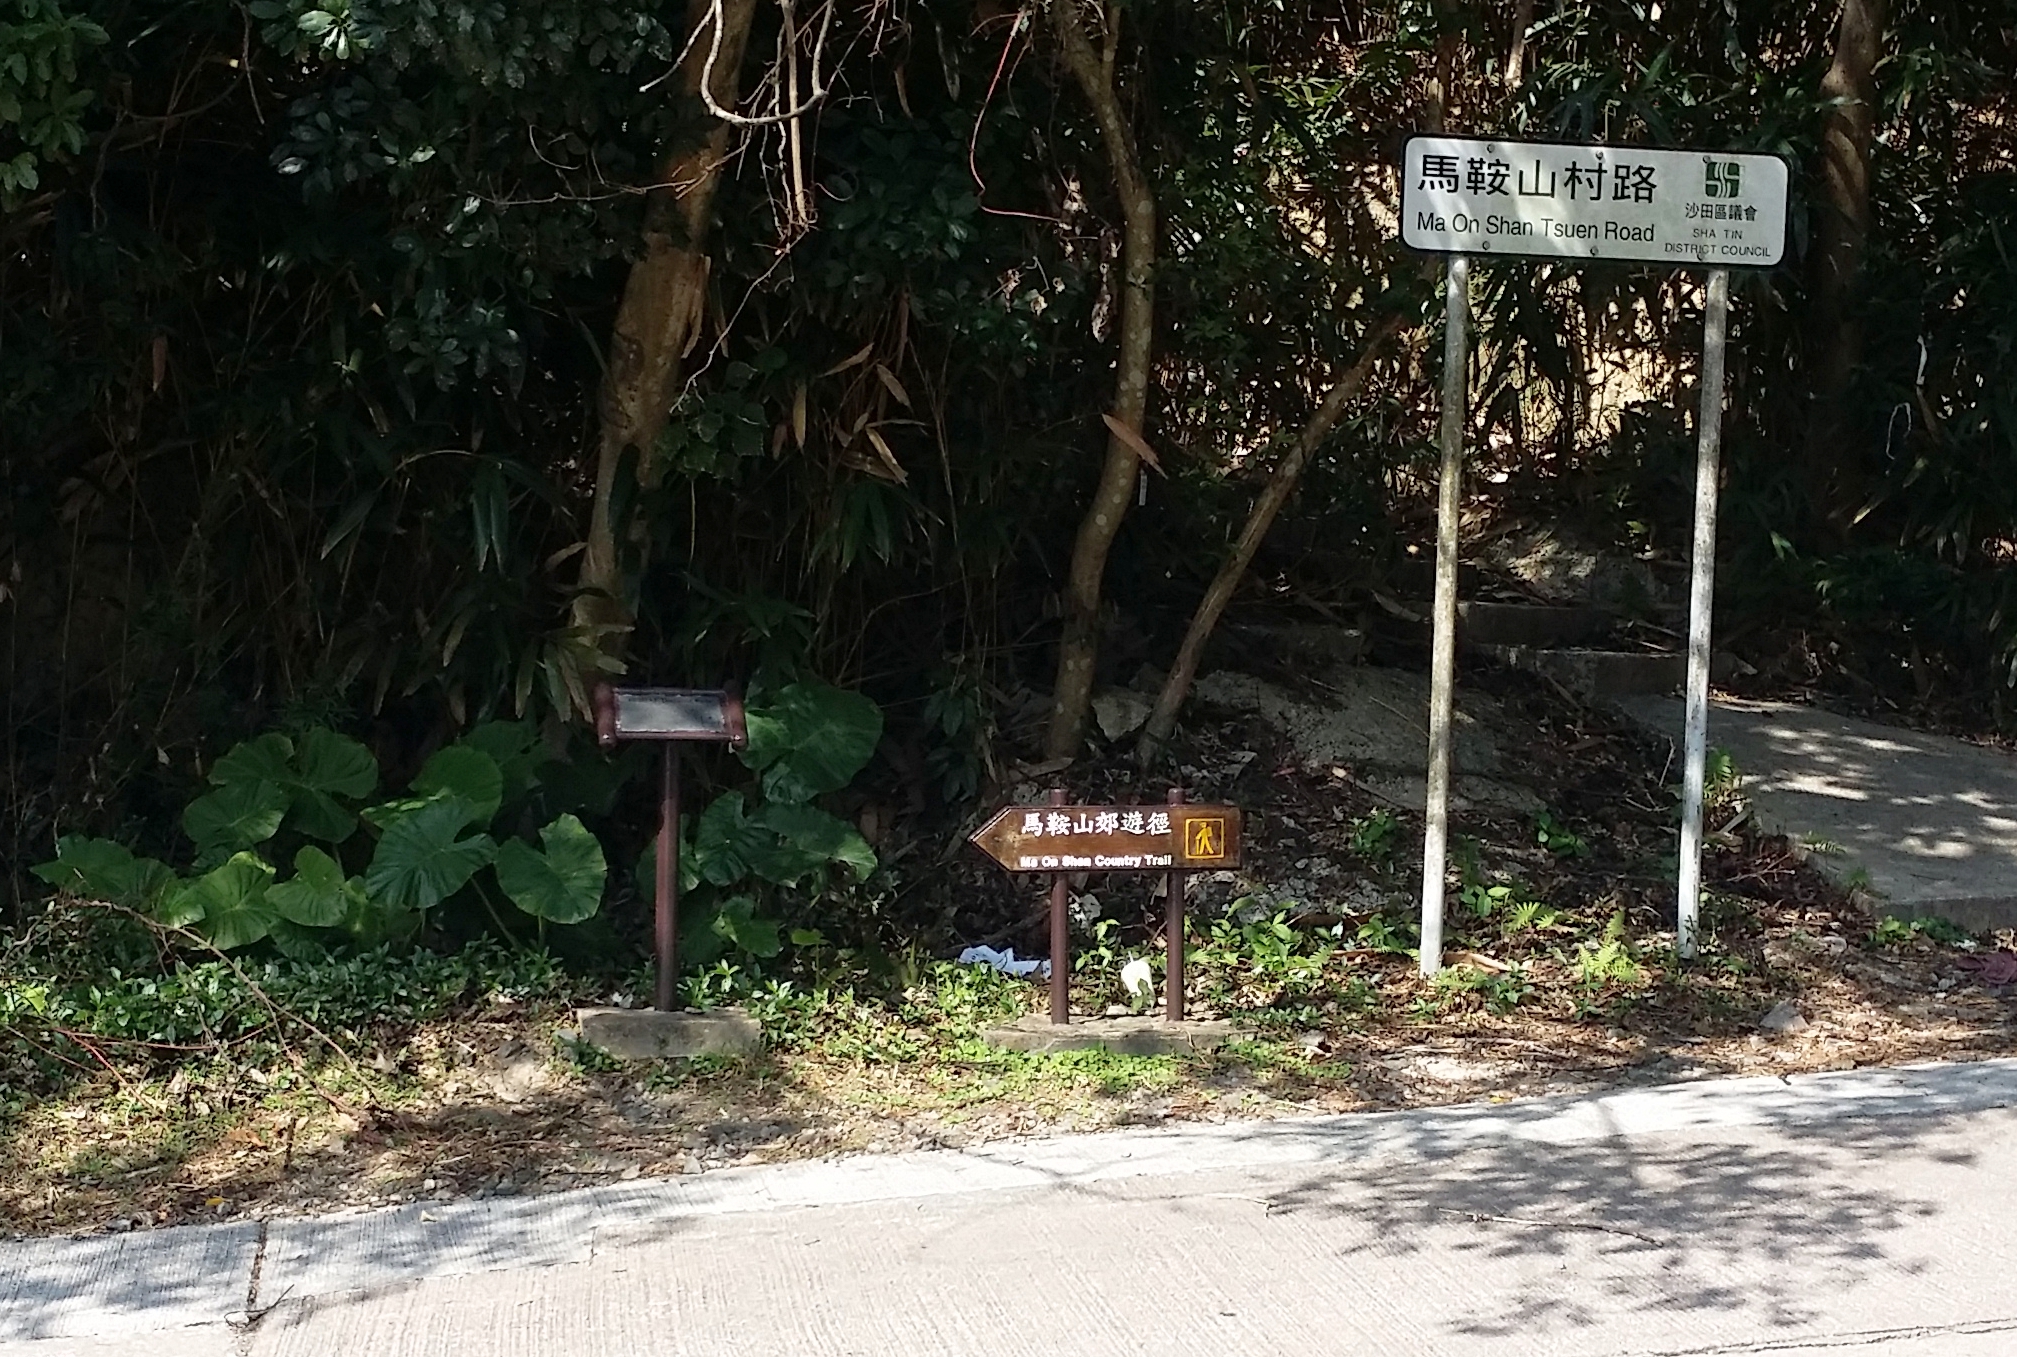
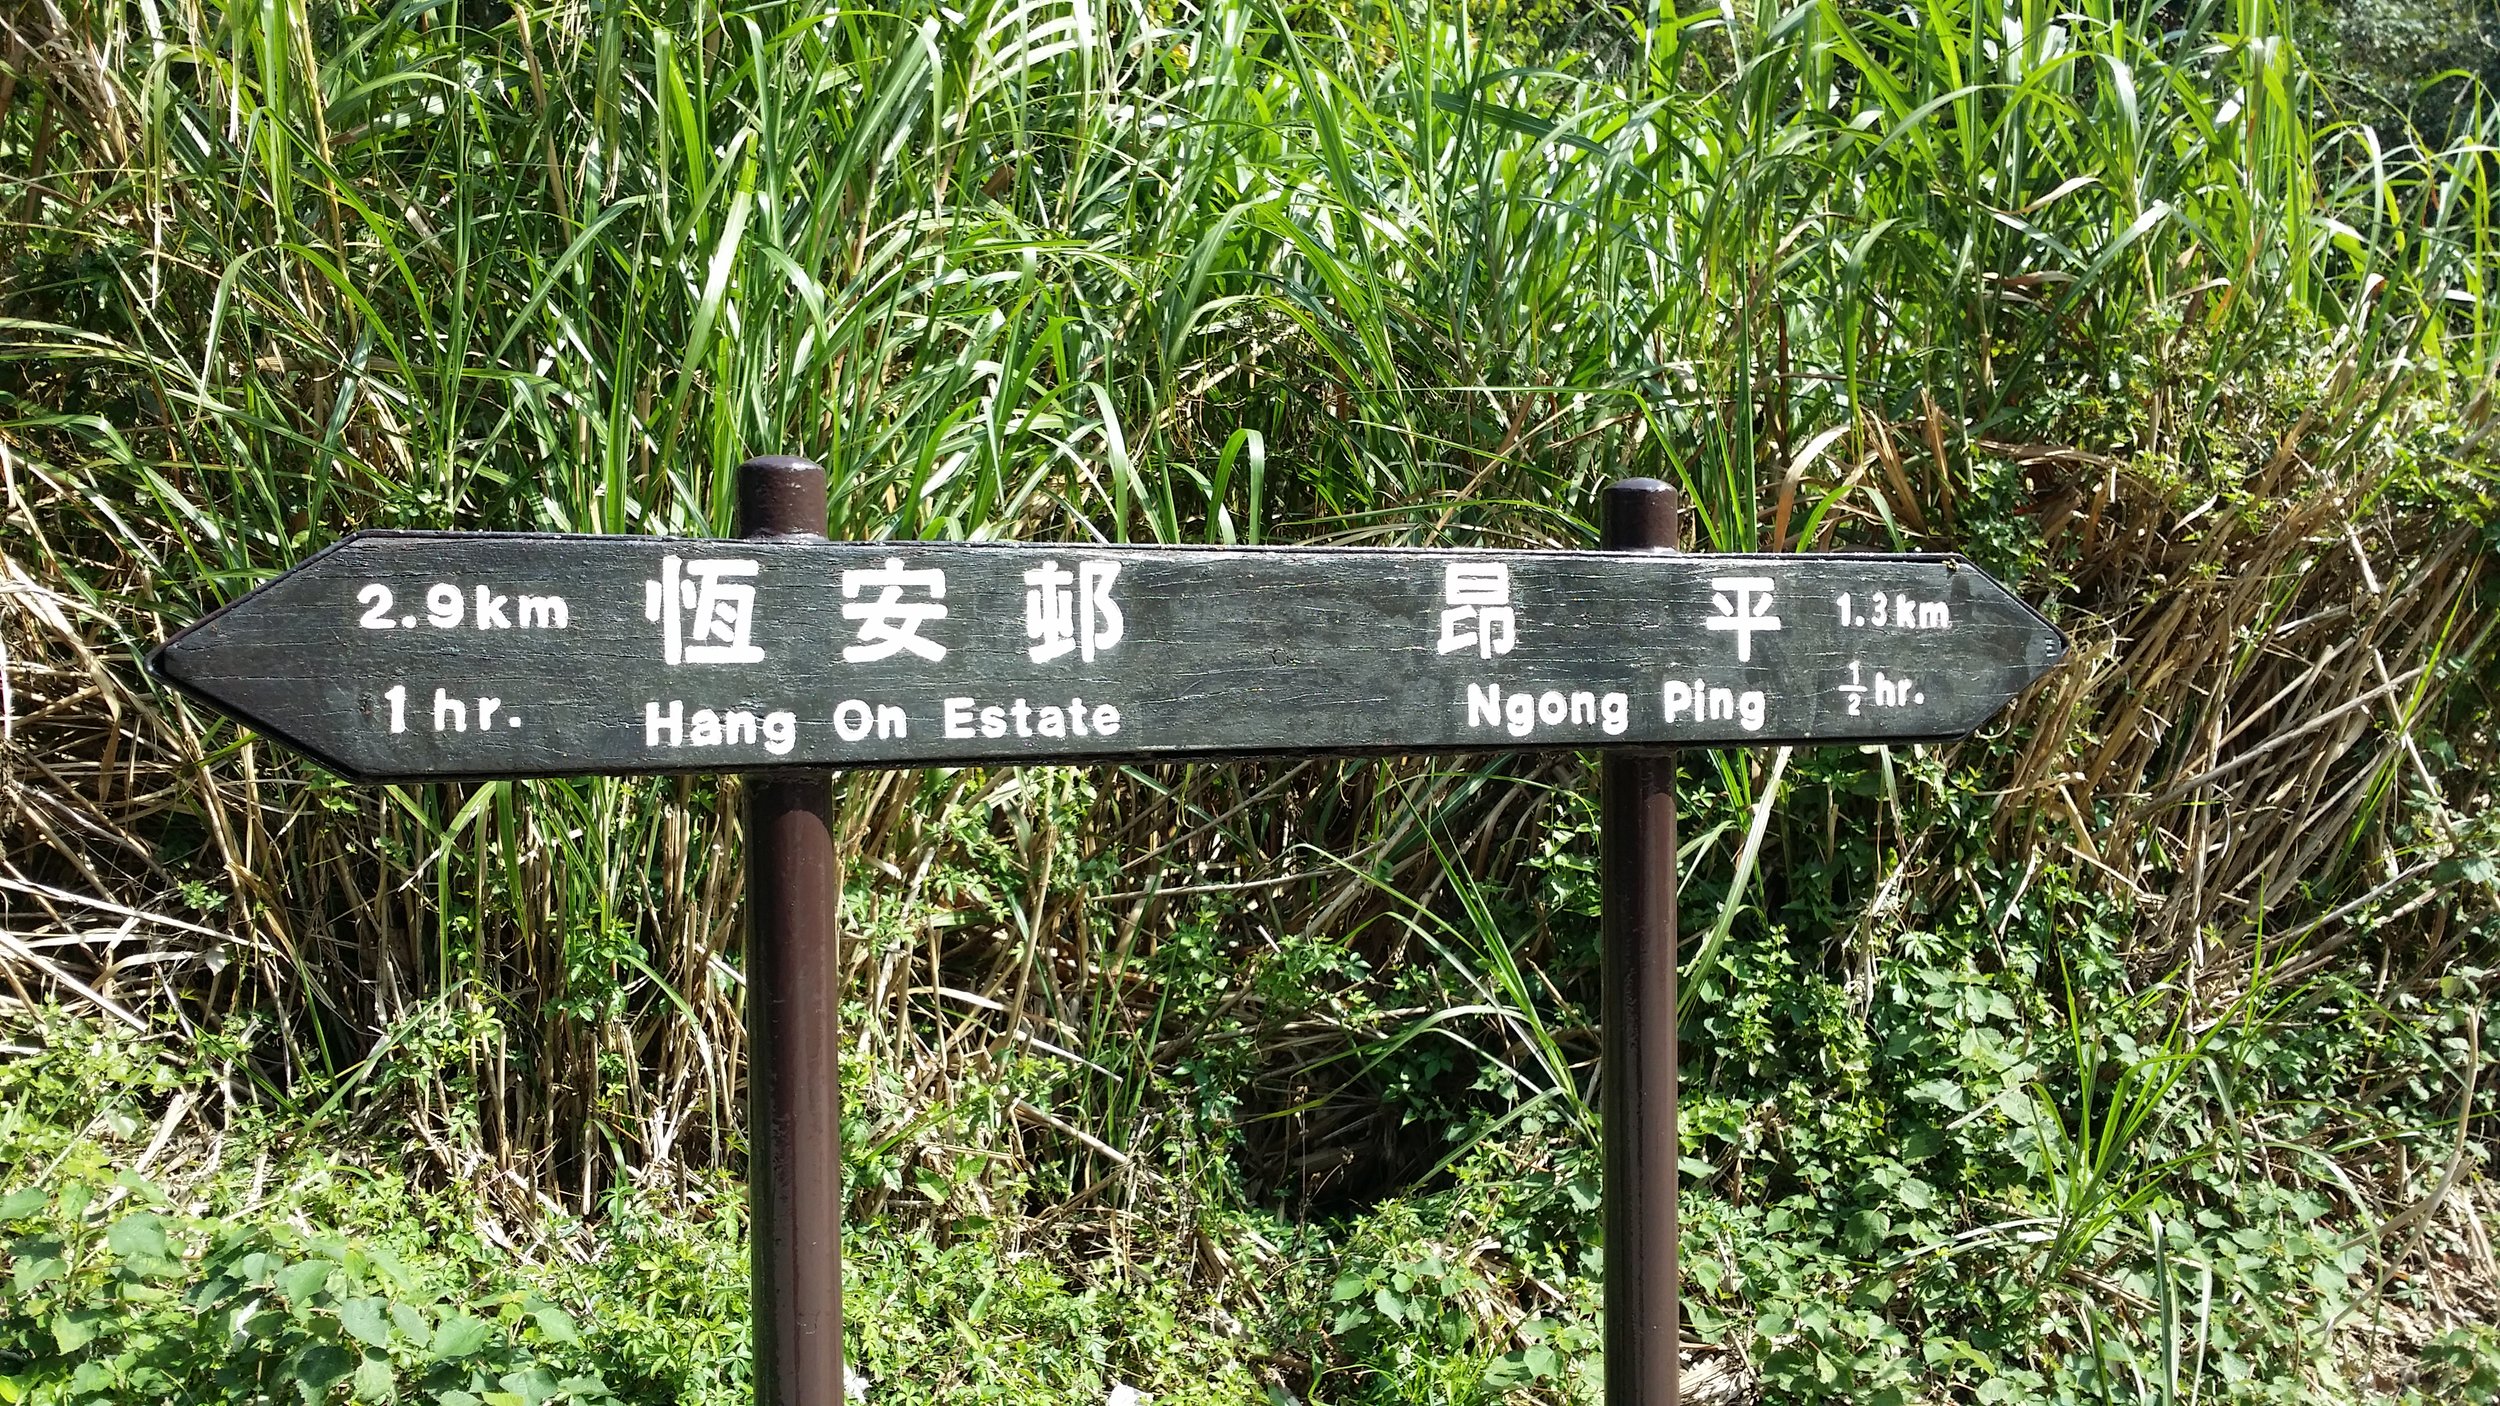
The minibus ride should take about 15-20 minutes. Get off at Ma On Shan BBQ site and look for a signpost to Ma On Shan Country Trail. Walk straight until you see a carpark. There will be another signpost via Ngong Ping. Once you've found that, that is where you start the hike. 

TWO WAYS TO END THE HIKE

The first option - Passing by Chuk Yeung Road trail. This trail will bring to Sai Sha Road where you can take bus no. 99 or no. 299 to Sha Tin, Wu Kai Sha MTR or to Sai Kung. 

The second option - Descend down via Tai Shui Tseng trail. This is easier and quicker to finish the hike. This trail will end near Sai Kung. From there you will find some minibus or simply take a taxi ride back to Sai Kung. The cost should only take around HK$50-70.


HIKE DIARY

MA ON SHAN MTR TO VILLAGE BUS STOP

As mention above "How to get there and what to take", you should take the village minibus no. NR84 and drop off at Ma On Shan BBQ site. 

MA ON SHAN BBQ SITE

From the BBQ site, walk straight and look for the signpost to Ma On Shan Country trail. When you pass by a mini car park area and look for the signpost to Ngong Ping trail, that is where the hike starts. It usually takes about 15 minutes to reach the starting point from the BBQ site. 

NGONG PING TRAIL

The hike is slightly tiring as you will start with a flight of stairs and then some uphills. This area reminds me of a jungle. It is so green. Hiking up to the paviion should only take about 30 minutes. 

THE PAVILLION

When you reach the pavilion, that is when you finish trekking the Ngong PIng trail. You can stay at the pavilion and rest for a bit and have a quick snack before proceeding your hike to the Pyramid Hill. From there it will take about 10 minutes to reach the famous hill. 

THE PYRAMID HILL

It is easy to find the Pyramid Hill as it is the only one there. You can't possibly miss that unless you took the wrong path. Anyways, seeing the Pyramid Hill was stunning and somehow it does sort of look like a pyramid, just like the ones in Egypt, except Pyramid Hill is not man-made. 

Tips: You may choose to climb up the Pyramid Hill if you want more adventure or you may continue your hike down via Tai Shui Tseng trail or Mao Ping trail. 

THE GRASSLAND

Reaching the grassland area is very peaceful and something I have never seen before in a hike in Hong Kong. There is an area where campers can stay overnight to have some overnight camping excursion. 

CLIMBING UP THE PYRAMID HILL

Climbing up the hill is very challenging. You need to clamber up and literally push and pull yourself up. I must say, this is not very easy but also not very hard. It's manageable, you just have to be careful where to step and use those rocks wisely to help you climb up the hill. It will take around 15 to 30 minutes being the longest to climb the Pyramid Hill. You may take a long break when you reach on top and enjoy the scenery. 

Friendly advice: Bring a pair of sports gloves if you are climbing up the Pyramid Hill for safety purposes. 

DESCENDING DOWN THE HILL

Once you're done admiring how beautiful the scenery is, there are 2 options for you to choose where to proceed. 

Option 1 - Walk down straight via Maclehose trail to take you to Chuk Yeung Road. Taking this trail will reward you with more views. By following this trail, it should take you about 1-2 hours more to finish the hike. 

Option 2 - Walk down straight and turn to the left side and continue to walk straight back to the pavilion. From there, you can walk to the same way to the Pyramid Hill. Once, you've reached the Pyramid Hill, continue to walk straight until you see a map and some signs. Take the Tai Shui Tseng trail to head down. This is an easier and quicker way to end your hike, so taking this trail would be good. 

ENDING THE HIKE IN SAI KUNG

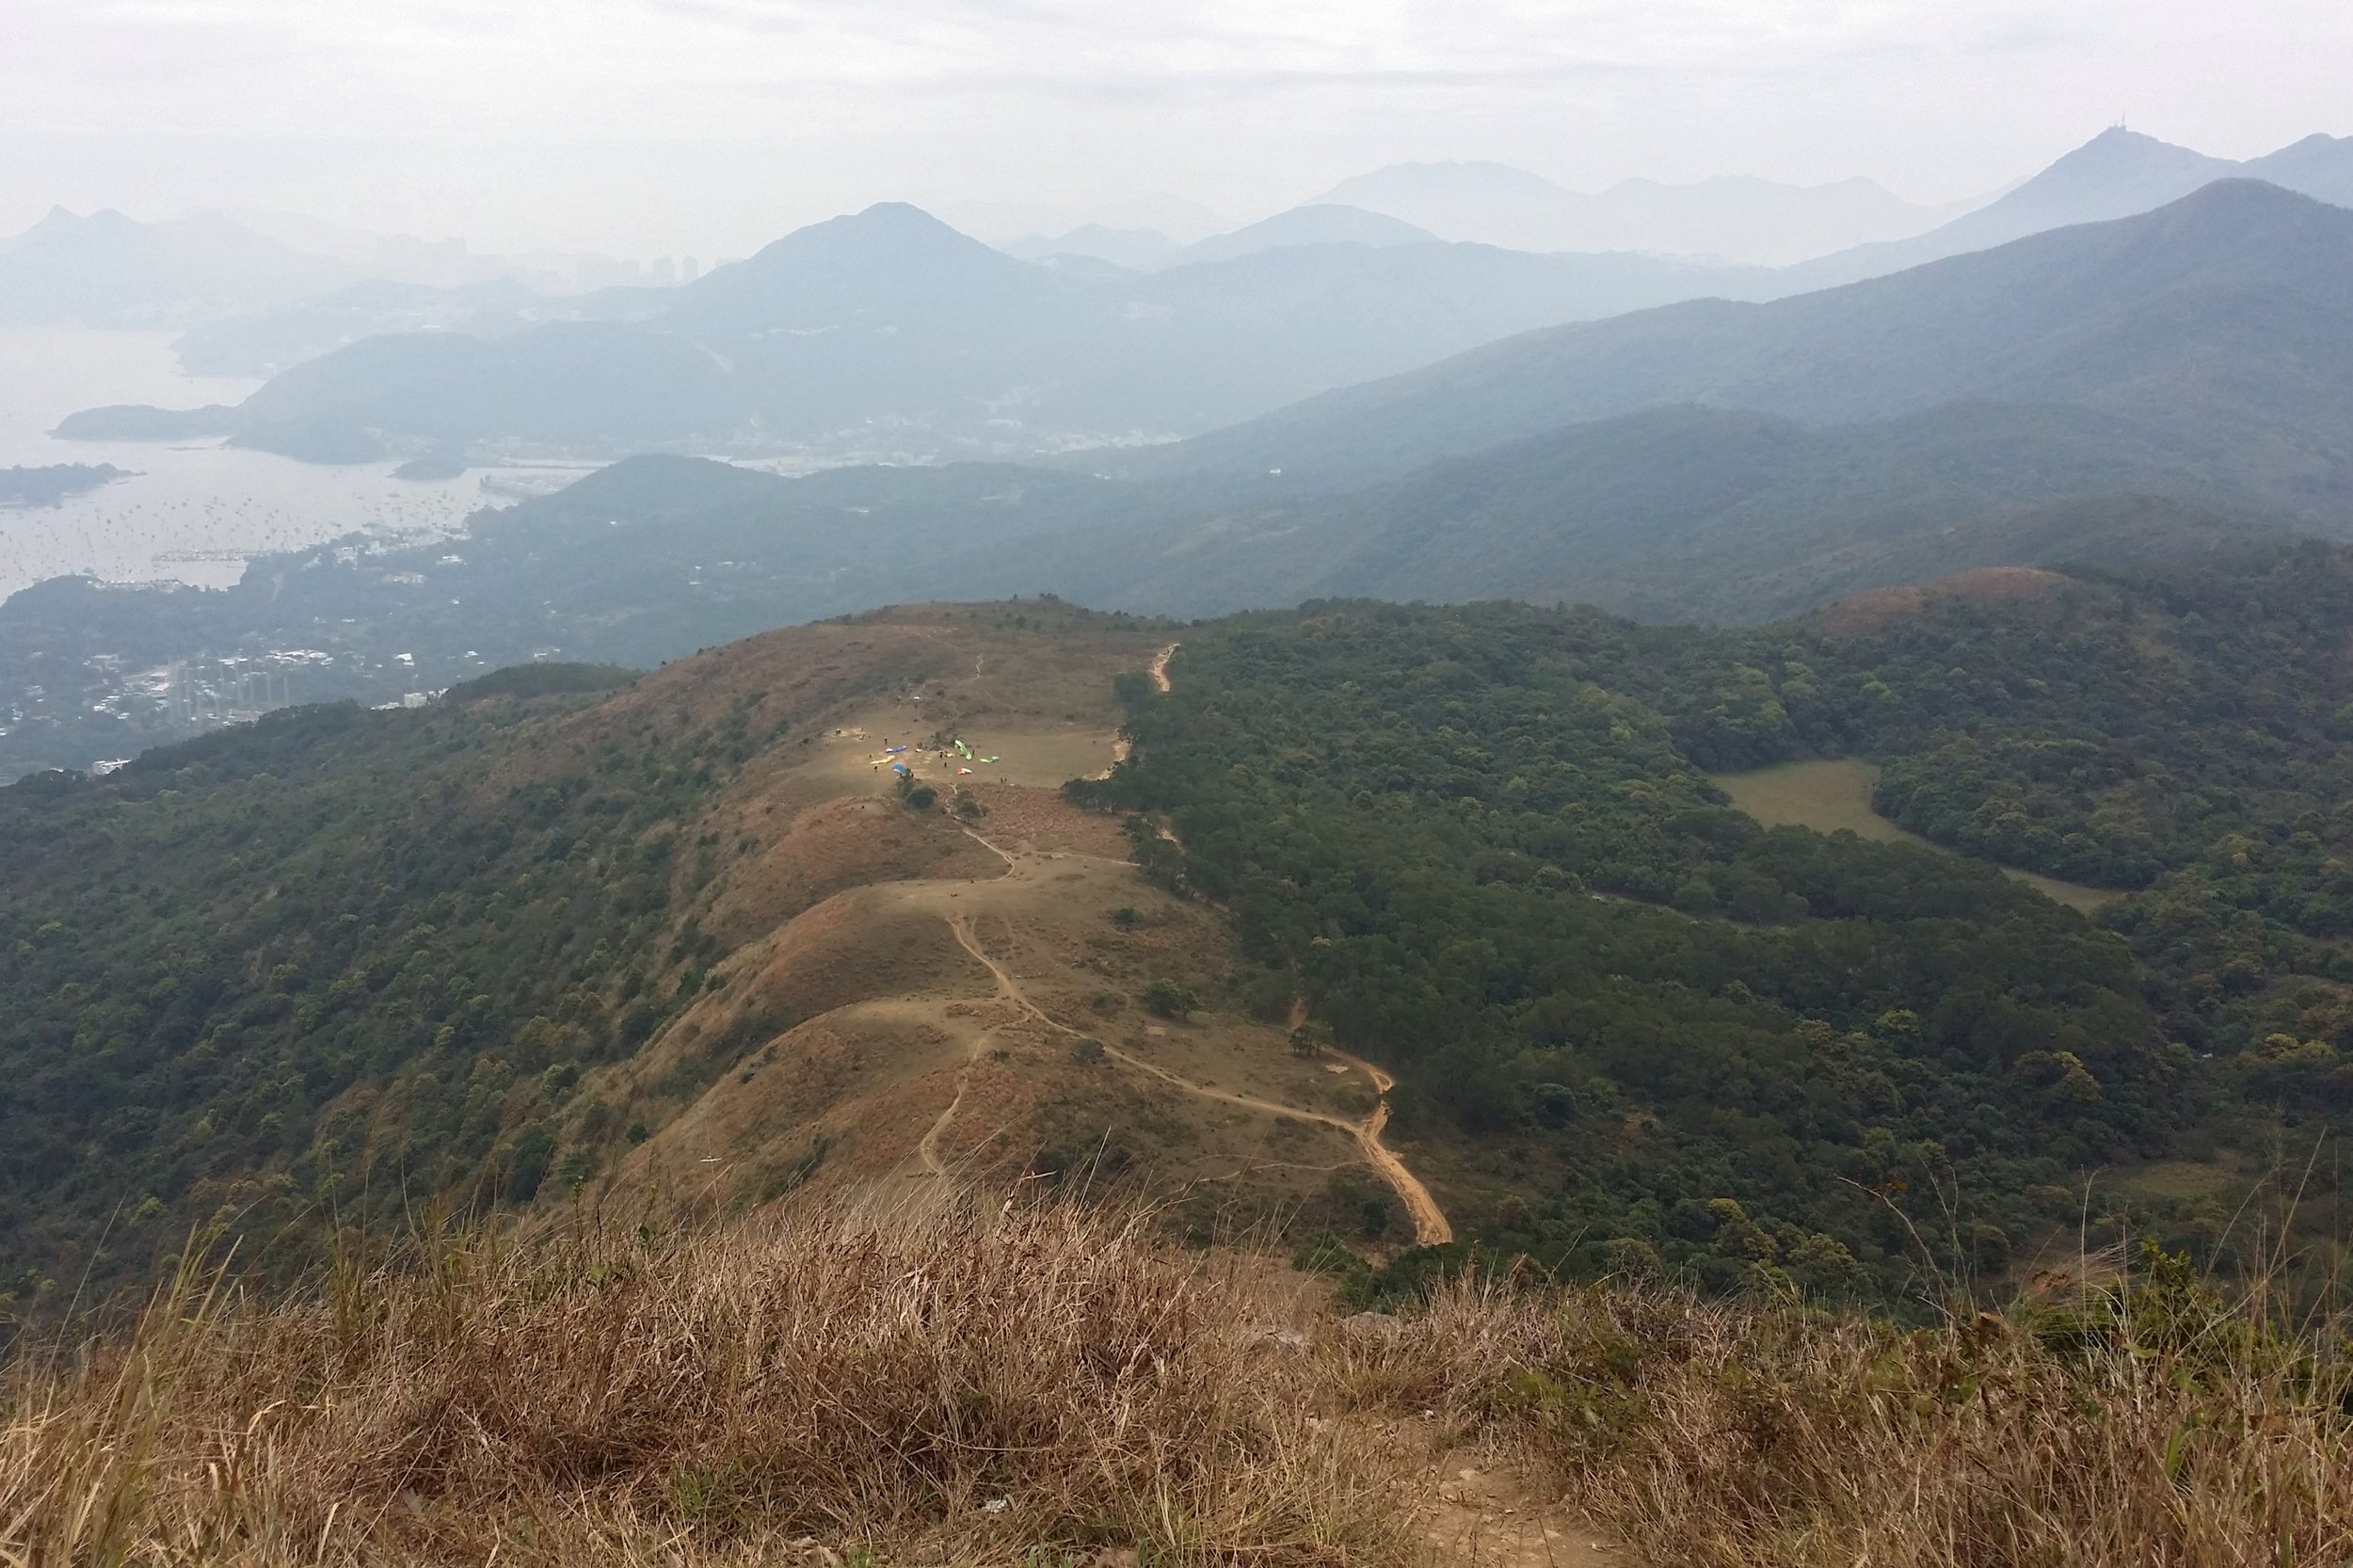
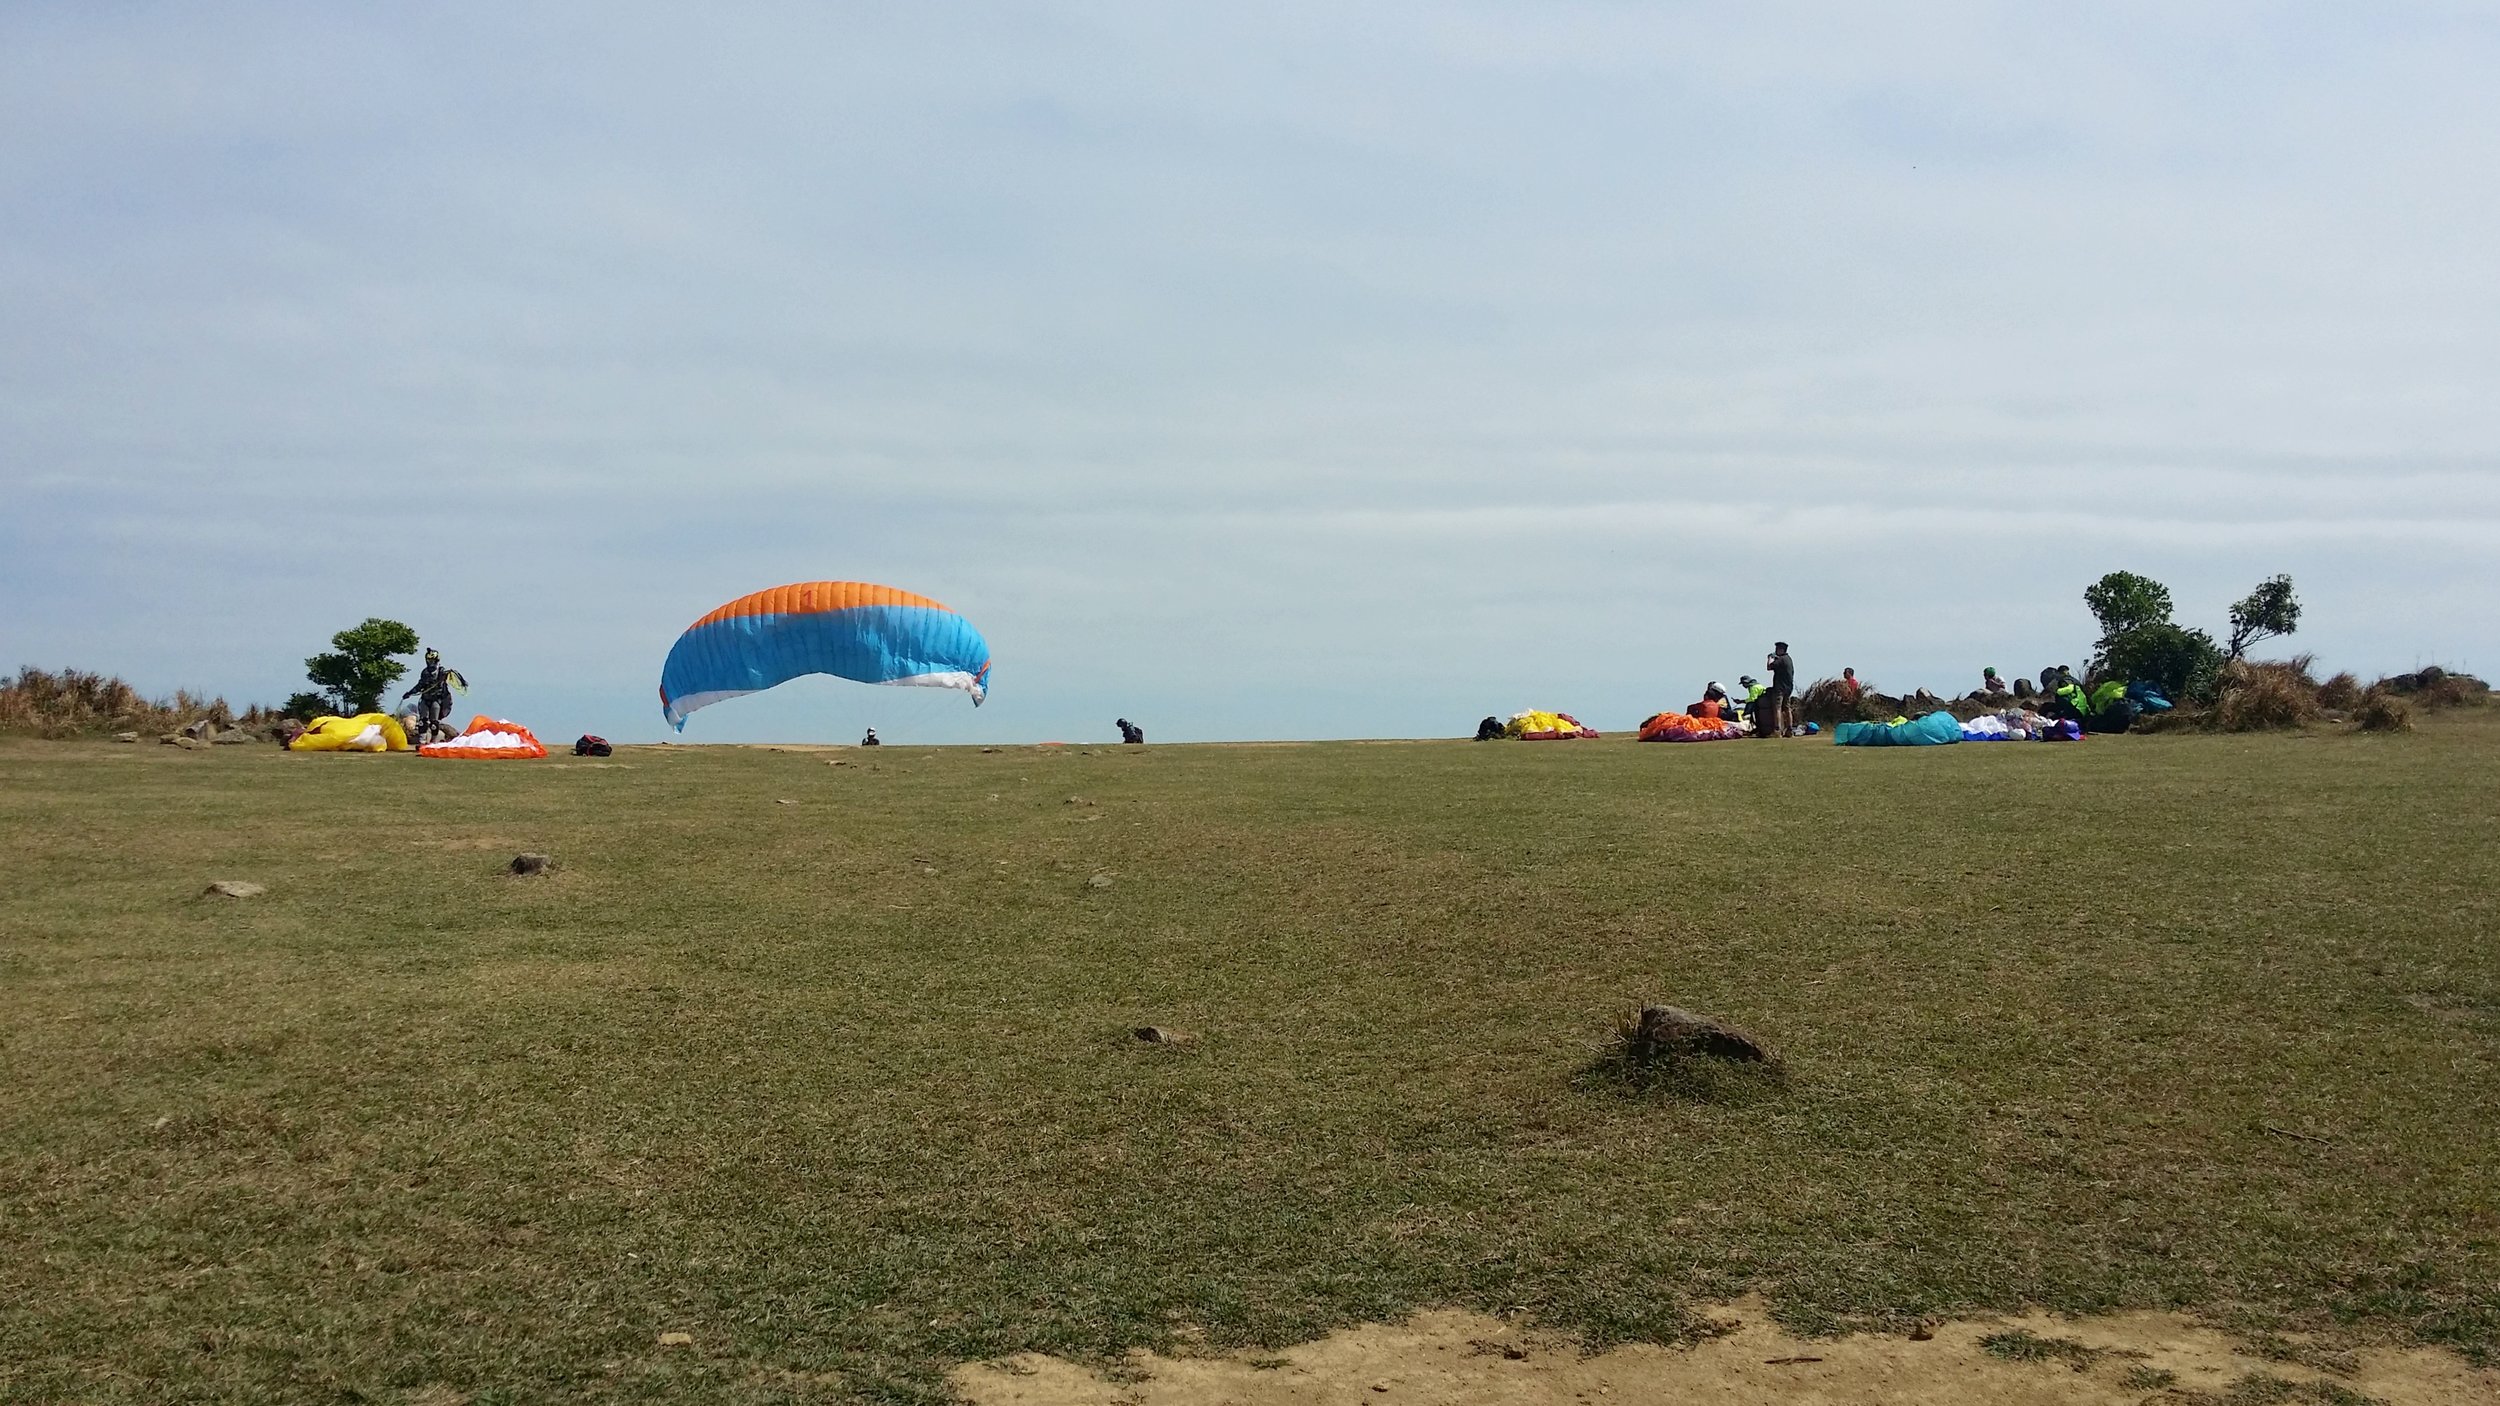
Before you head down, you will see some people flying their drones or electronic airplanes around the area. If you are lucky, you will also get to see some adrenaline junkies doing paragliding. The hike down via Tai Shui Tseng will take about 1 hour to 1 hour and a half to finish. It is slightly steep but there are plenty of big rocks to help you out whilst you go down.

Once you start stepping on concrete stairs then that is when you will know that the hike is almost over. From there, you may take a minibus or a taxi back to Sai Kung or anywhere you wish to go. 


THINGS TO BRING AND WHAT TO WEAR

  • Small towel
  • Hiking pants/ jogging pants (no jeans/denim!)
  • Short/ Long-Sleeve Shirt
  • Hiking shoes
  • Trekking pole - can be useful when descending 
  • Extra shirt - for changing
  • Cap - to protect your face from sun exposure
  • Umbrella/ waterproof jacket with hoodie - in case of rain 
  • Windbreaker jacket (optional) - It will be very windy in the middle of the hike from Violet Hill path to Tse Long Bridge
  • Toiletries - tissue/ wet tissue, sunscreen, OFF spray (to avoid insects)
  • Portable charger
  • Water - 1.5L
  • Snacks - fruits (apples or bananas), boiled eggs, protein/ energy bars, digestives biscuits or bread


OVERALL EXPERIENCE

My whole experience in this hike is beyond nice and calm. It is not very tiring nor struggling. The view up in the Pyramid Hill is probably the best part. I have never seen anything like this in Hong Kong. I will never forget clambering up the Pyramid Hill. It was quite the challenge. 


If you have any concerns or questions about this hike, feel free to contact me or leave a comment below. I will be more than happy to help.


Yours Truly,

Michelle Chan

The Violet Hill & The Twins Hike

coverpsage.jpg

During the festive season of this year's Chinese New Year, there are many things to do and to visit in Hong Kong. It is very busy and joyful everywhere, even in the countryside areas. Hiking is probably one of the most famous activities to do around this time. 

There are many good hiking spots in Hong Kong and almost every hike has different elements and experience for each hiker. In the meantime, this blog is about my experience hiking the Violet Hill and The Twins. 


A HIKE WITH THOUSANDS OF STEPS

Have you ever heard of such thing? Well, there are plenty of places to hike that consists of thousands of steps in Hong Kong. However, thousands of steps in Hong Kong means stepping on some endless flight of stairs. This could be a turn off to many people as stairs are often regarded as annoying and overwhelming, especially to the lazy bums. In my opinion, the stairs aren't that bad when hiking The Twins. Normally I would find stairs very annoying as I prefer climbing up steep rocks and steep paths rather than stairs. The only time I truly enjoy stairs is when going down. Fortunately, this hike was my favorite to my deepest surprise. 


THE VIOLET HILL

There are plenty of beautiful flowers including the violet-colored flowers and some butterflies and dragonflies species around the hill. This is how this hill got its name. Hiking the Violet Hill offers nice panoramic views of Jardine's Lookout, Mount Parker and as well as Tai Tam Reservoir. You may see why it is named after Violet Hill whilst climbing up The Twins. One has to look back to see it of course. 


THE TWINS

There are 2 twins to climb up and down. The first twin is probably the longest one to ascend and it is steeper than the second twin. Each twin should take about 30 minutes (depending on speed and resting time). Climbing The Twins can be slightly difficult, most especially for those who do not hike a lot or exercise regularly. The reward for conquering it though is very satisfying. The negative side of hiking The Twins is that there isn't any shade or resting place for you to properly rest. You must climb up the two twins in order for you to reach the Compass station and finally rest there before descending. 


BASIC INFORMATION OF THE HIKE

DURATION - 3-4 hours (depending on speed and resting time)

DISTANCE - About 6km (depending on routes) 

DIFFICULTY LEVEL - Medium (but can be challenging and tiring when climbing up The Twins)

CELLPHONE/ INTERNET COVERAGE - Everywhere

BEST TIME TO HIKE - Autumn, Winter or Spring (Definitely not during the summer as there are no shades or resting point in the hiking route)

STARTING POINT - Wong Nai Chung Reserviour

FINISHING POINT - Stanley Gap Road


HOW TO GET THERE AND WHAT TO TAKE

CONVENIENT AND EASIEST WAY TO START THE HIKE

Take MTR to Central or Wanchai Station, from there take the bus no. 6 via Stanley Prison (Exchange Square bus terminus in Central and Wanchai Market in Wanchai). Get off at "Wong Nai Chung Reservoir Park, Wong Nai Chung Gap Road". The bus will stop by the Petrol station and find the signpost on the right to Tai Tam Road. It's about 10 minutes walk to Wong Nai Chung Reservoir Park. Once you reach the park, you may take some time to look around at the reservoir and this is also the last stop for any proper toilet breaks. 

Also, make sure that you find the hiking map post and walk straight up to the left until you see a signpost to Hong Kong Parkview. This is where you start the hike to Violet Hills then to The Twins. 

REACHING STANLEY GAP ROAD AFTER THE HIKE

The hike will end at Stanley Gap Road. From there, there are buses to take to go back to the low land (Central, Aberdeen, Causeway Bay or Wanchai). However, if you wish to visit Stanley and if you have plenty of time to do so, you may take bus no. 6, 6A, 260 or 73 to Stanley. The bus stops in Stanley Market, Stanley Beach, Stanley Prison and many others. You may also choose to walk over to Stanley. It will take around 20-30 minutes. However, there is no footpath, so you must be very careful when walking to Stanley. 

You may also take a taxi to leave Stanley Gap Road but it may take some time to hop into one. 


HIKE DIARY

BUS RIDE TO WONG NAI CHUNG ROAD

As mention above in "How to get there and what to take", the easiest way to get to Wong Nai Chung Road is by taking bus no. 6 (via Stanley Prison). The bus ride normally takes around 15-20 minutes. Beware though as the bus ride may be bumpy and wobbly since you are going uphill. 

TAI TAM ROAD TO WONG NAI CHUNG RESERVOIR PARK

After getting off at Wong Nai Chung Road, find the signpost to Tai Tam Road on the right side beside the petrol station. It is about 10 minutes walk up to reach the Wong Nai Chung Reservoir Park. From there, you may take some quick tour around the park and this is also the last source for a toilet break. 

HONG KONG PARKVIEW VIA STANLEY TRAIL

This is where you start the hike. Be sure to find the signpost for Stanley Trail by walking straight uphill from the entrance of Wong Nai Chung Reservoir Park. The hike starts up with a few stairs up and followed by a ridge. Over there, you will see plenty of beautiful flowers and a glimpse of Wanchai and Kowloon views from a distance. 

THE VIOLET HILL

Hiking up the Violet Hill takes around an hour if you are taking a steady and relaxing hike. You will enjoy the panoramic views of Jardine's Lookout and Mount Parker once you've reached the hilltop. The south side of the Tai Tam Reservoir can also be seen whilst in Violet Hill. I must say that this is a peaceful hike. 

TSZ KONG BRIDGE (TSIN TSUI WAN AU)

The hike will take you directly to Tsz Kong Bridge also known as Tsin Tsui Wan Au. From here, there are 2 different paths - To Repulse Bay on the right side from the catchwater or you may go straight to climb The Twins and end the hike at Stanley Gap Road. Before you start climbing, make sure to take a quick rest and have a light meal and a good stretch to prepare yourself before climbing for what its known, the thousands of steps. 

FIRST TWIN

So this where your struggle begins, the first twin approximately takes around 20-30 minutes to finish. Well, it really depends on your speed, however, there are no proper spots for you to properly rest and the stairs are good for 2 people to fit in, so you may probably have to move aside whenever someone is passing whilst you are resting. The first twin consists of 1000 steps. After you're done ascending the first twin, you will pass by a ridge for a good 5 minutes and start to descend down to meet the other twin. 

On another note, you may take a look back at Violet Hill and witness the beauty of it and to understand better why it is named after Violet Hill. 

SECOND TWIN

Climbing up the second twin is actually a lot faster than the first twin. It is also a 1000 stairs for the second twin. There are some numbers drafted on the concrete stairs such as 100, 300, 500, 700, 900, 959 and 1000. Whoever did this is probably a genius. It helps motivate the hikers to keep going until they've completed the 1000 steps. Climbing the second twin took around 20 minutes. 

THE MOST REWARDING VIEW

The most rewarding part is when you've finally reached the Ma Kong Shan Compass Station. This is where you get to rest properly as there are benches around the station, an overview map of the area and of course let's not forget about the most spectacular view in this entire hike, which is seeing the peninsula of Stanley with your own eyes.

STEEP DESCEND AND MORE STAIRS DOWN

Going down can be challenging to the least experience hikers as it can be quite steep, however, it is quite safe as long as you are careful with what you step on. Whilst you're at it, be sure to check out the views right in front of you. 

ENDING THE HIKE AT STANLEY GAP ROAD

Once you've met some proper concrete stairs down, this is when you know that the hike is almost over. Be careful not to trip yourself as stepping down through the stairs can be steep. It takes around 15-20 minutes to walk down and finally ending the hike in Stanley Gap Road. From there, there are buses going back to Central, Wanchai, Causeway Bay, Aberdeen or to Stanley. 

STANLEY

After the hike, we decided to go to Stanley and visit the markets, beach and have a proper and well-deserving meal after finishing a hike. There are plenty of good restaurants at the beach side, so for those who want to dine in will never run out of options. 


THINGS TO WEAR & BRING WHEN HIKING

  • Small towel
  • Hiking pants/ jogging pants (no jeans/denim!)
  • Short/ Long-Sleeve Shirt
  • Hiking shoes
  • Trekking pole - can be useful when descending 
  • Extra shirt - for changing
  • Cap - to protect your face from sun exposure
  • Umbrella/ waterproof jacket with hoodie - in case of rain 
  • Windbreaker jacket (optional) - It will be very windy in the middle of the hike from Violet Hill path to Tse Long Bridge
  • Toiletries - tissue/ wet tissue, sunscreen, OFF spray (to avoid insects)
  • Portable charger
  • Water - 1.5L
  • Snacks - fruits (apples or bananas), boiled eggs, protein/ energy bars, digestives biscuits or bread


OVERALL EXPERIENCE

The hike was very good overall. Frankly speaking, this is quite an easy hike, however, I have to say that it is quite tiring too due to the never-ending stairs when climbing The Twins. The hike is easily accessible and there were signposts everywhere, so it is easy to trek. The only downside in this hike is that there isn't any resting spot to take a quick rest, especially not in The Twins. 

Other than that, the hike was peaceful, although a bit crowded it is understandable during this festivities. I honestly wouldn't mind hiking The Twins again. This hike is actually good for exercise and making your legs stronger. 


I hope the information I had written on this blog will be of use and helpful in planning your hiking trip. Feel free to reach out if you have any concerns or questions. I will be more than happy to help. 


Yours Truly,

Michelle Chan
 

Tiger's Head (Lo Fu Tao) Trail in Hong Kong

cover.jpg

As the new year arrives and now it is the winter season in Hong Kong. This is the best time to hike as the weather is cool and it is quite refreshing to hike in this kind of weather. HIkers won't have to deal with the super ridiculous hot and humid weather during this winter season. 

There are many good hiking spots in Hong Kong and almost every hike has different elements and experience for each hiker. In the meantime, this blog is about my experience hiking the Tiger's Head located in the Northeast Lantau Island. 


TIGER'S HEAD

intro.jpg

The Tiger's Head hike is also known as Lo Fu Tao (in Cantonese, which also means Tiger's Head) is one of the most pleasant and scenic hikes in Hong Kong. The hiking route connects from Northeast of Lantau Island to Discovery Bay and it can easily trek for a good 4 hours. There are 3 major stone attractions for hikers to see - "Sword Testing Stone", "Peach Stone" and "Strange Duck Stone". The most remarkable stone will be the Tiger's Head itself, however, you will only get a better view of it once you reach Discovery Bay and you may look up the hill as if like the tiger's head is staring at the entire Discovery Bay. 


BASIC INFORMATION

DURATION - 3-4 hours (depending on speed and resting time)

DISTANCE - 8-12 km (depending on routes)

DIFFICULTY LEVEL - In between Easy-Medium (Moderate), so 2/4 would be an ideal rate

CELLPHONE/ INTERNET COVERAGE - Everywhere

STARTING POINT - Pak Mong Village in Tung Chung (Lantau Island)

FINISHING POINT - Discovery Bay

(From Discovery Bay, there are plenty of transportation options to get back home. There are buses going back to Tung Chung or Sunny Bay MTR stations and Ferry service to Central)


HOW TO GET THERE AND WHAT TO TAKE

CONVENIENT AND EASIEST WAY TO START THE HIKE (FROM TUNG CHUNG)

Take MTR to Tung Chung, from there take a taxi to Pak Mong Village. Pak Mong Village is where you start the hike to the Tiger's Head. The taxi fare should be around less than 10 minutes and it cost around HK$40-45 per taxi. There are some signs of where to start the hike. 

Whilst there are also other routes to start the hike, however, this is so far the best and most recommended way to start the hike to the Tiger's Head especially if you are in a big group. 


REACHING DISCOVERY BAY AFTER THE HIKE

There are 2 different options to take to leave Discovery Bay unless of course, that's where you live. There is ferry service in the ferry area back to Central and some buses to Tung Chung and Sunny Bay, from there you may take the MTR. The bus stops right outside the MTR station, so it is super convenient. 


HIKE DIARY

TUNG CHUNG TO PAK MONG VILLAGE

As mentioned above, we started our hike from Tung Chung. We took a taxi to Pak Mong Village. The taxi ride took us around less than 10 minutes for a reasonable price. Pak Mong Village is a private area, so taxis are not allowed to enter the area and so you need to walk through the village to the actual starting point of the hike. 

pak mong village.jpg

I was told that this trail was built during the Olympics for athletes or runners to practice their running routines. We have encountered a few runners doing their running business while we are hiking up. The concretes were smooth, although there were plenty of stairs. 


START OF THE TREK AND QUICK REST AT THE PAVILION

We started our trek by ascending some stairs and whilst enjoying the nature around us. There is a small pavilion for hikers to take a quick rest before continuing the hike. From there, we can already see some beautiful scenery.

pavilion.jpg


BEAUTIFUL TREES AND MORE SLOPES

I have hiked many hiking spots in Hong Kong but this is the first time I actually encounter a lot of fresh looking and beautiful trees. 


SWORD TESTING STONE

We finally reached the first stone, at first I thought that this is the tiger's head from afar but it is actually a "Sword Testing Stone". We spent some time to take some pictures here and while we are taking pictures and resting, we have captured some hawks flying around the hills. They are beautiful but they are also very quick, so I couldn't take a picture of it that would look clear enough. 


STROLLING AROUND STRANGE DUCK STONE

We didn't hesitate to climb up the "Strange Duck Stone" and strolling around there like a playground for a bit. The stones are so huge and it is quite slippery, so be careful when you climb up and avoid cutting yourself. 


DESCEND DOWN TO DISCOVERY BAY

After all that thrilling experience and our snack break, it is time to descend down to Discovery Bay. The hike down is quite steep and there are plenty of small, bits of pieces of stones or rocks around the trail, which is why it is a bit challenging to hike down. However, there are breaks in between, from the steep trail to stable slopes then back to the steep trail. 

You would only know that you are close to finishing the hike once you see some stable concrete stairs. There are plenty of stairs though, so I would really say you must be very patient.

Almost there!

Almost there!


REACHING DISCOVERY BAY

The end of the hike was probably the most rewarding feeling. As soon as we finish, we started seeing golf carts strolling around the road. From there, we took a bus ride to Sunny Bay MTR station to go back home. 


THINGS TO WEAR & BRING WHEN HIKING

  • Small towel
  • Hiking pants/ Jogging pants
  • Short/ Long-Sleeve Shirt
  • Hiking shoes
  • Trekking pole - can be useful when descending
  • Extra shirt - for changing
  • Cap - to protect your face from sun exposure
  • Umbrella/ waterproof jacket with hoodie - in case of rain
  • Toiletries - tissue/ wet tissue, sunscreen
  • Portable charger
  • Water - 1.5L
  • Snacks - fruits (apples or bananas), eggs, protein bars, digestives biscuits or bread
  • Small camera (optional)
  • Off spray - to avoid insects biting you


OVERALL EXPERIENCE

Screenshot_2018-01-17-23-26-24.png

The hike was relaxing and not very difficult. The only mild struggle that I had was on my way down from those steep hill. However, I brought along my best friend and savior - my trekking pole with me, so It helped me balance myself as no matter how many times I have done hiking/ trekking, descending down some steep hills is probably my weakness. 

Other than that, the hike was well rewarding and It was peaceful and not very crowded.I wouldn't mind doing this hike again in the future and I would definitely recommend people to hike in Tiger's Head. 


I hope the information I had written on this blog will be of use and would help plan your hiking trip to this spectacular hiking spot in Hong Kong. Feel free to message me if have any concerns or questions. I will be more than happy to help. 


Yours Truly,

Michelle Chan
How To Prepare A Boodle Fight

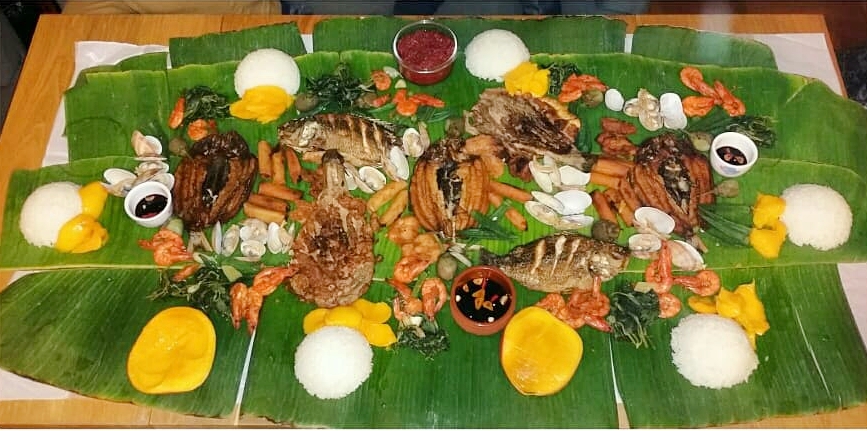
Photo credit - Kenny Cheung

Photo credit - Kenny Cheung

WHAT IS A BOODLE FIGHT?

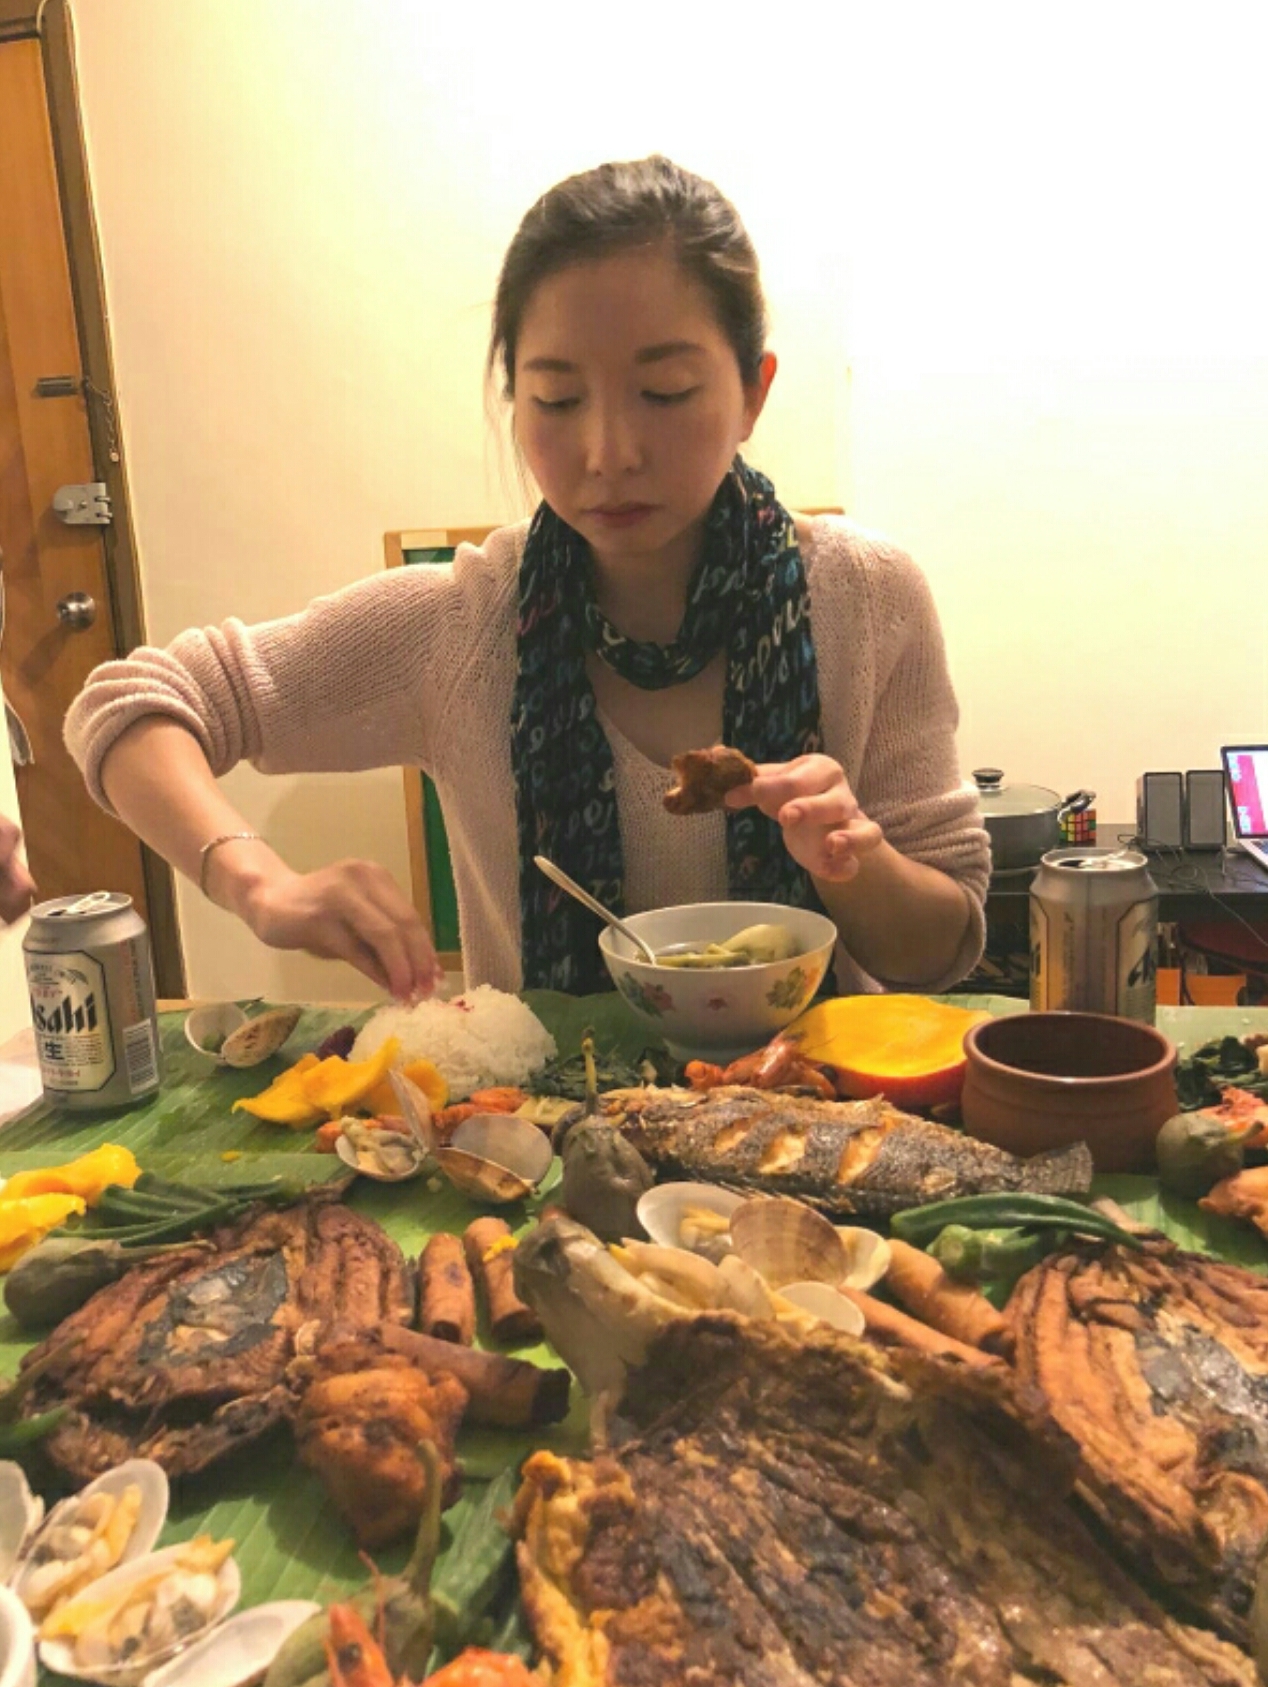
Boodle Fight was inspired by the military style of eating. This is a kind of feast that is meant for sharing, sharing all the food. Whilst the food is served and spread on some banana leaves in a long table. Other than banana leaves, you must use your bare hands to eat. Utensils are strictly prohibited as a sign of respect of following the old traditional Filipino culture. 

Boodle Fight does not mean it's a food fight unless of course, you want to go into that kind of level and test your friendship with your friends. However, Boodle Fight is supposed to be a friendly type of feasting and not something you stress on. 


BOODLE FIGHT RULES

Here are some of the basic yet important rules of Boodle Fight. It's not very hard, in fact, it is quite simple and straightforward. 

  • No using of utensils. No spoons. No forks. No chopsticks!
  • Only use your bare hands to eat
  • Must finish all the dishes presented on the table 
  • No toilet breaks until food are all done
  • Must try all kinds of dishes, except for those who can't eat certain dish 


THINGS YOU NEED FOR BOODLE FIGHT

  • Banana leaves - We use banana leaves as a traditional way on how to prepare a Boodle Fight
  • Aluminum foil - We use the foil underneath the banana leaves, to avoid any food or sauce spilling onto the table
  • White plastic bags - Alternate for the foil, if you are on a budget then using white plastic bags will be more ideal
  • Long rectangular table - The best way to have a Boodle FIght and easier to make food arrangements, however, using circular table could also work nicely
  • Chairs - Be sure to have enough chairs for everyone to enjoy their meal by not standing up, however, if you want to be spontaneous then you may do it on the floor by placing a low rectangular or circular table and by sitting down on the floor with some mats 
  • Tissues - This is a must to have during the Boodle Fight
  • Wet Tissues - This is also good to have while eating 
  • Containers for sauces & spices (Bowls or Tupperware) - It will be nicer to have an individual cups for sauces for everyone but it could work nicely also for sharing


WHO TO INVITE FOR BOODLE FIGHT

In case you are wondering who to really invite for your Boodle Fight, then here are some tips for you. 

THE BIG EATERS

Take note that Boodle Fight will be filled with many delicious dishes, which means all of these dishes must be finished. So inviting your big eaters' friends or families would be a perfect choice. This also means that you don't have to worry about wasting food and having too many leftovers.

WILLING TO EAT WITH HANDS ONLY

Boodle Fight means strictly no spoons, no forks and definitely no chopsticks. We use our bare hands to eat the food on the table. Make sure to pick people who are open to using their hands for eating and also make sure that they all wash their hands before starting the feast. 

PEOPLE WHO ENJOY TRYING OUT NEW DISHES

Boodle Fight is not only for the Filipinos, it is welcome for everyone to try this feast, most especially the ones who are culture friendly and who are certified food lover or what Internet would call them - "Foodie". 


BOODLE FIGHT FOOD ESSENTIALS

  • Plain Rice/ Java Rice/ Garlic Rice - Rice is a must and must not be forgotten
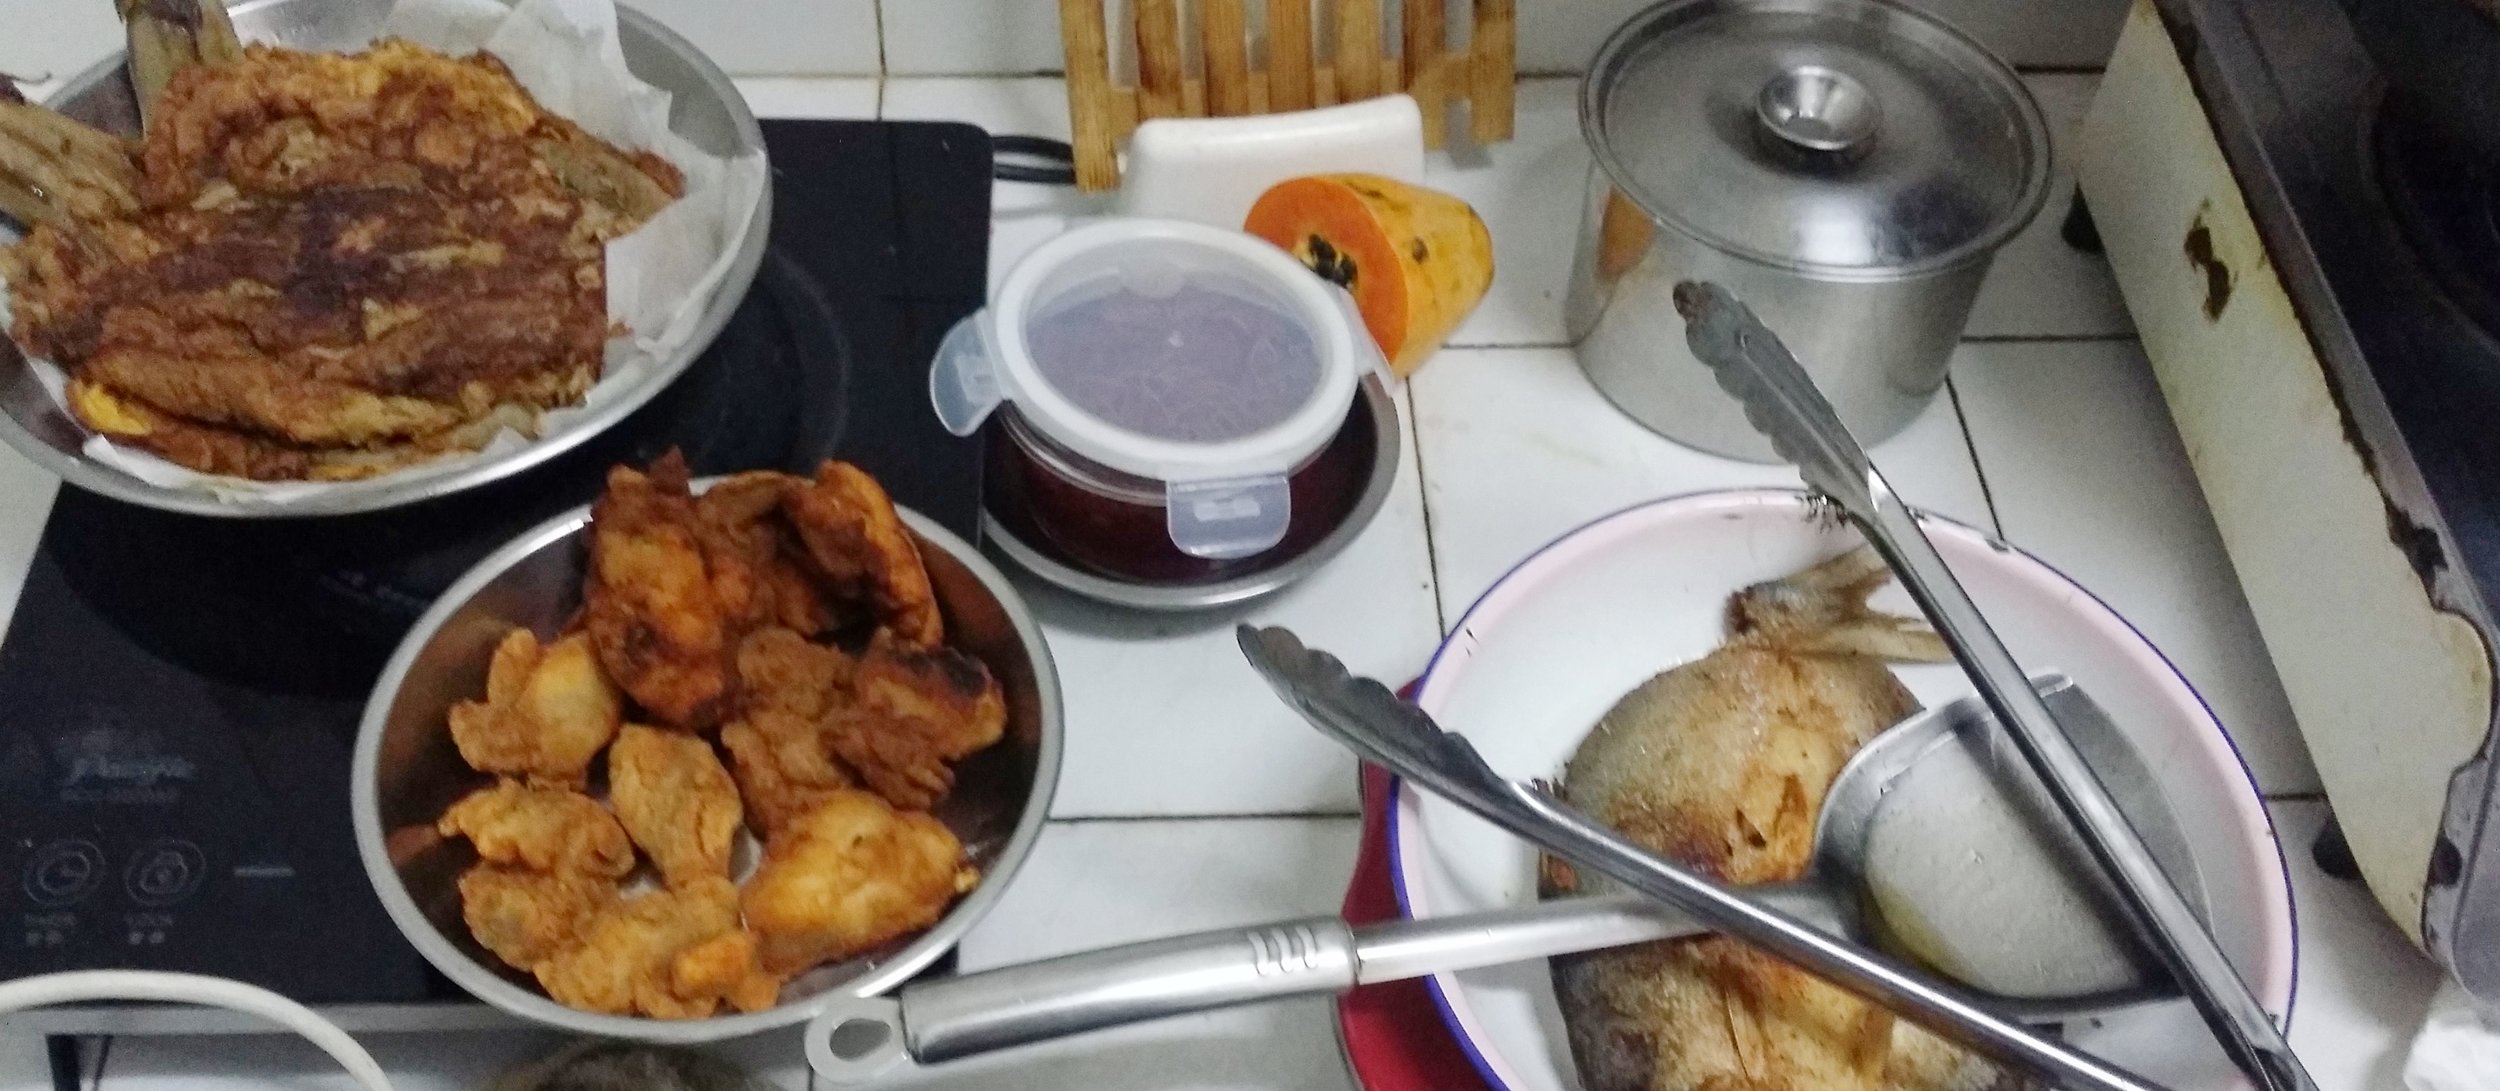
  • Grilled Bangus (MIlkfish) - A must have and best to marinate it days before
  • Fried Tilapia - A famous Filipino fish dish
  • Tortang Talong (Egg Omelet) 
  • Adobong Manok/ Adobong Pusit - Very essential and Boodle Fight will not be complete without it
  • Salted Eggs - Everyone love to have at least 1 whole piece of egg on the side
  • Pinakbet - This mix stir-fry vegetables is simple but delicious and colorful
  • Mangoes, Pineapples - Best fruits to pair with the food 
  • Blanched Vegetables (Okra, Spinach, Tomatoes, Kang Kong/ Morning Glory) - Something healthy
  • Buttered Shrimp - Something a little bit fancy
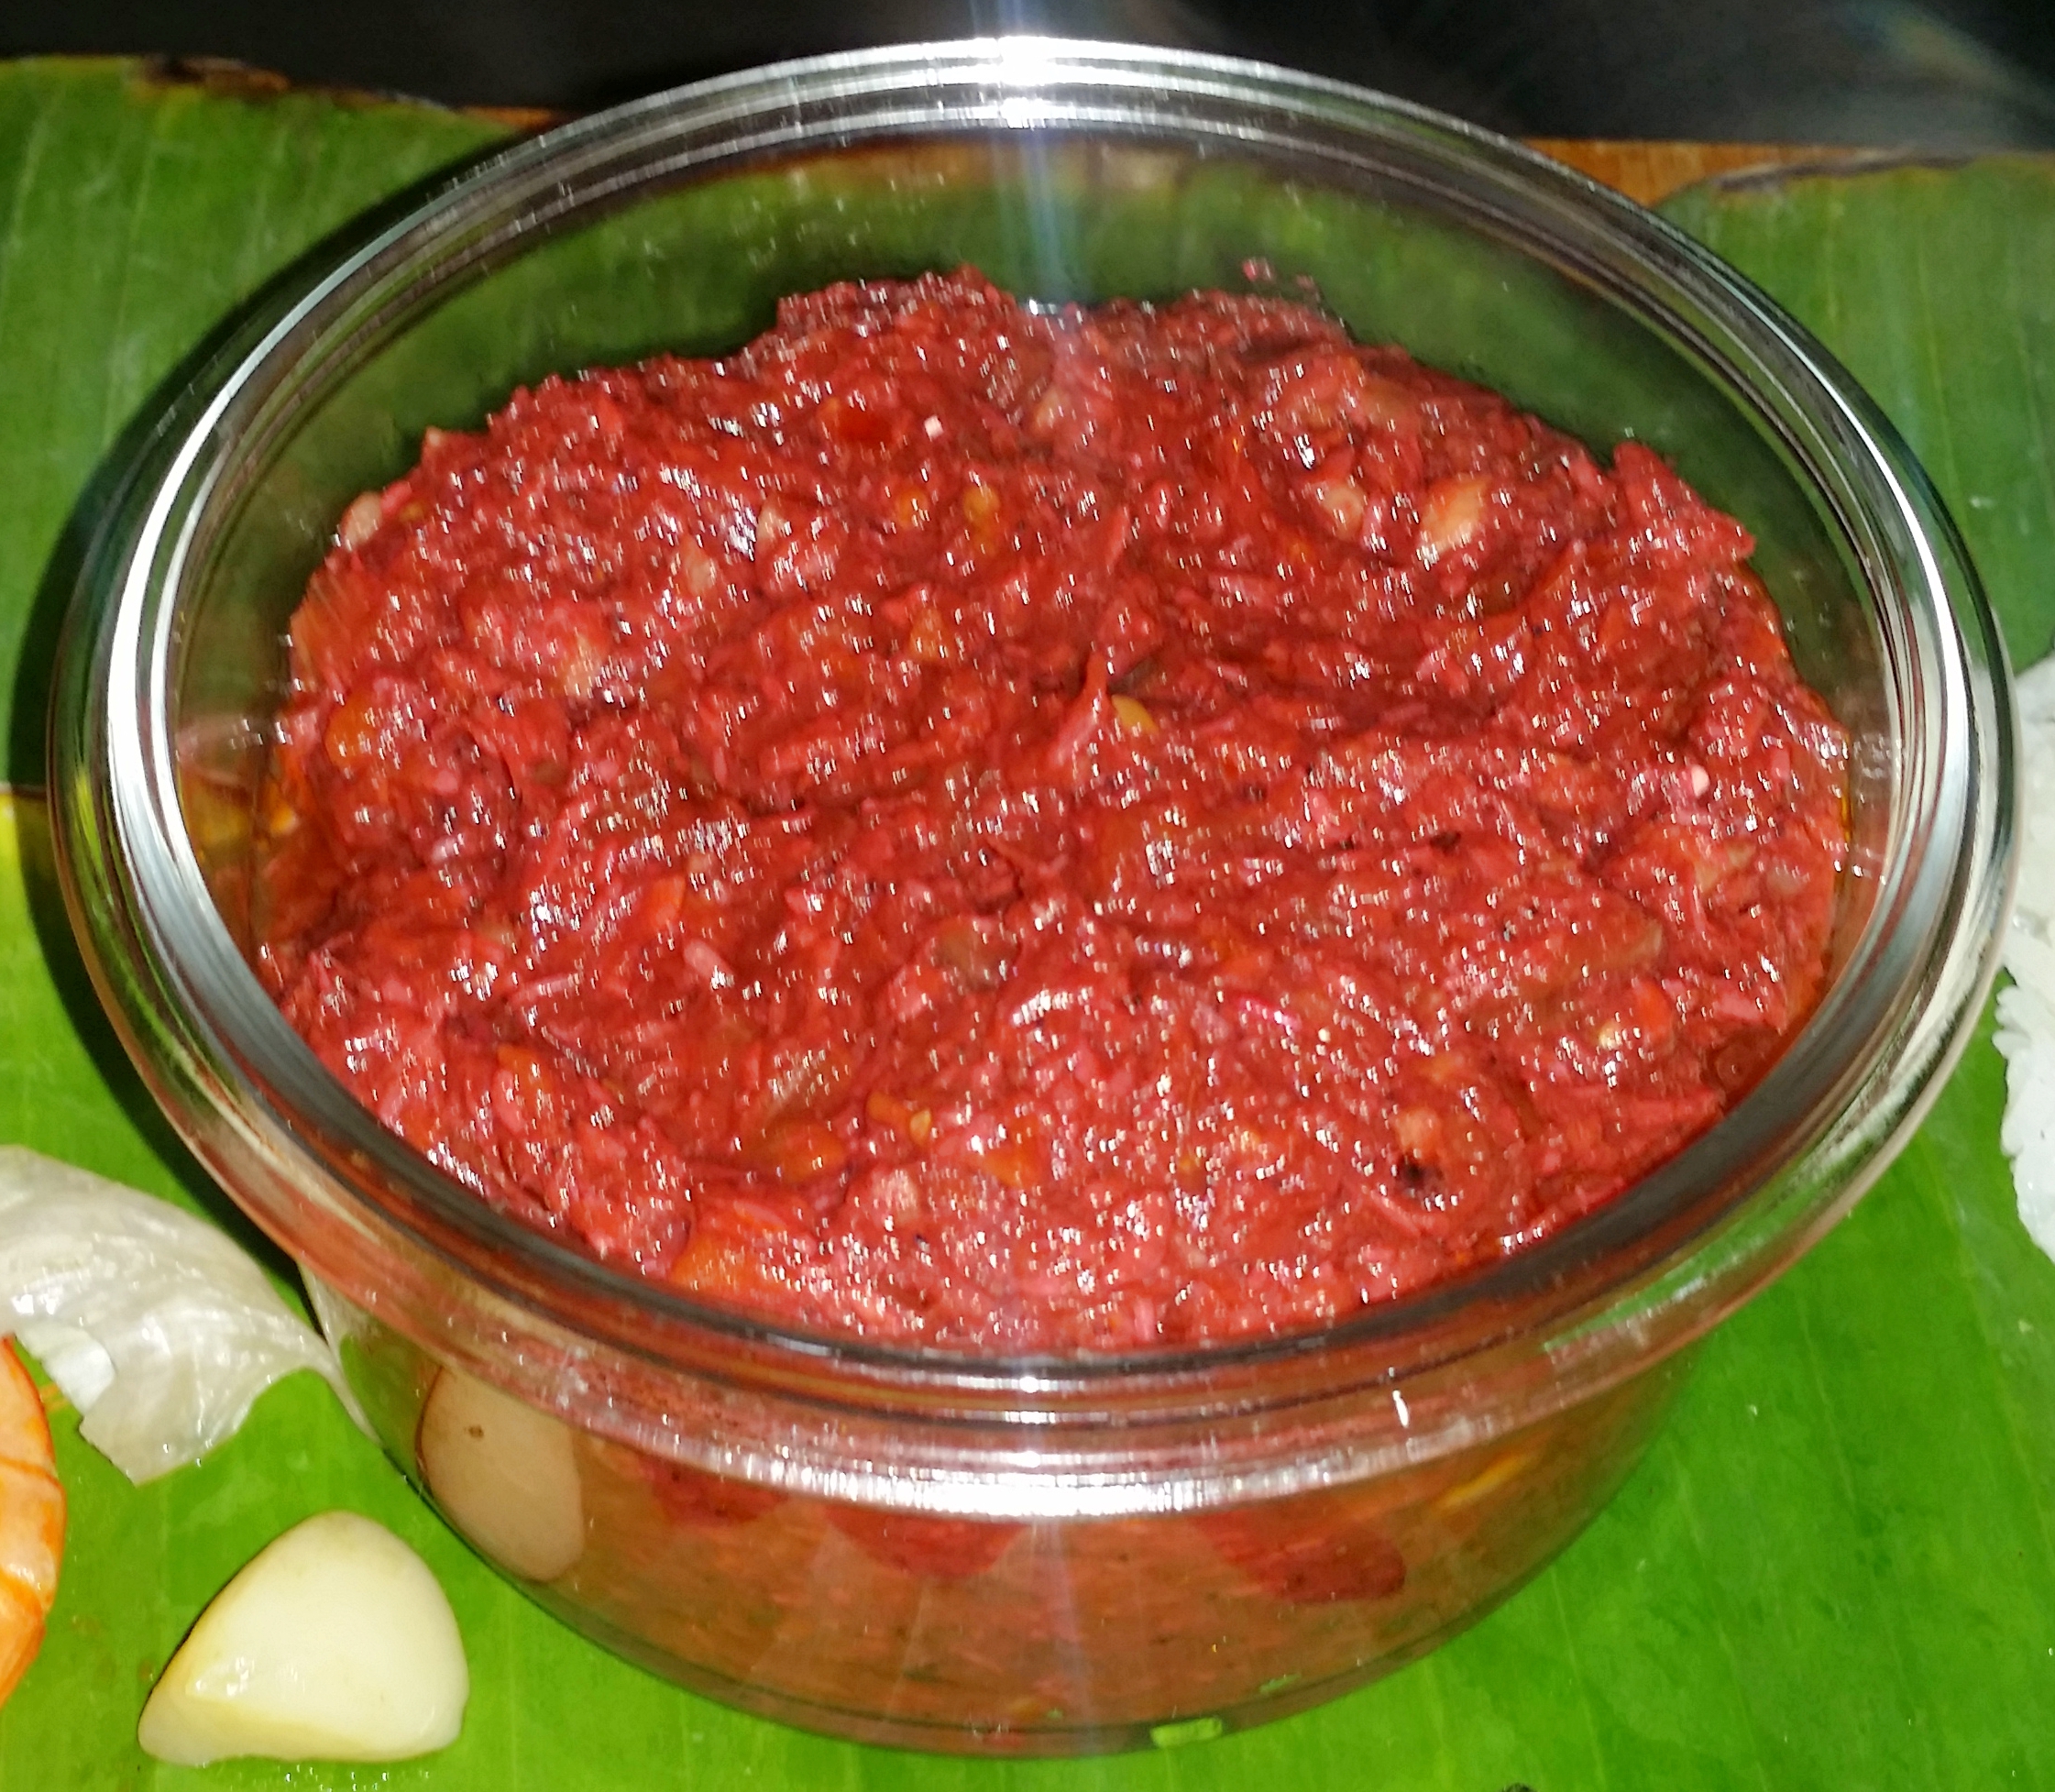
  • Bagoong Alamang Sauce - This sauce is best paired with most of the dishes
  • Pancit Bihon/ Pancit Canton - Noodles for long life!
  • Grilled Isaw - Something grilled and unhealthy wouldn't be too bad for a night 
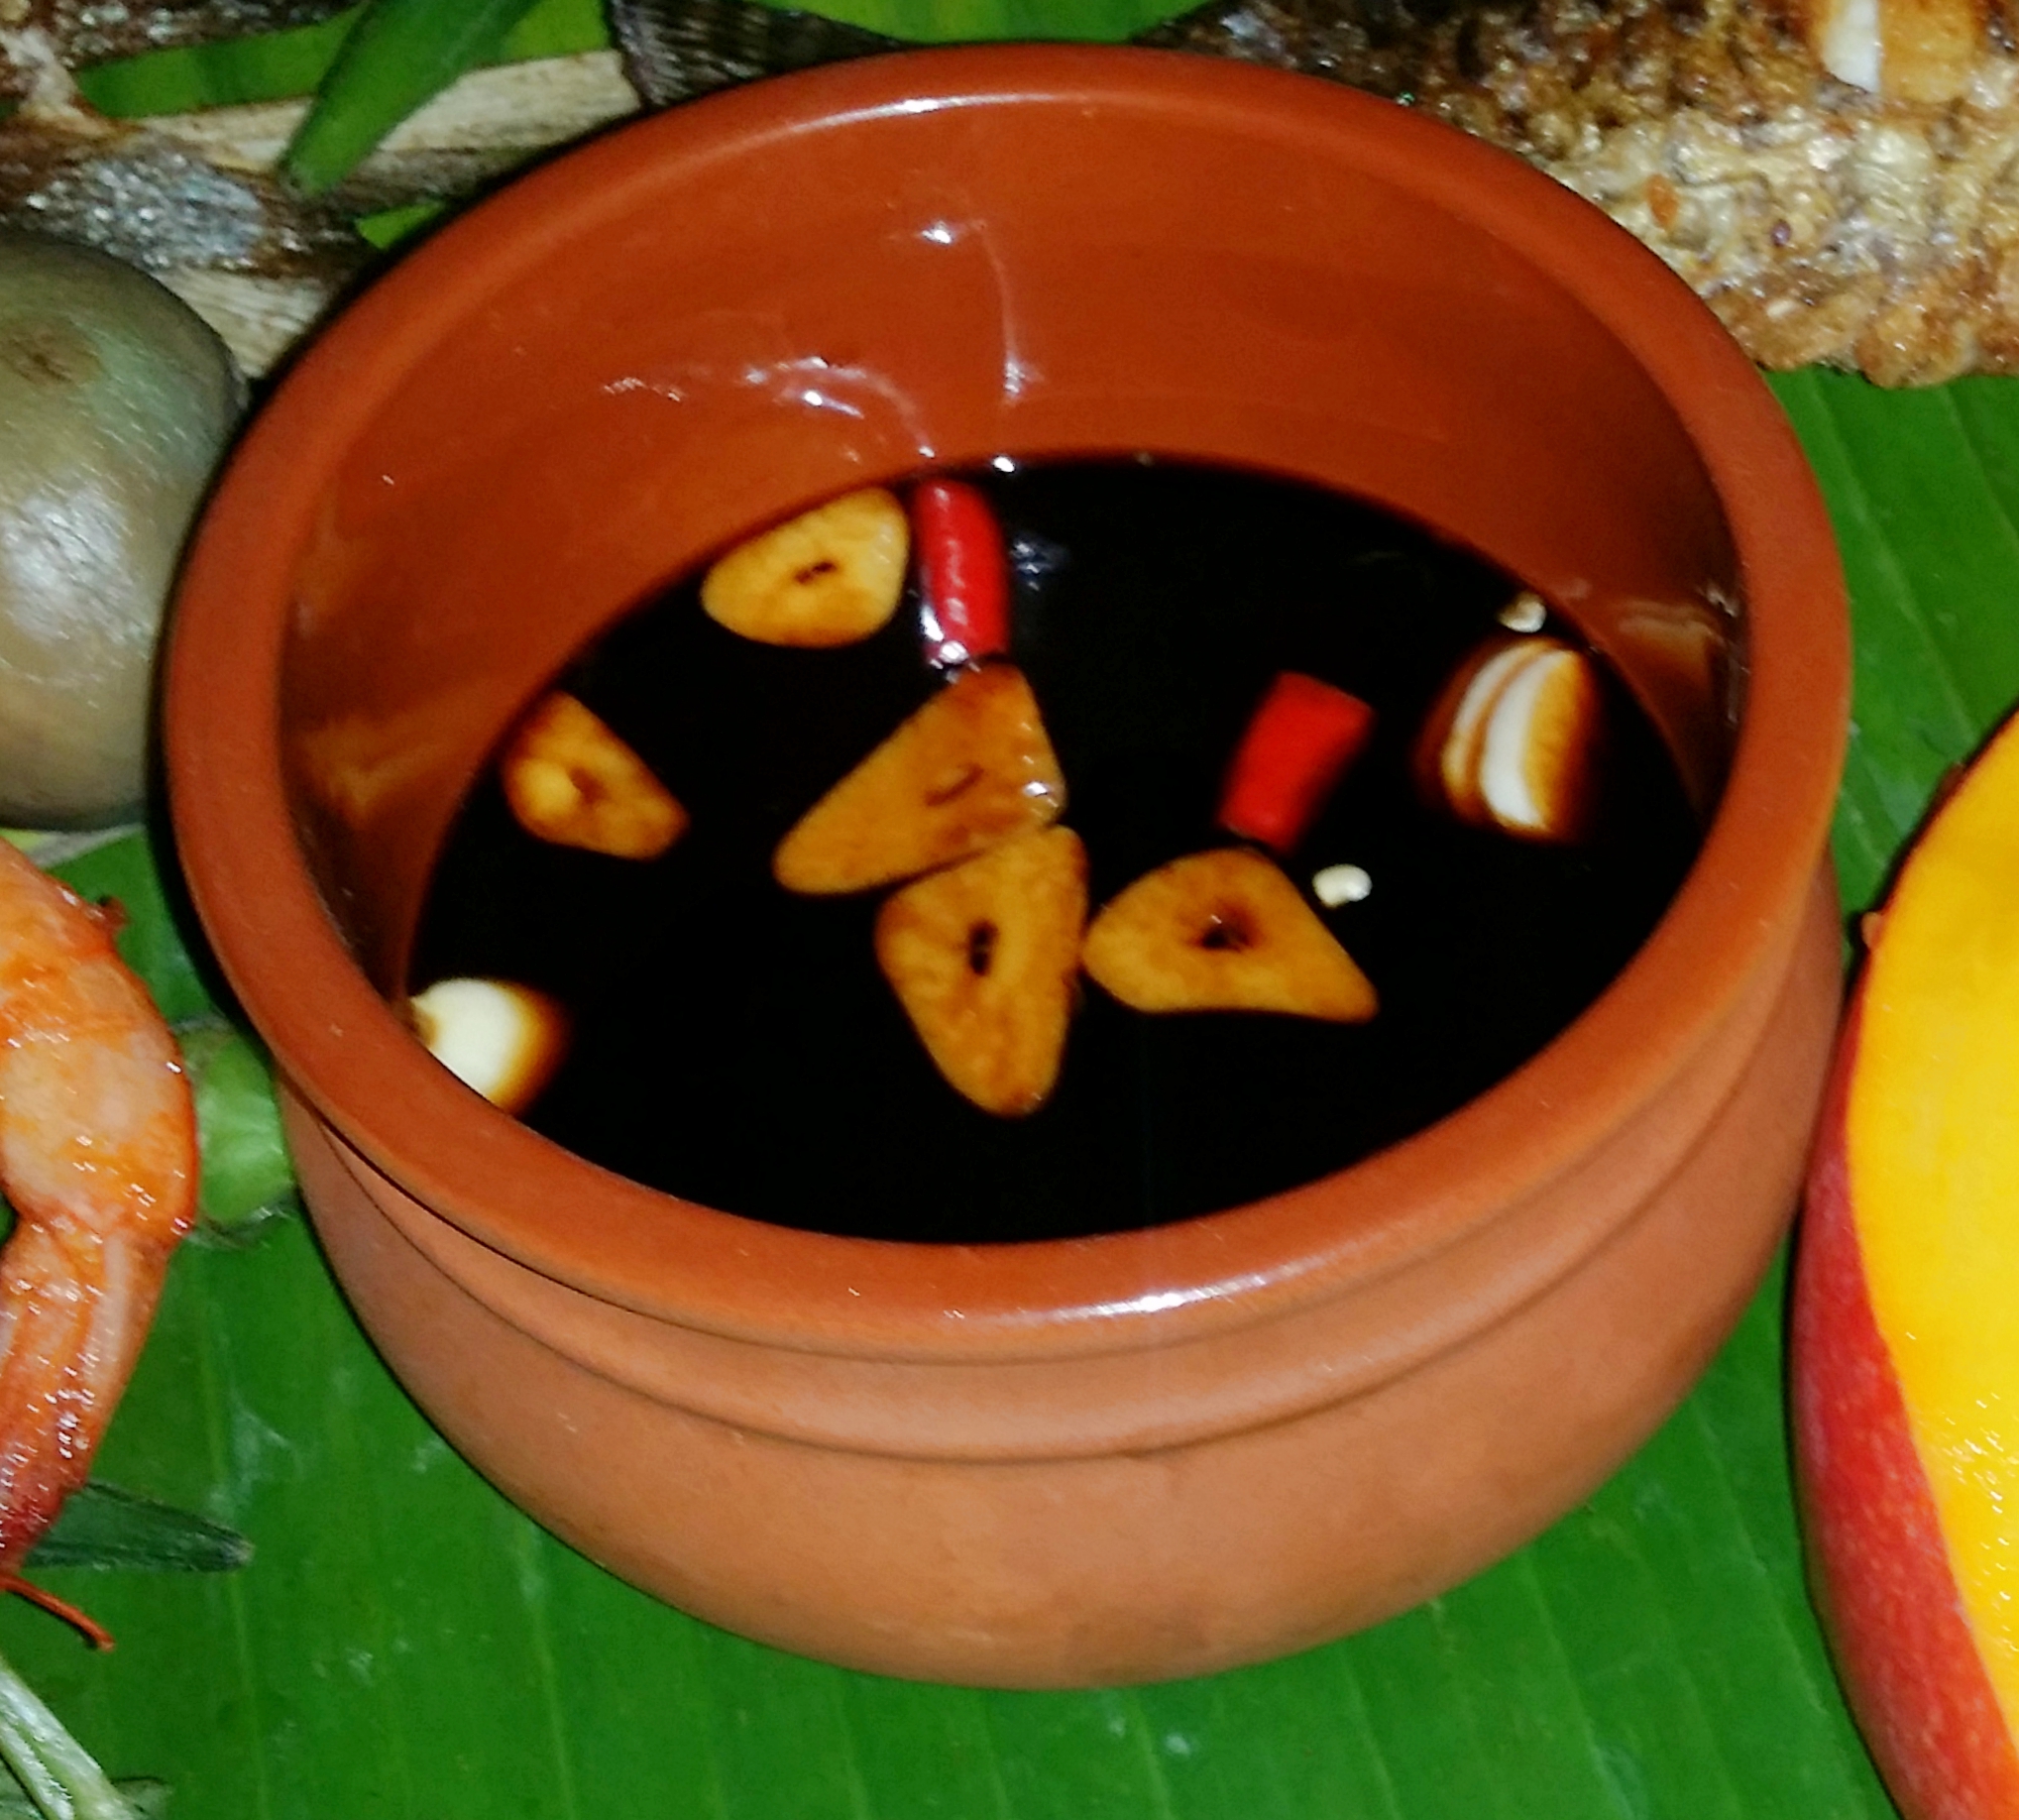
  • Garlic, Calamansi/ Lemon, Soy & Spicy Sauce - The typical sauce for a big Filipino feast
  • Shanghai Lumpia - This dish is best served with some chili and sweet sauce
  • Beef Steak - Probably the only beef dish that is essential in a Boodle Fight


MORE FOOD TO INCLUDE (OPTIONAL)

  • Sinigang with Salmon Head - Sour soup base with Taro (Gabi) plant, best served with a piece of Salmon head
  • Tinolang Manok - Chicken soup and one of the best soup for a boodle fight
  • Bulalo - Soup with beef shanks and beef marrow, very delicious but take a long time to prep and cook
  • Clams - Clams can be served boiled, hot pan stir or grilled
  • Ampalaya with Egg - Sliced bittermelon mixed with eggs
  • Paksiw - Tilapia fish in vinegar, black pepper, and chili sauce
  • Palabok - Alternate for Pancit, however, prep and cooking time may take longer
  • Fried/ Grilled Chicken - Delicious and can always buy and cook it the very last minute
  • Grilled Squid - Alternate for Adobong Pusit
  • Suman/ Biko/ Bibingka - Some options for dessert, something sweet and light
  • Grilled/ Boiled Corn - Something to fill you up
Presentation4.jpg


My overall Boodle Fight experience was great. Oh did I mention that this is actually my first Boodle Fight in my 27 years? Yes! I have never done this before and so far my first experience went smoothly. My best friend, Diana and I planned our first Boodle FIght together at home. I cannot wait to organize another one and invite people from different cultures to introduce them to Boodle Fight. 

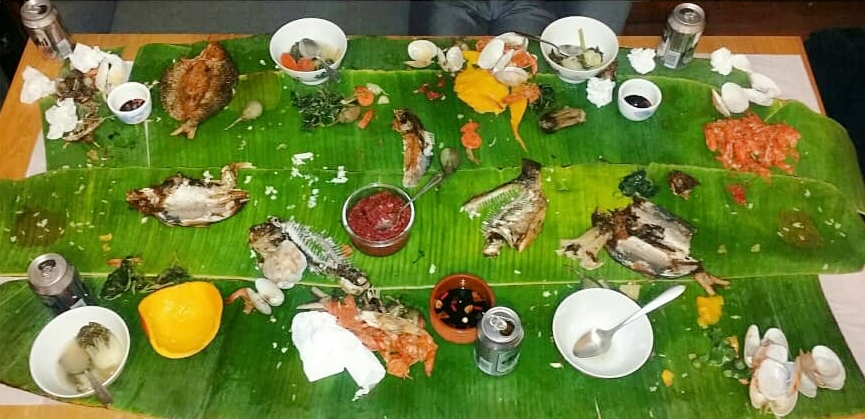
The picture below is the before and after pictures of our Boodle Fight 

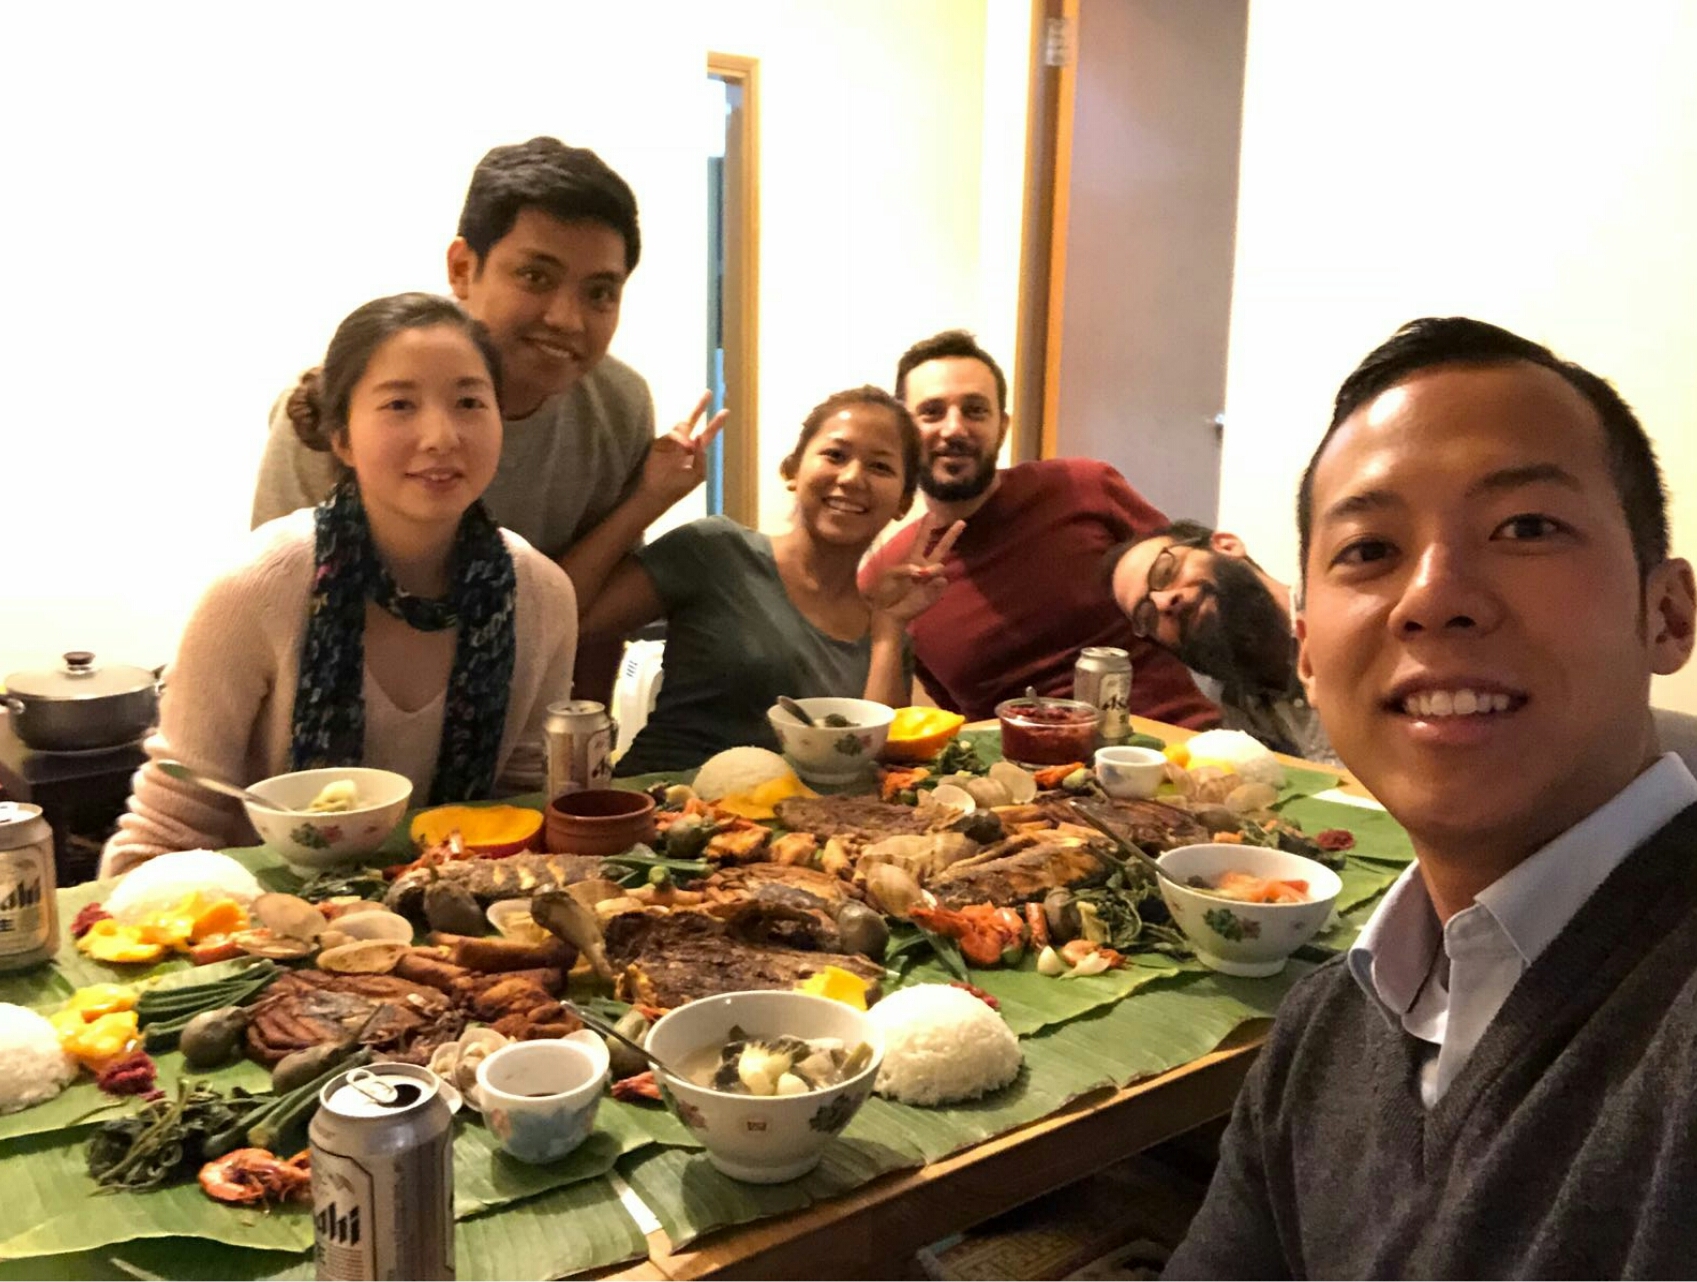
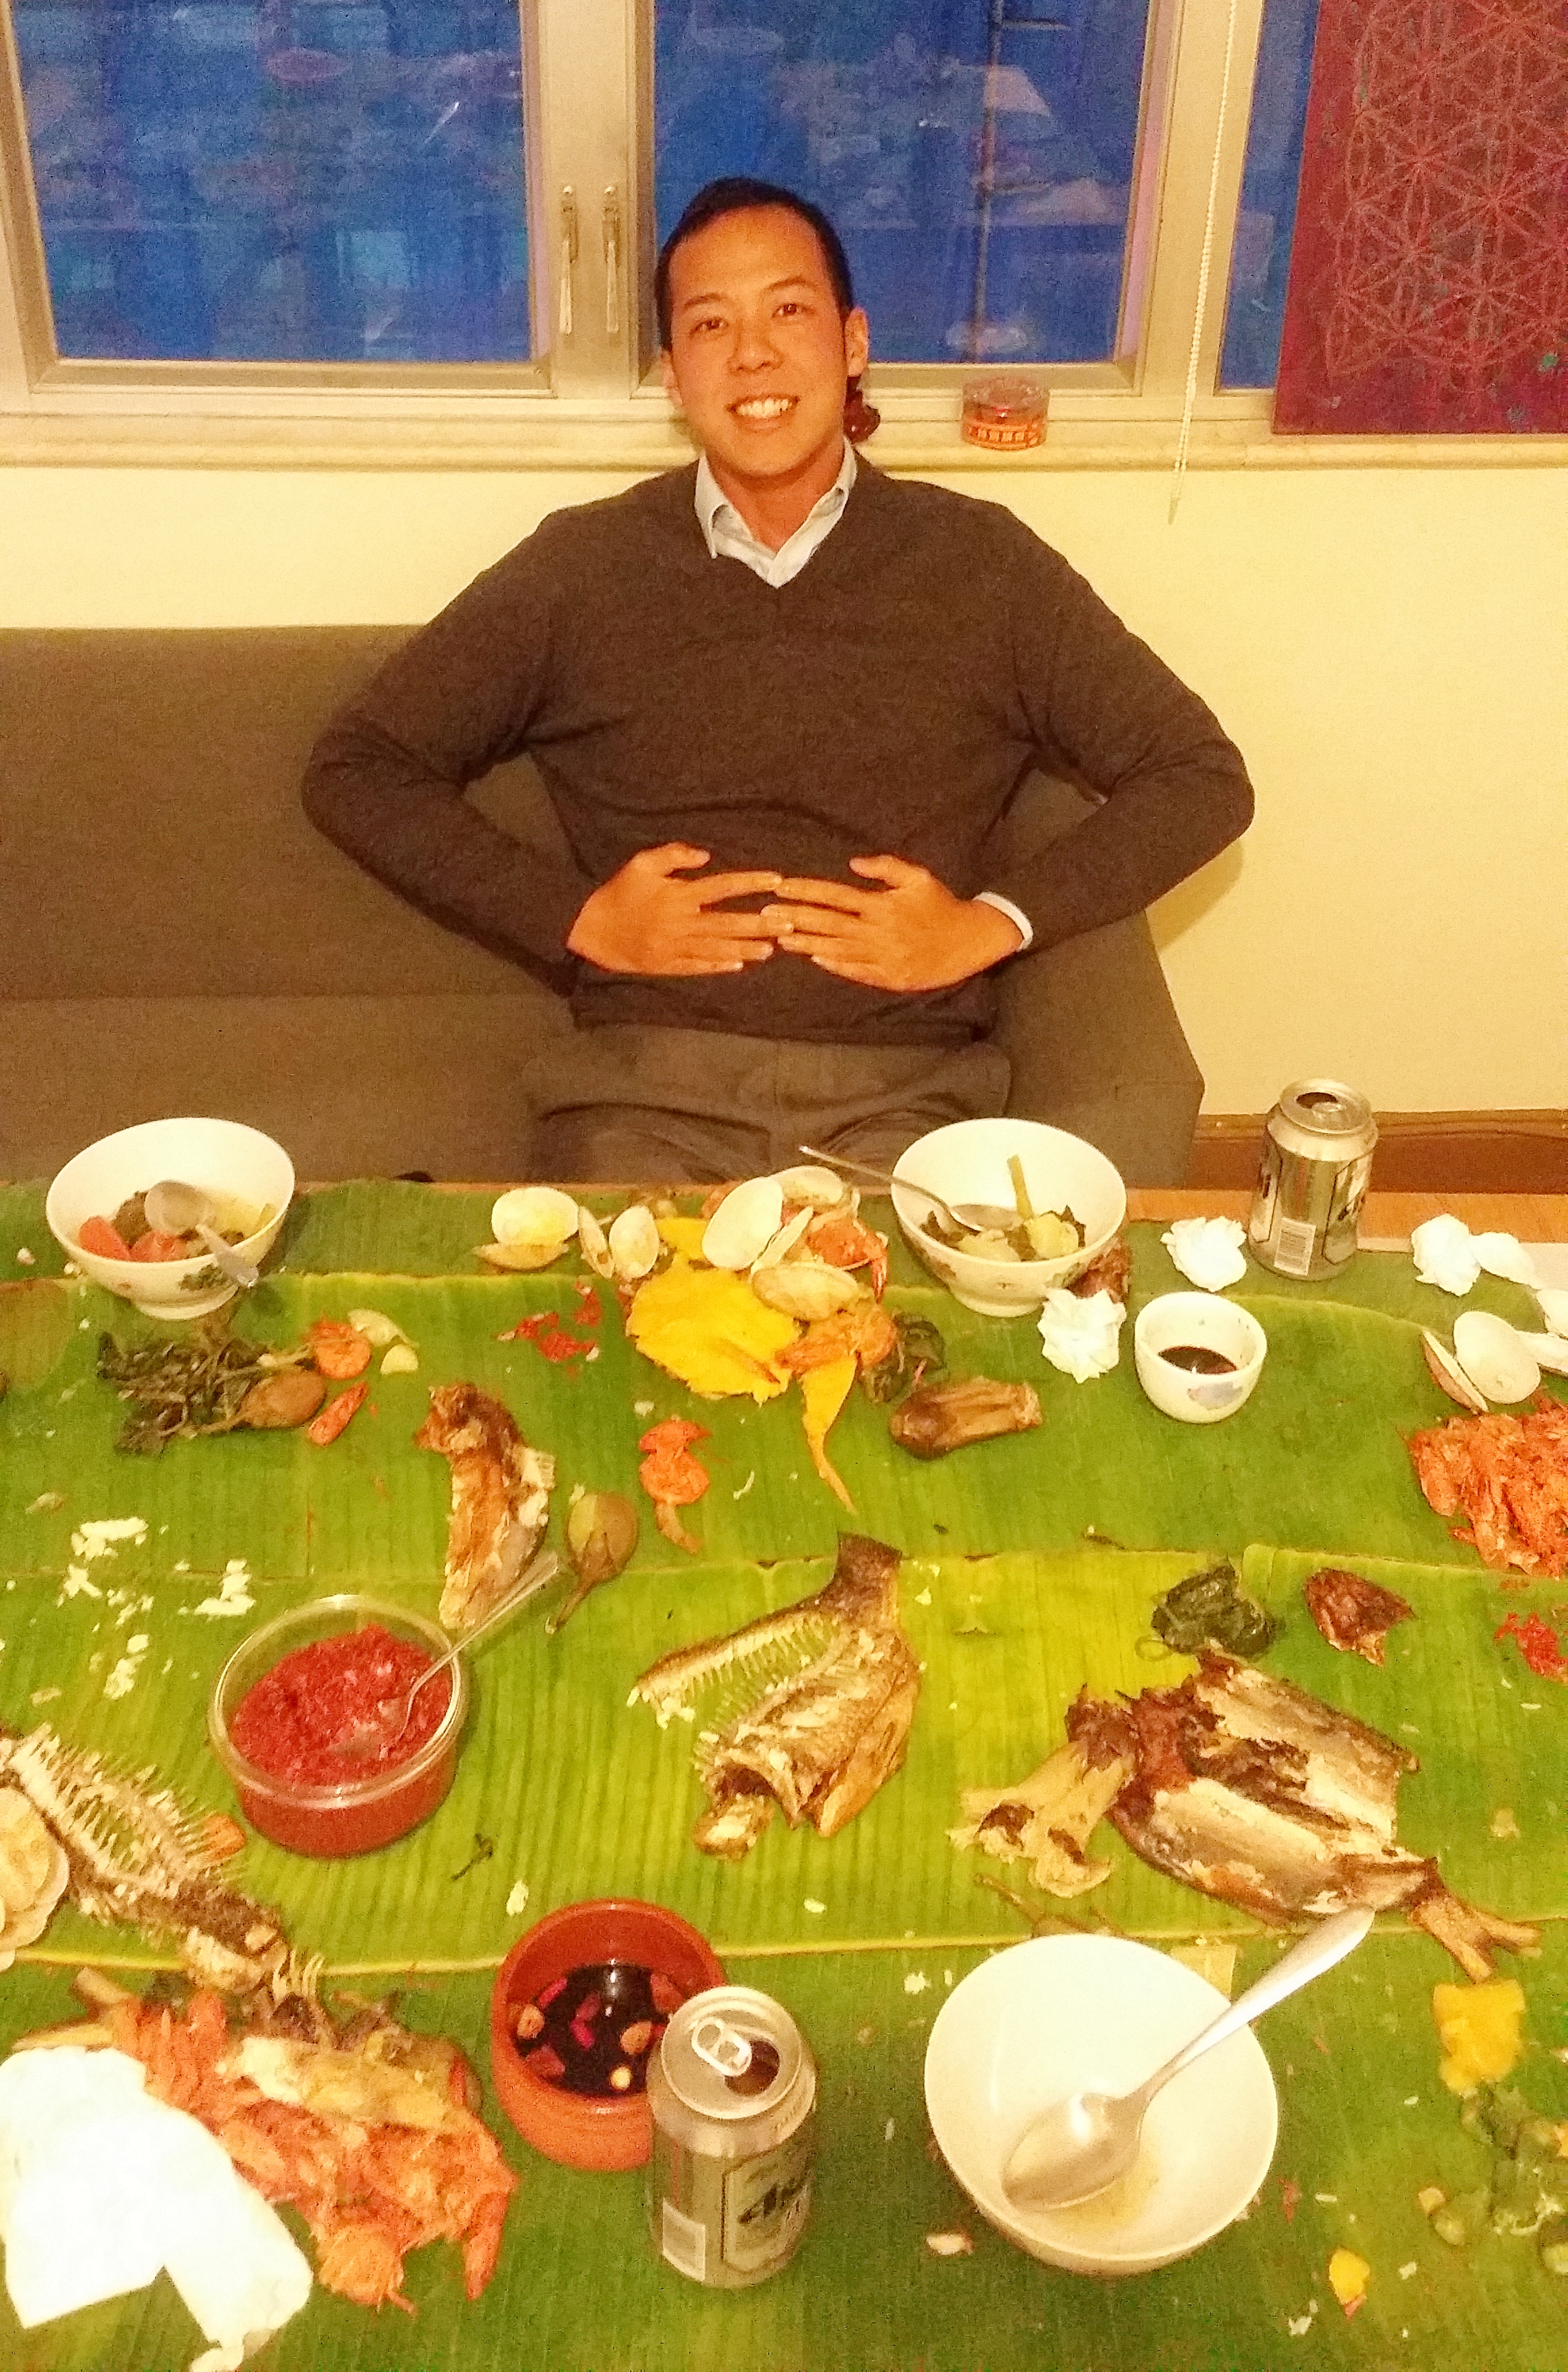
And here are the best people who were present in our Boodle Fight

I hope this blog would be of any help in planning your Boodle Fight. Good luck on your Boodle Fight and If you happen to have any questions, feel free to send me a message. I will be more than happy to help.


Yours Truly,

Michelle Chan