Travel

How To Climb Mount Kinabalu

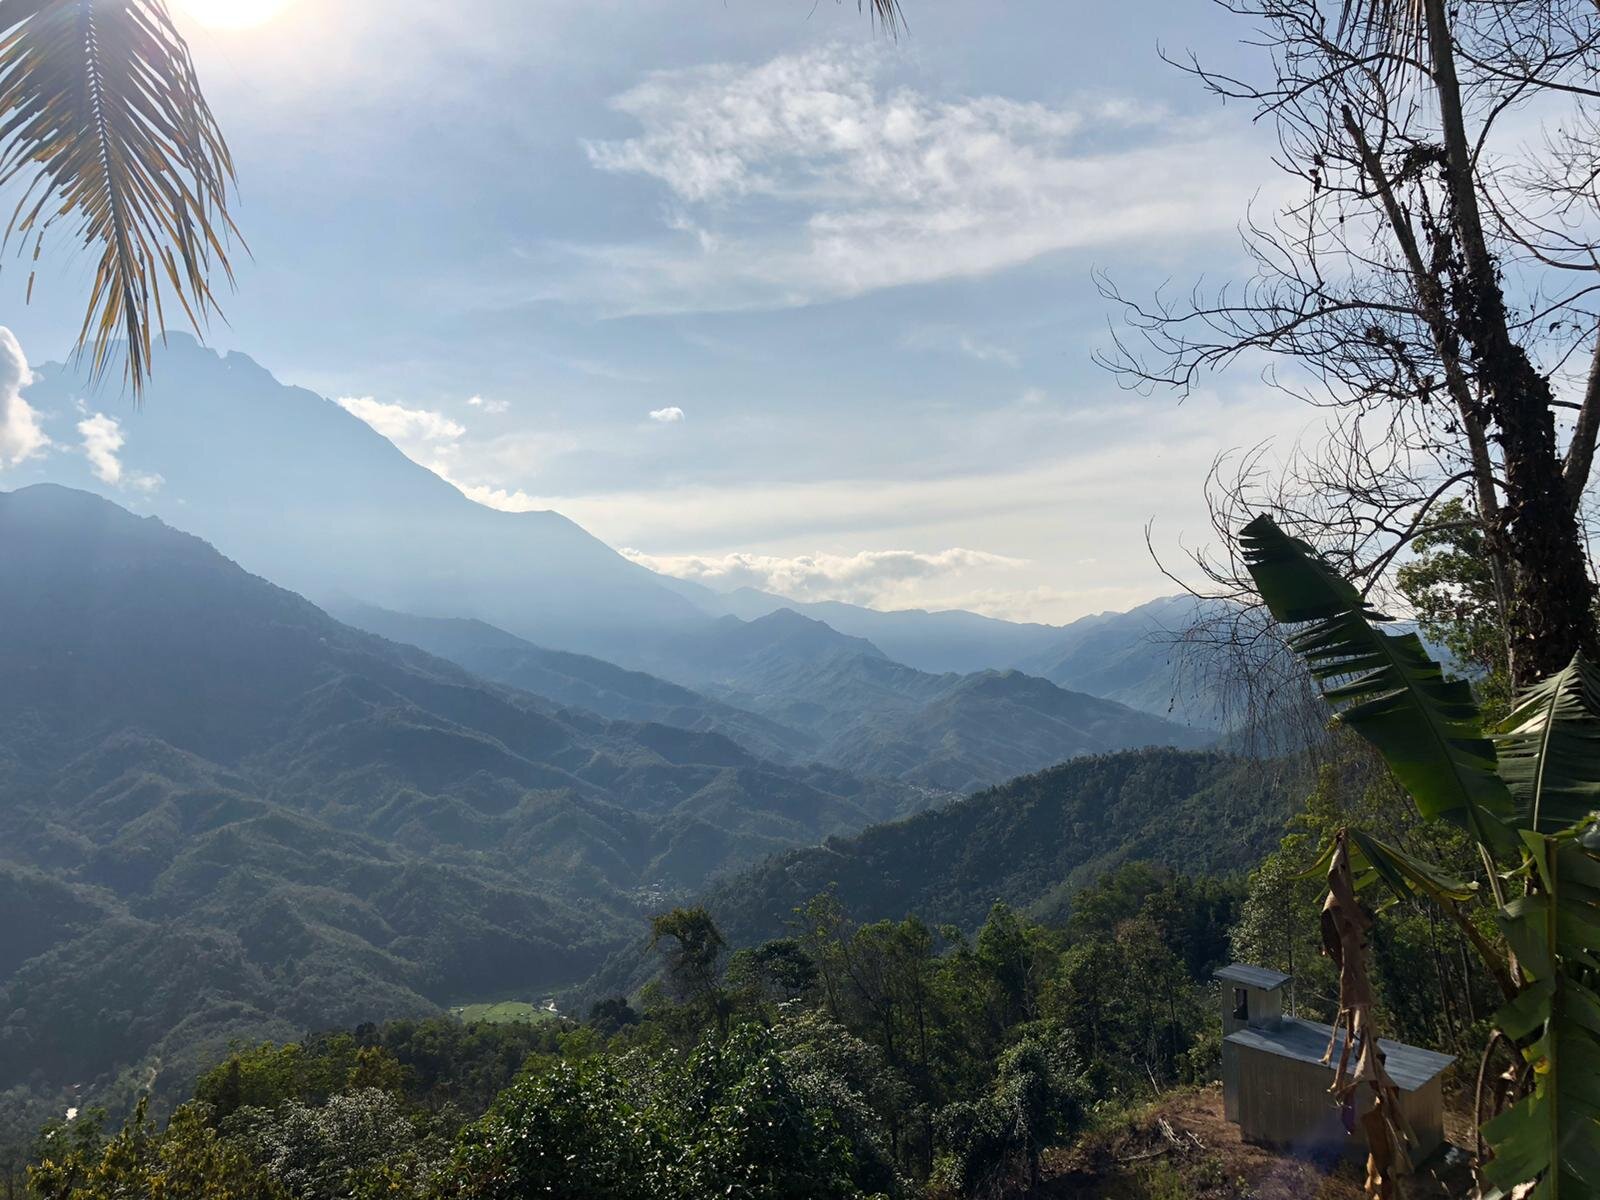
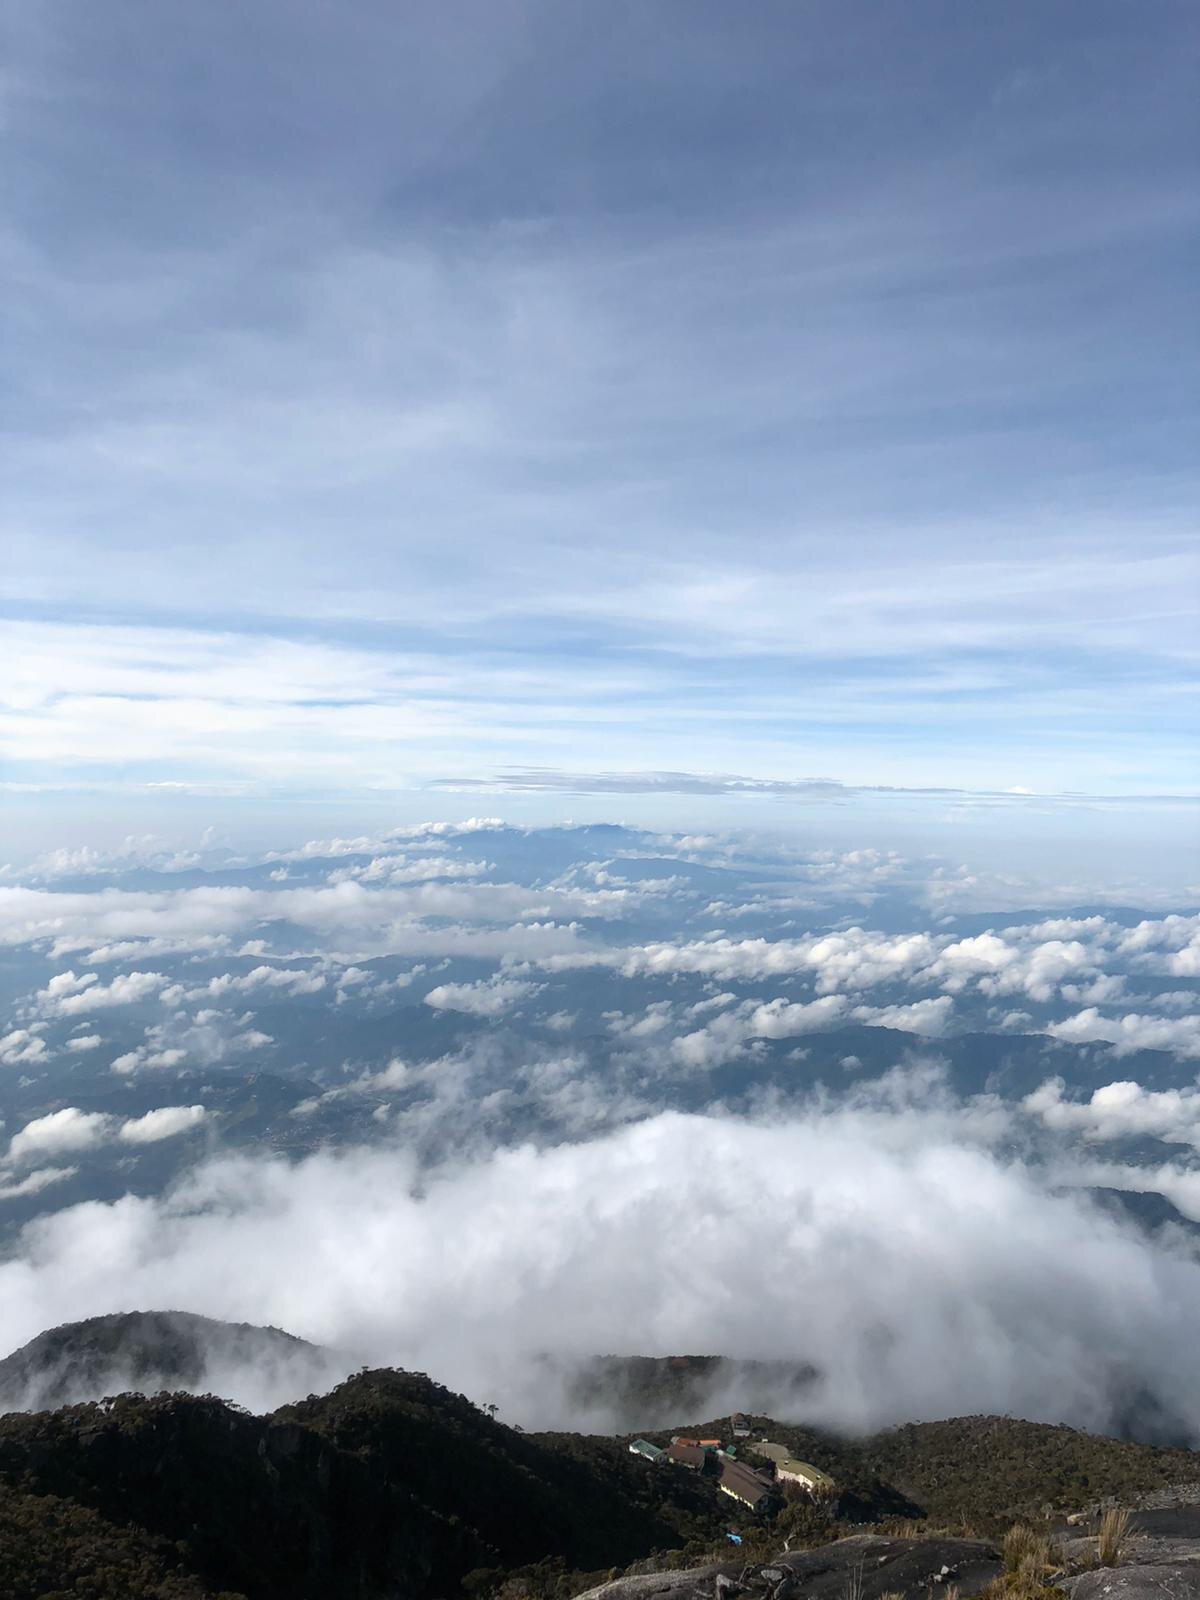
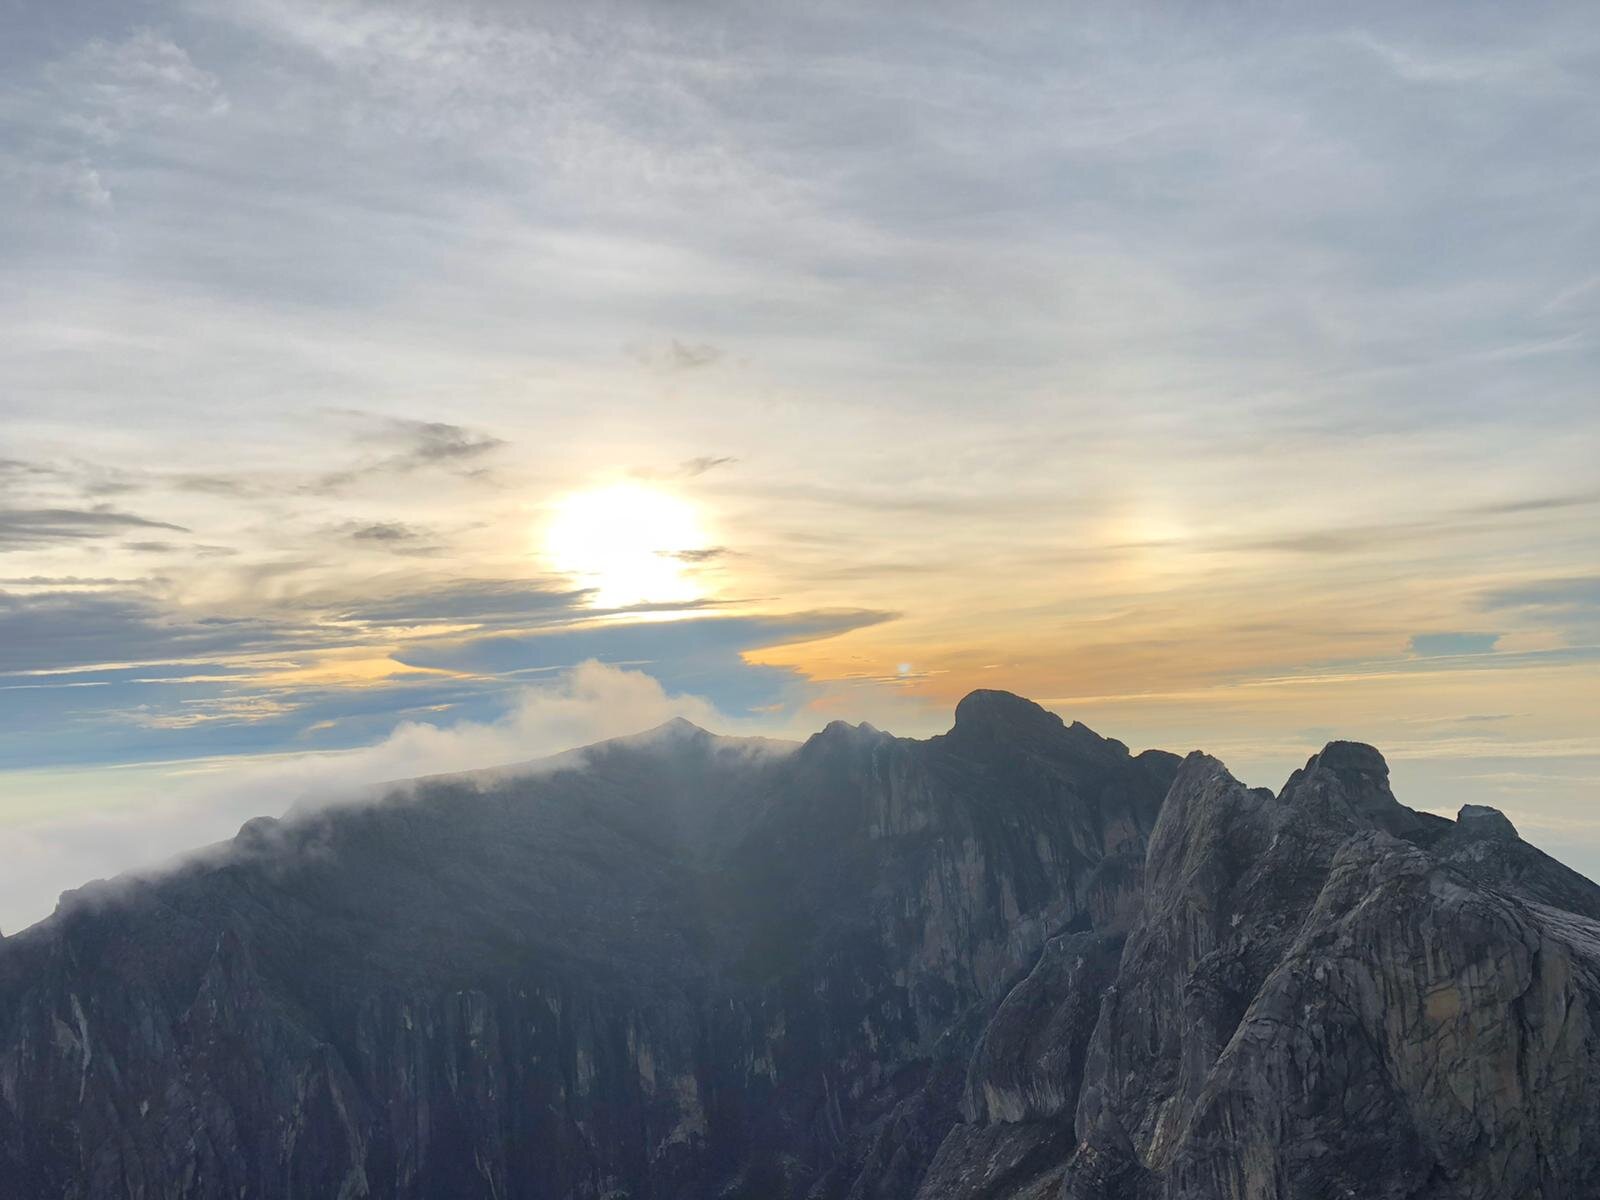
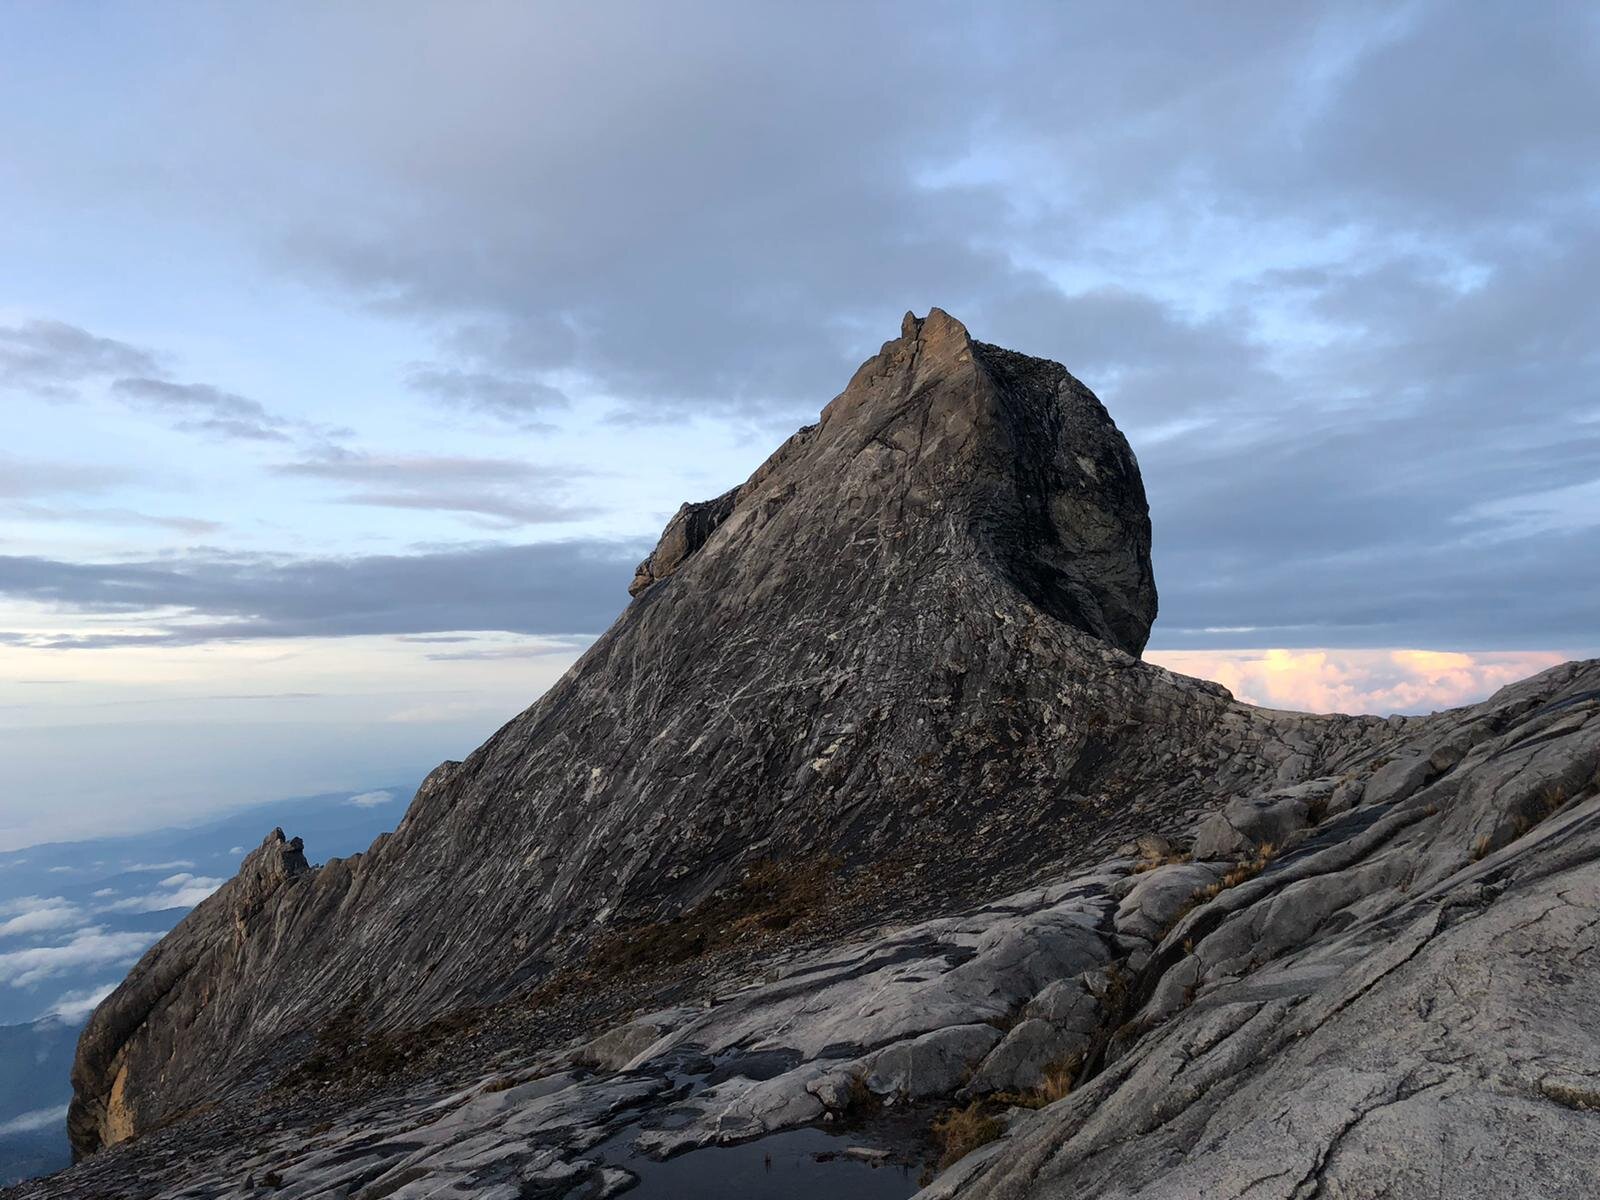
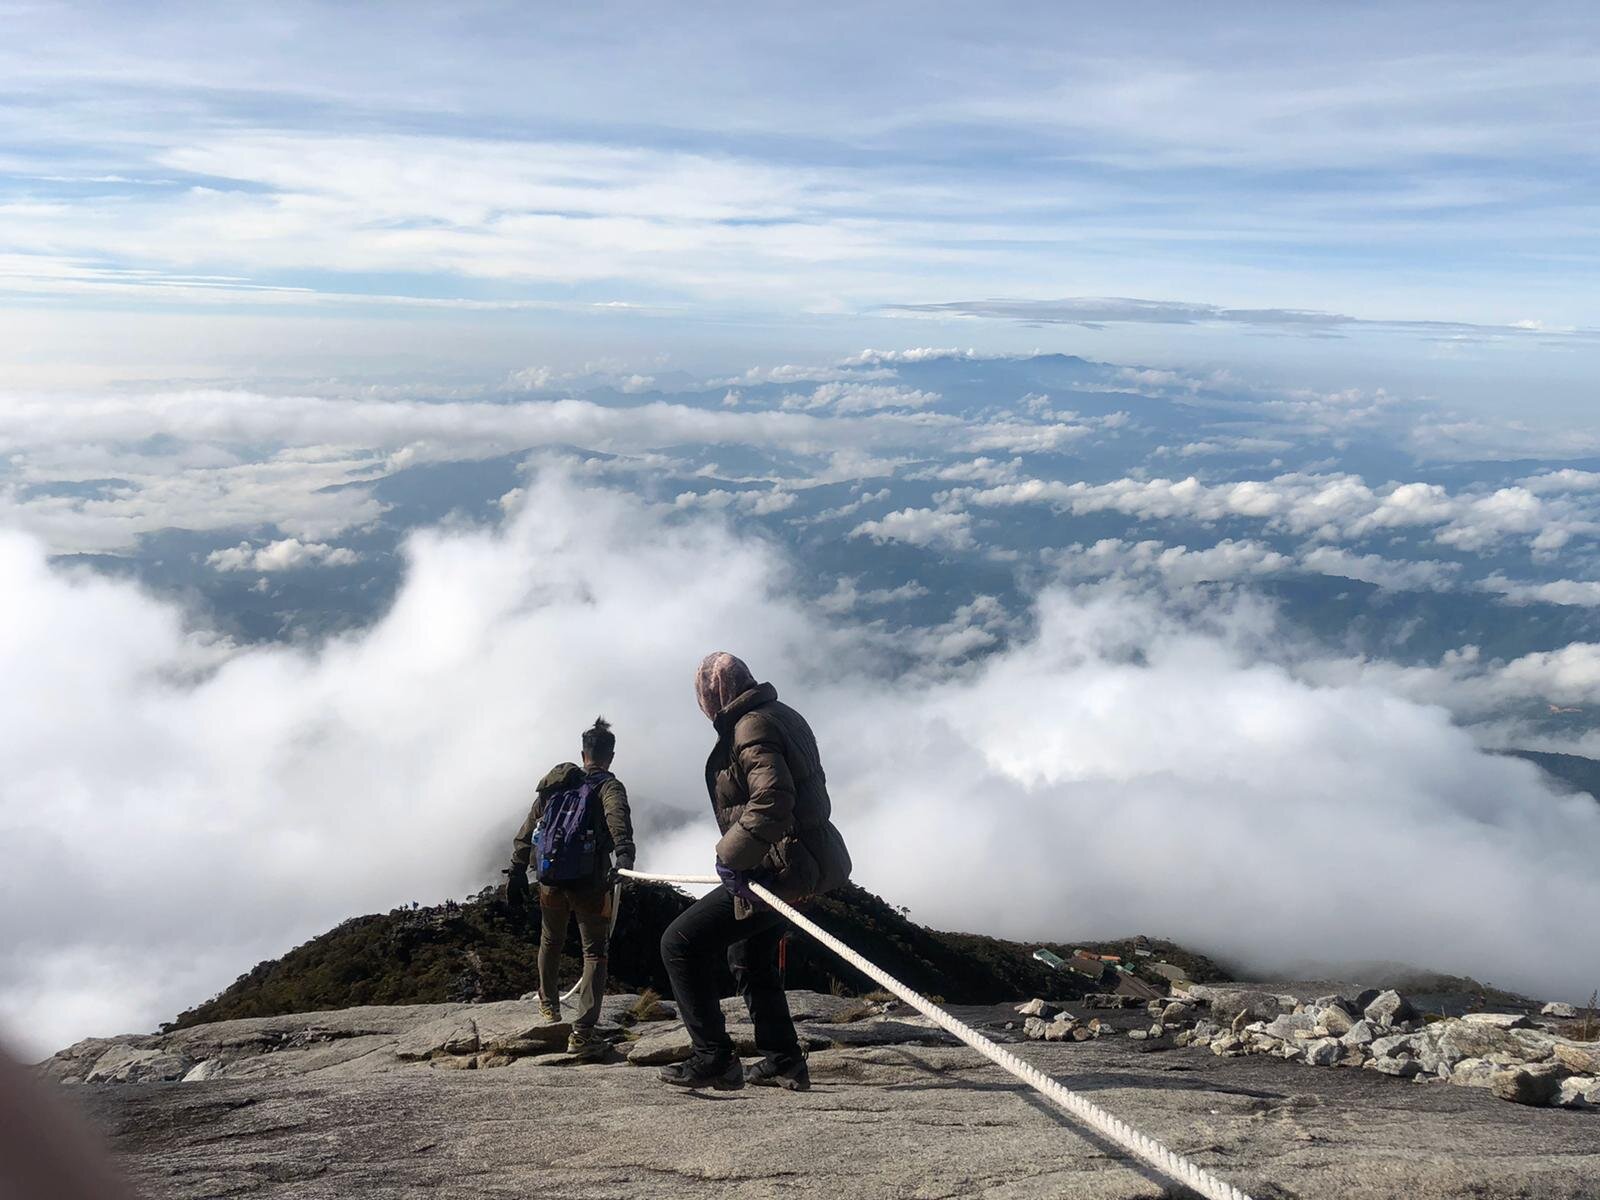
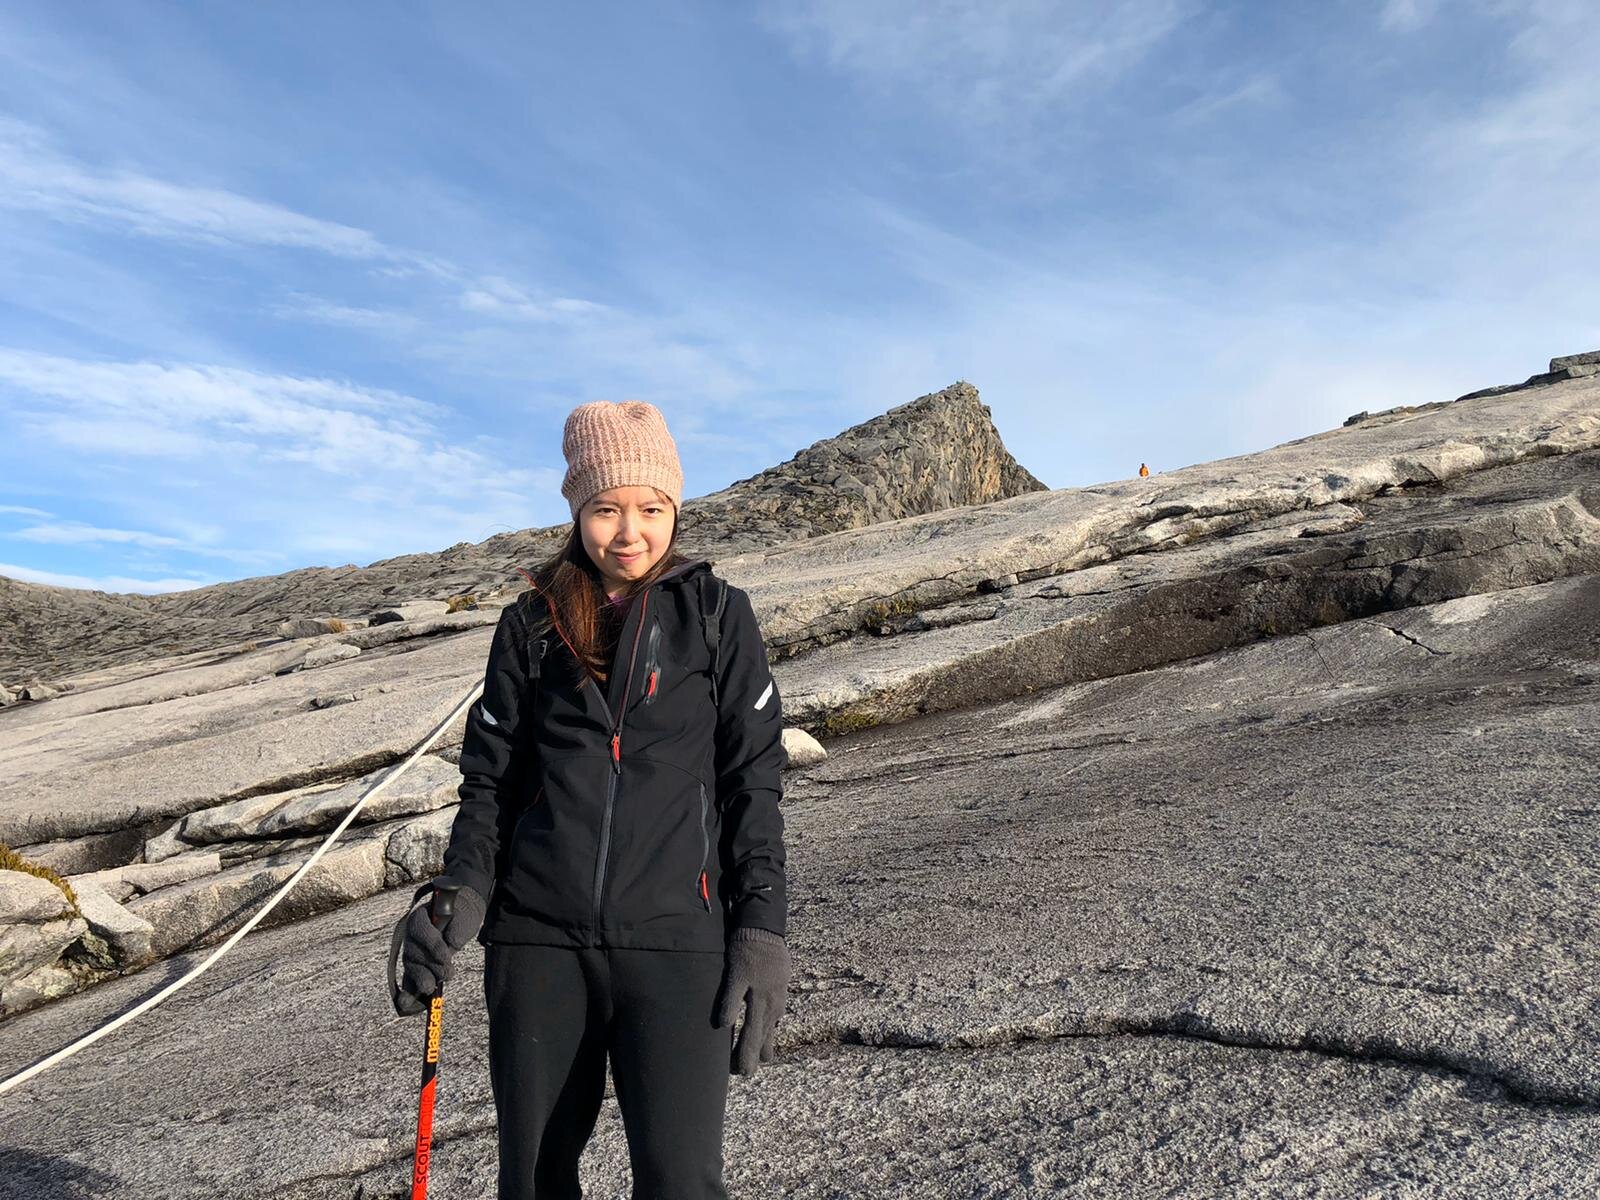
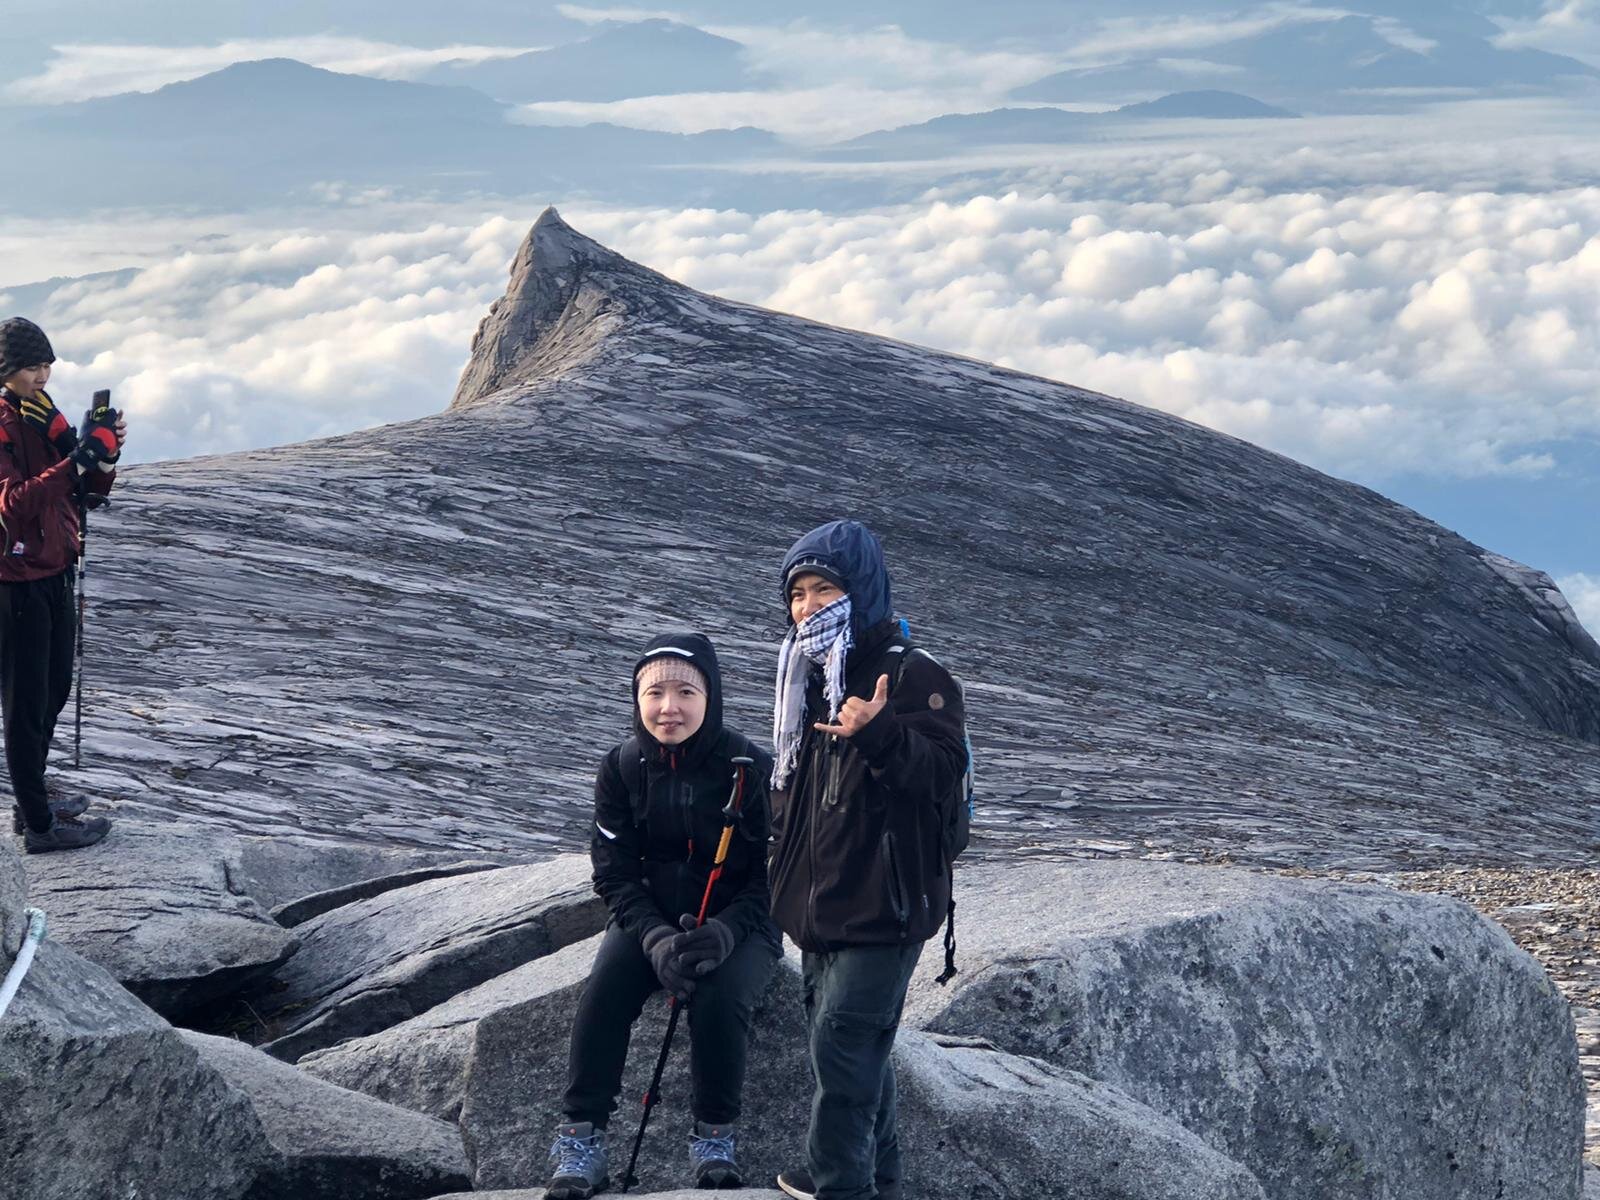
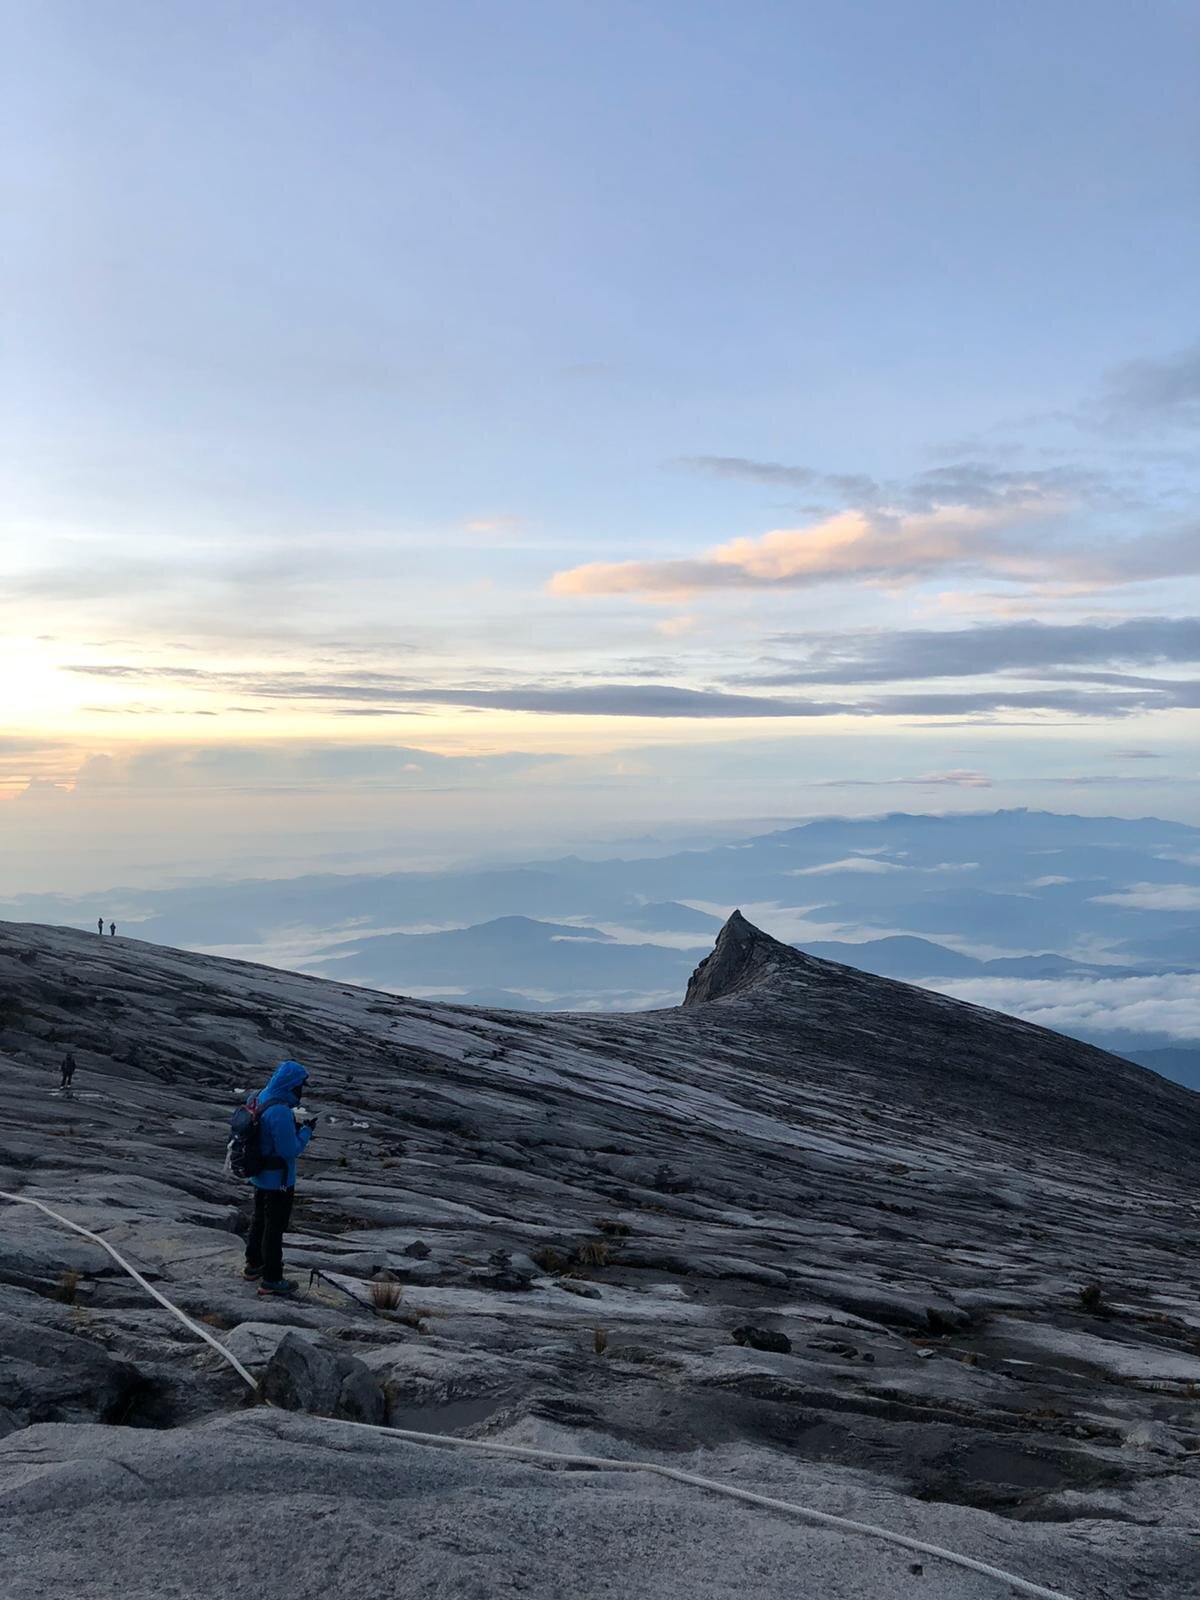
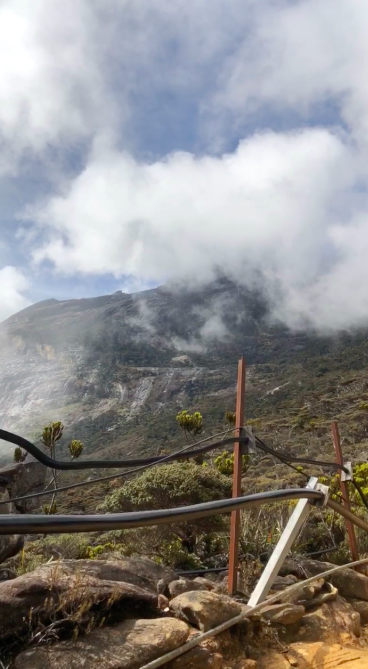
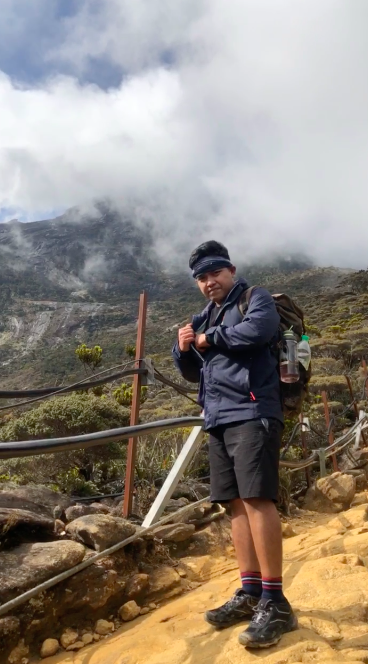
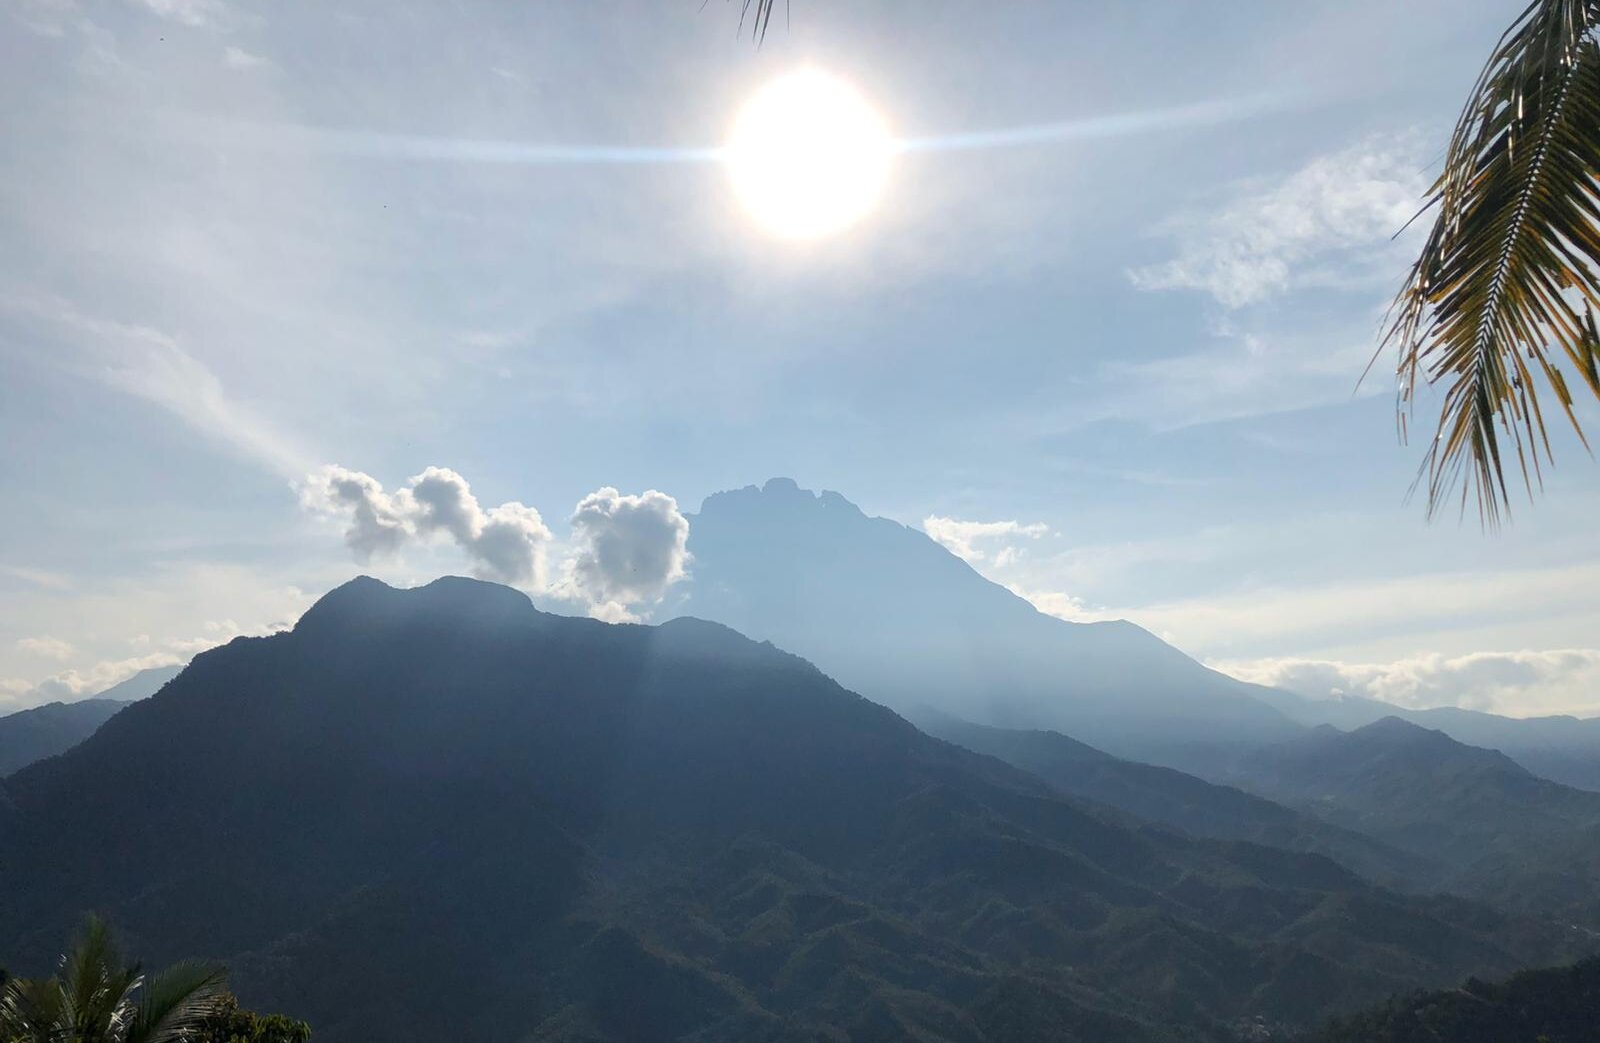
Climbing Mount Kinabalu was exhausting but exhilarating at the same time. I had many ups and downs moment while doing this climb. It is by far the hardest intense activity I have ever done in my life, which is also the best too. This blog focuses on 2D1N Mount Kinabalu climb.

intro.jpeg

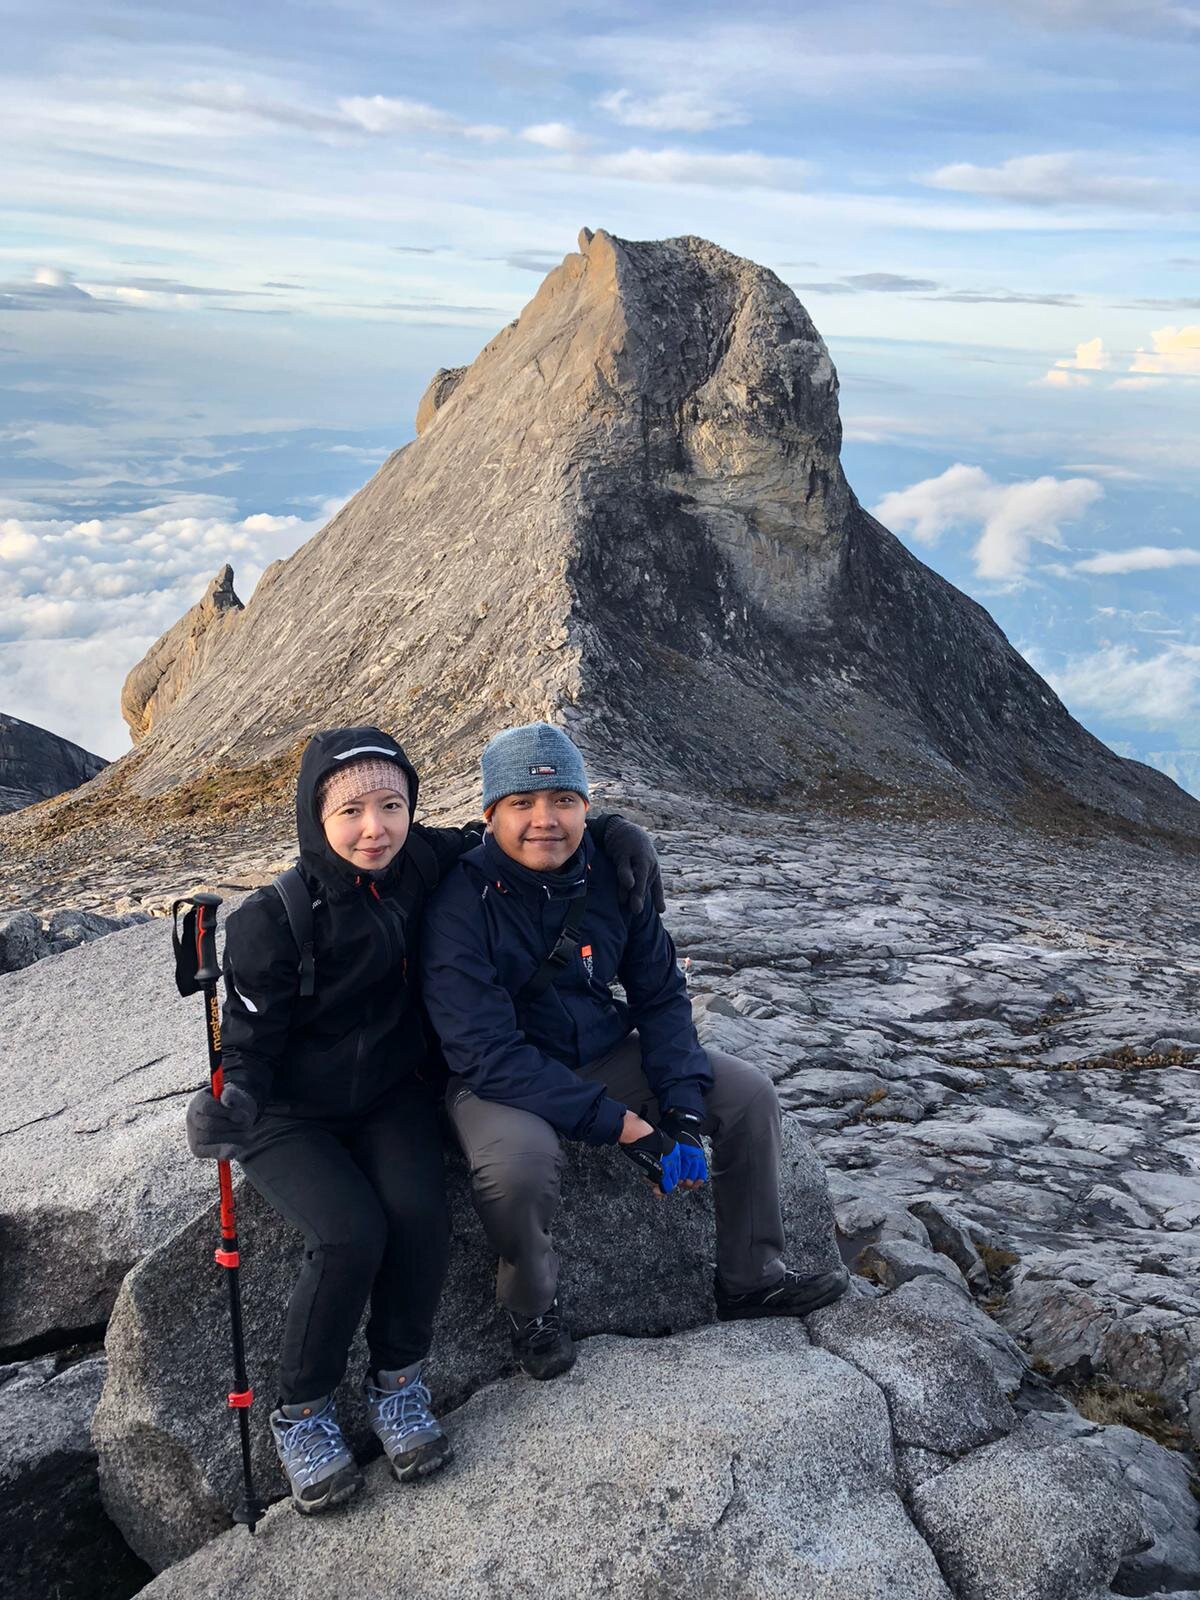
My boyfriend, Ryan and I decided to climb Mount Kinabalu as part of our annual and 7th-year-anniversary trip. We choose this mountain because of its vibrant scenery and the itinerary of the climb. We were looking for a rather short trek, and so Mount Kinabalu was indeed the perfect one for us. This trip is also basically our gifts for each other, except we were suffering and punishing ourselves along the way, but it was all worth it. Do you want to know why it’s worth it? Go on and read this blog!

ABOUT MOUNT KINABALU

intro 2.jpeg

Mount Kinabalu is located on the island of Borneo in Southeast Asia. It is the highest mountain in Borneo, the third highest mountain in Southeast Asia and the 20th highest mountain in the world. It is known to be a UNESCO World Heritage Site. This mountain is a popular spot not only for tourists but by local Bornean.

Mount Kinabalu measures at 4,095 metres above sea level. It can get as low as 0 degrees at Low’s peak (the summit). Despite the cold weather, it doesn’t snow up there. However, it can be very windy and chilly on top.

Climbing the mountain only need a minimum of 2 days to complete. Yes, it is a fast trek. However, it can be challenging and difficult for some or many people with little experience in mountain climbing. On the first day, climbers must face a straight 6km trek and 3.8km for the summit climb on the second day, so 8.8km in total for ascending. If you include the descending part, then it’s 17.6km all in all!

There is no age limit climbing Mount Kinabalu, but one must be in good health and fitness level. The youngest climber range from 7 years old and 80 years old being the oldest climber ever to climb the mighty mountain.

Aside from the mountain view, there are around 5,000 different species of plants and flowers along the trail. The name ‘Kinabalu’ is actually ‘Cina Balu’ which means ‘Chinese Widow'. Legend has it that there was a Chinese man who ascended the mountain in search of pearls where he also met and married a Kadazan (a tribe from Dusun) woman. However, he left and returned to China. The woman then wandered about the mountain and was severely depressed. Consequently, she turned into stone.

MOUNT KINABALU PACKAGES

There are two types of packages available for climbers upon climbing Mount Kinabalu. Reserving your spots in advance is required. There is a limit up to 185 climb permits for climbers to climb the mountain on a day to day basis. Moreover, there are times when summit climb is not open for public due to bad weather.

Have a look at this link ‘Mount Kinabalu News and Updates’ to know more information about their recent news and updates.

It is essential to know the packages Kinabalu Park offers to help you plan your climb dates. Picking the right season is also necessary, which will also be cover in this blog. Here are the ideal packages of the climb.

2 DAYS, 1 NIGHT PACKAGE (2D1N)

  • 1 night overnight stay at Panalaban Base Camp. This is a shared accommodation (bunk beds). Unfortunately, hot shower is not available in this hut.

  • Private rooms with hot shower are available with an additional charge.

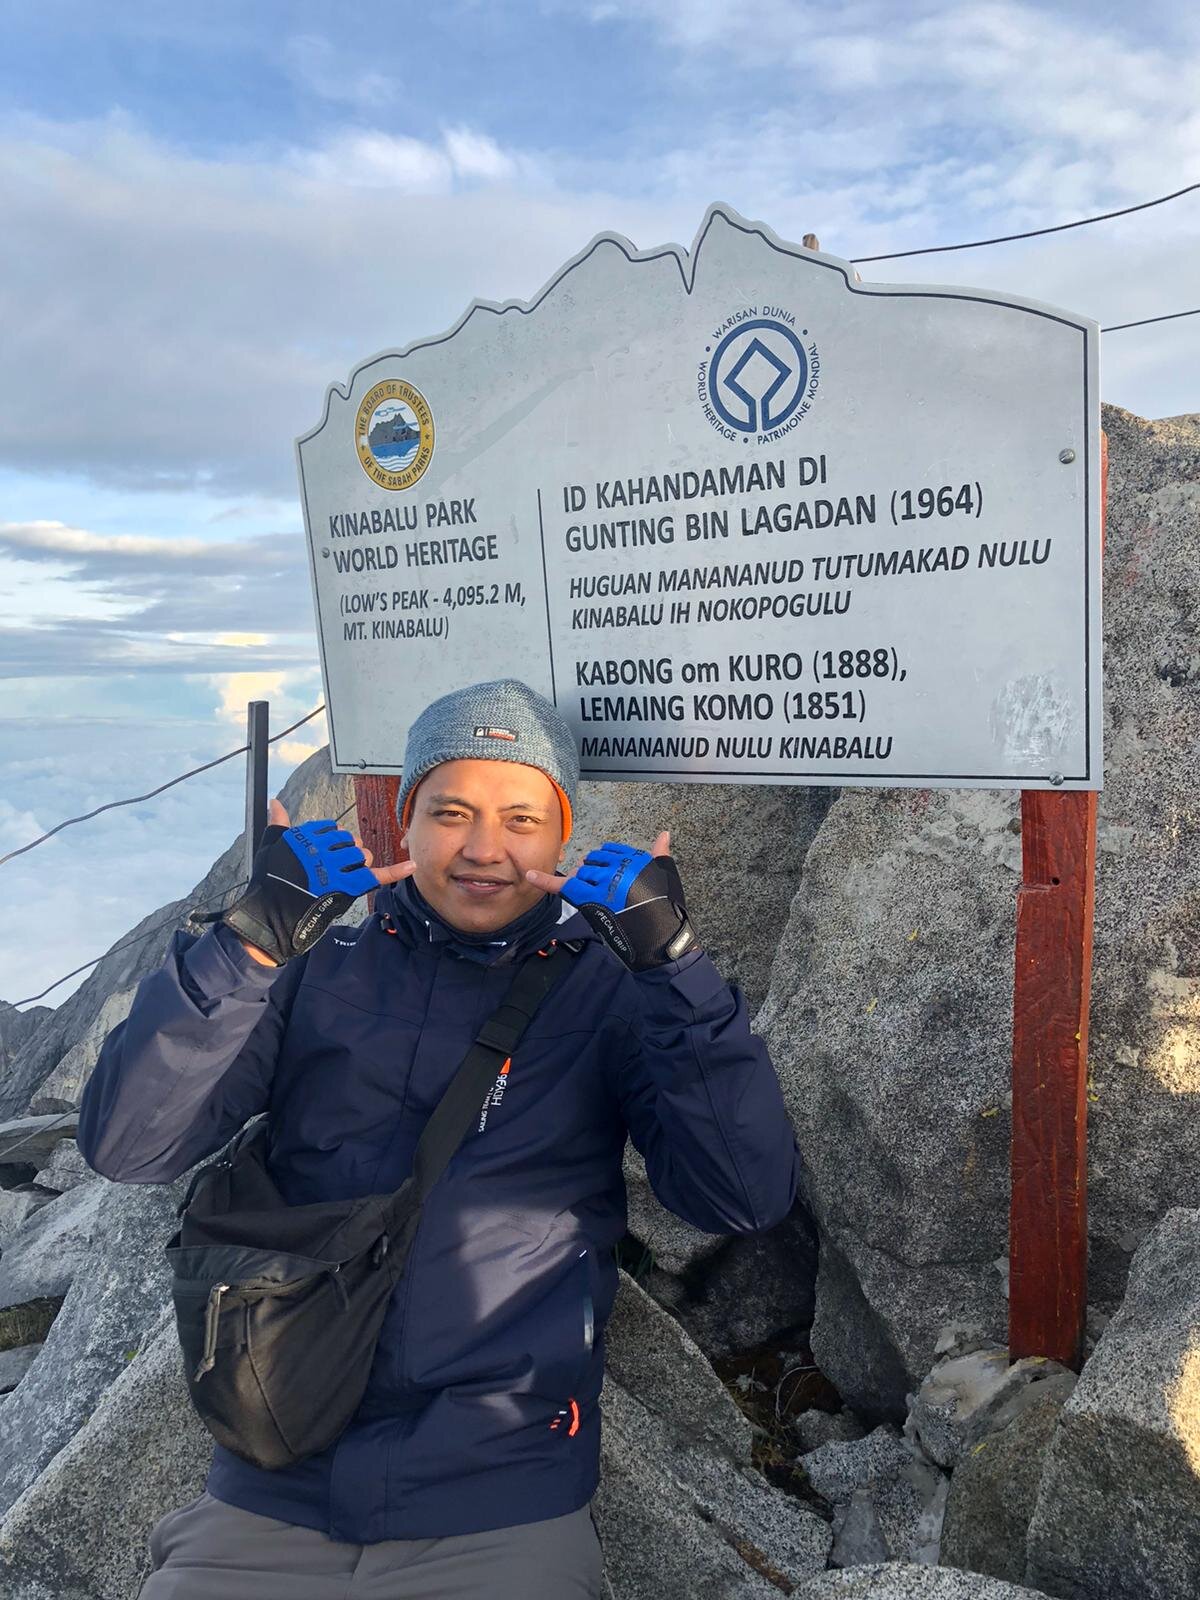
  • Low’s Peak Summit at 4,095 meters above sea level.

  • The trail starts at Timpohon Gate and will also end the trek there.

  • Climbing permit, climbing insurance and licensed Mountain guide are included.

  • Packed lunch, dinner, supper, breakfast and lunch buffet are included in the package.

  • Pick-up from hotel and drop off to hotel are also included.

  • Porters are available upon request with an additional charge.

Check this link ‘2D1N Mount Kinabalu Climb Package’ to enquire or to book your climb.

3 DAYS, 2 NIGHTS PACKAGE (3D2N)

  • 1 night overnight stay at Kinabalu Park and 1 night overnight stay at Panalaban Base Camp. This is a shared accommodation (bunk beds). Unfortunately, hot shower is not available in this hut.

  • Private rooms with hot shower at Panalaban are available with an additional charge.

  • Low’s Peak Summit at 4,095 meters above sea level.

  • The trail starts at Timpohon Gate and will also end the trek there.

  • Climbing permit, climbing insurance and licensed Mountain guide are included.

  • 2 dinners, 2 breakfasts, 1 packed lunch, 1 supper and 1 lunch buffet are included.

  • Pick-up from hotel and drop off to hotel are also included.

  • Porters are available upon request with an additional charge.

Check this link ‘3D2N Mount Kinabalu Climb Package’ to enquire or to book your climb.

2 DAYS, 1 NIGHT VIA FERRATA PACKAGE

  • 1 night overnight stay at Pendant Hut.

  • ‘Walk The Torq’ Ferrata Climb

  • Low’s Peak Summit at 4,095 meters above sea level.

  • The trail starts at Timpohon Gate and will also end the trek there.

  • Climbing permit, climbing insurance and licensed Mountain guide/ Mountain Torq trainer are included.

  • Packed lunch, dinner, supper, breakfast and lunch buffet are included in the package.

  • Pick-up from hotel and drop off to hotel are also included.

  • Porters are available upon request with an additional charge.

Check this link ‘2D1N Mount Kinabalu Via Ferrata Climb Package’ to enquire or to book your climb.

3 DAYS, 2 NIGHTS VIA FERRATA PACKAGE

  • 1 night overnight stay at Kinabalu Pine Resort and 1 night overnight stay at Pendant Hut.

  • ‘Walk The Torq’ Ferrata Climb

  • Low’s Peak Summit at 4,095 meters above sea level.

  • The trail starts at Timpohon Gate and will also end the trek there.

  • Climbing permit, climbing insurance and licensed Mountain guide/ Mountain Torq trainer are included.

  • 2 dinners, 2 breakfasts, 1 packed lunch, 1 supper and 1 lunch buffet are included in the package.

  • Pick-up from hotel and drop off to hotel are also included.

  • Porters are available upon request with an additional charge.

Check this link ‘3D2N Mount Kinabalu Via Ferrata Climb Package’ to enquire or to book your climb.

BEST TIME TO CLIMB MOUNT KINABALU

Deciding when to go is the first step. However, checking the best time to climb is also essential.

The best months to climb Mount Kinabalu are from February to September. These months are considered to be the dry season. The not-so-best months to climb the highest mountain are from October to January (North-East Monsoon) as these months are the monsoon season and heavy rains are to be expected.

When extreme weather occurs, summit climb will be cancelled. So be sure to pick the right time to plan your trip to Borneo. Heavy rains can result in some serious complications such as cold or flu due to cold and wet weather, unstable and muddy pathways, summit climb being cancelled due to heavy rain and spoiling your holiday mood.

CLIMBING DURATION AND POINTS

It only takes a minimum of 2 days to climb Mount Kinabalu. However, climbers must follow a strict timetable as there are time limits for each checkpoint.

DAY 1 - TIMPOHON GATE TO PANALABAN BASE CAMP

Ideally, it takes about 5-7 hours to finish the trek from Timpohon Gate to the Panalaban Base Camp. Depending on your speed and number of breaks, sometimes it may take longer up to 8 hours to complete the trek to the base camp.

Along the way, there are plenty of shelters for you to take a quick break and a more extended lunch break. A total of 7 shelters were built for people to rest.

Here is a list of shelters in order:

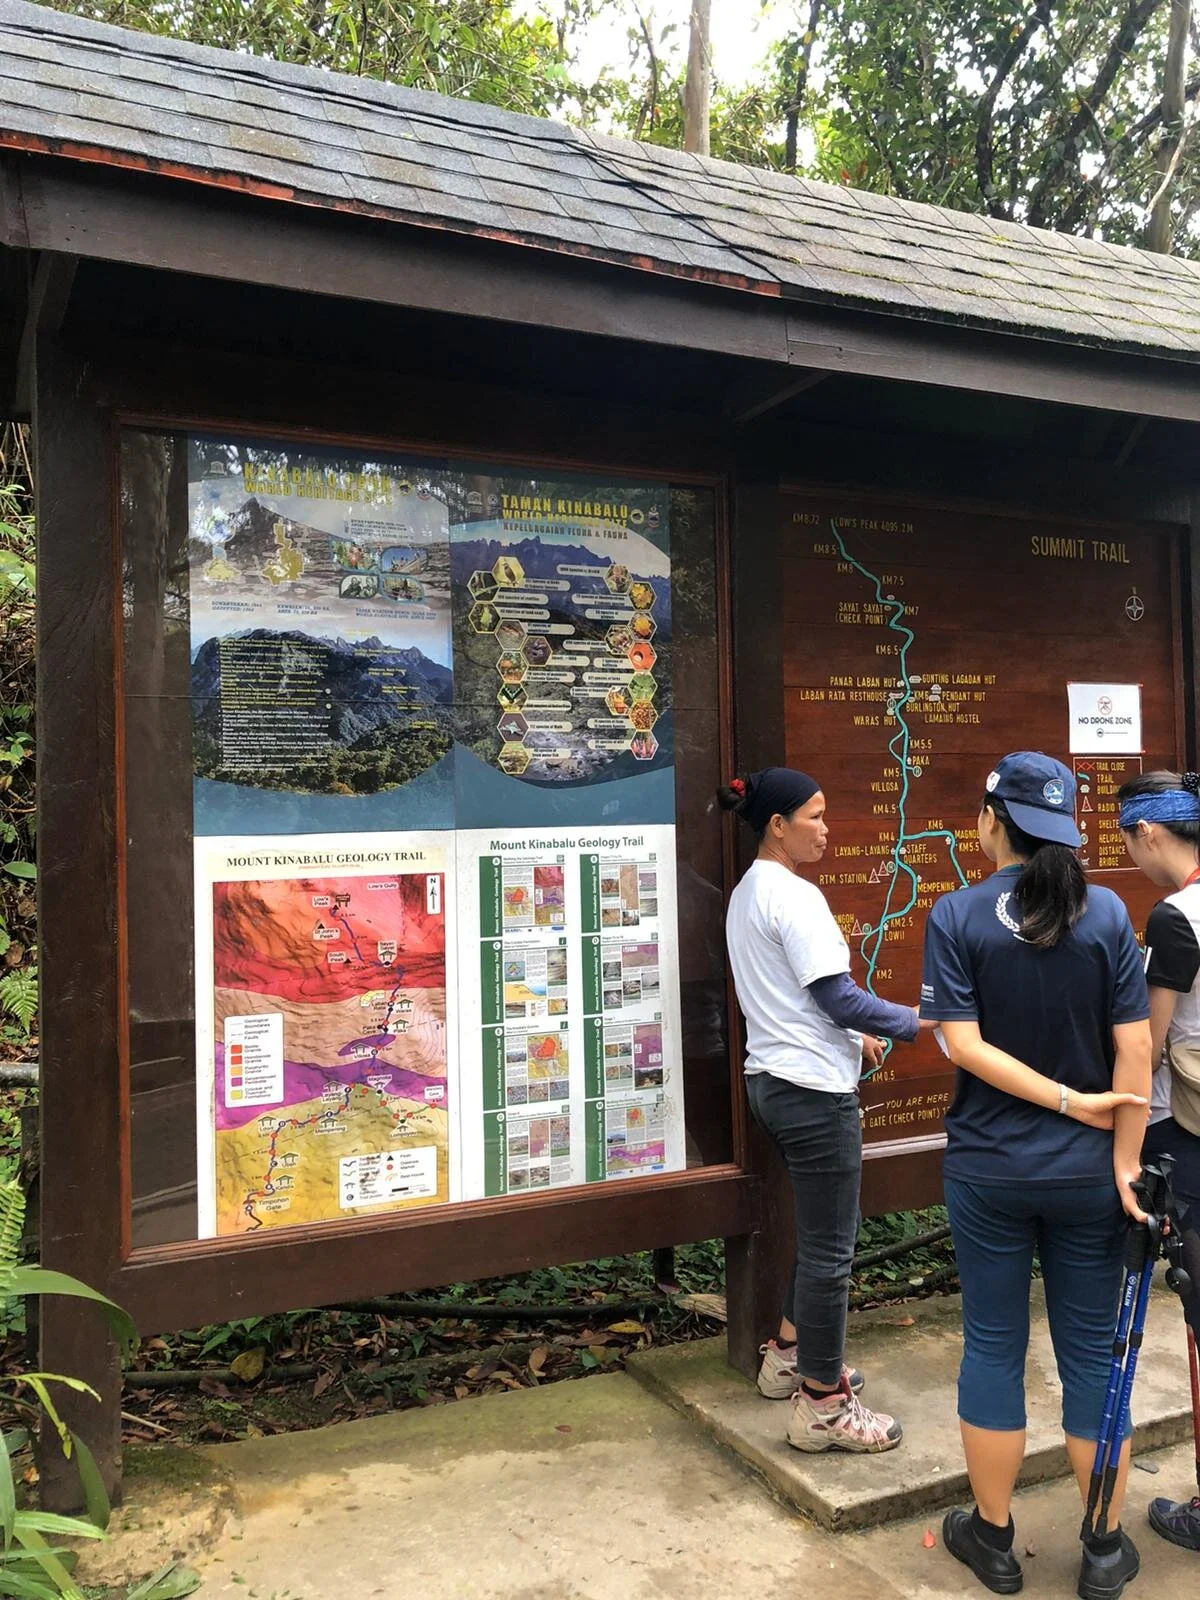
Kandis Shelter (1km - 1,981m), Ubah Shelter (1.5kkm - 2,081m), Lowi Shelter (2km - 2,267m), Mempening Shelter (3km - 2,516m), Layang Layang Shelter (4km - 2,702m), Villosa Shelter (4.5km - 2,961m) and Paka Cave Shelter (5km - 3,080m).

There are a few attractions while trekking up to the base camp. You may take a glimpse of the Carson Waterfall a few minutes from Timpohon Gate. A Heli-pad station for emergency evacuation and Paka Cave is also there. Paka Cave was once used as a resting spot of the first explorers.

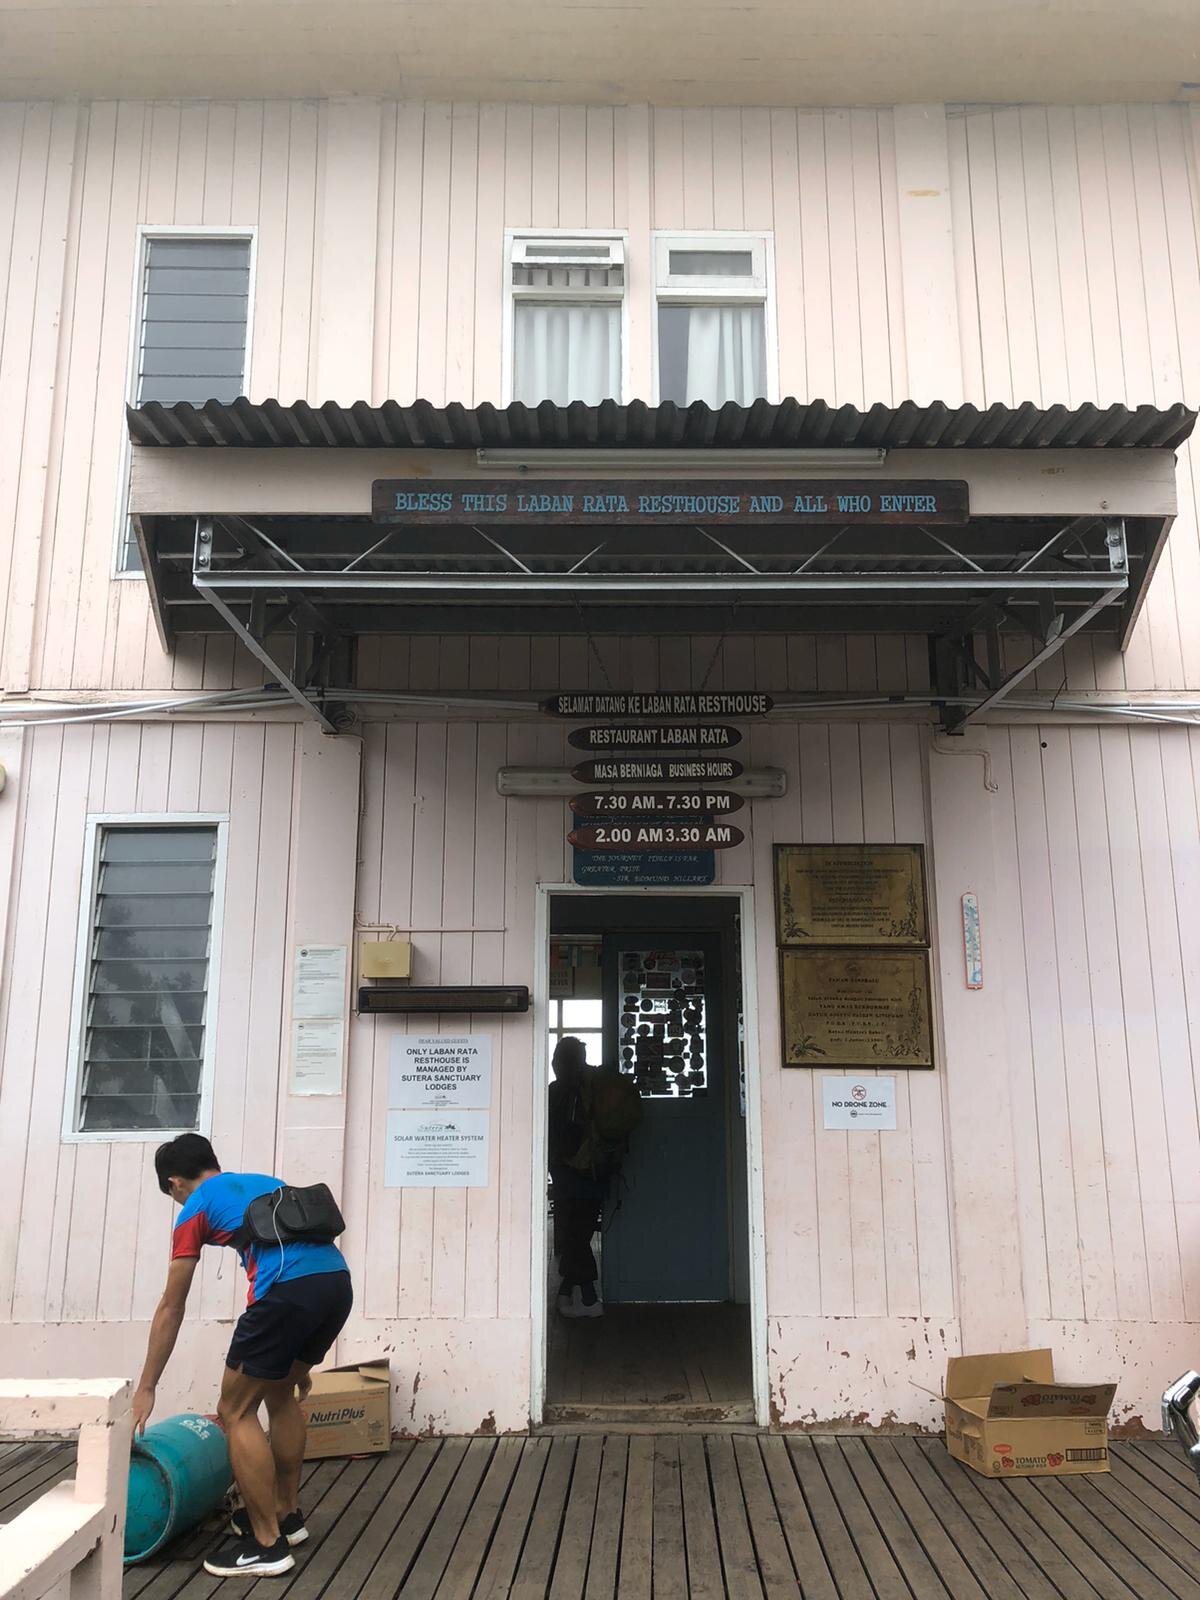
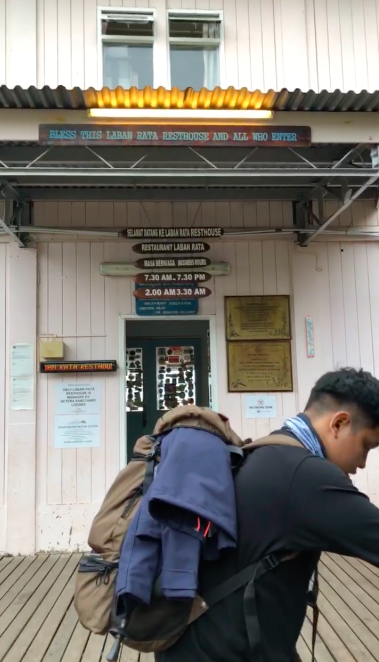
There are two rest houses at the base camp available for climbers - Laban Rata Resthouse and Pendant Hut (Private) and a restaurant at Laban Rata just below the resthouse where you can have your dinner, supper and breakfast.

Timpohon Gate stands at 1,866 metres, and Panalaban Base Camp stands roughly at 3,320 metres above sea level.

DAY 2 - SUMMIT CLIMB AND DESCEND TO PANALABAN BASE CAMP

The summit climb usually starts at 2:00 am. It takes 3-4 hours to reach the peak.

There are no shelter points until Sayat-Sayat Hut (7km - 3,668m). You must log in and present your ID tag at the checkpoint. Toilets are also available at this point. You must also reach this checkpoint no later than 5:30 am.

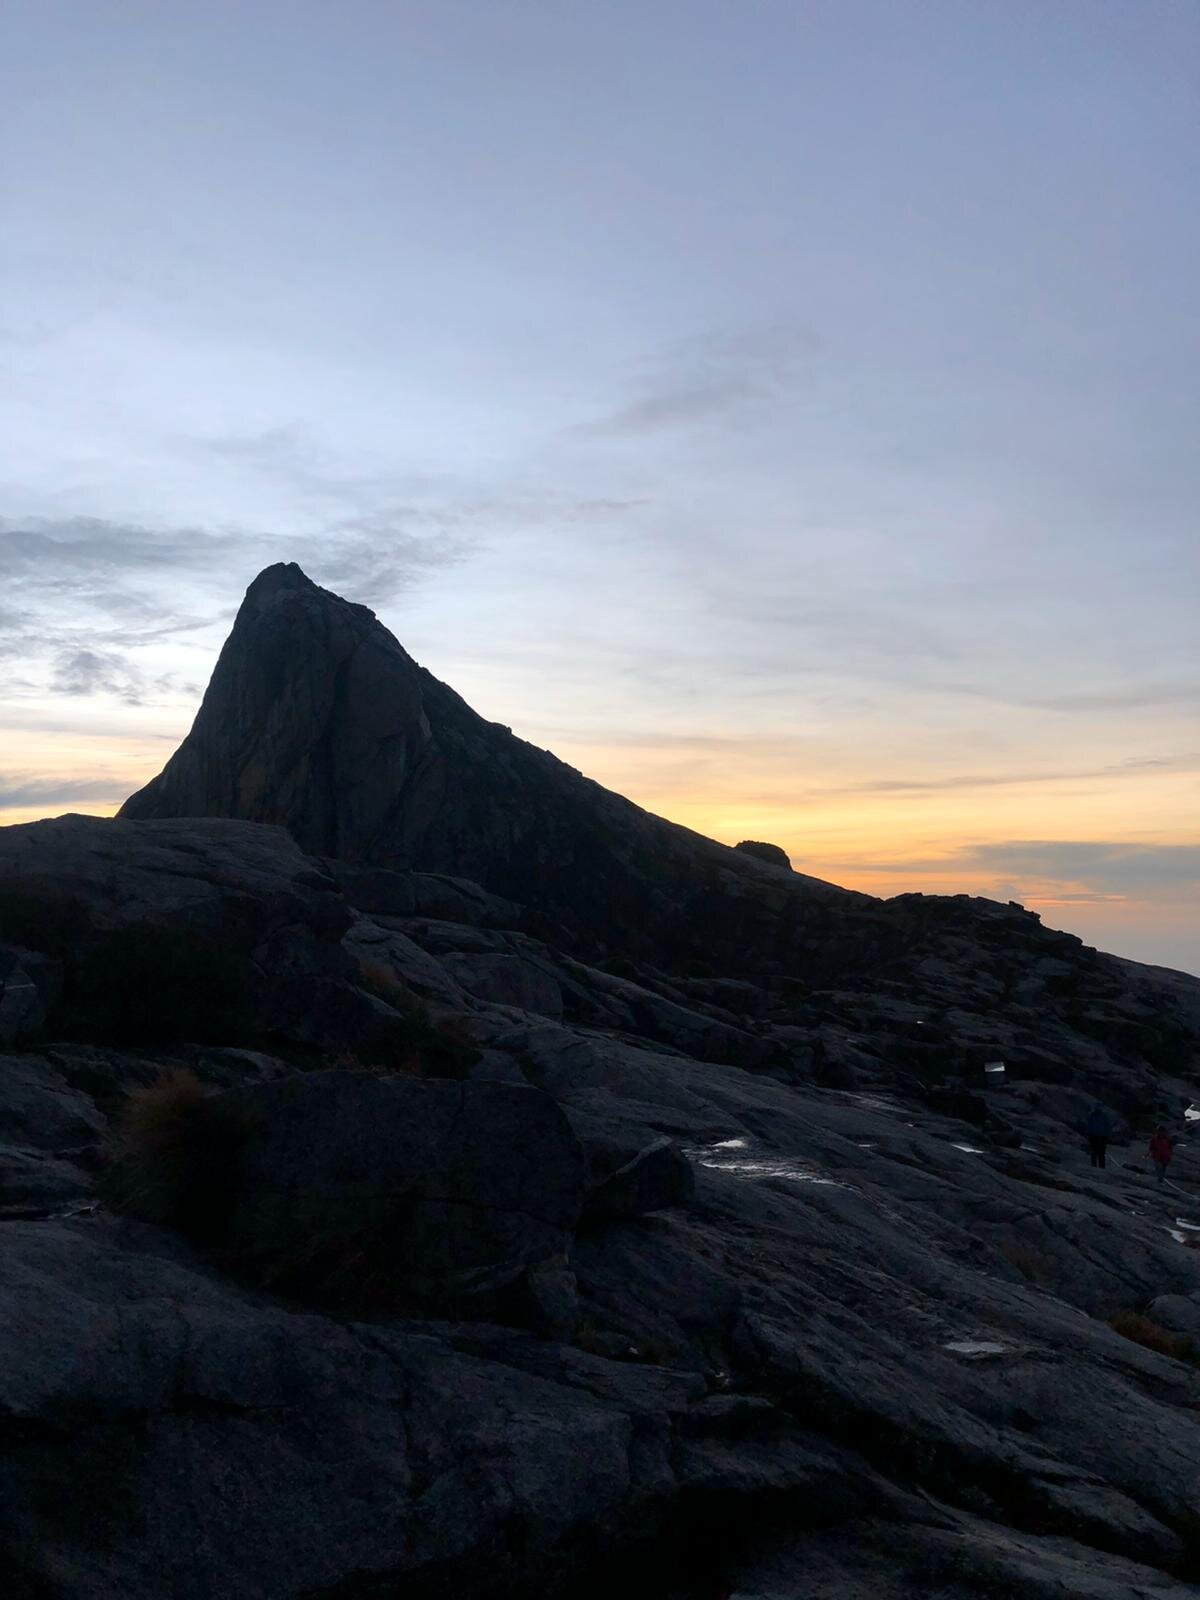
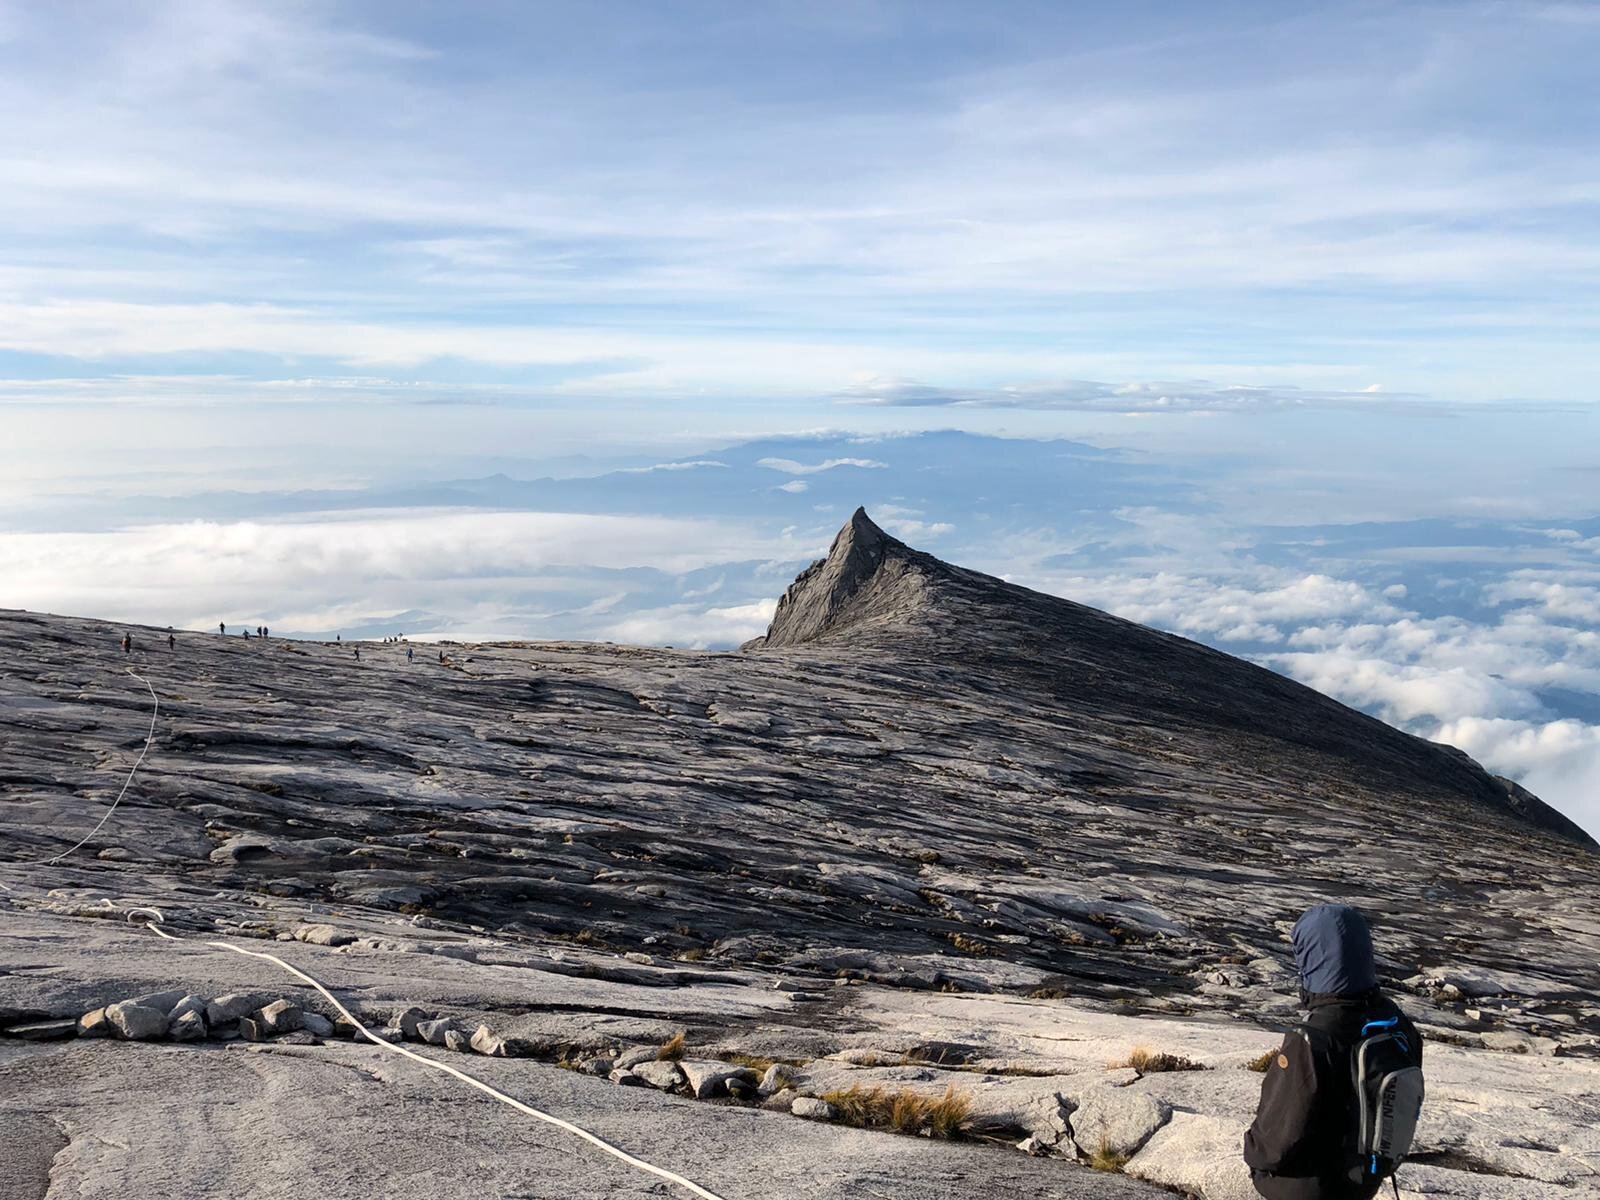
There are eight peaks from 7.5km. The highest one is Low’s Peak (4,095m) which is every climber’s aim to achieve.

Here is a list of peaks in order:

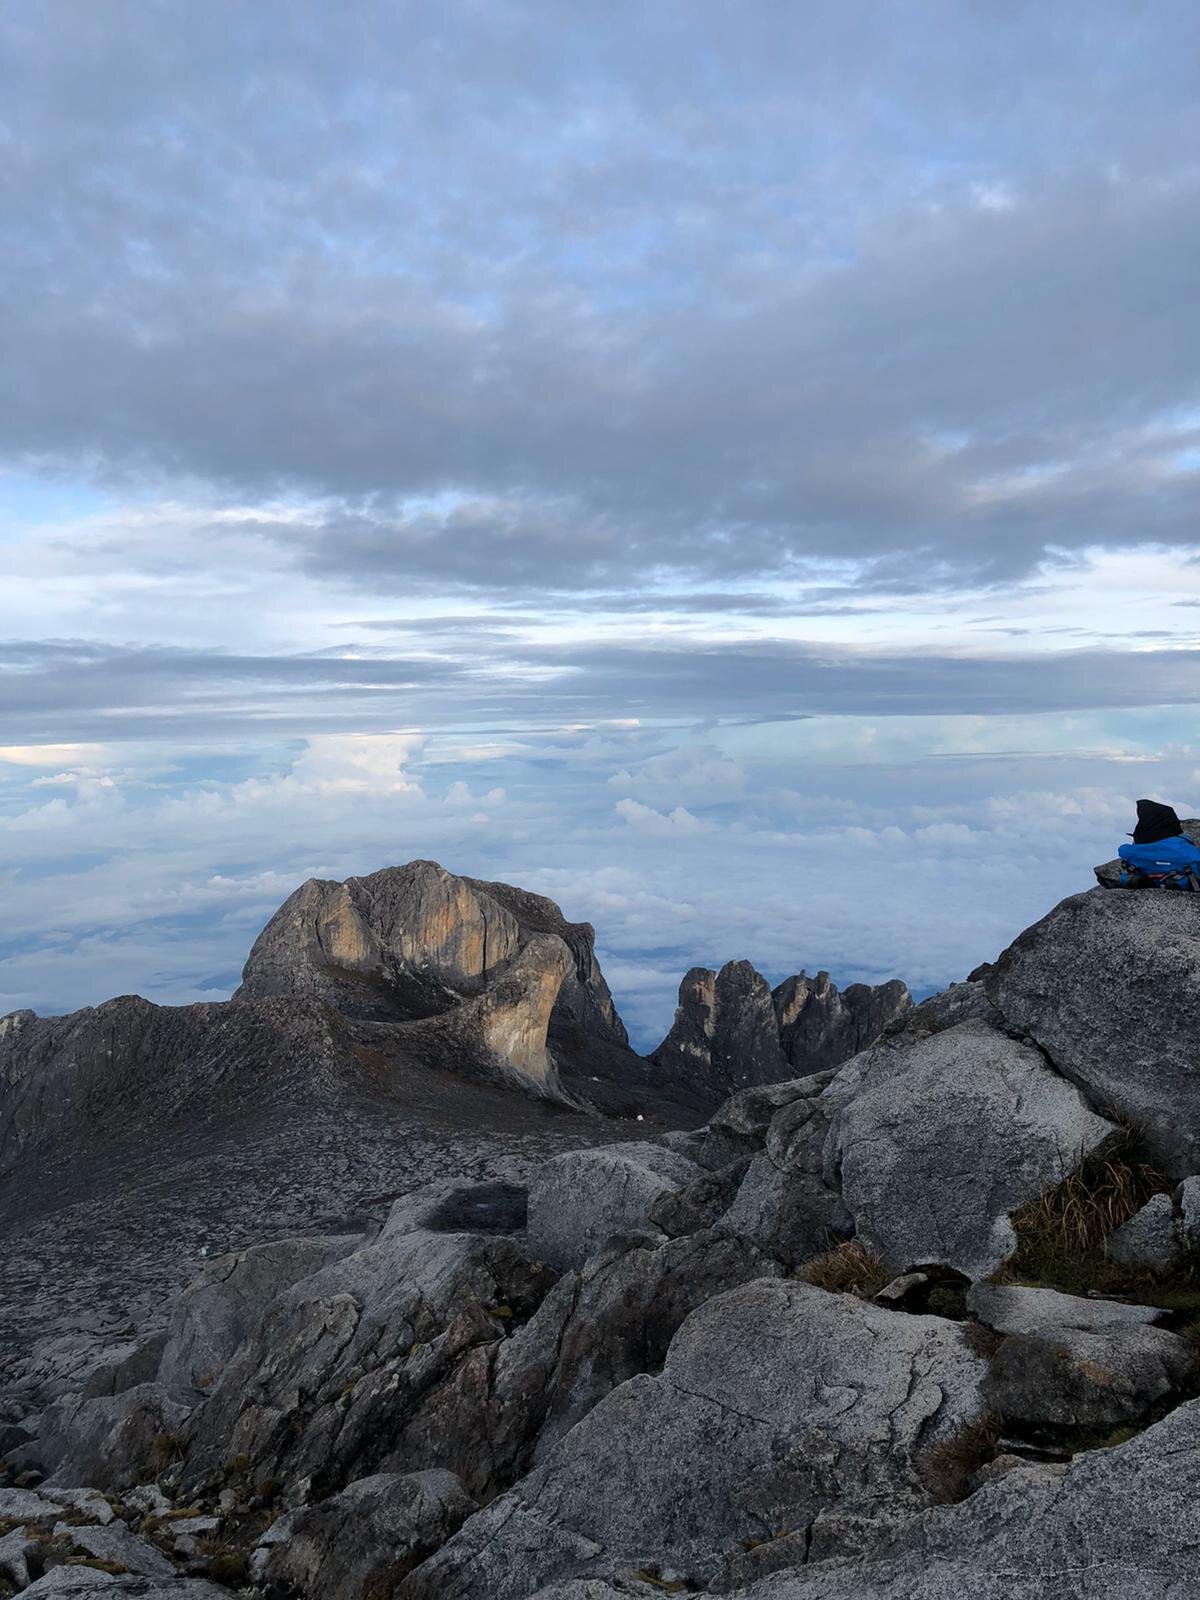
South Peak (3,922m), Tunku Abdul Rahman Peak (3,948m), Donkey’s Ears Peak (4,048m), Ugly Sisters Peak (4,032m), King Edward’s Peak (4,086m), John’s Peak (4,091m), Alexandra Peak (3,998m) and Low’s Peak Summit (4,095m).

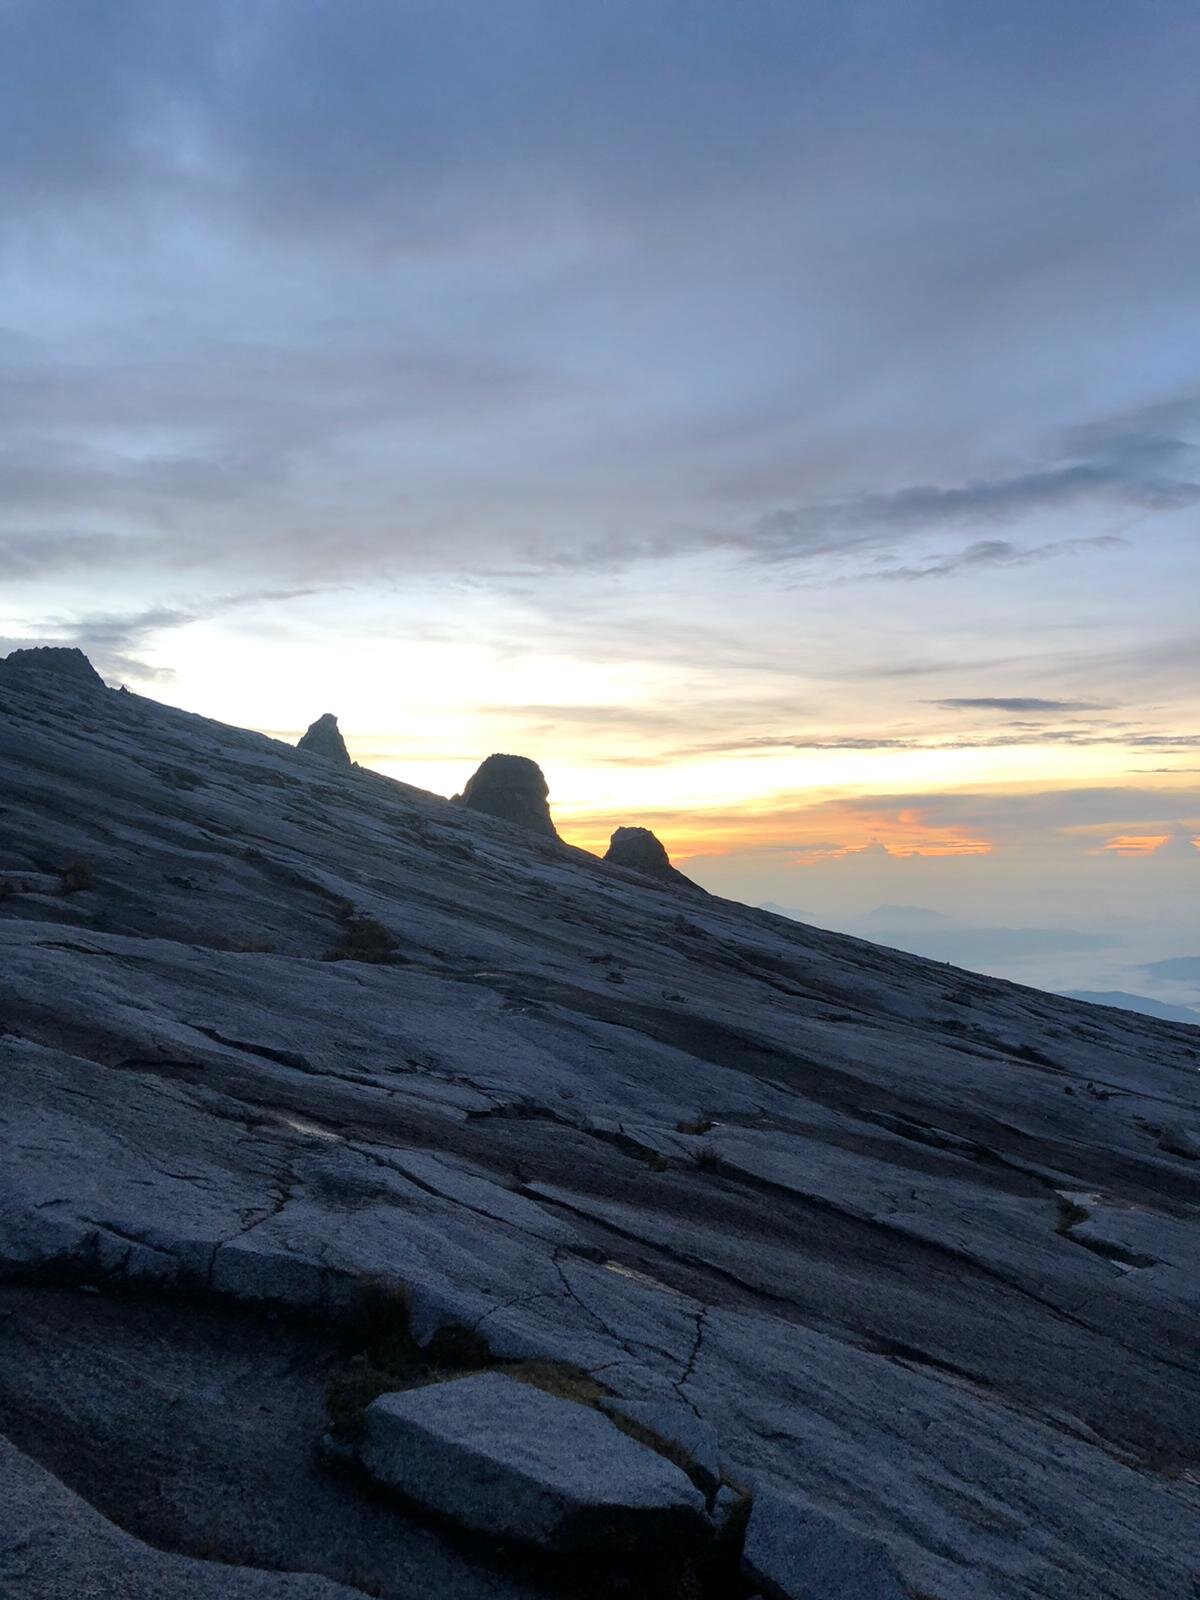
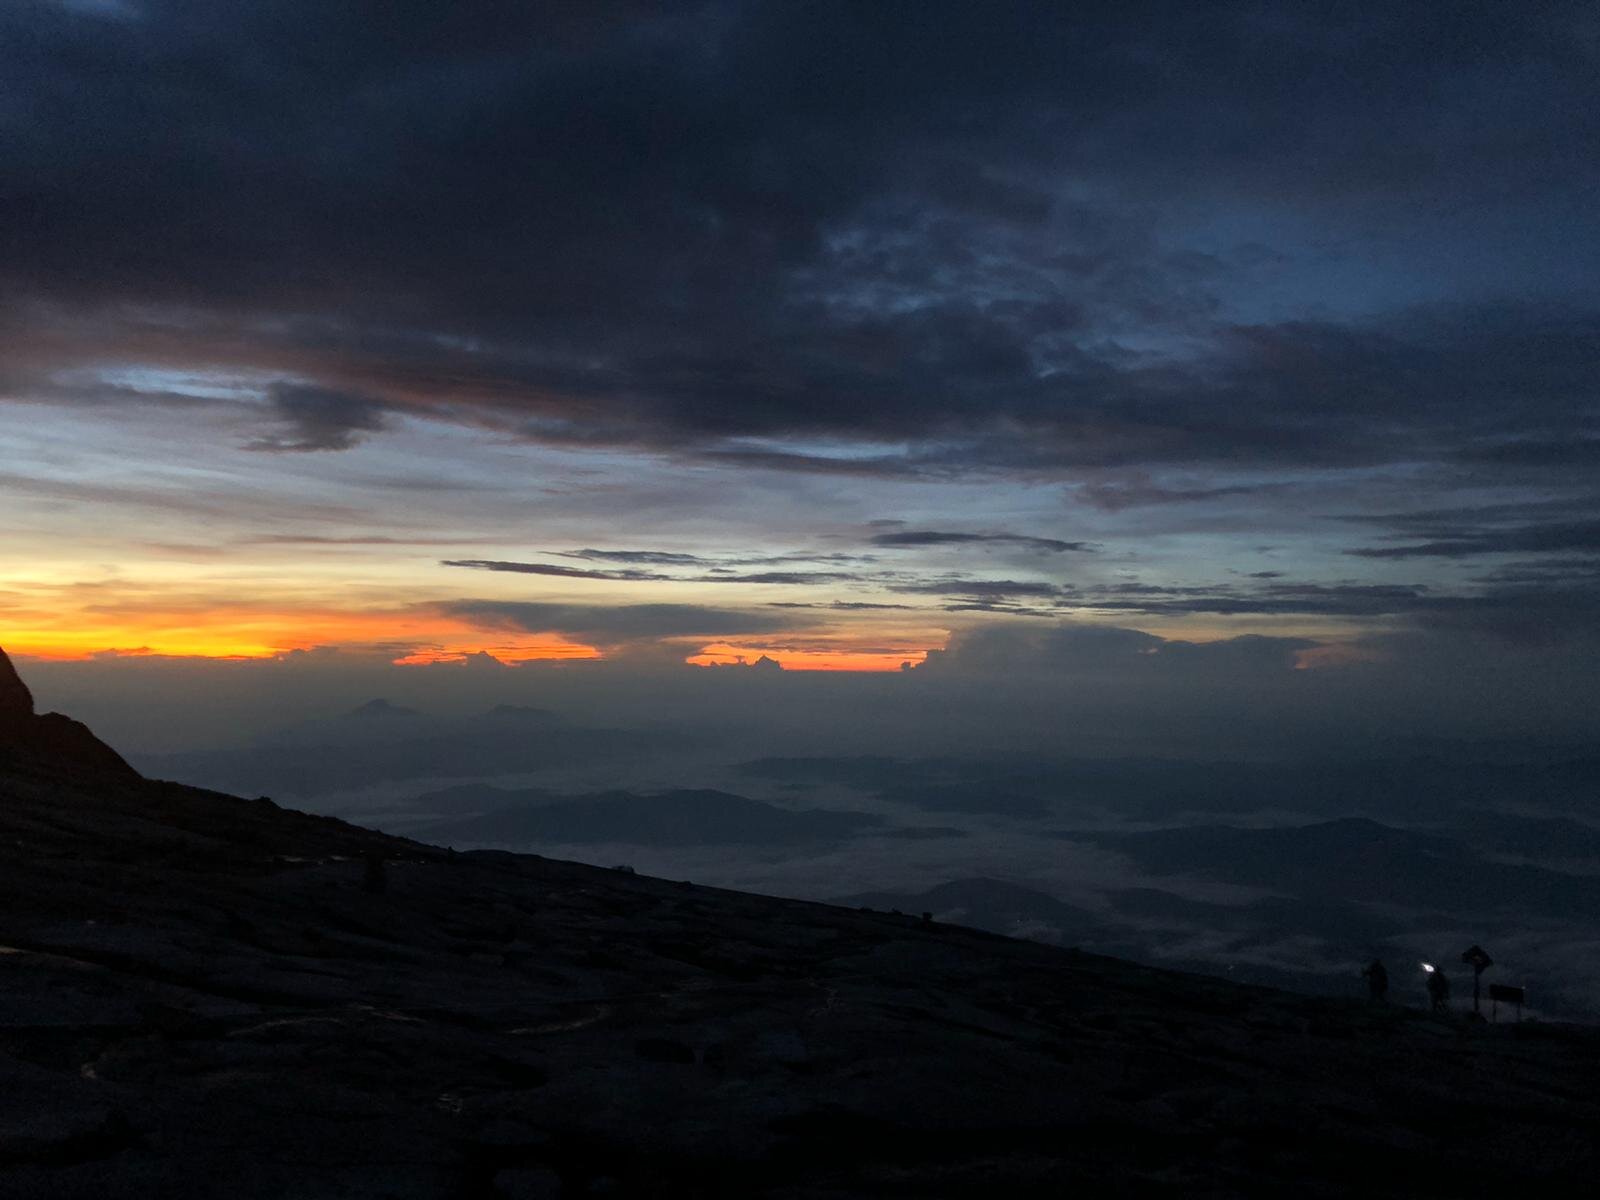
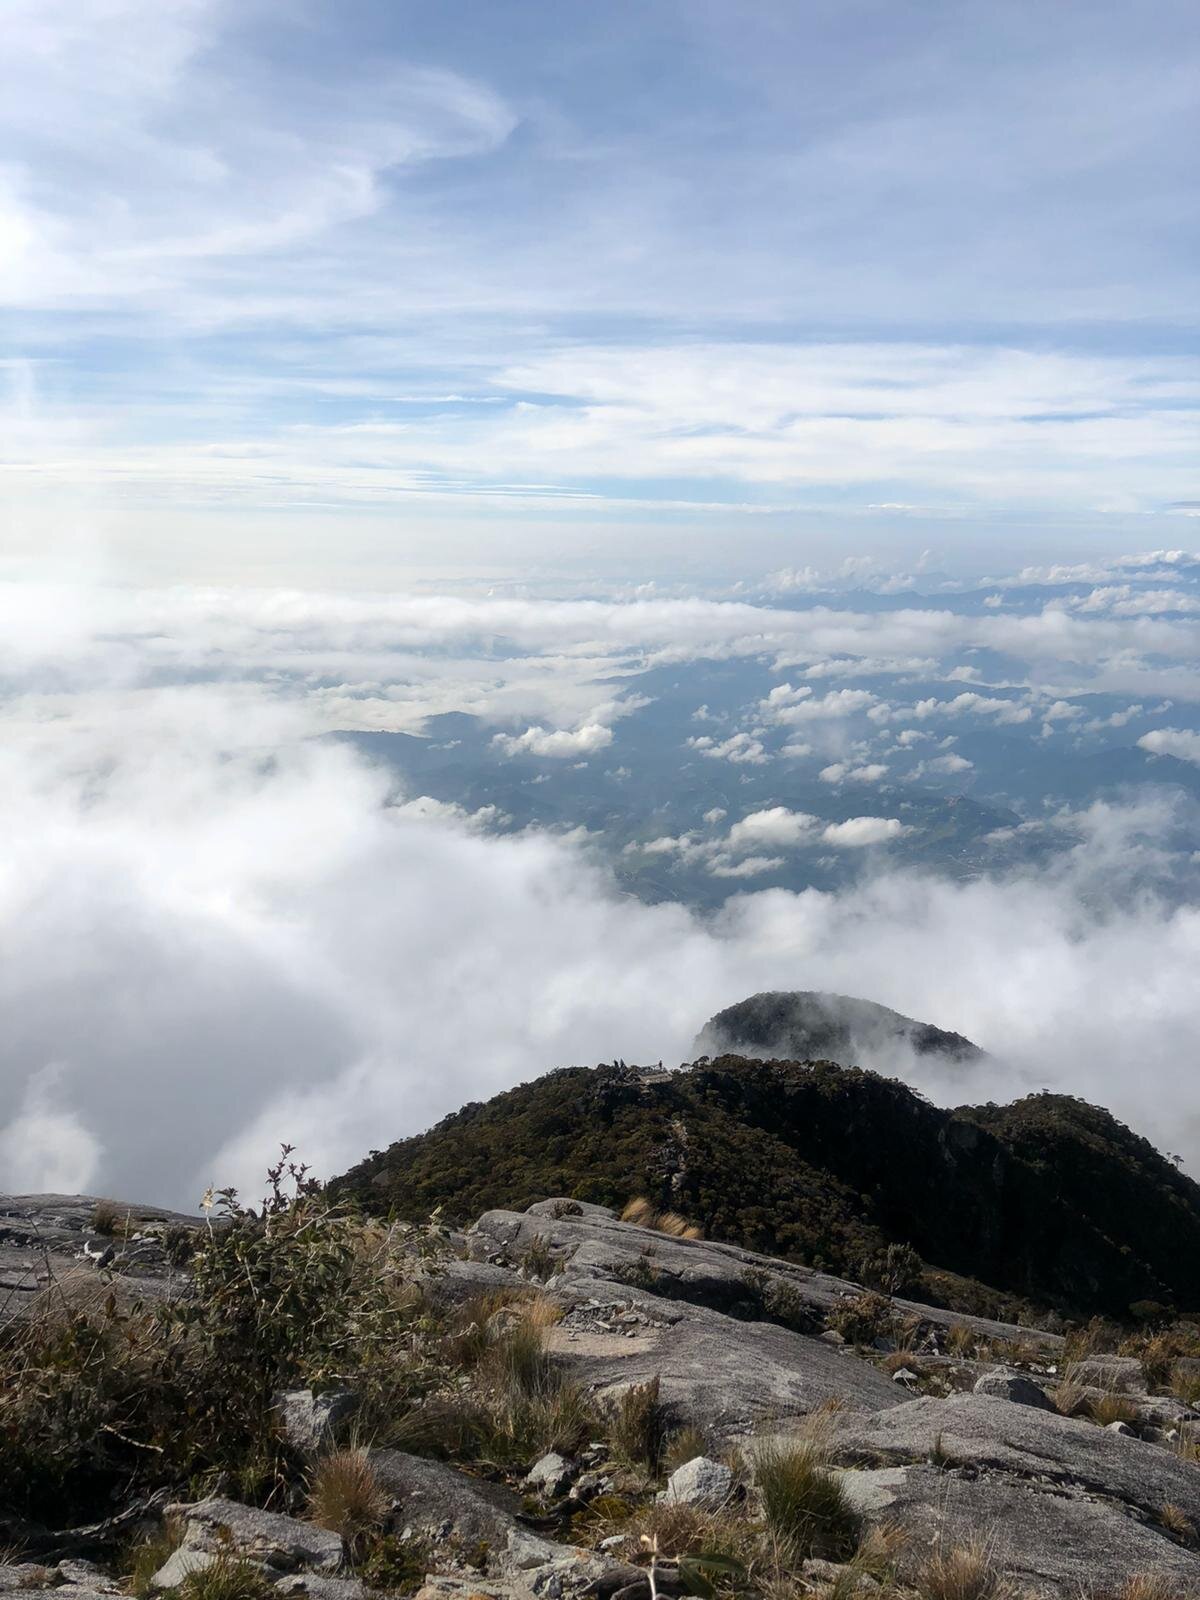
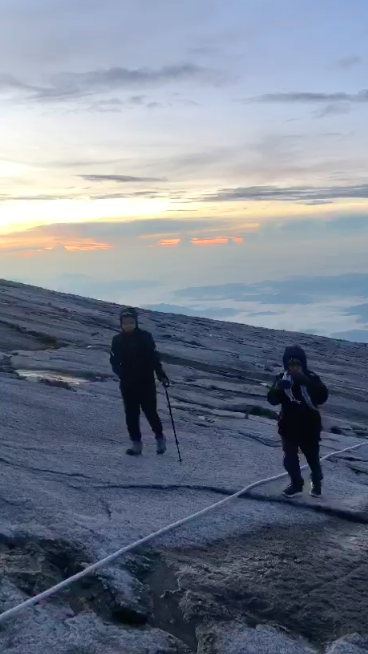
Reaching the peak before or at sunrise is a perfect time. The view is magnificent and will leave you speechless.

7:30 am is the latest time to descent back to Panalaban Base Camp. Of course, climbers may descent down as early as possible. It takes 2-3 hours to reach back to base camp.

The check-out time is 10:30 am, and the last call for late breakfast buffet also ends at 10:30 am so climbers must be back to the base camp no later than the time stated. There will be an extra charge if climbers fail to be back on time.

DAY 2 - DESCEND FROM PANALABAN BASE CAMP TO TIMPOHON GATE

After check-out and lunch, climbers can start to descend back to Timpohon Gate.

It usually takes about 4-6 hours to complete the descent.

As mentioned from ‘Day 1’ climb, there are seven shelters for climbers to take rest. There won’t be any packed lunch provided for the descent part, so make sure to bring or buy some protein or energy bars from the restaurant. There will be a lunch buffet provided upon arriving at Kinabalu Headquarter.

Climbers can also collect their storage baggage and receive or buy their climbing certificate at the Headquarter.

WHERE TO BOOK

There are many travel and tour agencies to choose from in Kota Kinabalu. However, picking the right one is essential. First, you need to check if the tour agency has a good or bad reputation. Typically the price ranges from $350-600 for foreign passports/ non-Malaysian citizens holders.

Before planning and booking, a friend of mine who works for Lightfoot Travel, Diana Fung advised me to check out this website 'Mount Kinabalu' to get an idea of the pricing and the availability of the dates.

Here is a list of places to book:

  1. AMAZING BORNEO

    https://www.amazingborneo.com/packages/tours/sabah-mount-kinabalu-packages

  2. RIVER JUNKIE TOURS

    https://www.river-junkie.com/mount-kinabalu.html

  3. BORNEO CALLING

    https://borneocalling.com/mount-kinabalu-climb/

BEFORE THE CLIMB

Preparing before the climb is essential as your preparations beforehand will help you a lot during your climb. Here are some tips for you to follow what needs to be prepared.

  • Have yourself medically checked before the climb. If you suffer from severe heart disease, chronic asthma, lung problems, knees or ankles injuries, diabetes, obesity, muscular cramps and other serious sickness or disease are not recommended to climb. You must be in decent physical health condition before doing the climb.

  • Pack only the essential stuff, and your backpack should not weigh more than 8kg. The ideal weight is 4-8kg. If you are worried about your other stuff, Kinabalu Headquarter offers storage service with a fee of RM 12 per bag (as of 2019).

  • Bring enough warm clothing, especially for the summit climb as it can get as cold as 0 degrees up there.

  • Wear proper trekking shoes with a good grip. Wearing the right shoes can help you balance and hold your grip on the ground while climbing and you will need this too when doing the summit climb. Waterproof shoes are also ideal in case of rain.

  • Pack some energy and protein bars while climbing.

  • Make sure to have your nails trimmed both your hand nails and toenails. This will help you trek better so you won’t accidentally bump or crack your nails while climbing.

  • The lodges up in the base camp only accept cash, so make sure you bring enough or extra money in case of emergency.

  • You must wear your ID tag at all times while trekking and climbing.

  • Consider bringing trekking poles as it will help you a lot, especially when descending. You may also rent or buy trekking poles from the headquarter.

  • Bring a pair of waterproof or windproof gloves. You will need them when doing the summit climb.

  • Wear a waterproof or windproof jacket during the summit climb. Make sure that your jacket is thick enough for cold weather as it can be very windy up there.

  • Workout before the climb. Focus on the treadmill, cycling, swimming and suspension training. Most of the time you are carrying yourself, so make sure to boost up your stamina. If you have weak arms, then you may go for some rope climbing lessons to help you when climbing the summit.

  • When doing the summit climb, you will need light to guide you from the dark path. A headlight is preferable and also very convenient. Bring extra batteries too just in case and don’t buy the low-quality ones. Energizer or Duracell are my recommendations.

  • Bring up to 1.5-2 litres of water when ascending to Panlalaban Basecamp.

  • Bring 1.5 litres of water when doing the summit climb.

  • Bring 1.5 litres of water when descending back to Timpohon Gate.

  • Don’t forget to bring along your passports with you.

  • You may take along some altitude sickness tablets or headache pills with you but make sure to consult with your physician beforehand. Ginger tablets or ginger tea also helps with altitude sickness.

DURING THE CLIMB

  • Trek at an average pace. Take one step at a time, walk-in a zig-zag pattern. Avoid taking big steps to conserve your energy. Make sure to have steady breathing too. Since you are ascending 6km on your first day, your body also needs to acclimatize. You may take a short break from time to time to get used to the air pressure. Take a more extended break during your lunch break at Layang-Layang shelter.

  • Alert your mountain guide if you feel something such as difficulty to breath, sudden headache, dizziness or feeling nausea.

  • Have a good rest before the summit climb. Bring earplugs if you are a light sleeper.

  • Wake up early and get ready at 1:30 am. Avoid having substantial supper; only take what your tummy can. You may bring some energy or protein bars for you to eat along the way.

  • Always mind your step and hold the rail or rope at all times while climbing up the path.

  • There is a time limit for trekkers to climb the summit. Climbers must reach Sayat-Sayat checkpoint no later than 5:30 am. If you missed this, you might not be able to proceed to the summit for safety reasons.

  • Do not stay too long at the peak as it can be very windy and cold. Also, climbers are not advised to chill at the summit. Once you reach up there, you may take pictures, enjoy the view up there and head back down. Try to be considerate to other climbers too.

  • There is also a curfew time when to check out from the base camp. The check out time is 10:30 am. There will be an extra charge when you miss the check out time.

  • Have a nice breakfast and make sure you bring enough water as it is a long way down back to the headquarter.

  • Watch your steps while descending. Although most rocks along the path are friendly, there may be a few that are not stable to step. Don’t step the stairs with metal edges, especially when the path is wet so you won’t slip and hurt yourself.

  • Use your trekking poles to help support your knees and legs. Most climbers carry at least one stick with them, bring two poles when you feel you need it or if your balance is not good. Wear knee pads when you are prone to have knee injuries.

  • Remember to take nothing but pictures.

AFTER THE CLIMB

  • Remember to do some stretching after completing the trek.

  • You may have a satisfying lunch at a restaurant near the headquarter.

  • Drink plenty of fluid even after completing the climb.

  • Go for foot massage or full body massage two days later.

  • Recovery takes time, so post-body ache is normal. However, if your body ache continues for two weeks or a month, you should see a doctor and have a body check-up.

  • Avoid engaging in physical activity for the next three days to 1 week until your body has fully recovered.

  • Share your experience with your family and friends and on social media too.

BRING ONLY THE ESSENTIAL THINGS

Since it only takes two days to climb Mt. Kinabalu, you need not bring a bunch of things with you. Trust me when I say this because what you bring up there will determine your fate in completing the climb. Unless of course, you hire a porter but even that, don’t bring anything unnecessary.

I honestly thought I packed light. I made a list, and on that list, I included the things I most need. However, I still struggle. It was just too exhausting so imagine if I packed too much, I would have a much harder time completing the climb or worse I may not even make it. My major mistake was bringing too much water. The suggested amount of water is between 1.5-2 litres. I end up bringing 3 litres because I assume I need to drink a lot of water. However, I only drank about 2 litres. Luckily, my boyfriend offered to help me carry 1 litre of water, and our mountain guide had also helped me carry my backpack from 3km to 4km. That had helped me a lot as I was suffering. I guess I underestimated Mt. Kinabalu.

So here is an ideal list to bring during your mountain climbing journey:

  • Waterproof Backpack or Backpack with a rain cover

  • Small Bag or Bumbag (Waist Bag) for Summit Climb

  • 1 pair Waterproof and Comfortable Trekking Shoes with good grips

  • Lightweight Clothing (Day 1 ascend and Day 2 descend) - ideally 2 t-shirts, 1 pair of shorts or 1 pair of trekking pants, 2 pairs of socks for trekking and 1 cap or trekking hat

  • Warm Clothing (Overnight and Summit Climb) - ideally 1-2 long sleeves, 1 pair of trekking windproof pants, 1 waterproof or windproof jacket, 1 beanie or headscarf, 1 pair of waterproof or windproof gloves, 1 pair of socks good for trekking and fleece jacket (optional)

  • Headlight or Head Torch (Night and Summit Climb)

  • Ponchos (in case of rain)

  • Snacks - ideally energy or protein bars, chocolates, nuts, sweets or biscuits

  • Toiletries - preferably soap, toothbrush and toothpaste, extra plastic bags (for wet clothes) and toilet tissue paper and wet tissue

  • 1-2 Small or Quick Dry Towel (for sweats and washing)

  • 1-2 Trekking Poles

  • Sunglasses, Sunblock with SPF lotion (in a small container) and Insect Repellent (in a small container)

  • Medicines - such as altitude sickness tablets, headache tablets or ginger tablets

  • Camera with Waterproof Bag (for storage)

  • 1.5-2 Litres Water (Timpohon Gate to Base Camp), 1.5 Litres Water (Summit Climb) and 1.5 Litres Water (Base Camp to Timpohon Gate)

In case you may wonder, you do not need to bring the following as the resthouse up at the base camp will provide these for you.

  • Bath Towel

  • Slippers

  • 1 Pillow

  • Blanket with fleece

CLIMB DIARY

FROM HOTEL PICK UP TO KINABALU PARK HEADQUARTER

The drive from Kota Kinabalu City to the headquarter is about 2 hours. If there is traffic, it will take a bit longer to reach there. The pick-up time is usually from 6:00-7:00 am. We were picked up at 6:30 am, and we reach the headquarter at 8:30 am.
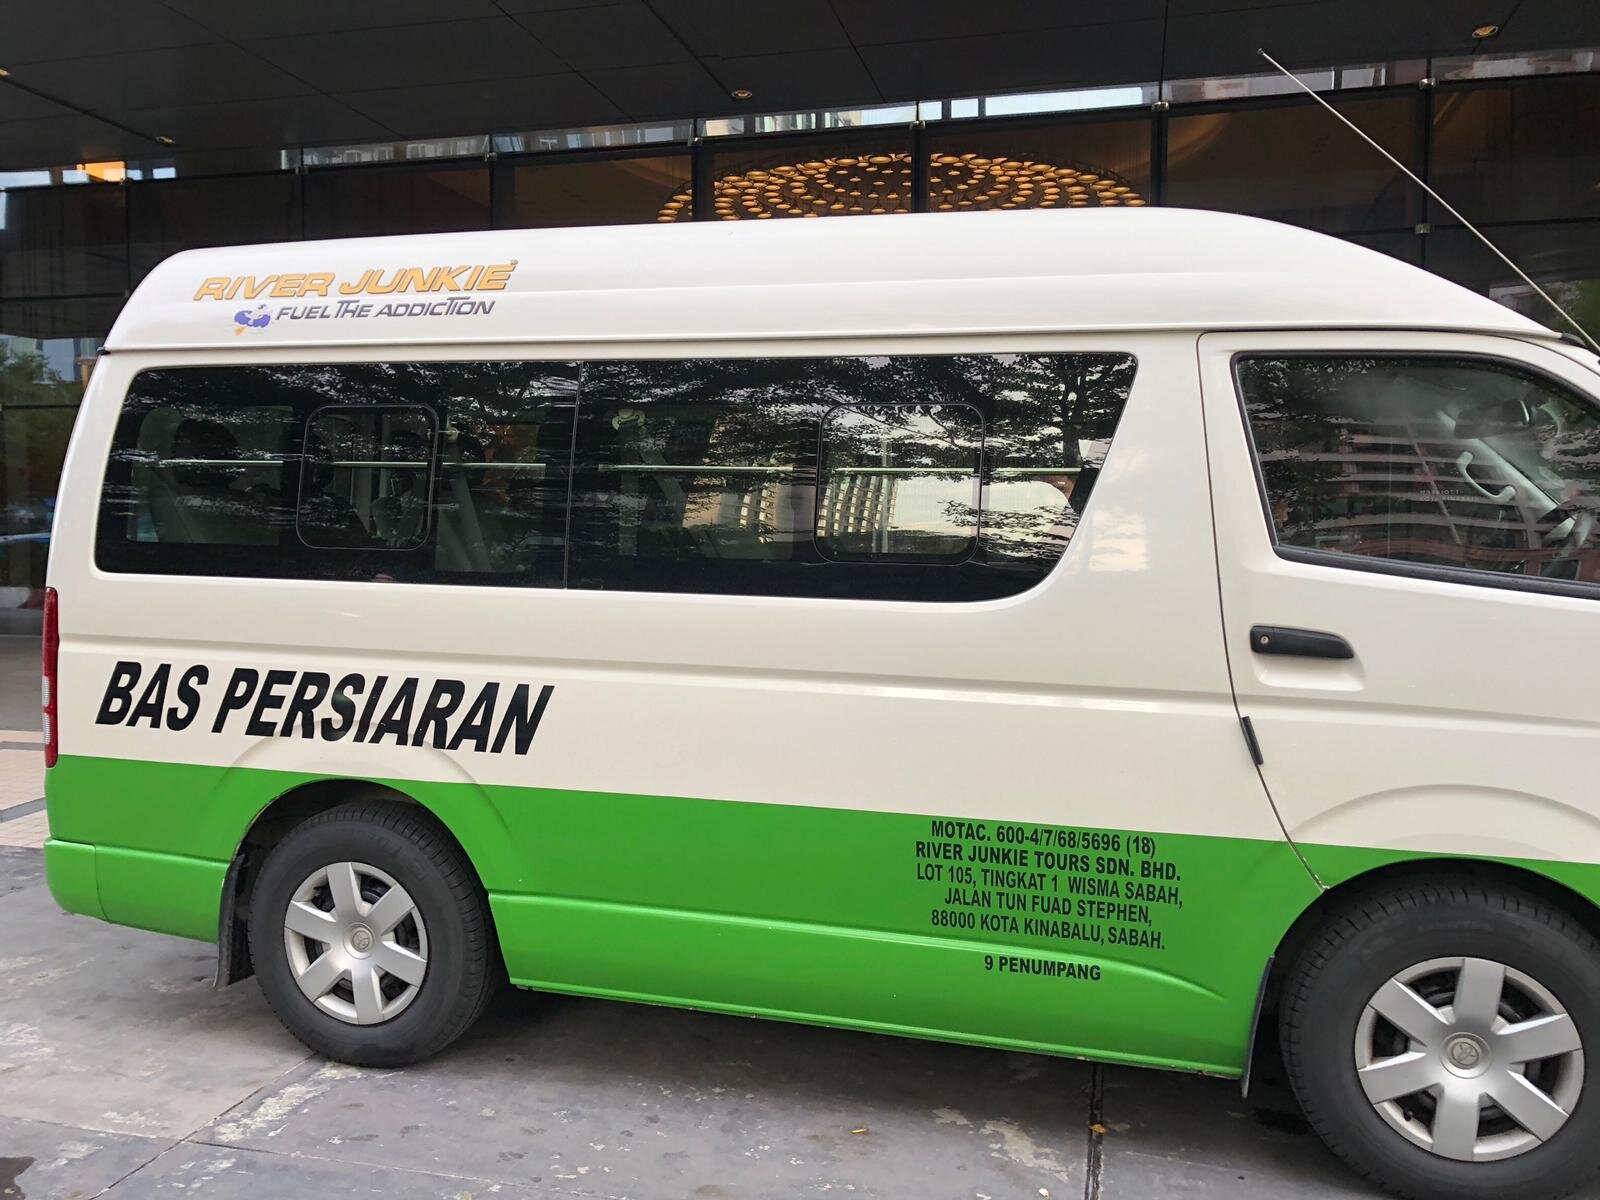
The mountain guides will usually make all the arrangement from registering and getting the permits, ID tags and packed lunch. While waiting, climbers may check-in their luggage at the baggage reception. The charge is RM 12 per bag.

We only waited less than 30 minutes, and our driver drove us to Timpohon Gate, which takes 10 minutes.

TIMPOHON GATE

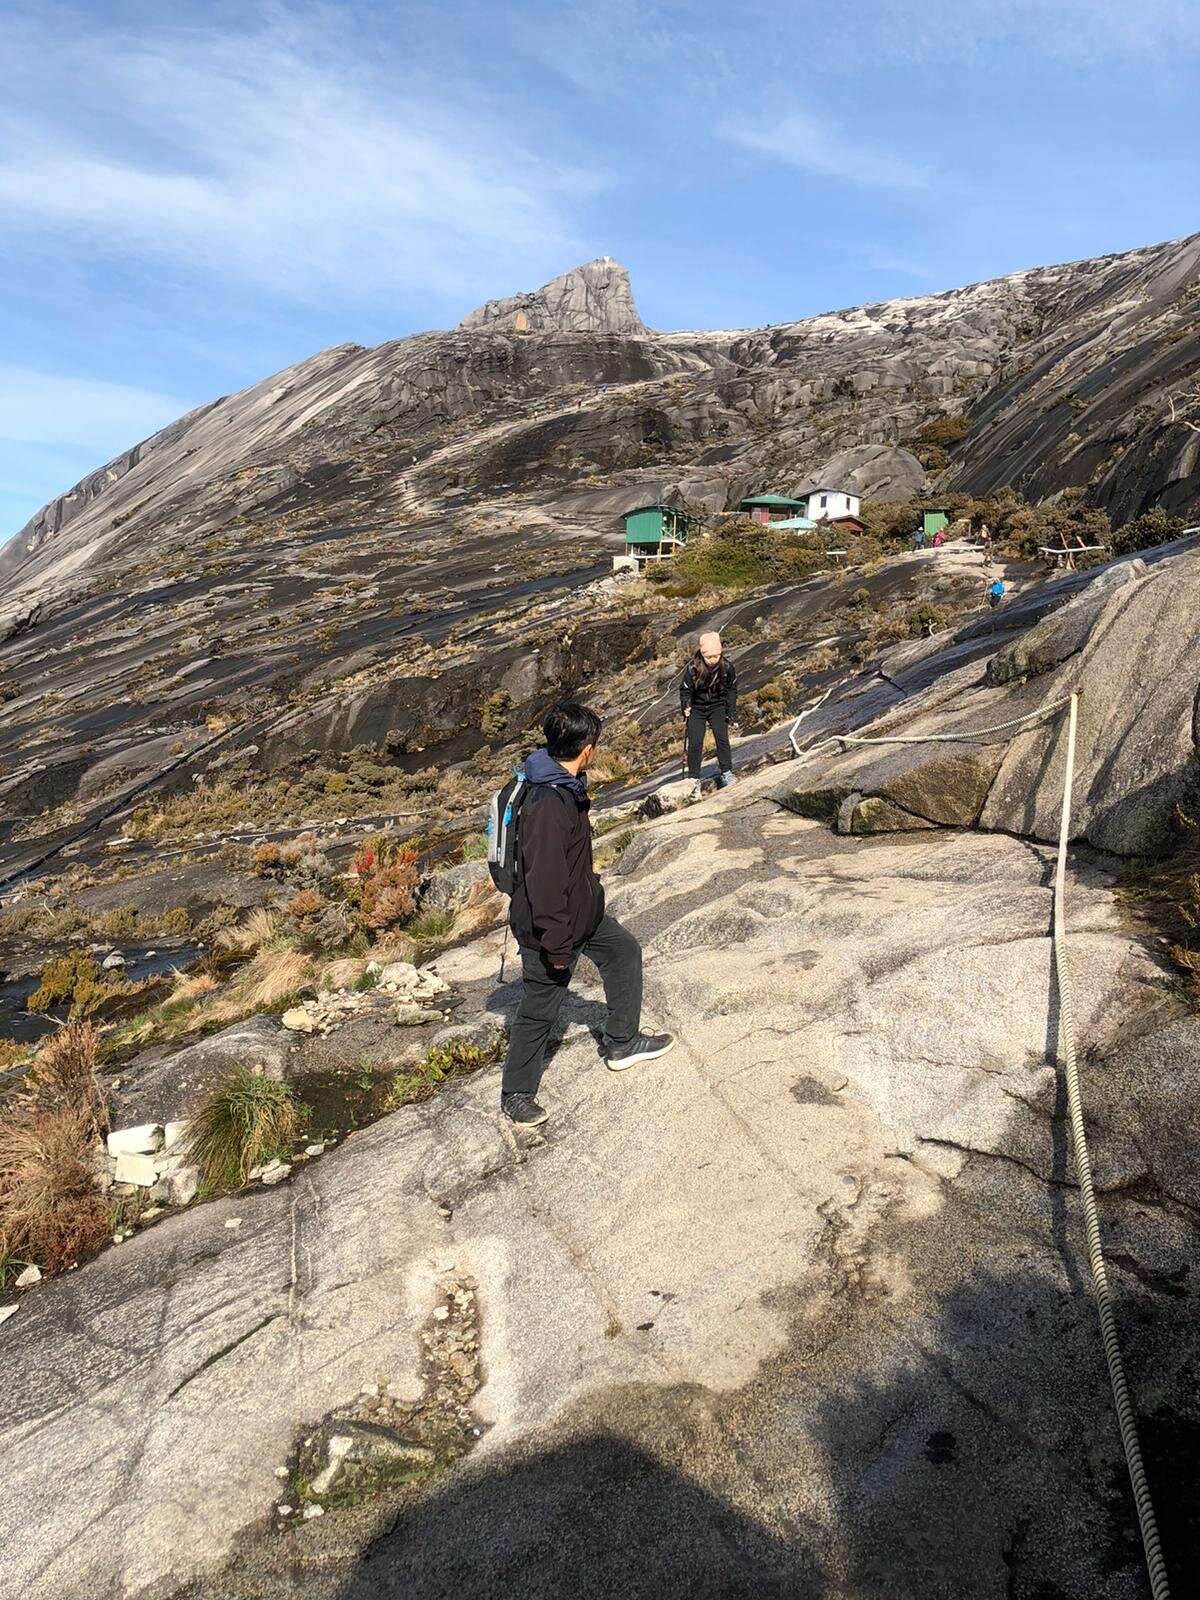
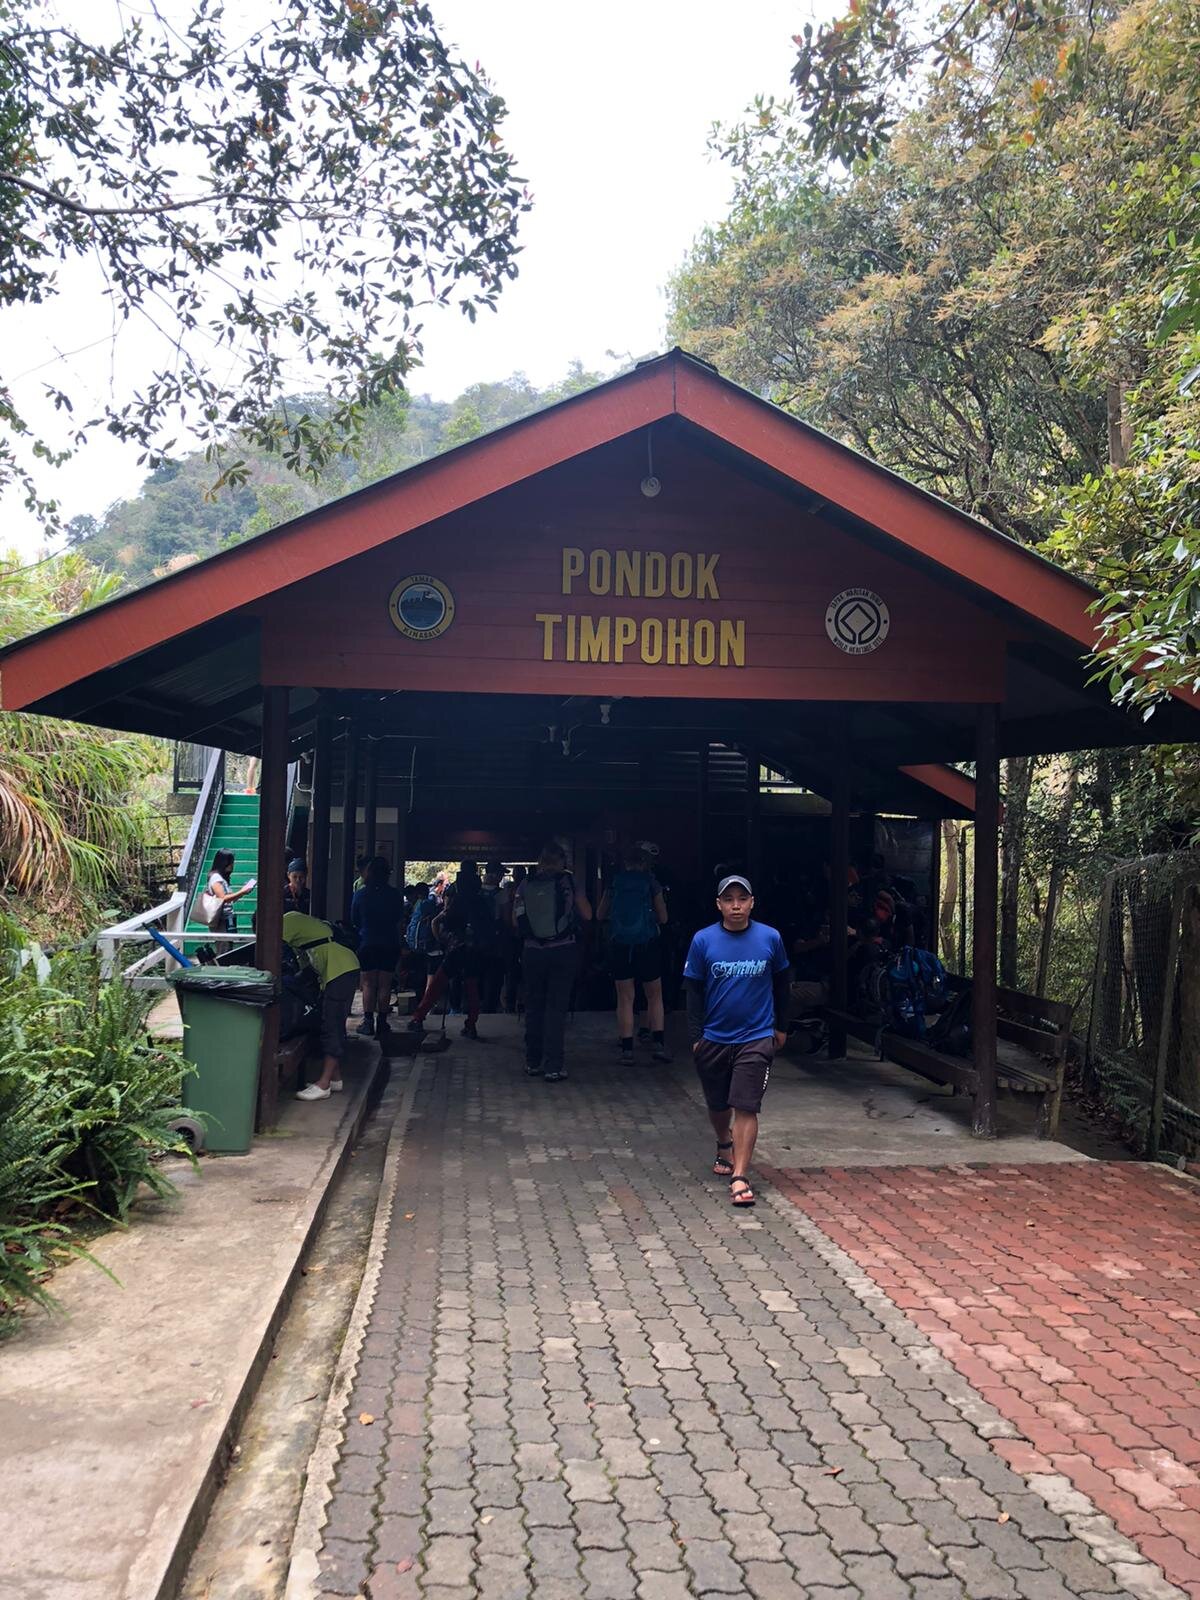
Guides will brief the climbers at this point, and all climbers must register at the checkpoint booth before starting the trek. There is not much to see at the gate except for a short flight of stairs heading downwards. That is the beginning of the trek.

Timpohon Gate

Timpohon Gate

tinpohan 2.jpeg

THE FIRST 1KM

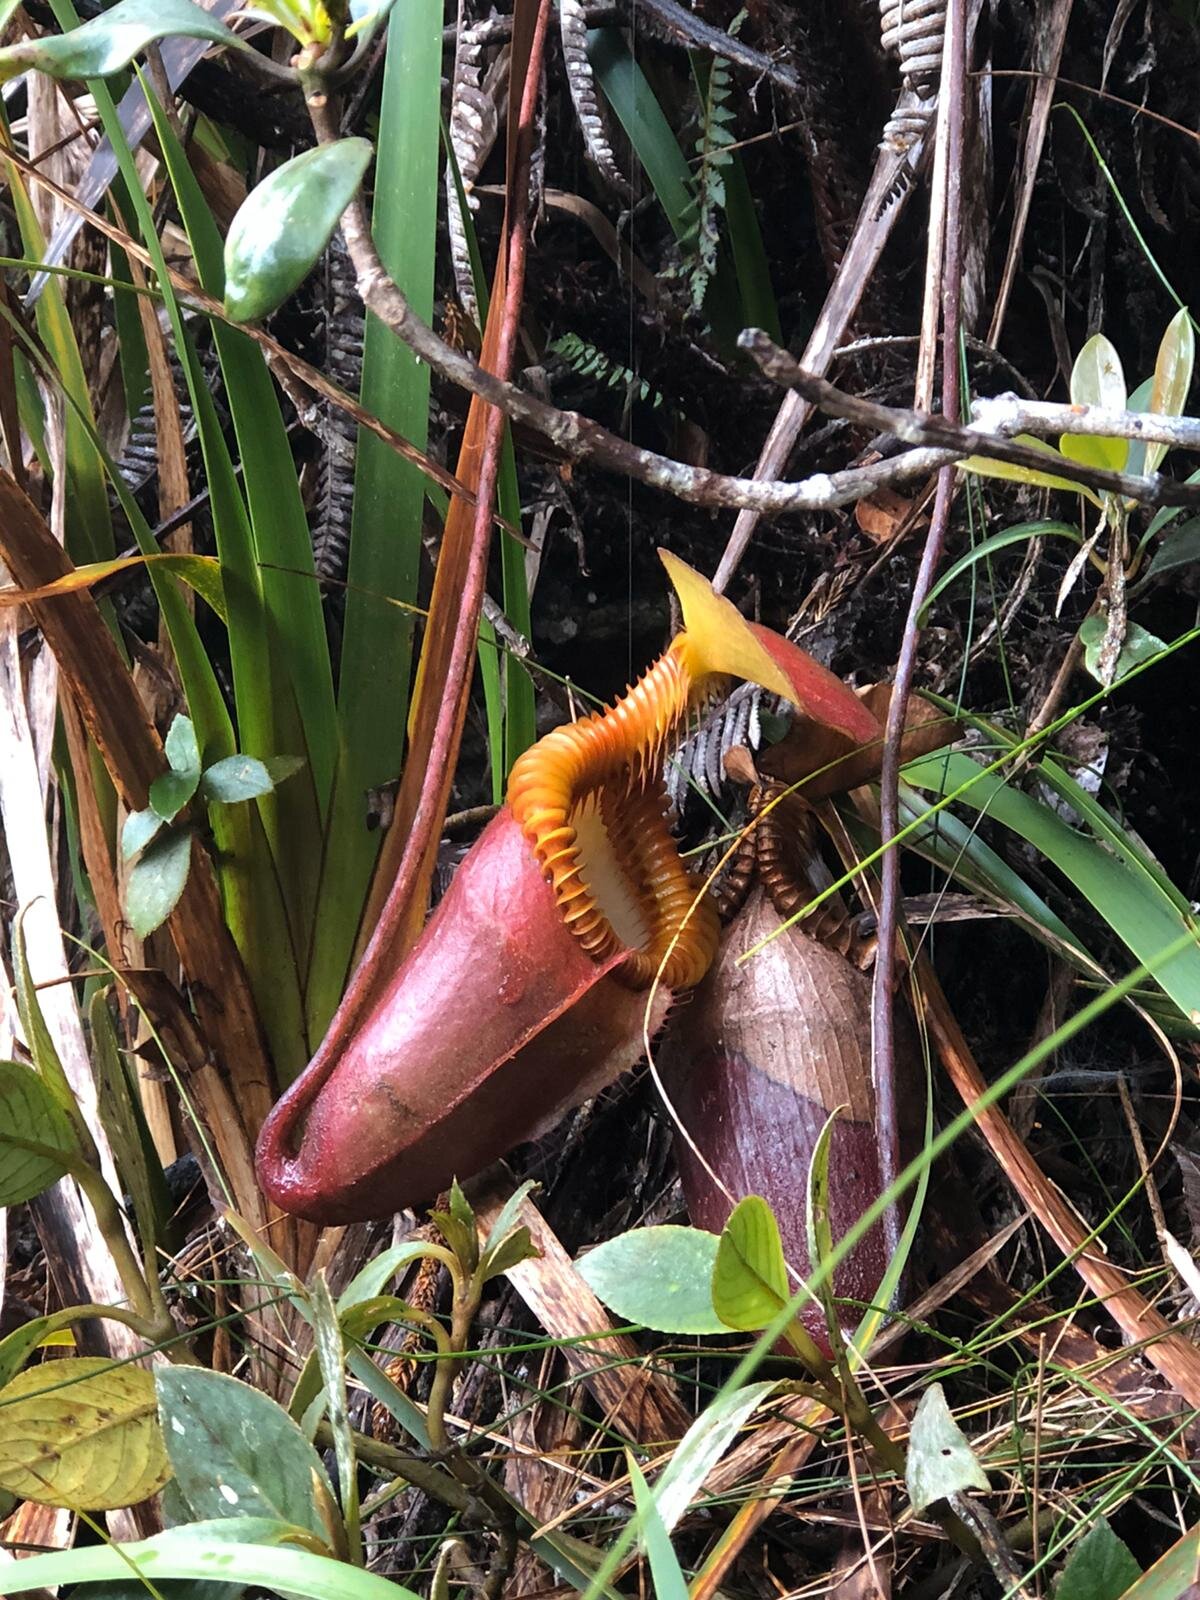
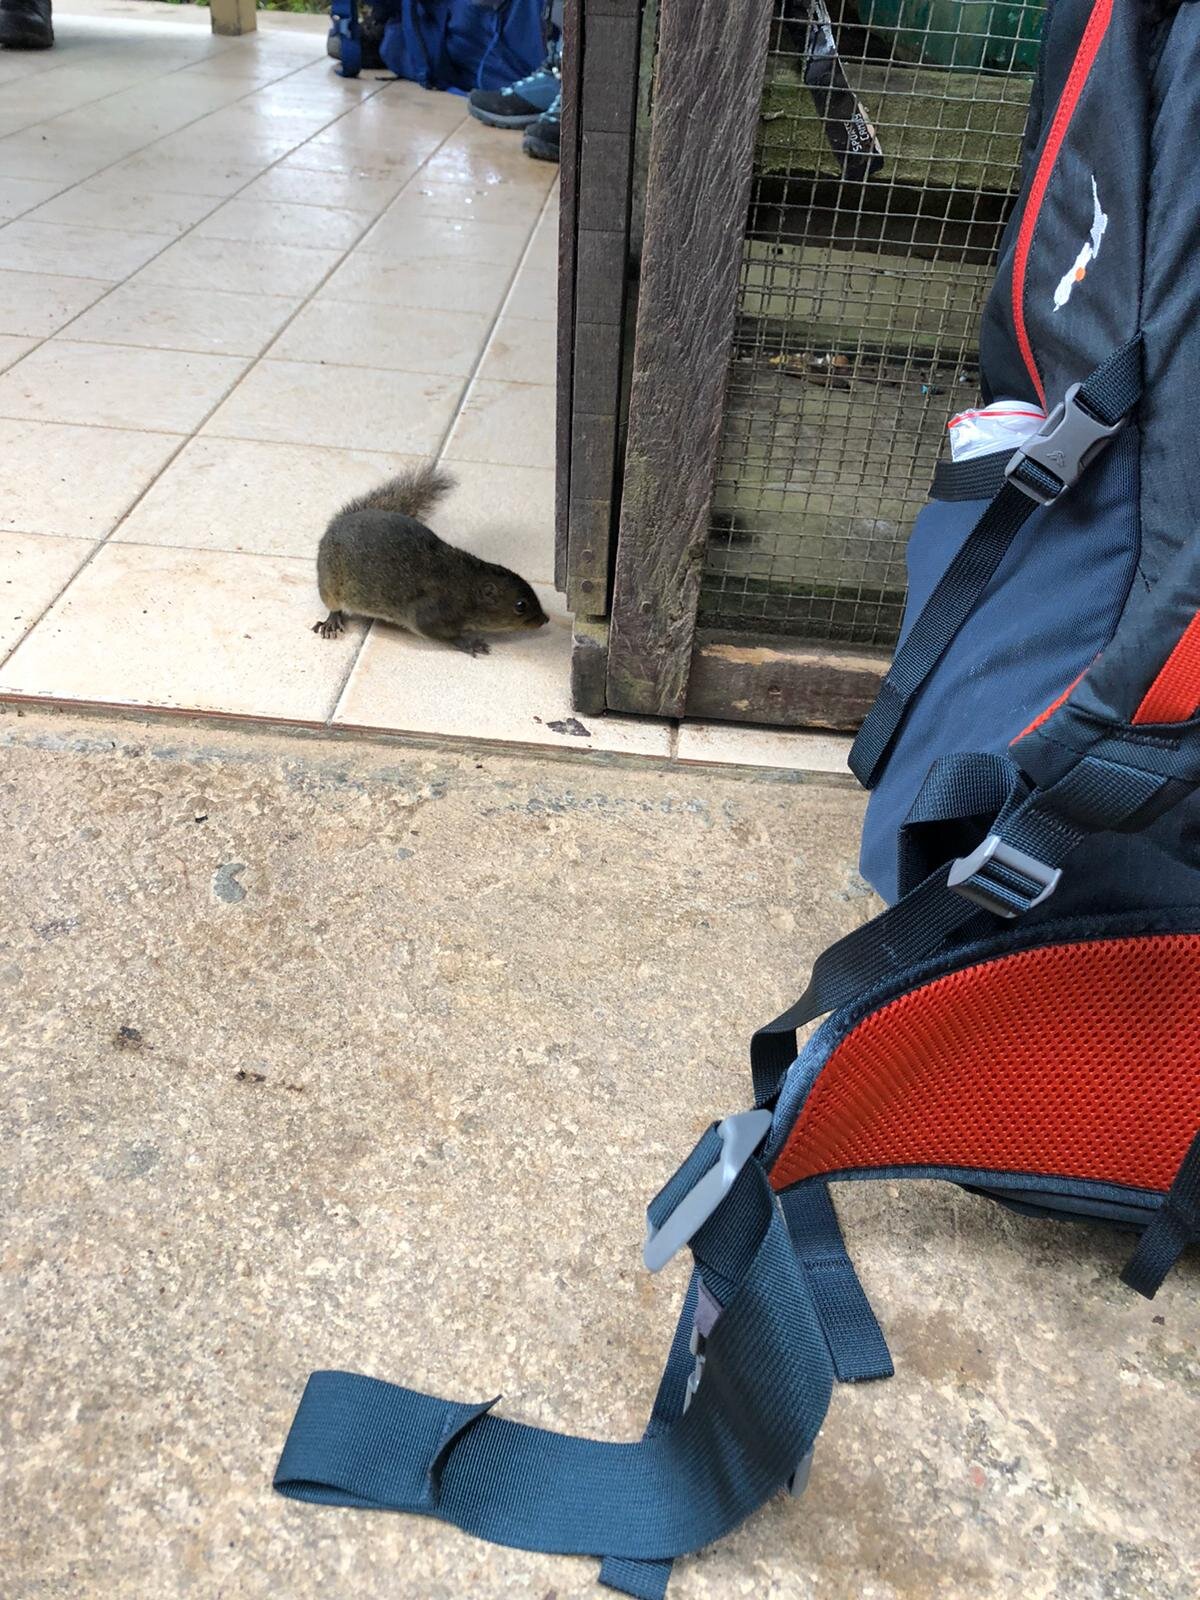
The first 1km was steady, and right there, trekkers can spot on plenty of beautiful plants and flowers and a waterfall called Carson Waterfall. The first shelter point stands at about 1km from the gate. Squirrels are basically just around the corner so if you spot them, ease up as they’re harmless, tiny and cute. Trekkers can spot on some unusual pitcher plants around the trail.
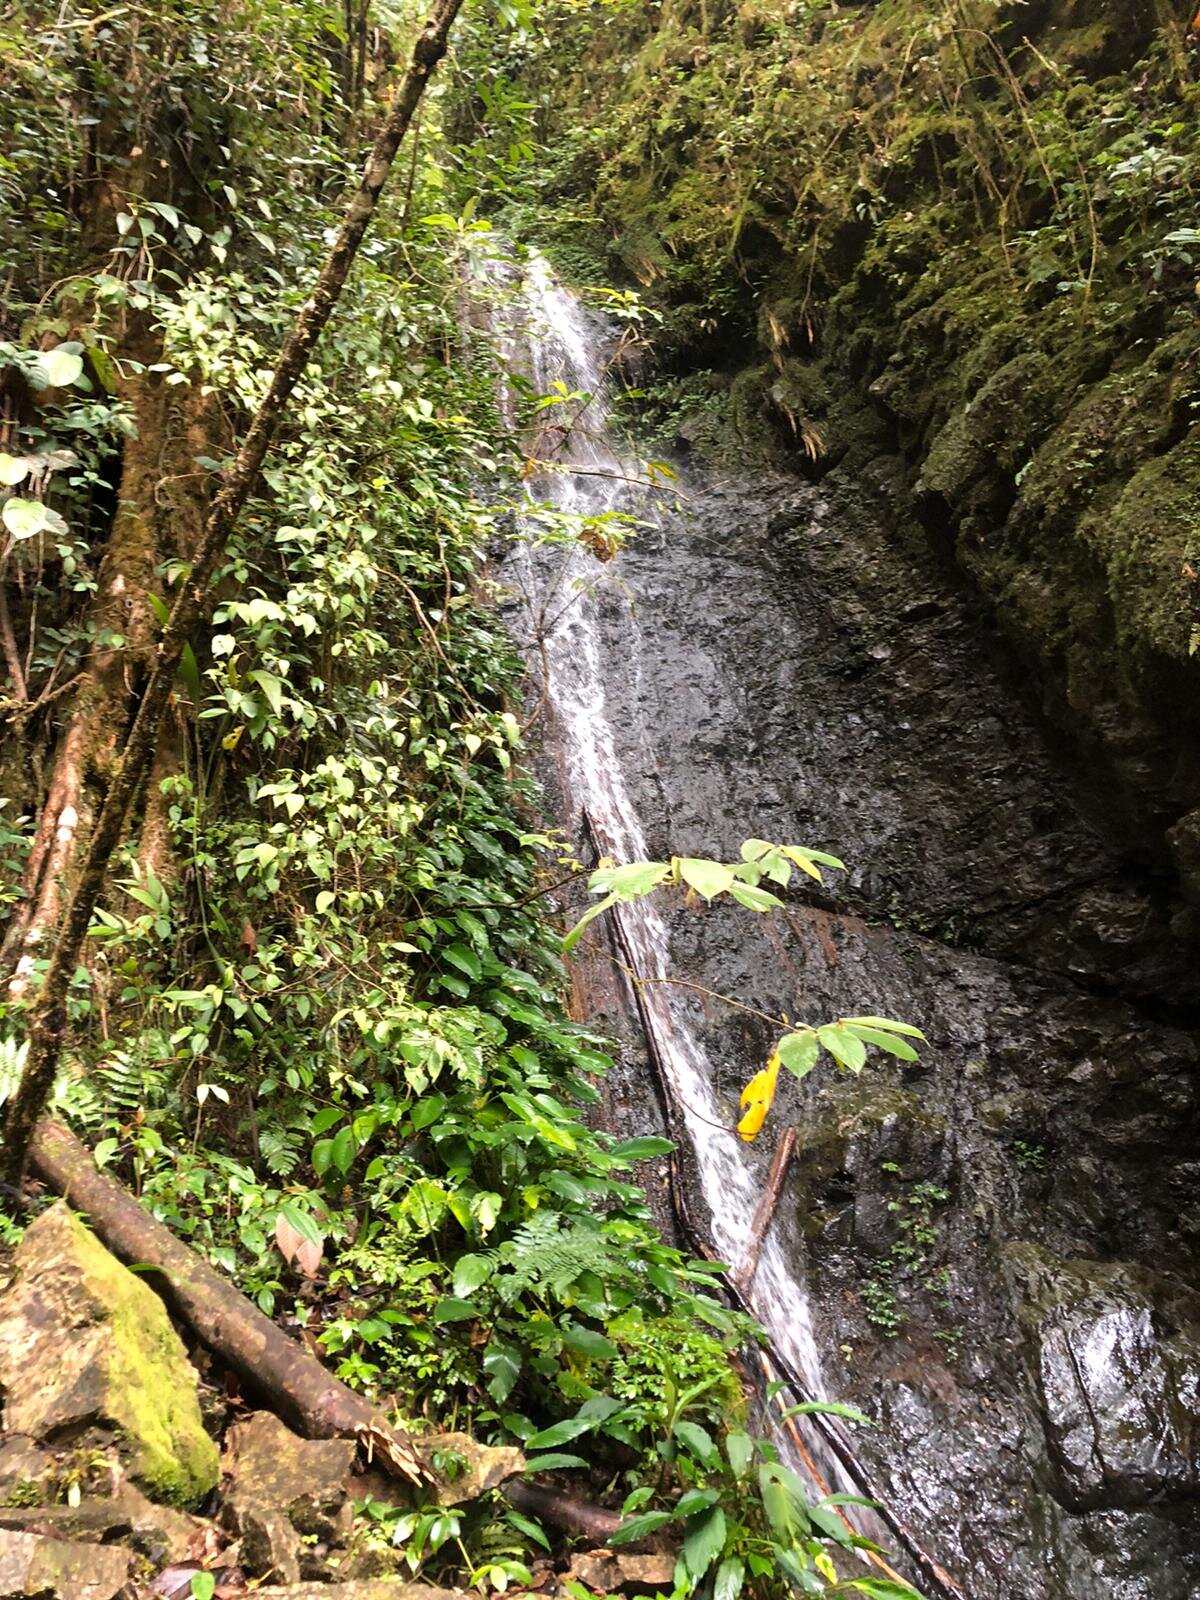
All shelters have decent toilets for people to use. However, be minded not to flush tissue paper as it may cause some clog problem. Our mountain guide told us that it is very difficult for workers to detect where the location is stuck so better help them out by throwing tissues in the bin. There are bins everywhere around the shelter points.

MORE SHELTERS AND STAIRS

Continuing from 1km, there are about 3 more shelter points. Each would take about 1km to reach. At this point, it was already getting tough, and the temperature is dropping. Hence it’s getting colder.
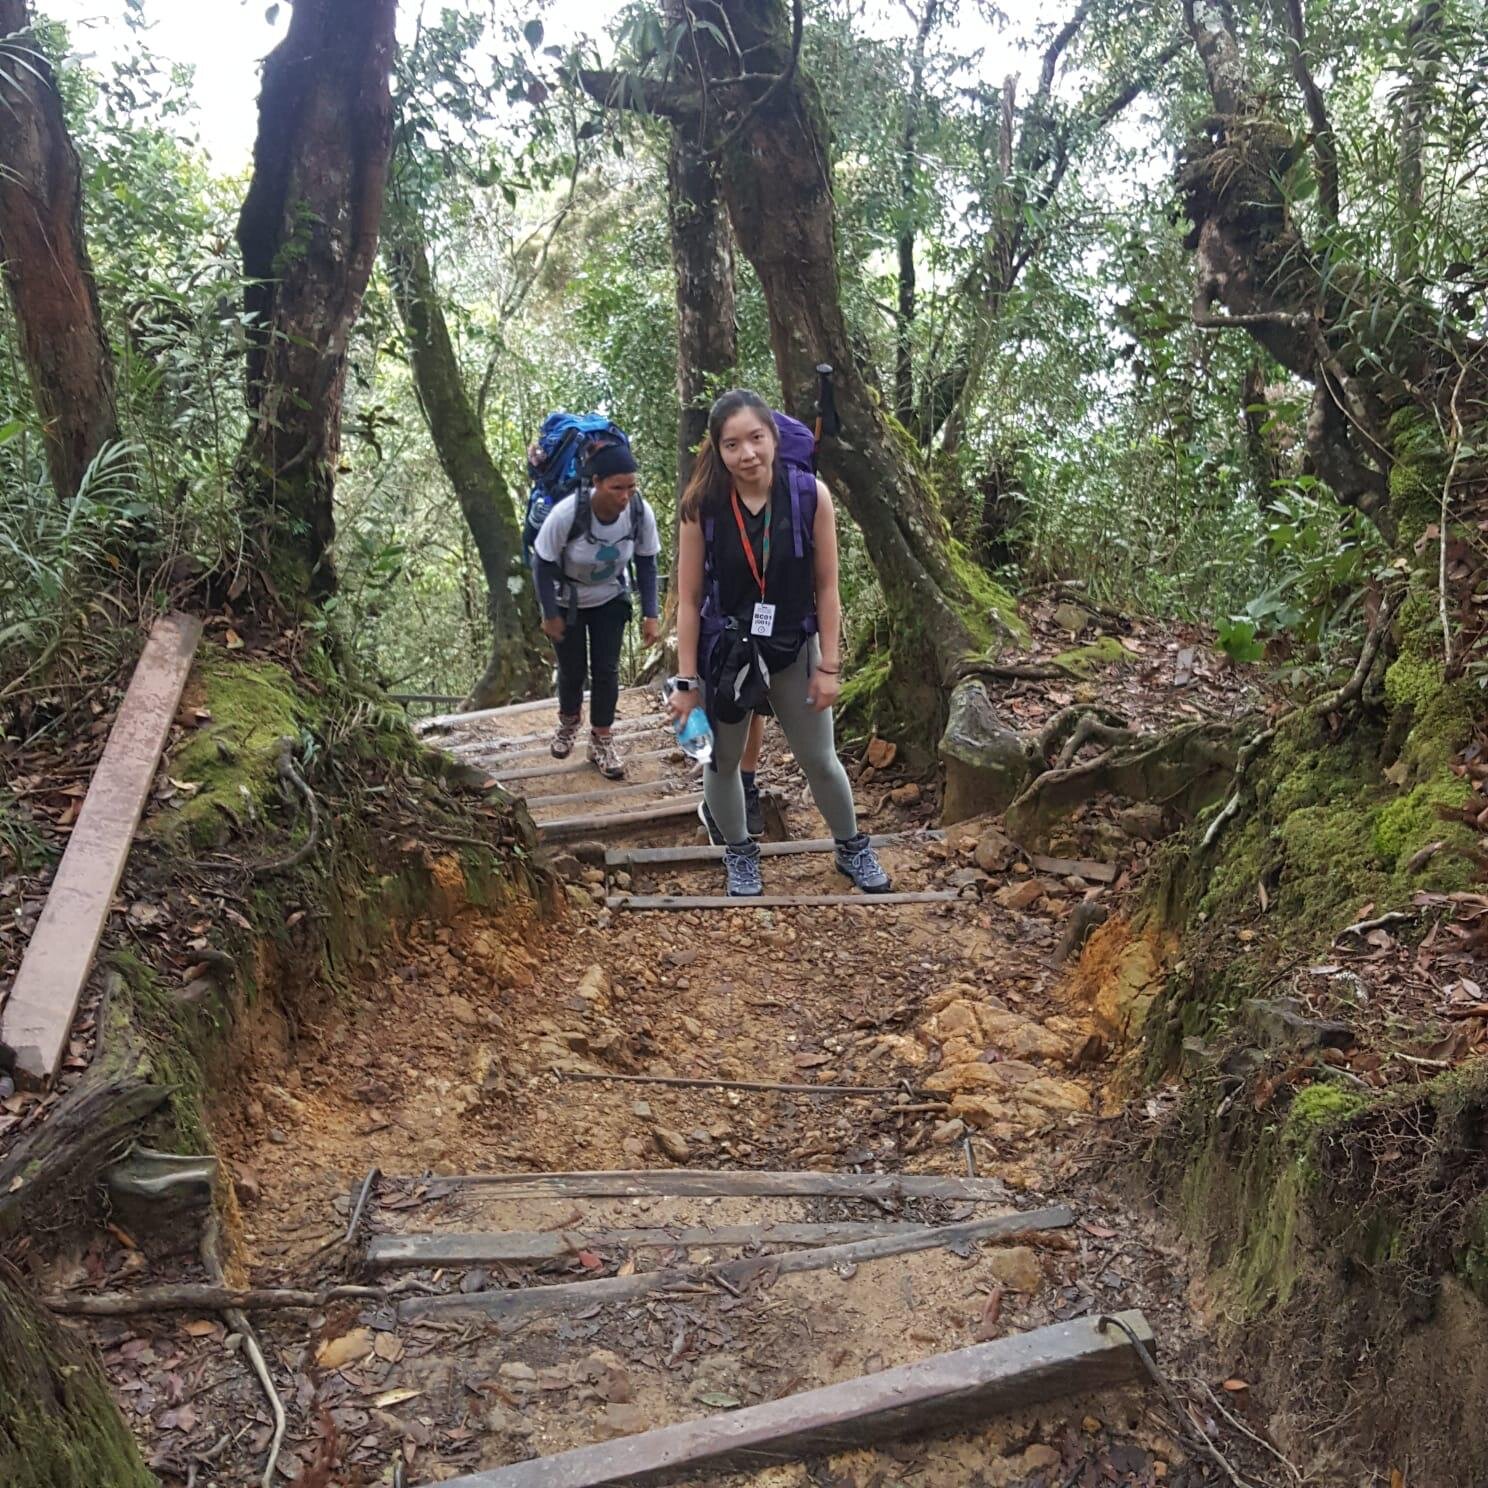
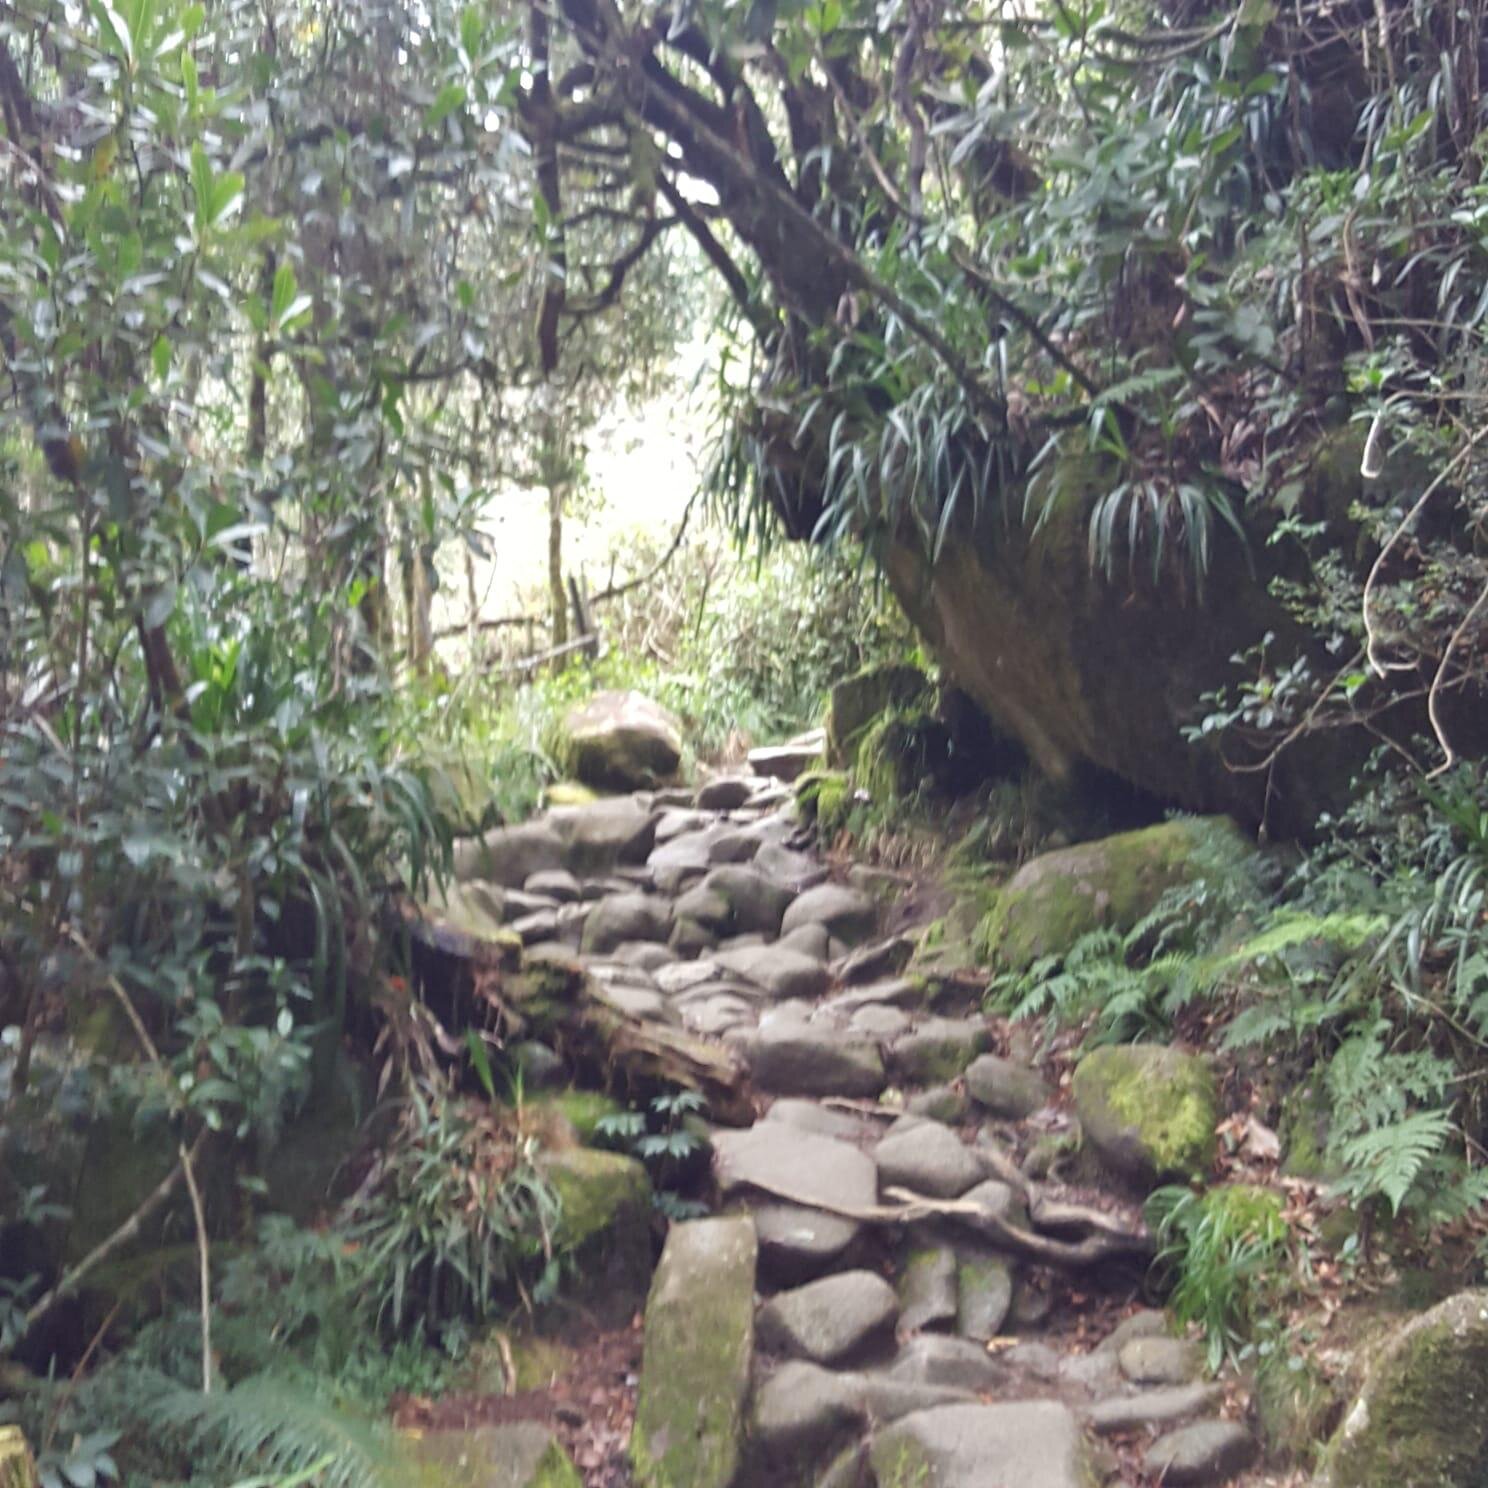
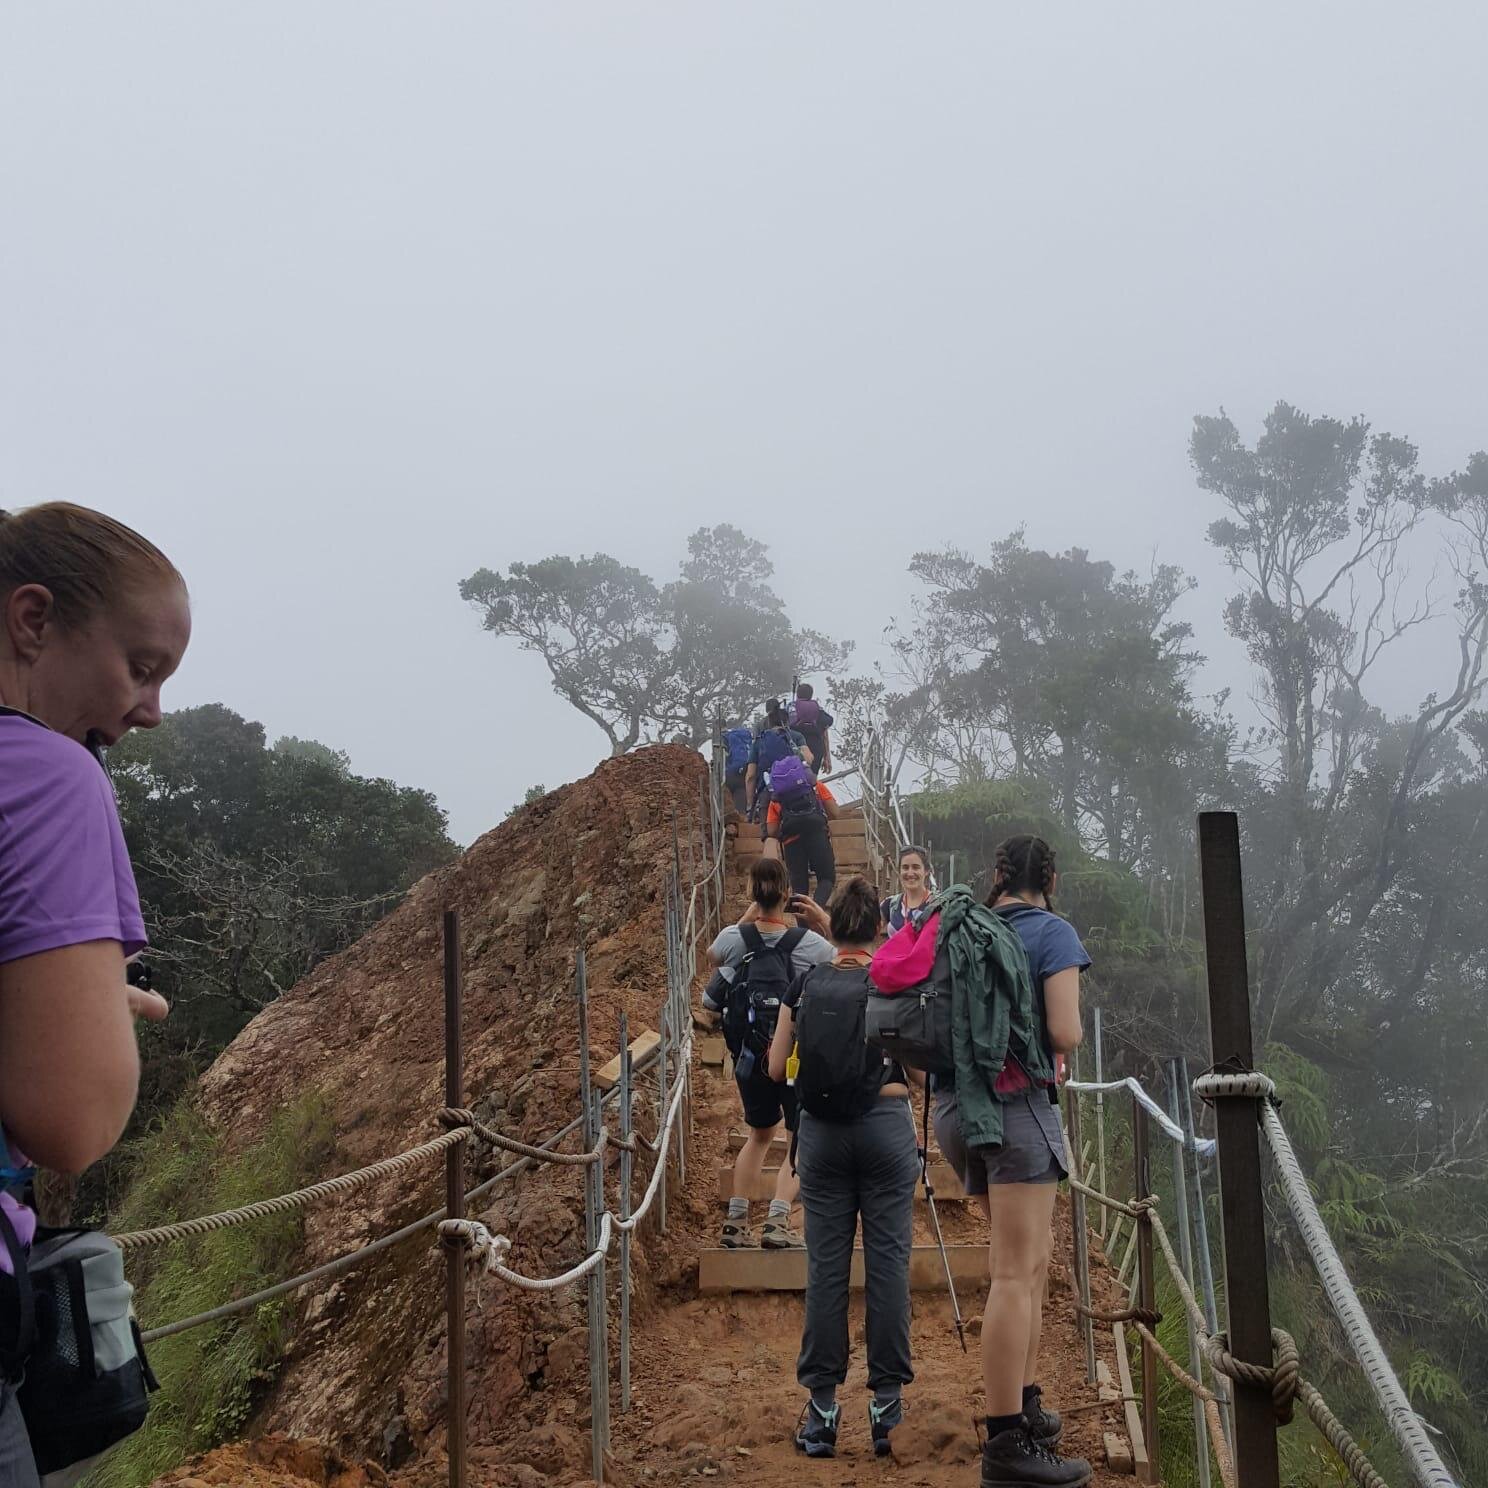
We were lucky that the weather was good while ascending and the temperature was not too cold. However, the second I stopped, the wind started to come by my cheeks, so I had to keep moving and not stop for a long time. Every time we passed by a shelter, it was such a relief, but we were also advised not o take too long breaks as it affects our momentum and we actually would get tired even more.

LUNCH BREAK AT 4KM

After a long tiring ascends, it’s time for a lunch break at 4km. Climbers are usually advised to take no longer than 30 minutes break, but one can choose to take longer than the suggested time when needed. Up there is chilly, and most people will be seen gearing up to their warm clothing like jackets or beanies. There are a lot of tiny squirrels around. Feeding them some bread would be a nice gesture. However, they may leap on your lap surprisingly so if you are the type who jump scare a lot then, beware!

After the lunch break, it’s time to keep ascending to Panalaban Base Camp.

LAST 2KM TREK THAT SEEMS TO TAKE FOREVER TO COMPLETE

The lunch break happened at 4km for a reason. It is because it’s going to be a long way up to reach the base camp. The paths are rockier and more significant steps. However, that’s not the main reason. It is the thin air that makes it harder to breathe while ascending at the same time. It’s like multi-tasking. You have to keep moving, breathe, stay hydrated and look around the surrounding.
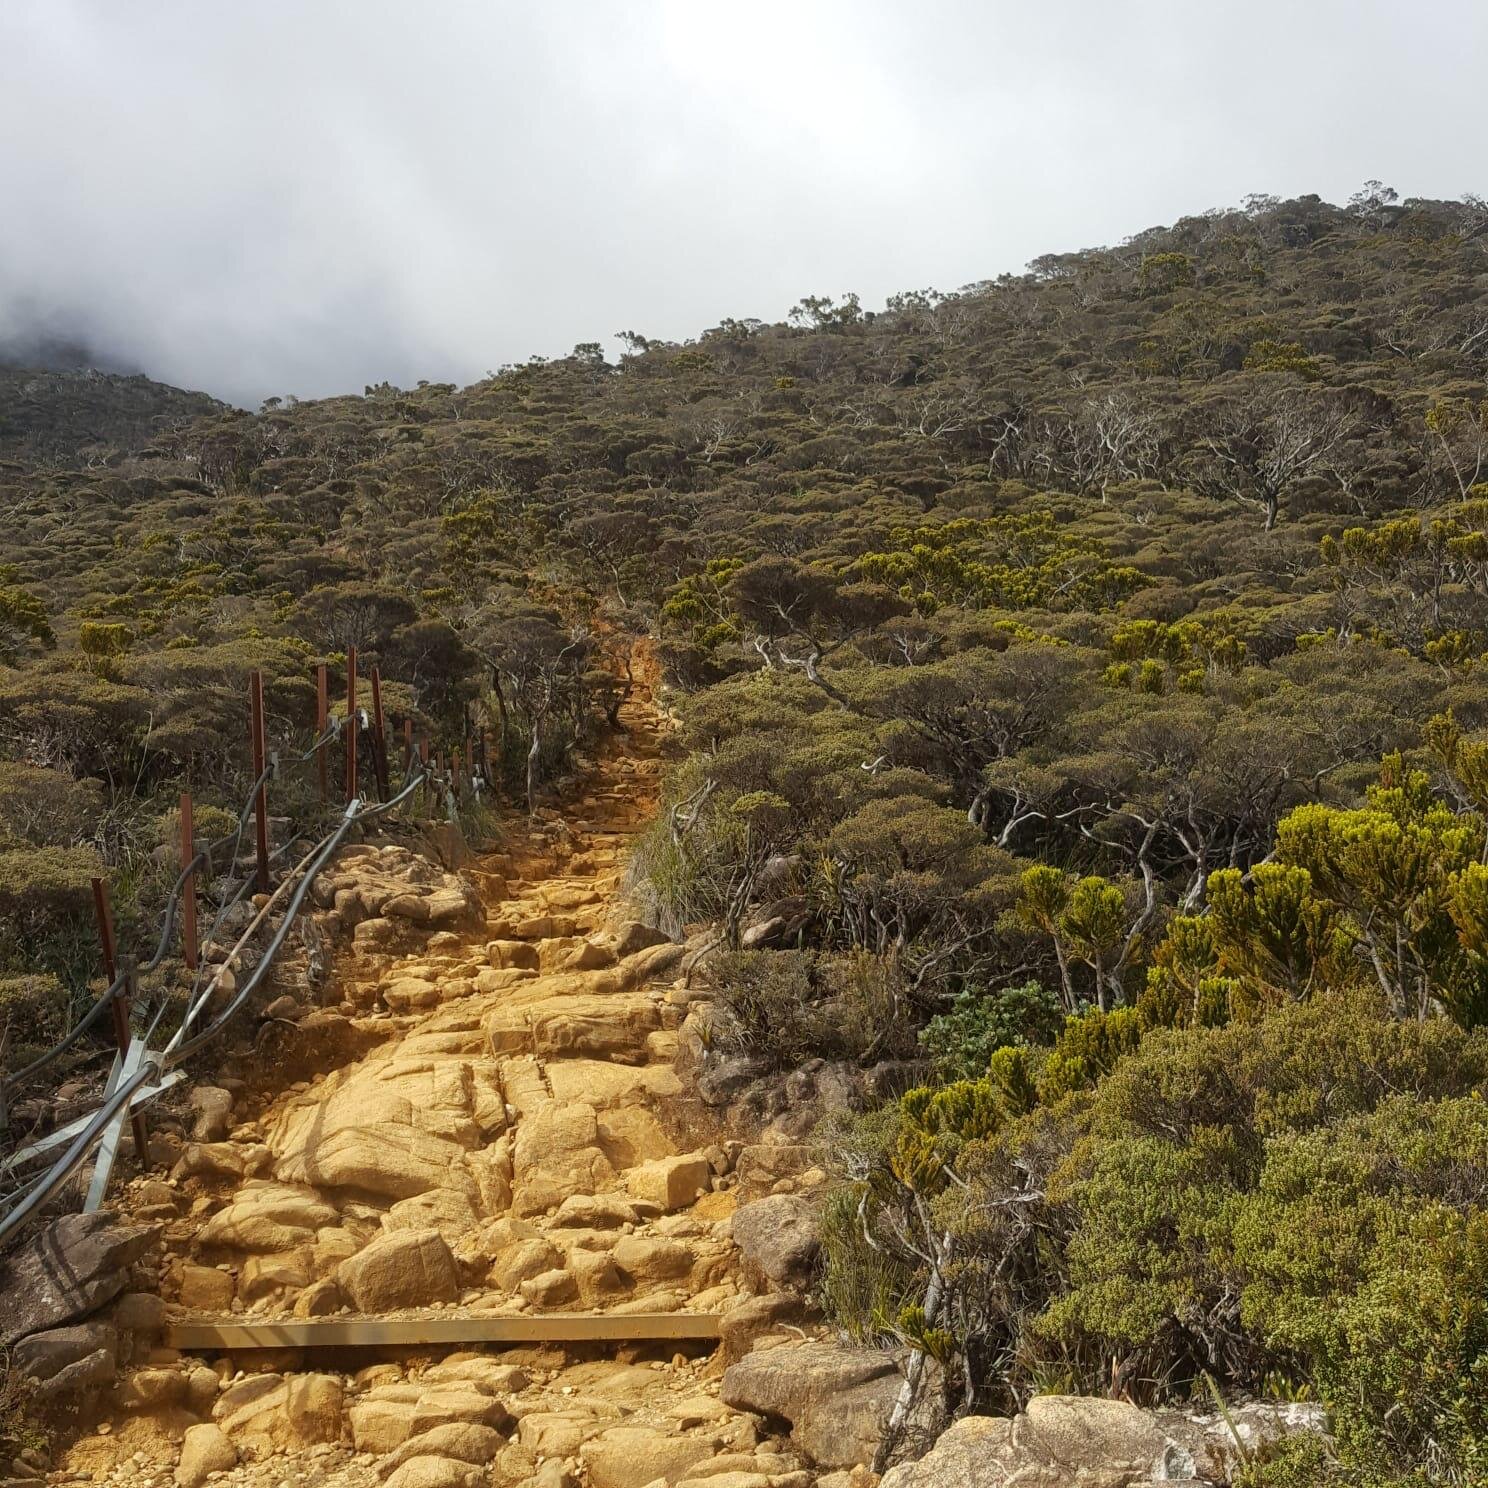
I’m not making this up, but for some reason, this 2km trek seems to be taking ages to finish. 2km may seem fast and easy, but it is not. I have no recollection of the times I have taken a quick break. What’s worse was my mind was telling me to go on, but my body felt more substantial than ever. This trek is truly all about carrying your body weight and your backpack.

I watched people struggling when I was descending in Day2, and I can see right in their faces how exhausted they were. At that time, I can only think of one thing, “That was me, hours ago.” So as a friendly fellow adventurer, I wish them ‘Goodluck’ as encouragement.

THE BASE CAMP

After that exhausting 6km trek, we finally reached the base camp. It was the best thing ever and what an effort. We passed by many people, and they all congratulated us for making it. There are 6-7 huts around Panalaban. However, only two resthouses are available for climbers as some of the cabins had shut down due to damages from the 2015 Sabah Earthquake.
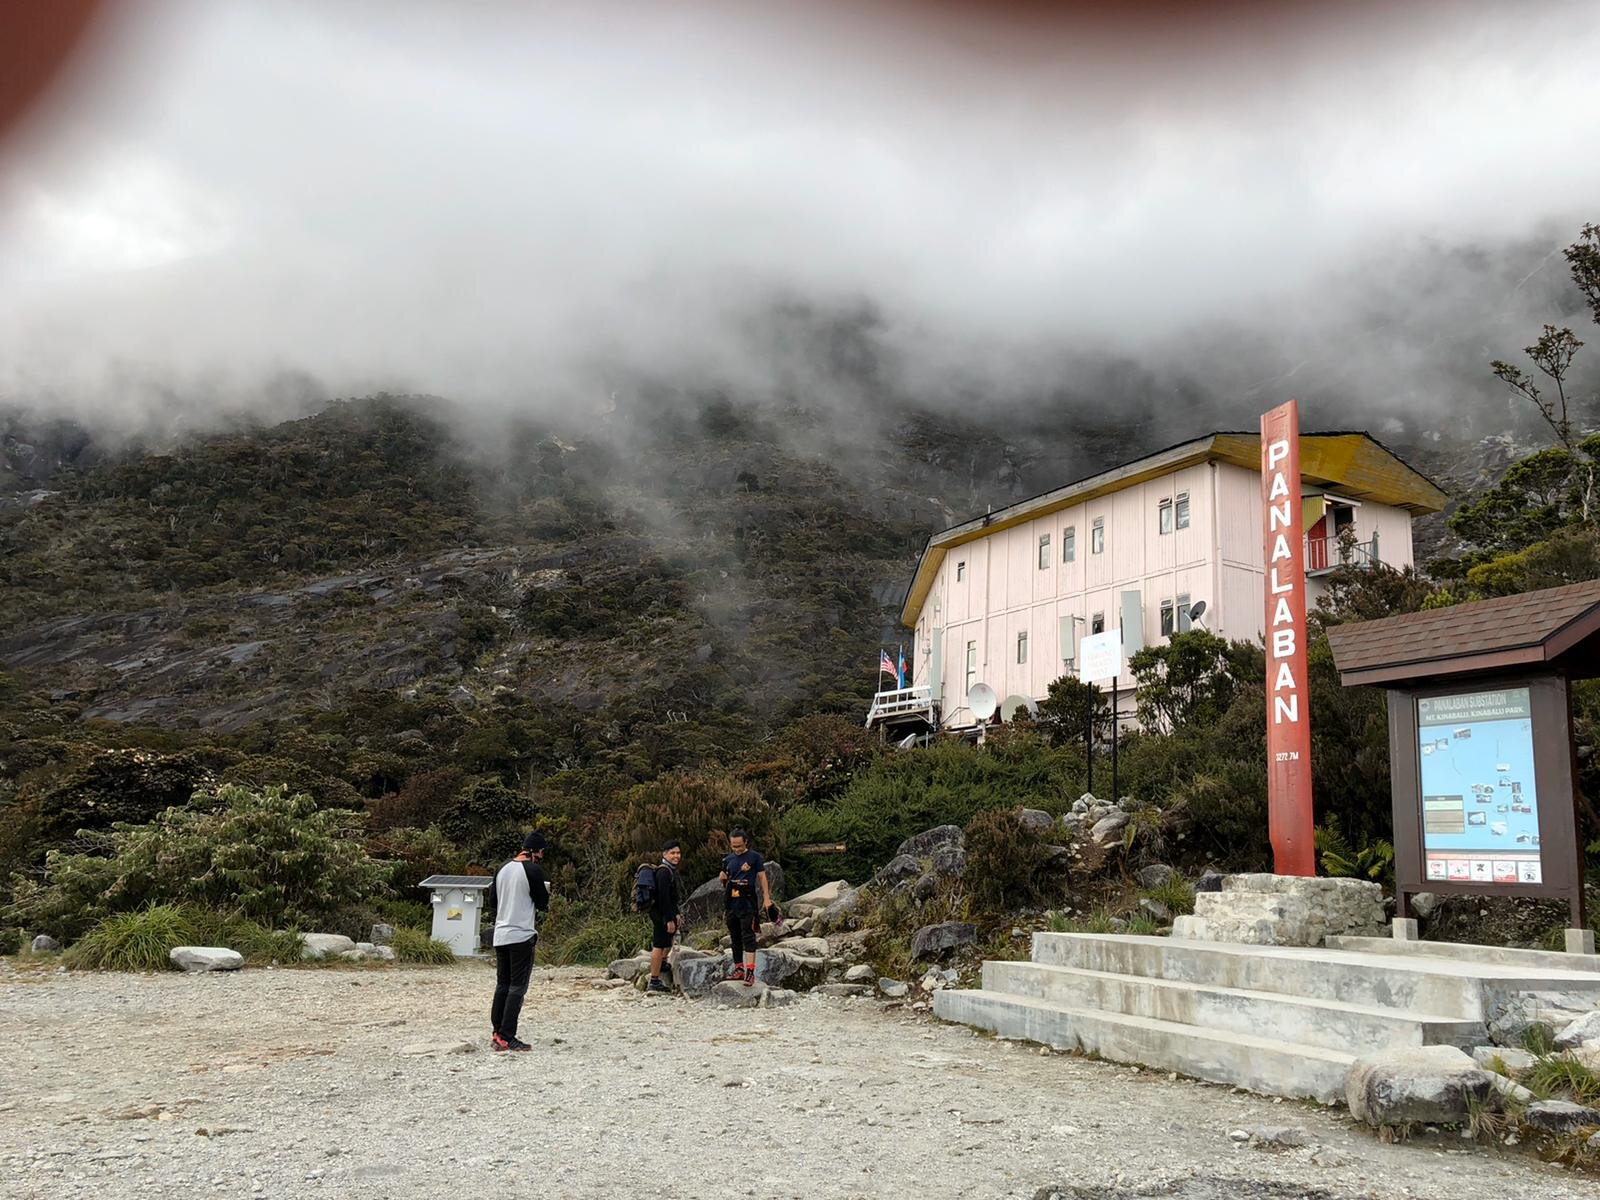
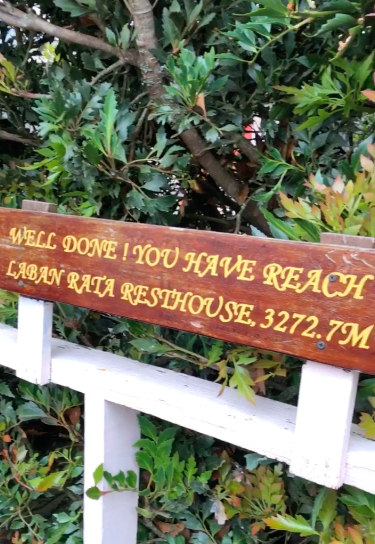
We were booked at Laban Rata Resthouse, so we went ahead to check ourselves in and had our dinner. The restaurant is spacious and full of climbers. It can be pretty loud and chaotic. However, the food was decent and lots of choices - buffet style. I was a little bit disappointed that the restaurant doesn’t serve homemade ginger lemon tea. The restaurant only serves tea with a teabag and a few thin slices of ginger. Luckily, I brought extra ginger tablets to help with acclimatizing.

Laban Rata is like a dormitory, so each room is shared. Some rooms are good for 4 people and some for 6-8 people. Toilets are also shared, and there are shower rooms available but no hot shower. The beds are decent, and it got two covers - one thick warm blanket and one cover blanket. The blankets were enough to keep me warm while sleeping.

I went to sleep at about 8 pm. However, I kept waking up from time to time. It’s not easy to sleep whenever I hear some footsteps from the hallways or when my roommates were snoring. Nevertheless, I still managed to get a decent rest. It’s better than not sleeping at all.

GEARING UP FOR THE SUMMIT

Wake up call time is at 1:30 am. It was already busy in the toilets, and people were starting to get ready for the summit climb. Supper buffet was being served at the time. I didn’t exactly have the appetite to eat anything, but I had to eat something at least, and I had packed some energy bars along with me in case I get hungry on the way.

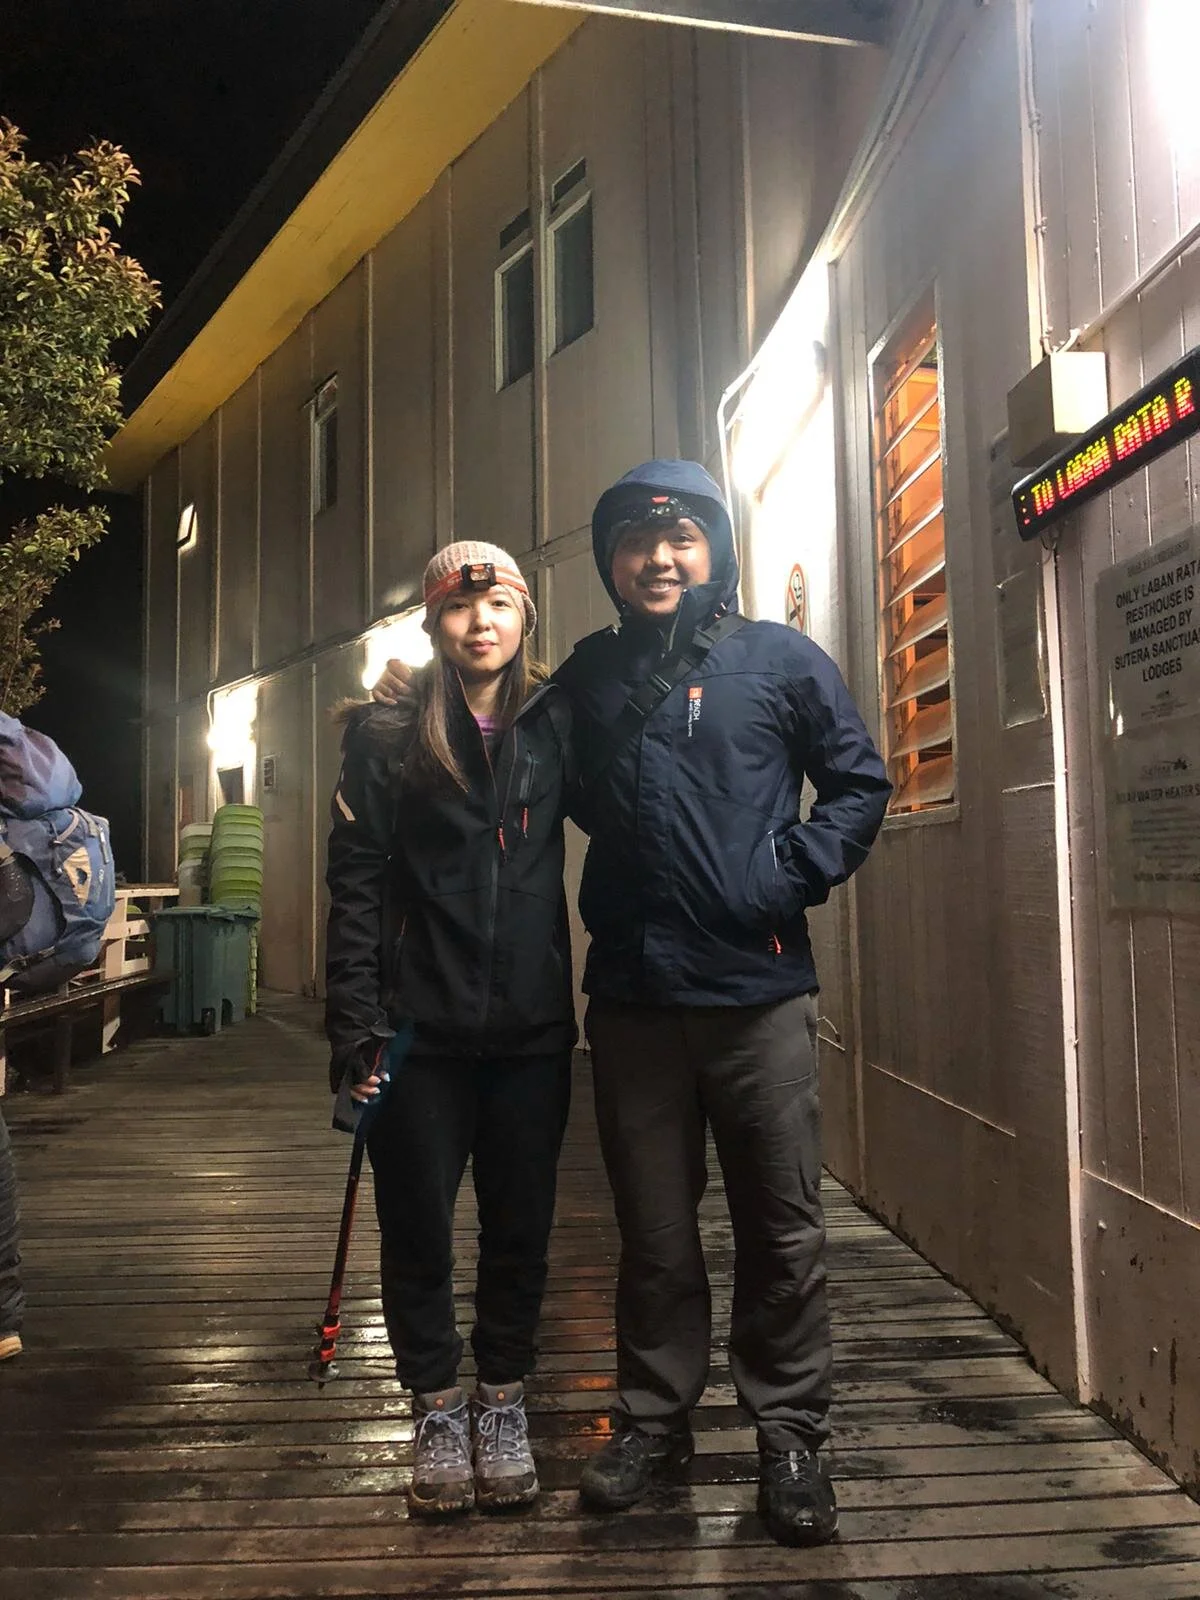
Before leaving the resthouse, our guide helped us to take a photo first and then brief us about the summit climb.

gearing up.jpeg

CLIMBING BEFORE DAWN AND MORE STAIRS

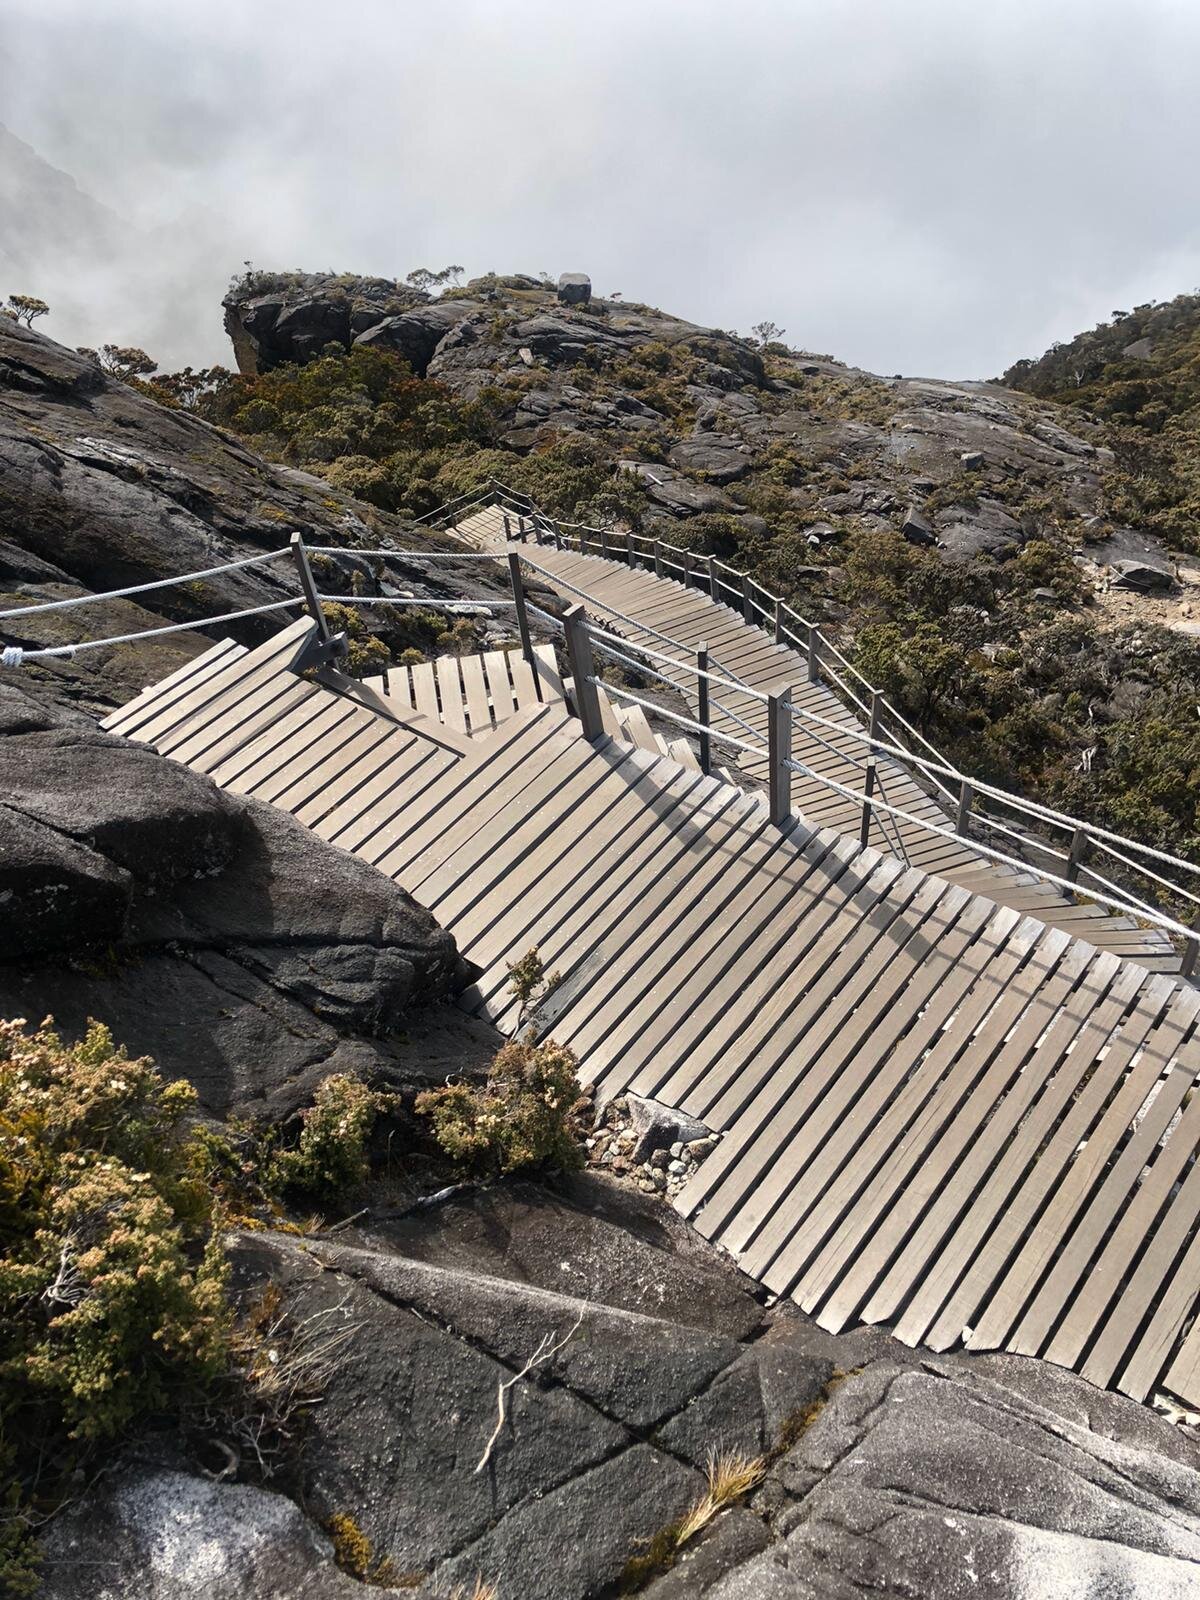
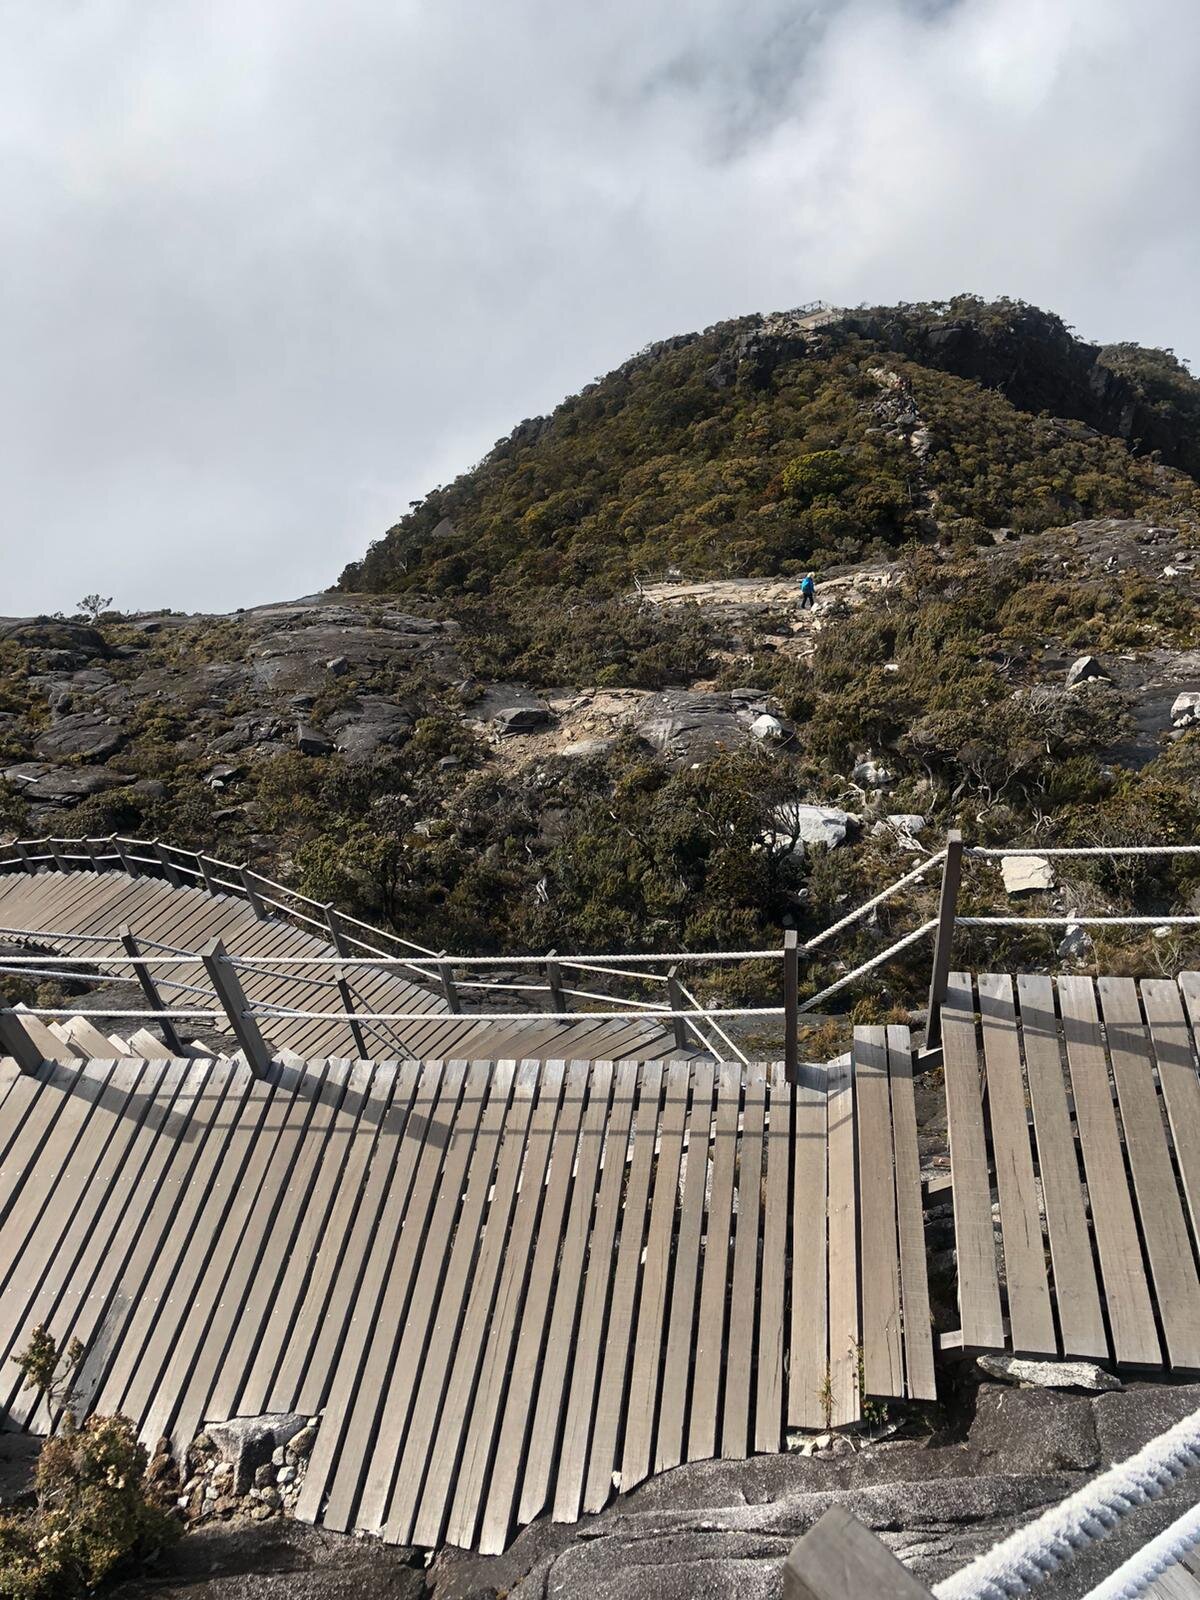
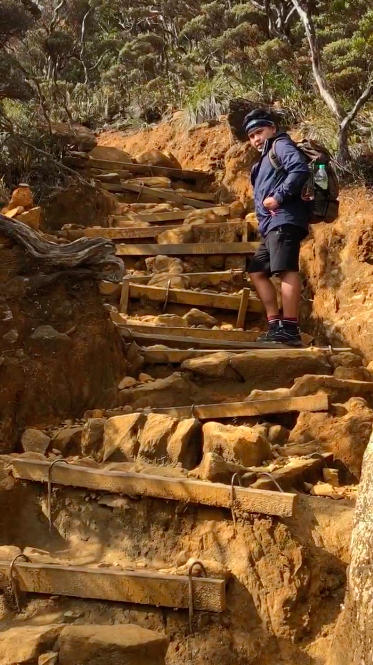
Before moving ahead, climbers must turn on their headlight. The summit climb starts with a short flat trail and later starts ascending the human-made wooden stairs in the forest. Ropes are attached to help support climbers. Its is normal to have a queue and wait for a few seconds from time to time as it is dark. The stairs will continue until reaching 7km.

At 7km, climbers must register themselves at the Sayat-Sayat Checkpoint. They may take a quick break as well and proceed to ascend to the peak. At this time, climbers should be wearing their hand gloves, preferably a pair of waterproof gloves. From there onwards, climbing skills will be put to the test.

TO CLIMB OR NOT TO CLIMB

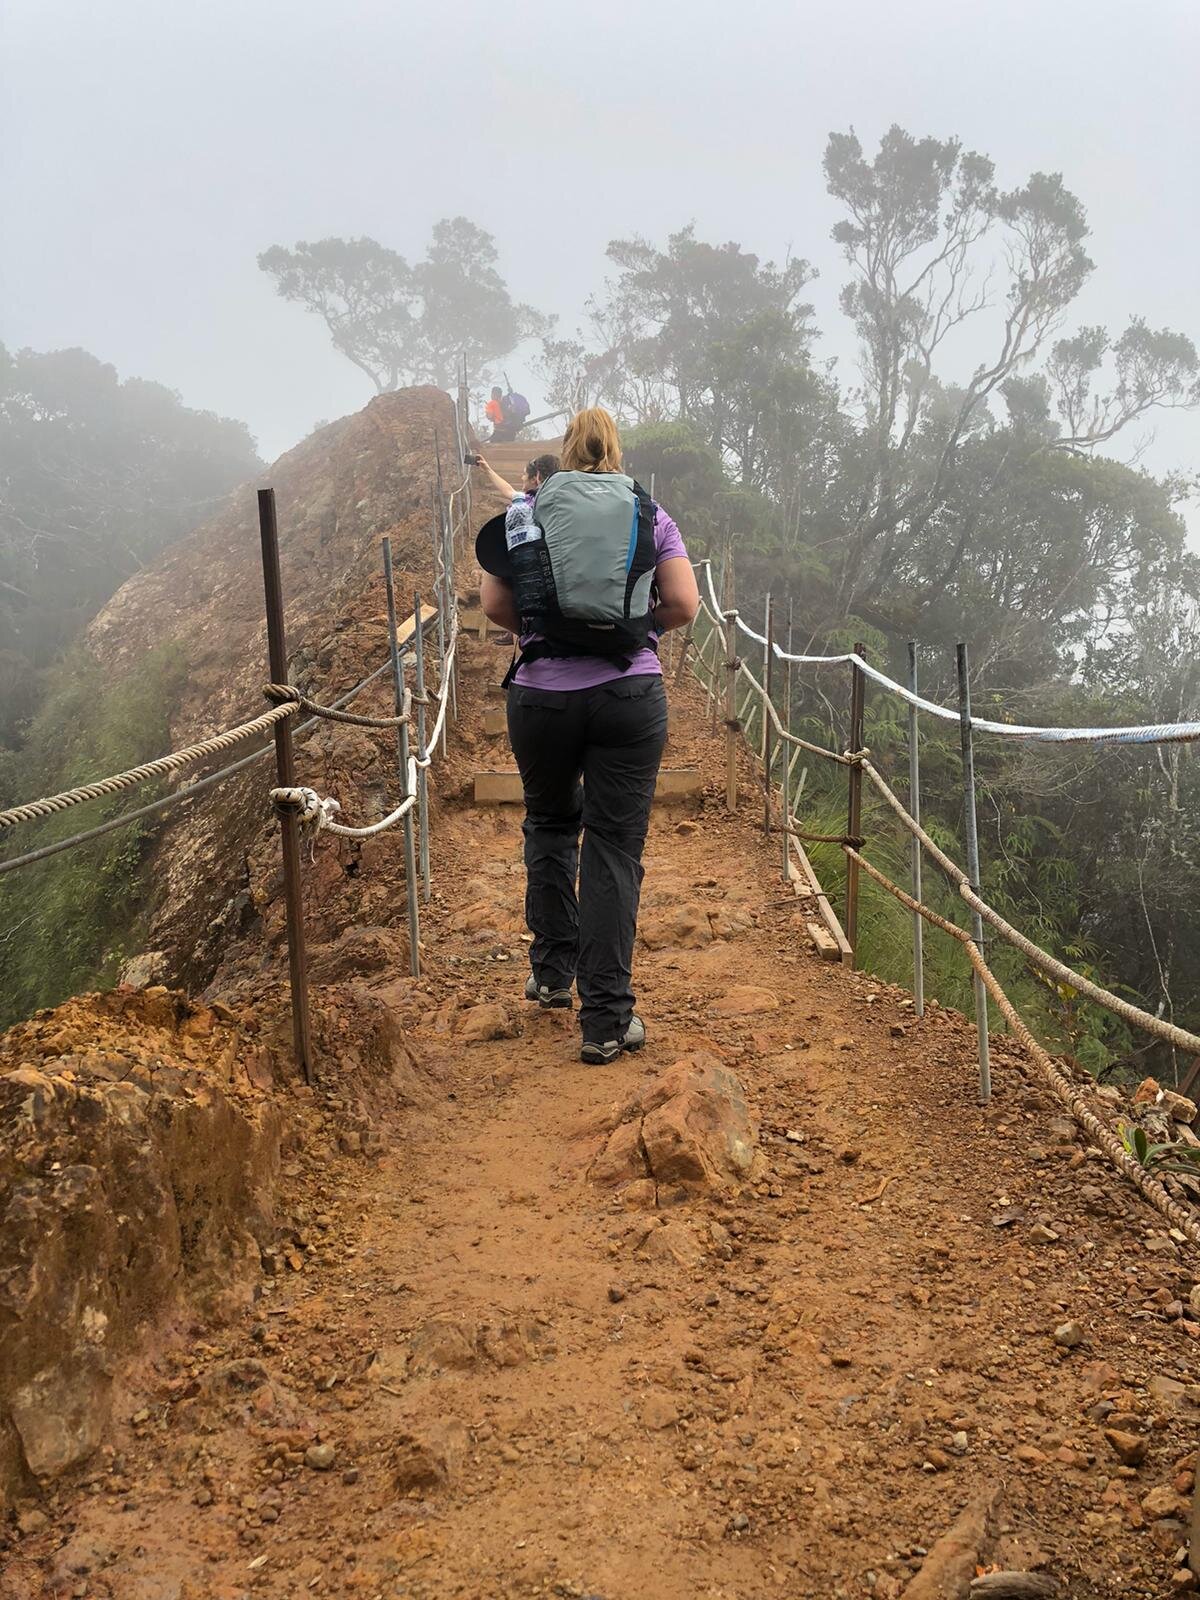
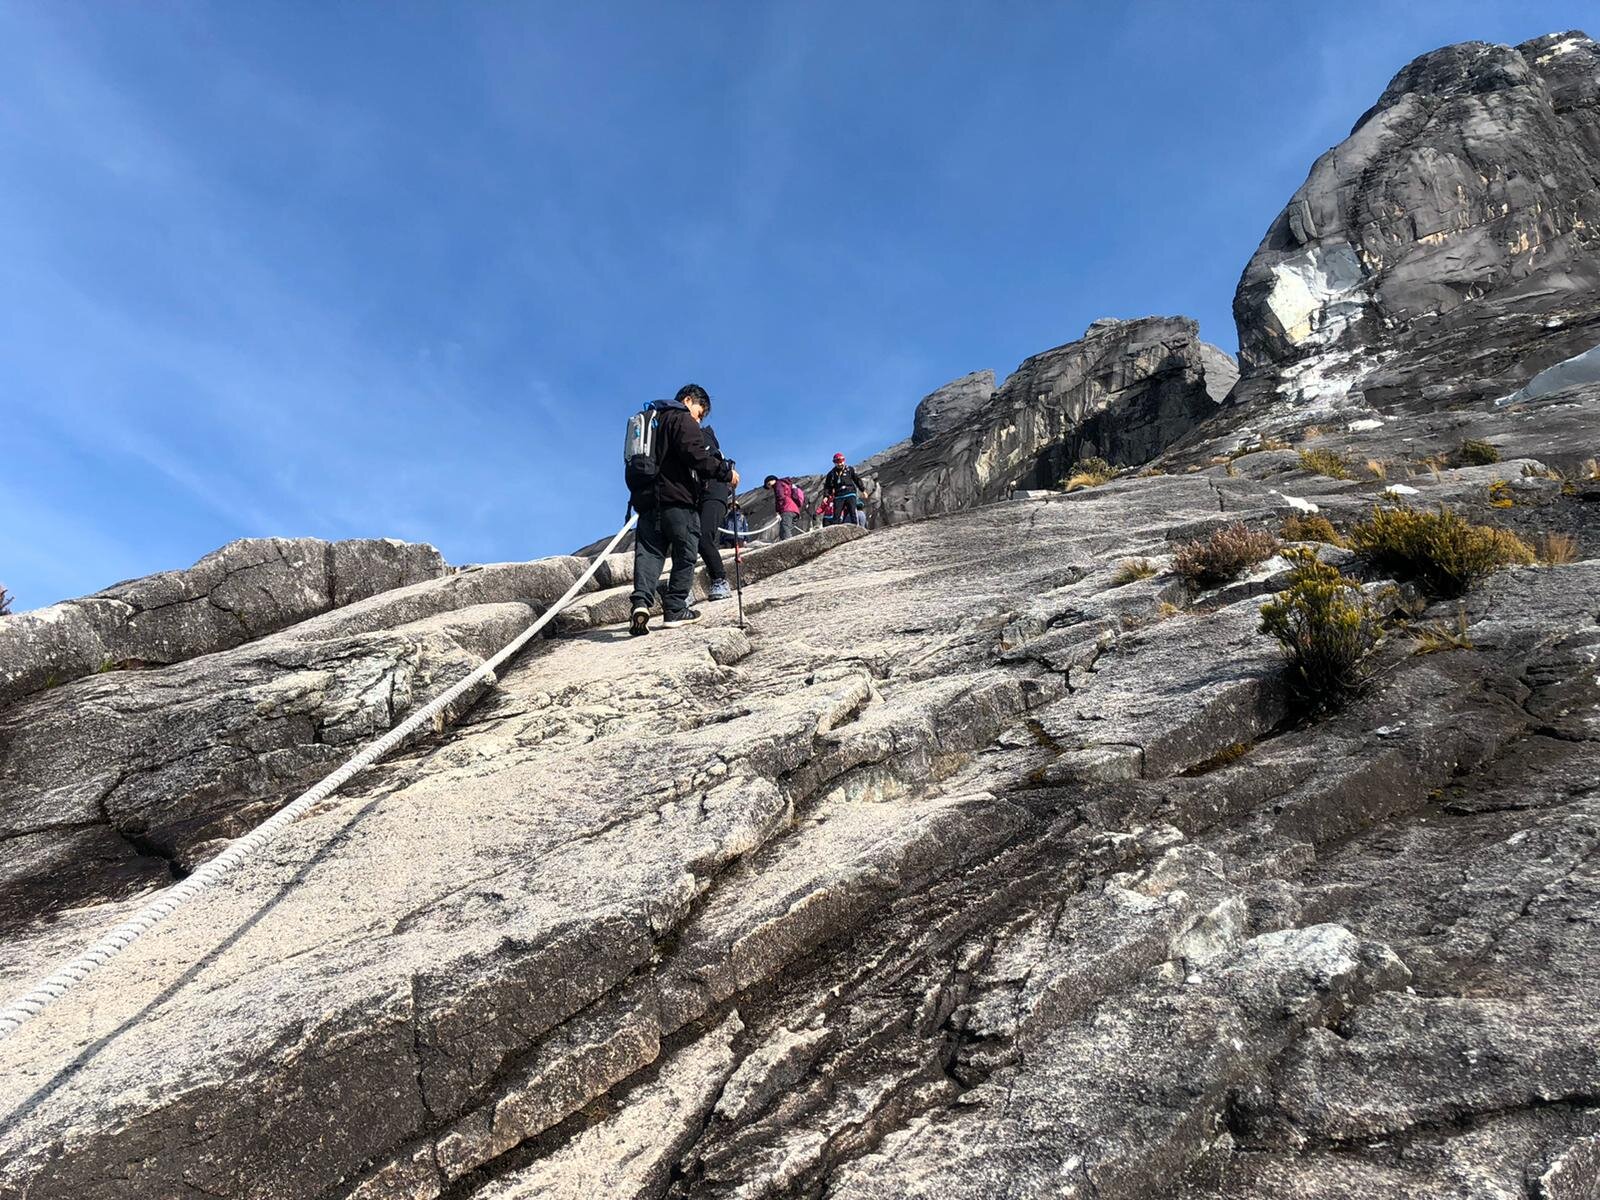
Upon leaving Sayat-Sayat Hut, climbers will then have to climb up some relatively steep summit plateau. A white rope is attached to guide climbers as they head up to the flat surface.

This is my first time doing mountain climbing. It was frightening but exhilarating at the same time. When I first grabbed the white rope and had my first few steps up, I began to have a mild anxiety attack. I could feel my heartbeat so fast that I just wanted to get down. My boyfriend, Ryan, was behind and he was supporting and pushing me to climb up. Honestly, if he wasn’t there, I may have fallen over due to my anxiety.

After the first climb, I thought it was over, but no! There’s another one! Only this time it was slightly shorter than the first one. I have gained a bit of confidence during the second climb, but I was still scared.

While queueing up to climb the summit plateau, we have encountered some very impatient climbers. A group of climbers didn’t want to queue up and went ahead and cut the line in the middle. This kind of action is dangerous and irresponsible as it can cause a serious accident. I get that they are eager to reach the summit before dawn, but I feel they should be more considerate and not be self-centred. I overheard a woman said to them, “Guys, we cannot climb like this”. I couldn’t agree more.

REACHING THE FLAT SURFACE AND THE LONG WALK

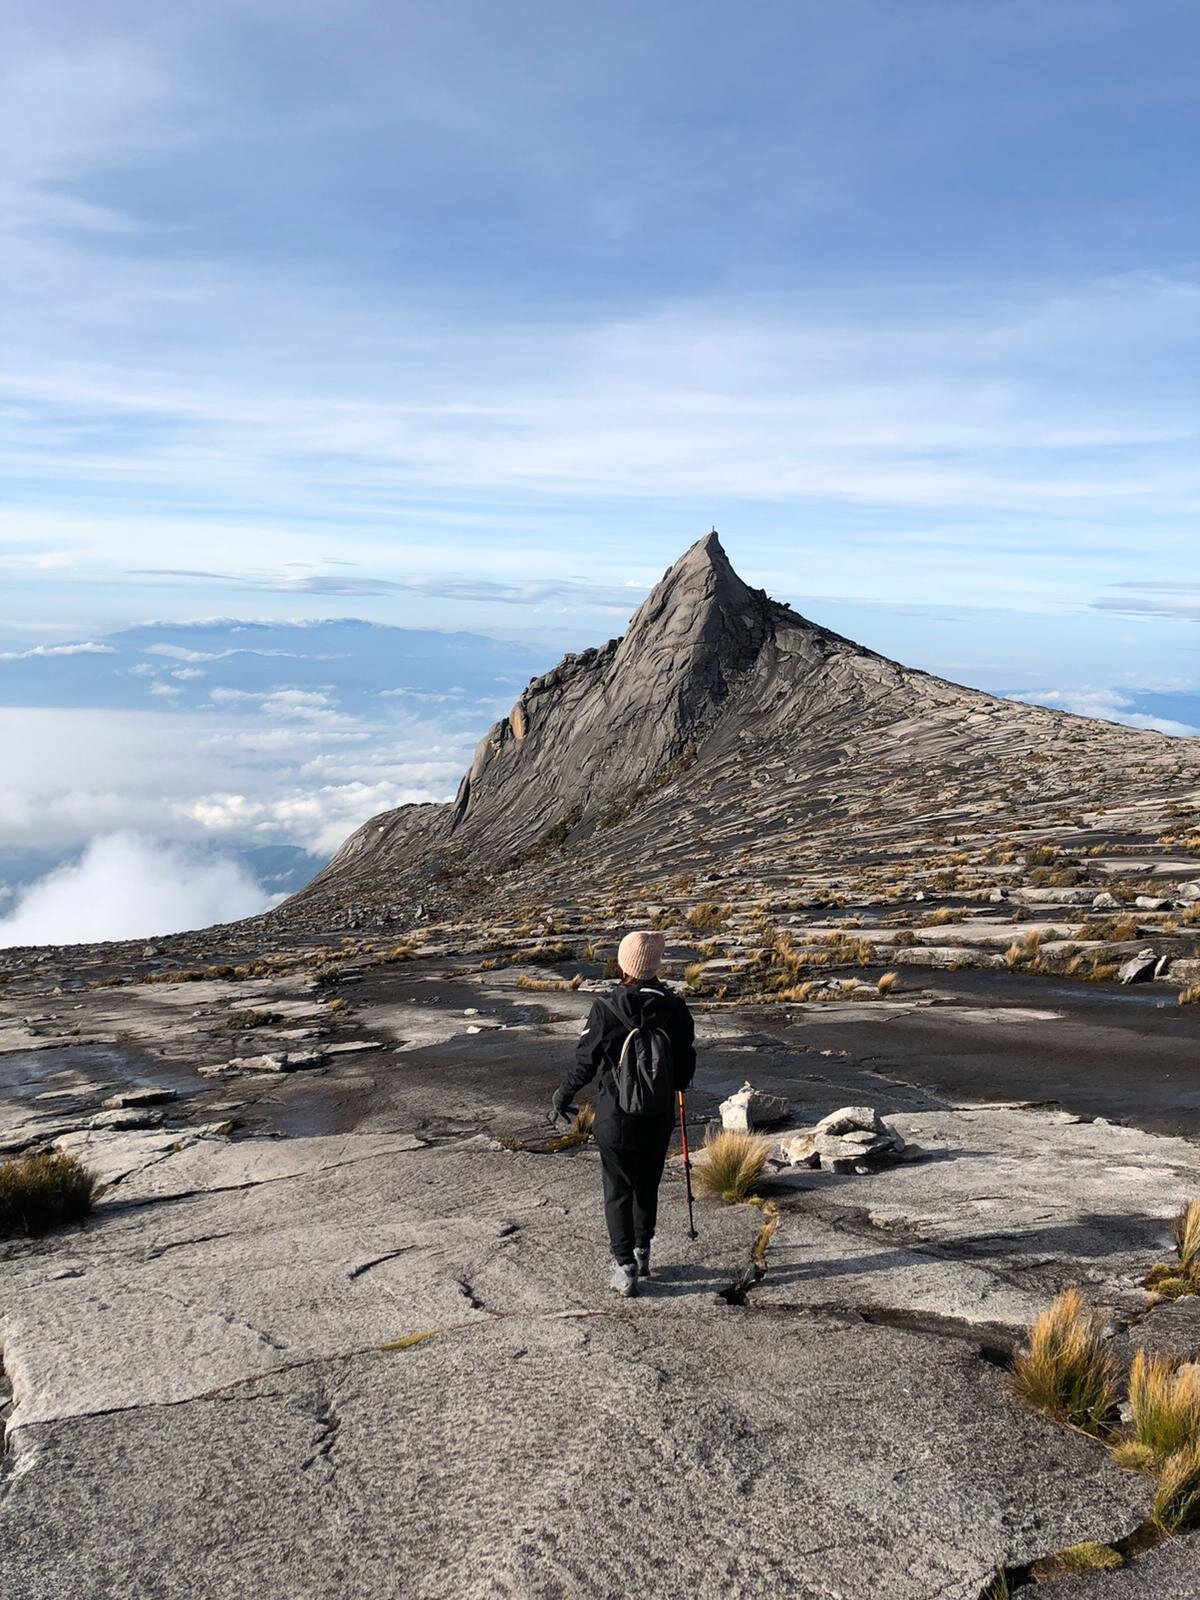
After climbing the summit plateau, the long walk on the flat surface begins. At this time, climbers can enjoy the before dawn view, and soon the first official light will appear.
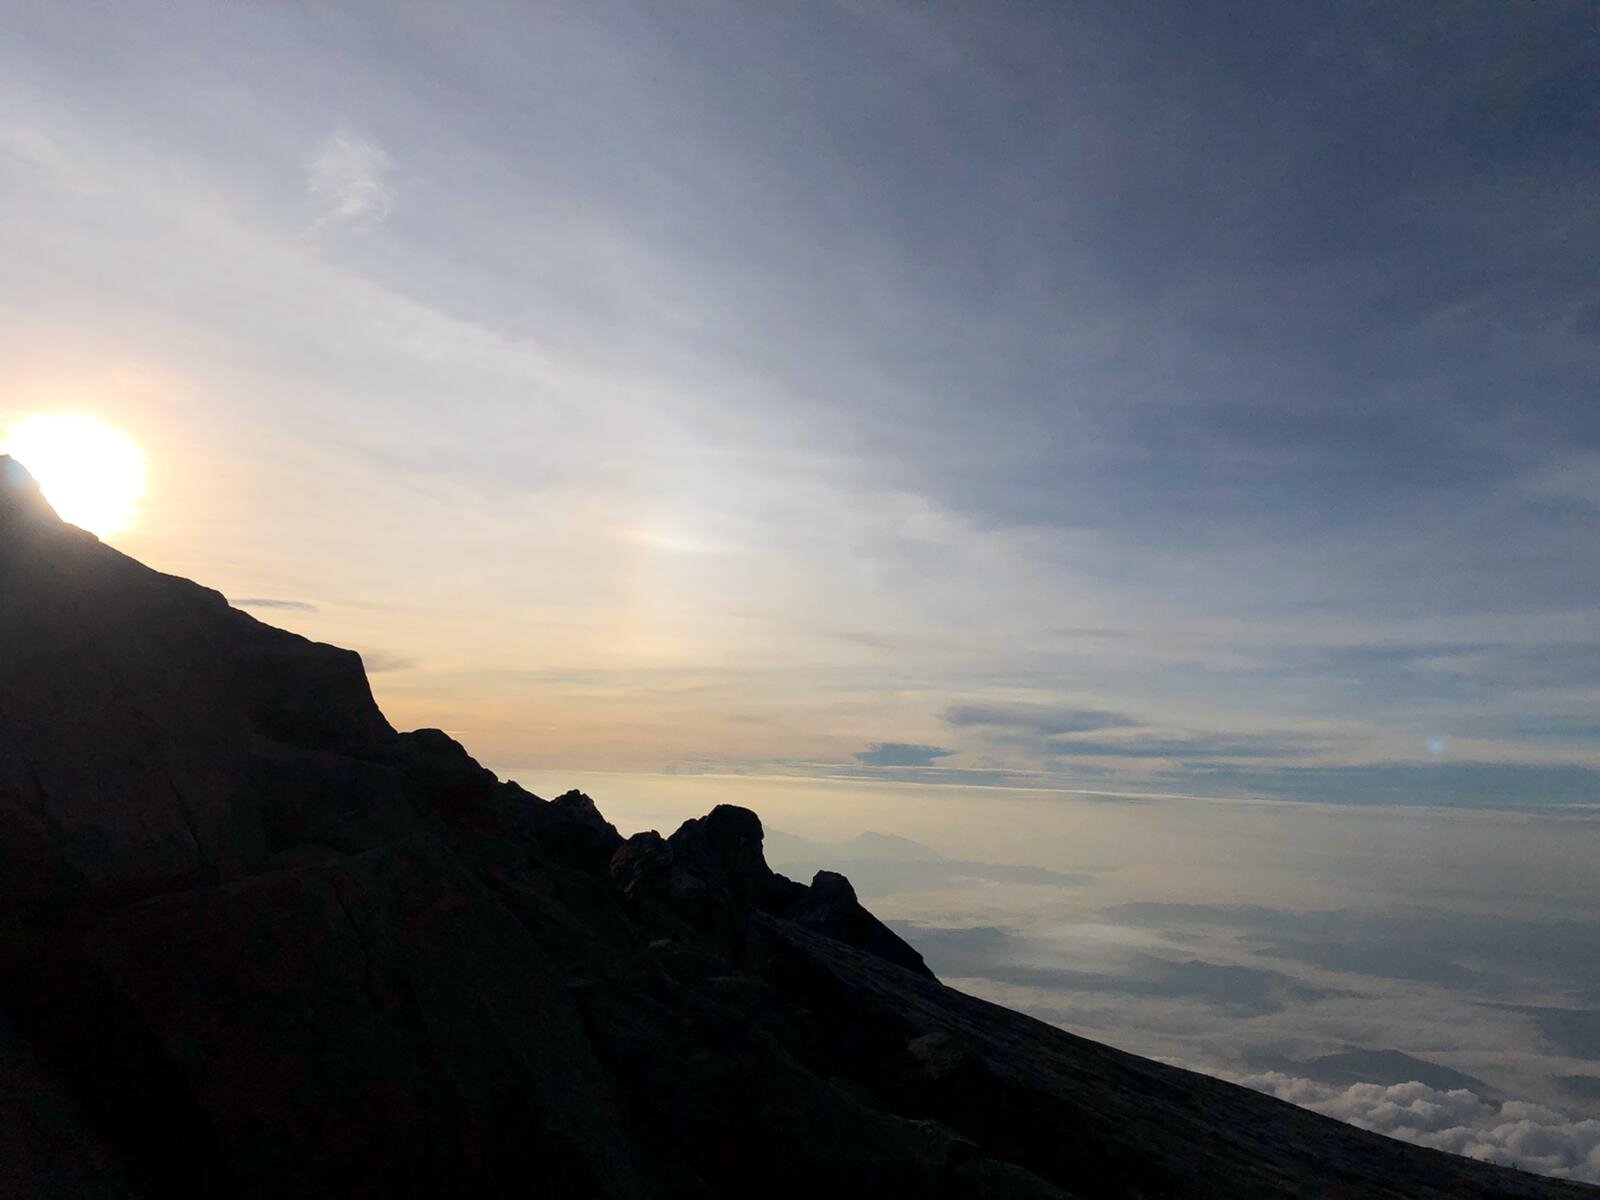
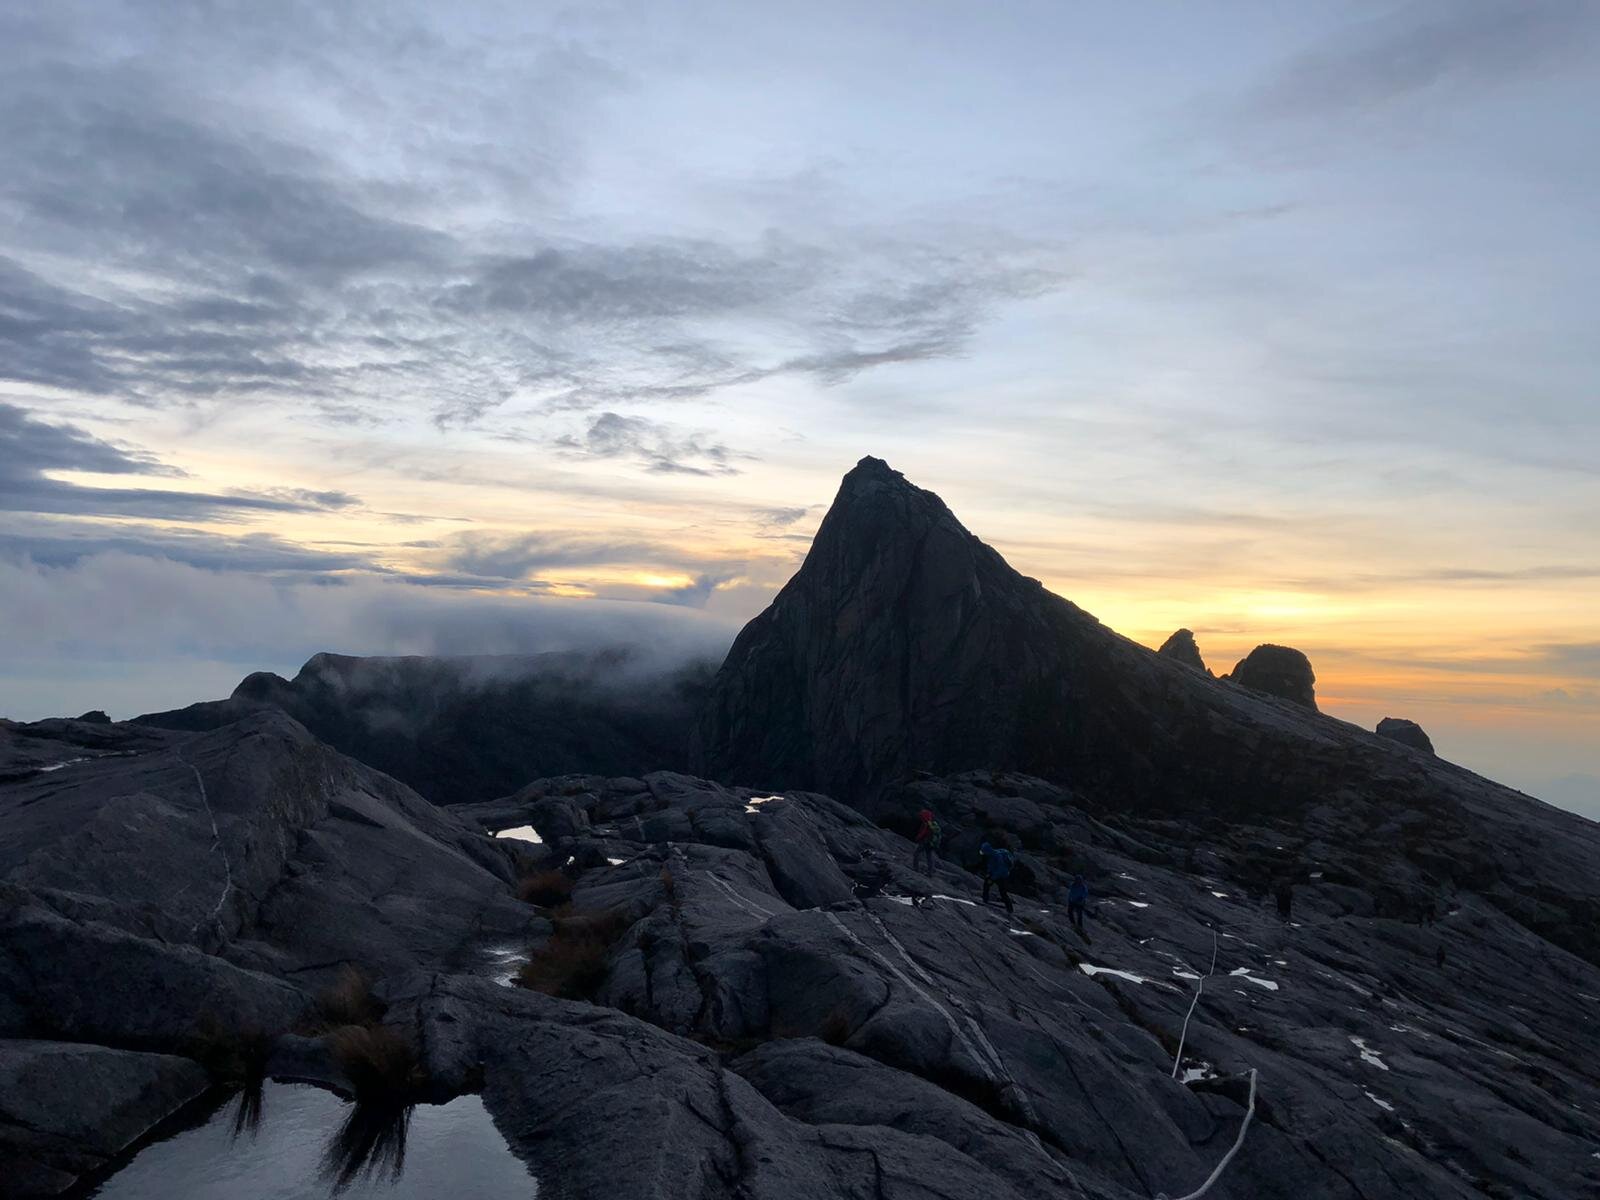
When I say, long, it means it’s really long, and just when you thought you are near, you’re actually not. Don’t be deceived by what you see. The main focus should just keep going, take small steps and do not stop. The moment you stop, it’s when you will start to feel cold and tired.
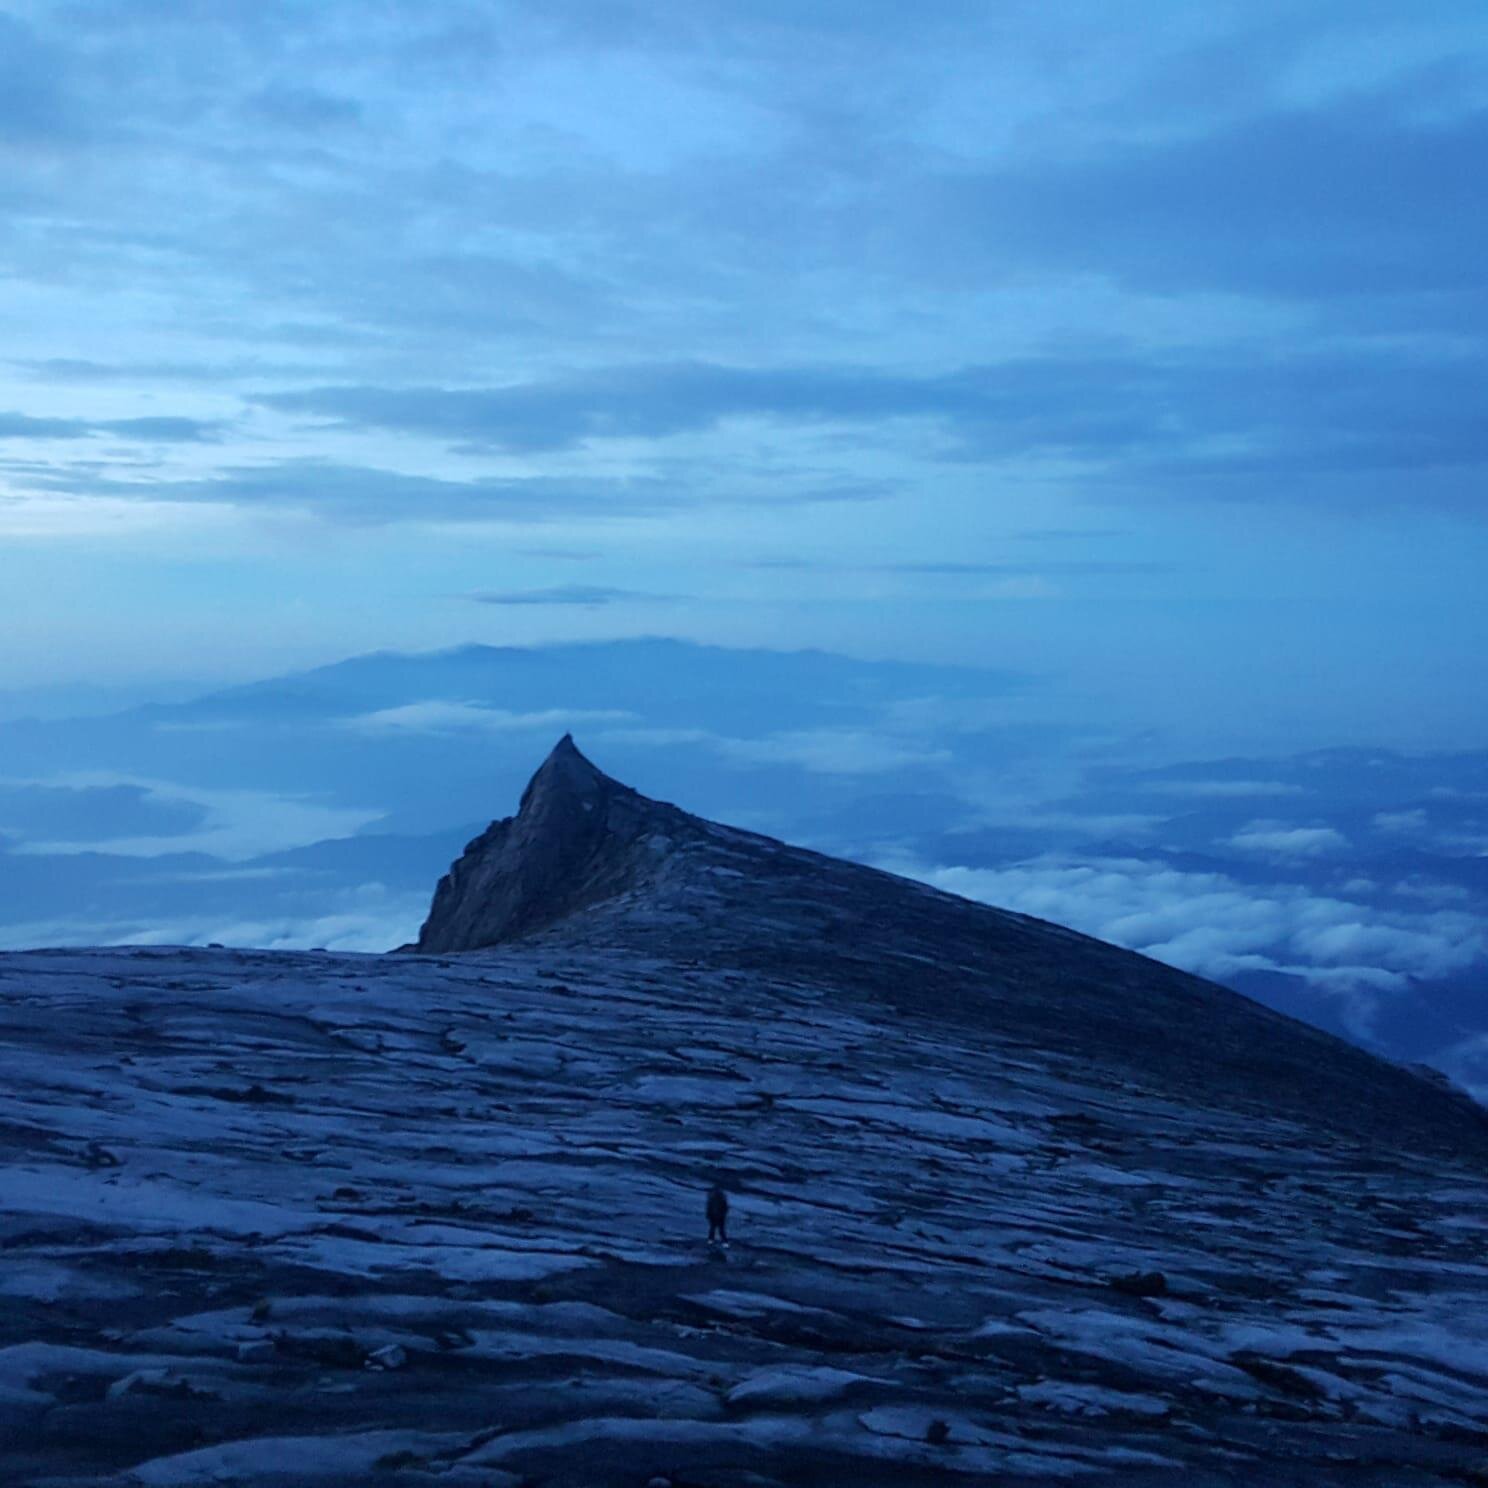
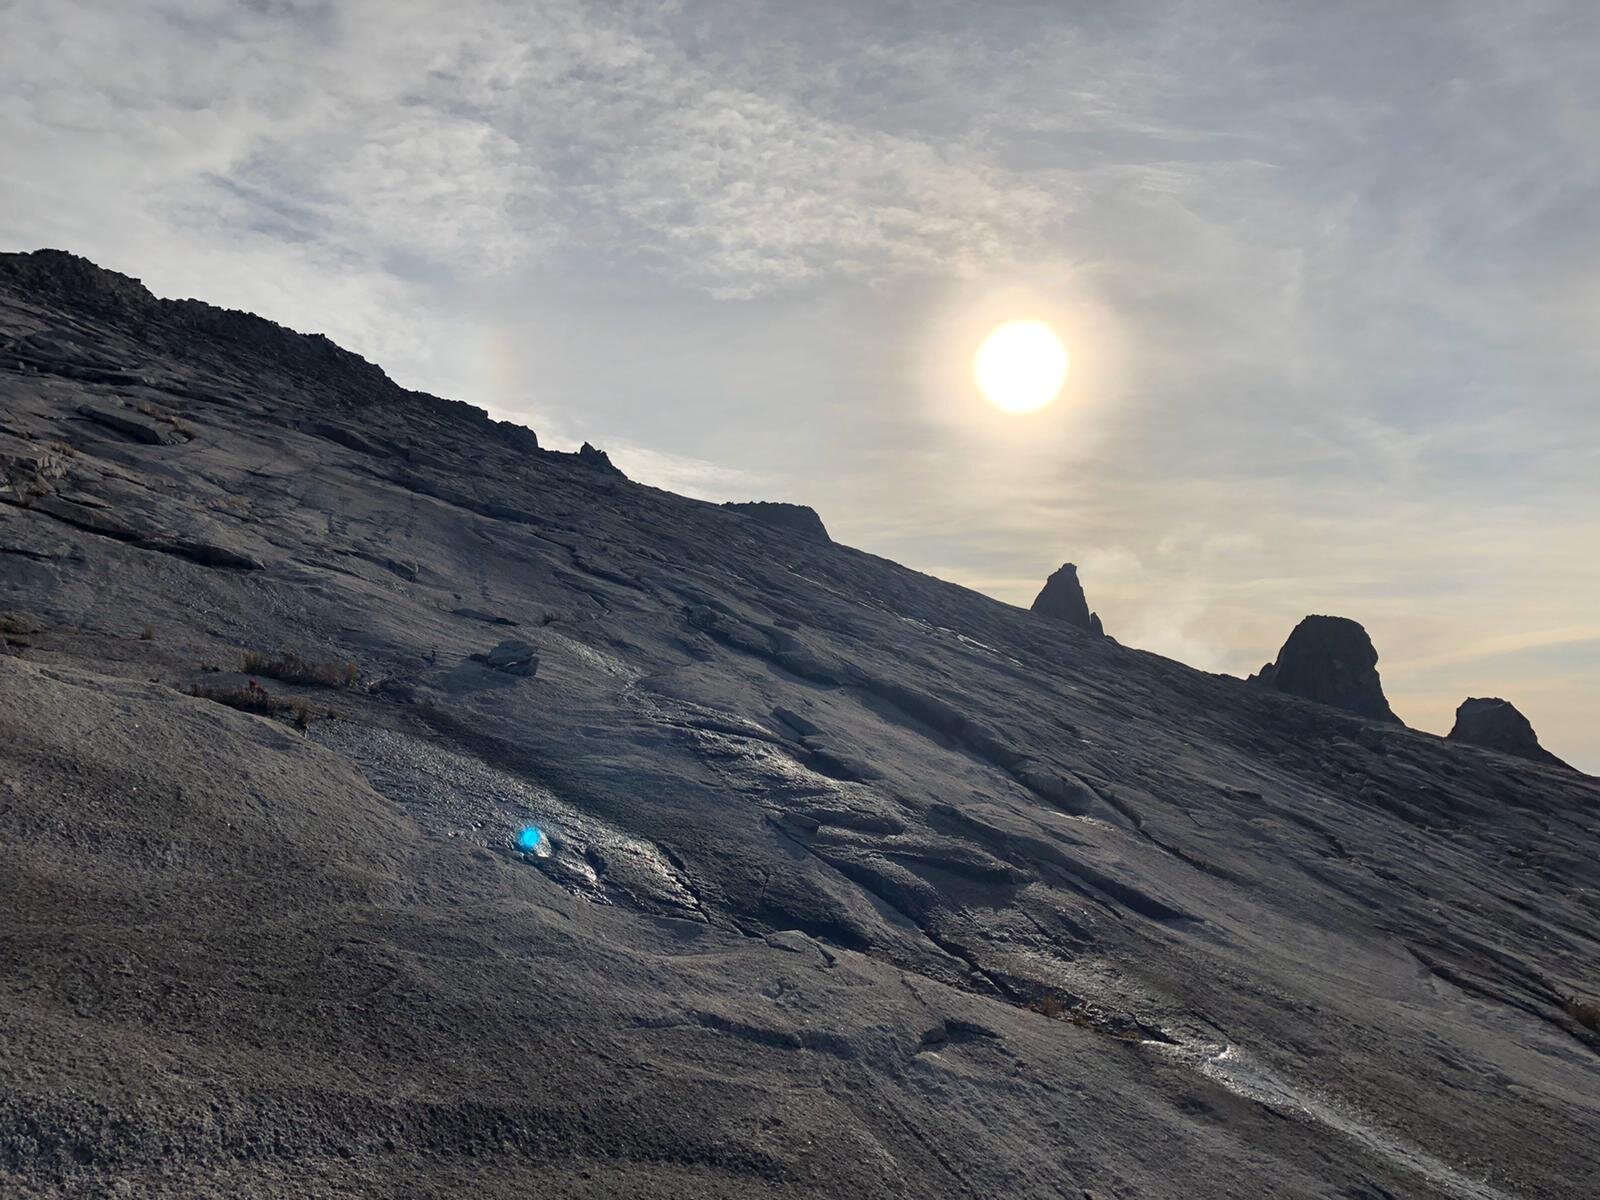
I was overjoyed when I reach the flat surface, and I was delighted by the view, from pictures to reality. I still couldn’t believe it, and I was all smiley also because we’re finally walking in a flat path. However, it is getting too long, and I thought that I could walk to the summit starting point in 20 minutes, but it took me longer than expected.

THE SUMMIT

Before reaching the summit starting point, climbers will face some obstacles. It requires them to step on big rocks and uneven pathways. It’s like scavenging where climbers have to move places to places. The final ascent begins with climbing over boulders and loose rocks. It takes 90m to reach the top. The climb is relatively technical, and one must have sufficient energy to do it. The thin air will make it harder to breathe.

There are some ropes attached to the mountain, but they are quite useless if I’m being honest. Climbers have to find their path. One wrong step or move will not possibly end well. It can be tough for people who have never done mountain climbing before.
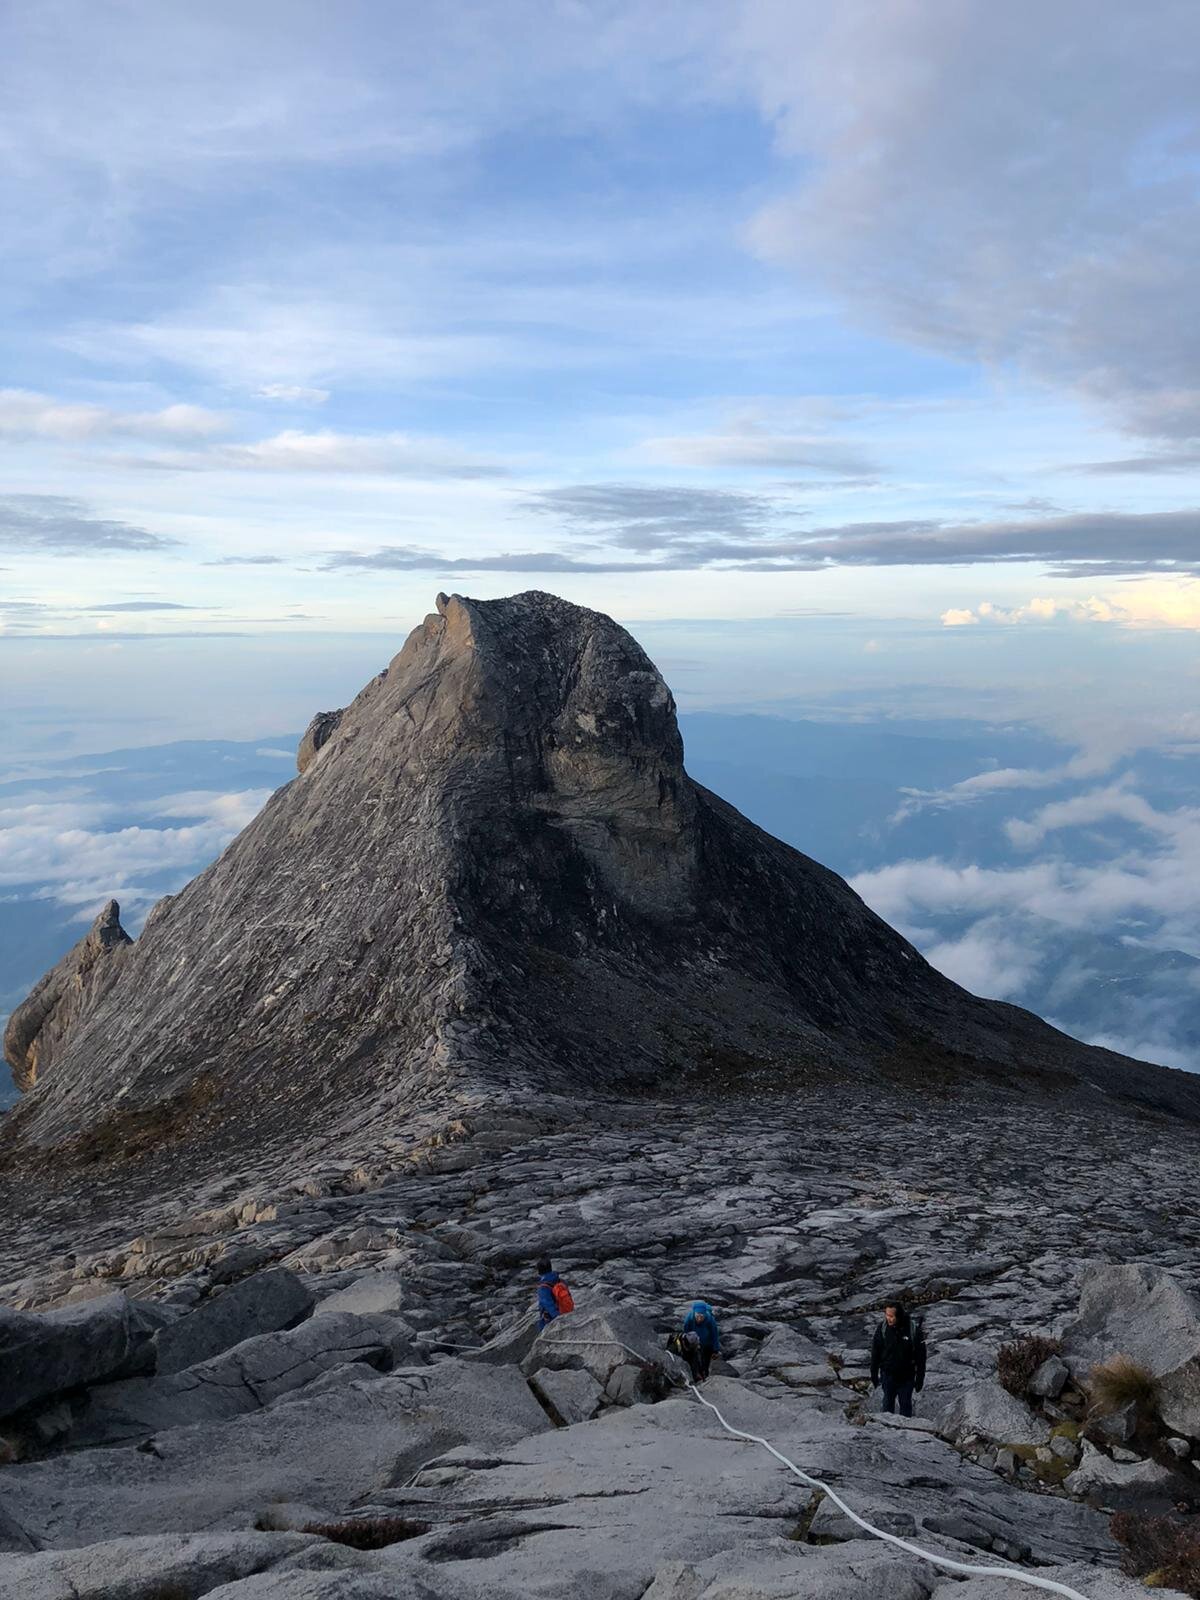
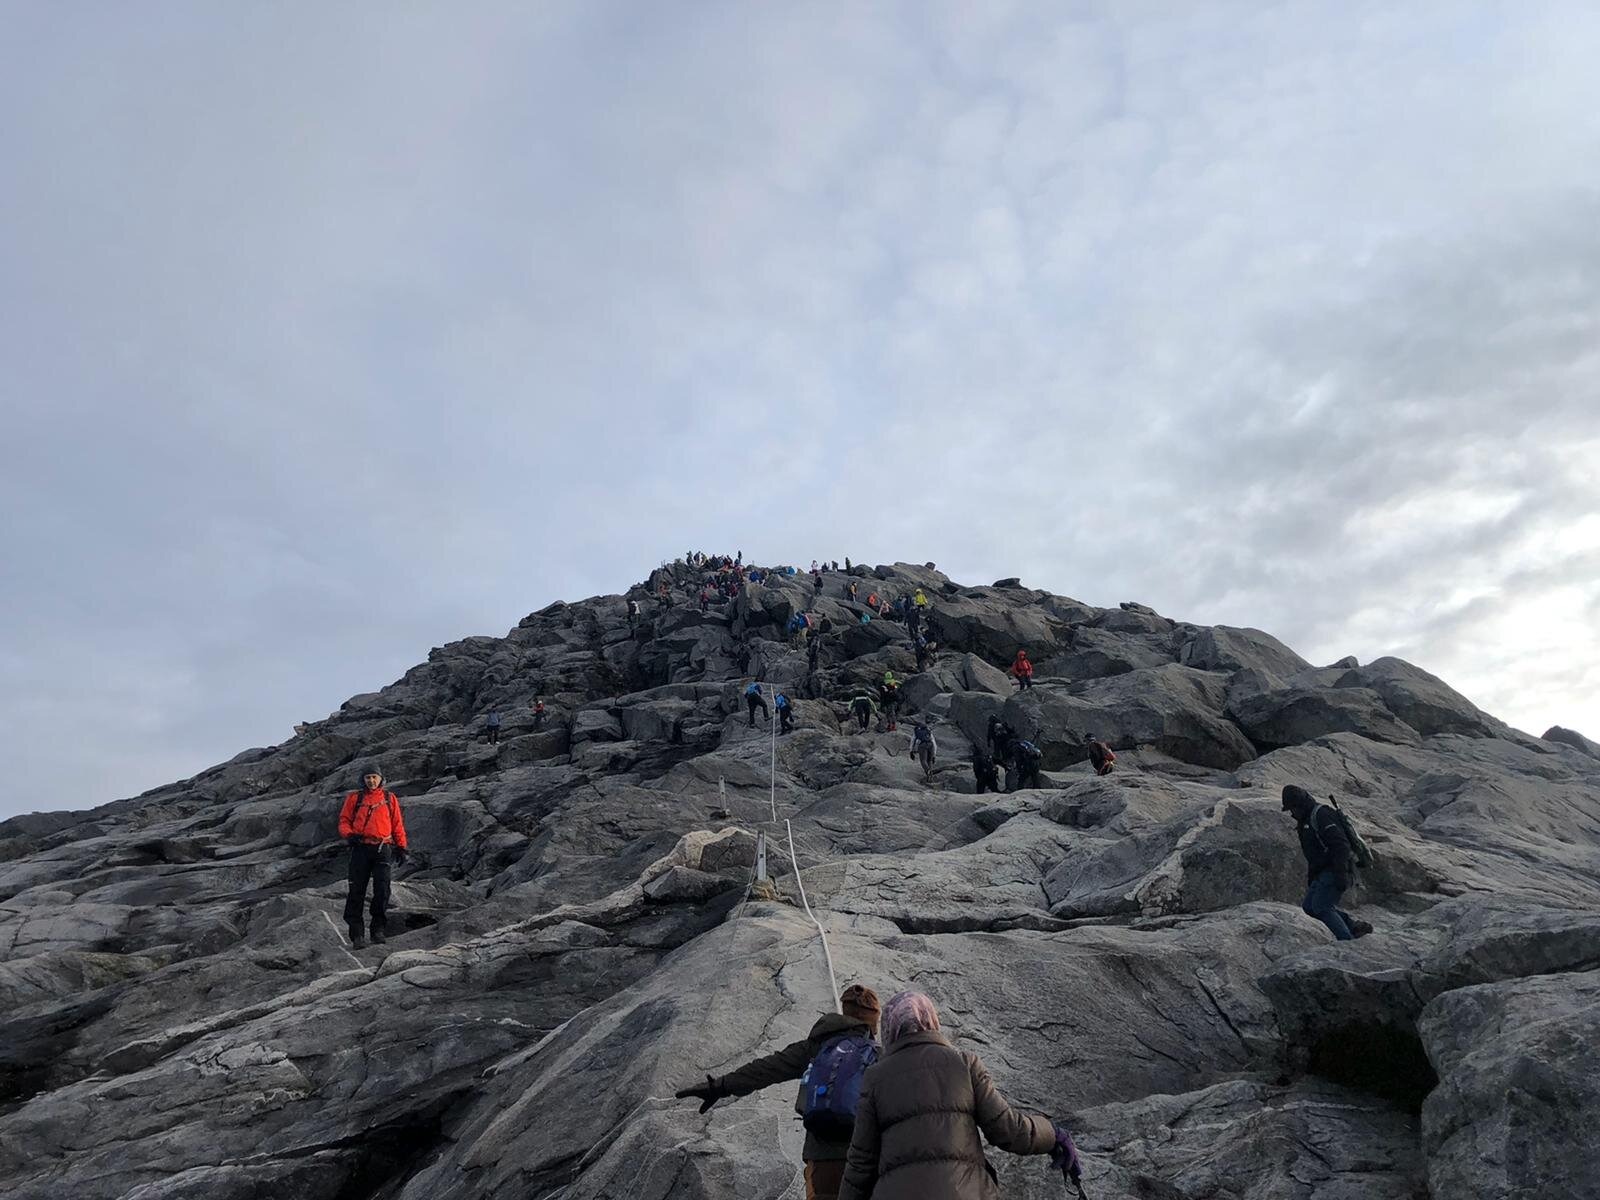
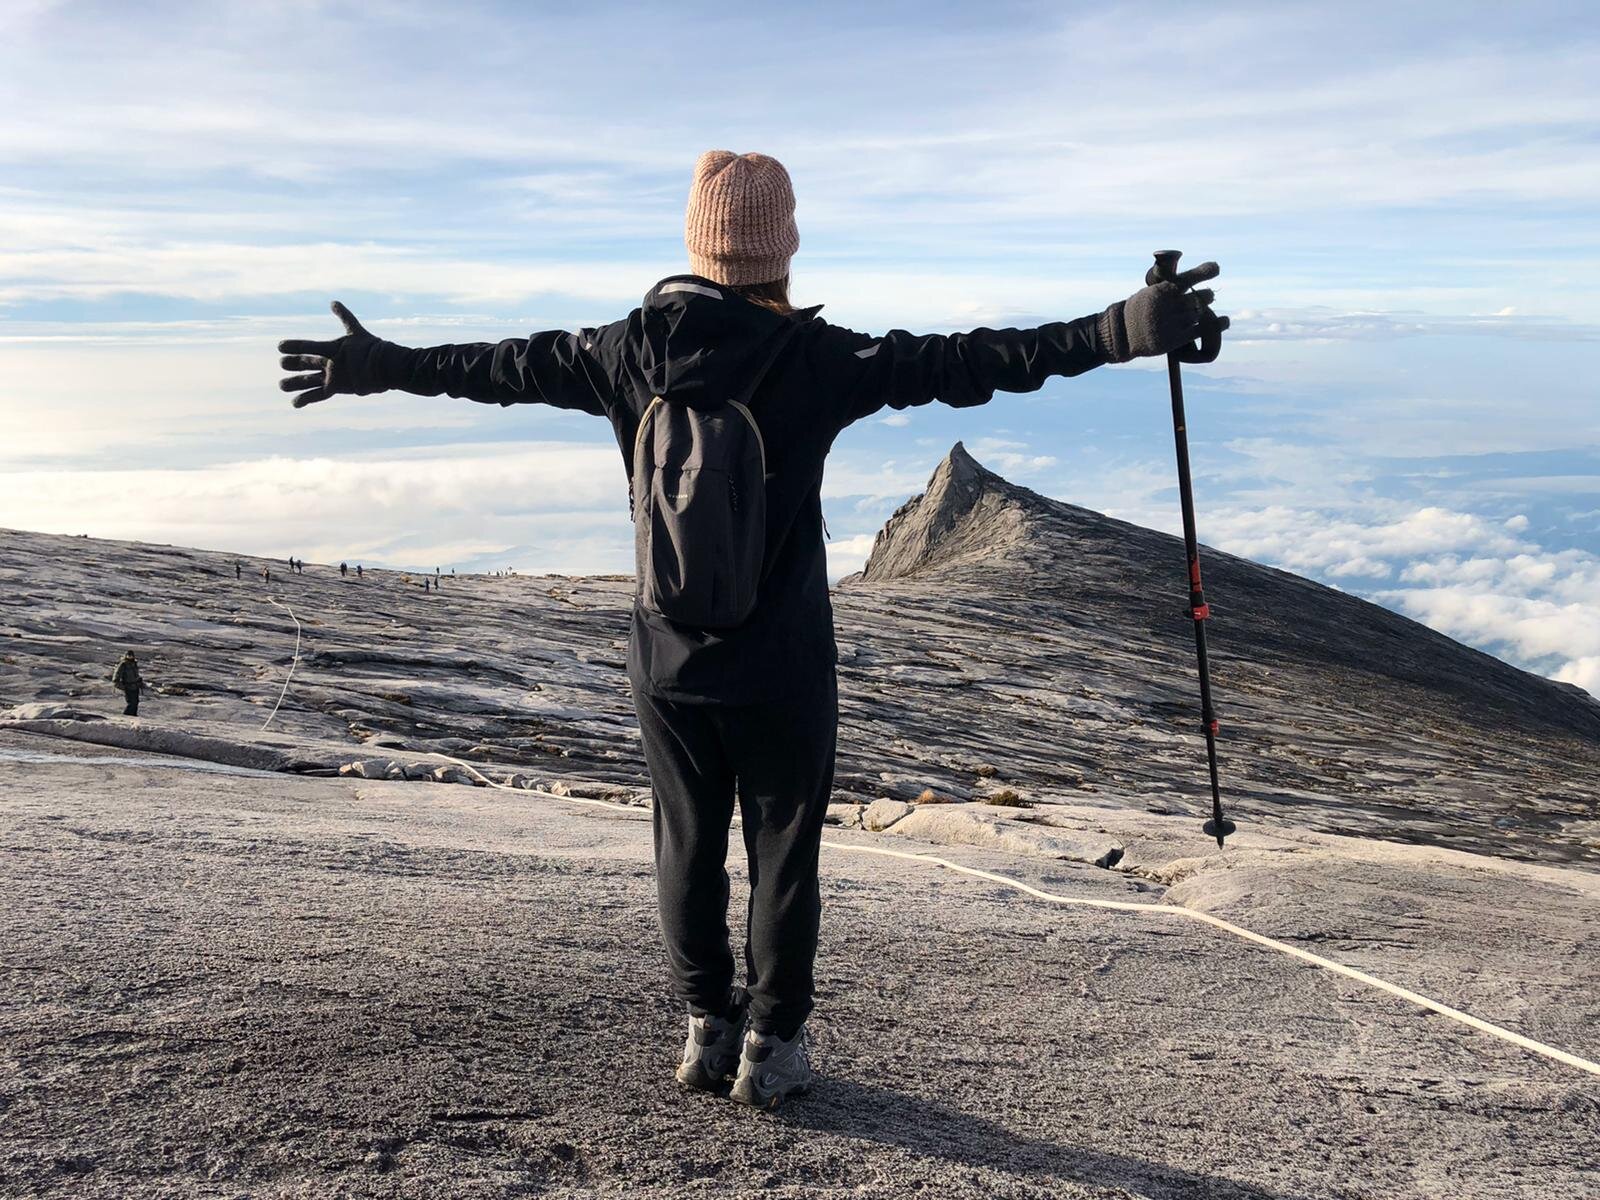
Once you reach the Low’s Peak, you will be greeted with a stunning view, and if you are lucky and quick, you may also watch the sunrise. It is frigid up there. Therefore, it is not recommended to stay there any longer than 30 minutes. People would typically roam around to take pictures and enjoy the view and head back down. However, some climbers tend to stay there. I get that they want to enjoy the view, but they should also be considerate not to overcrowd the place and give way to other newcomers who would also like to enjoy their time up there.

HEADING BACK TO THE BASE CAMP

Climbers are advised not to stay too long up there. Climbers usually start to descend before 7:30 am as it can be dangerous due to unpredictable weather. Heading back to the base camp usually takes around 2-3 hours.

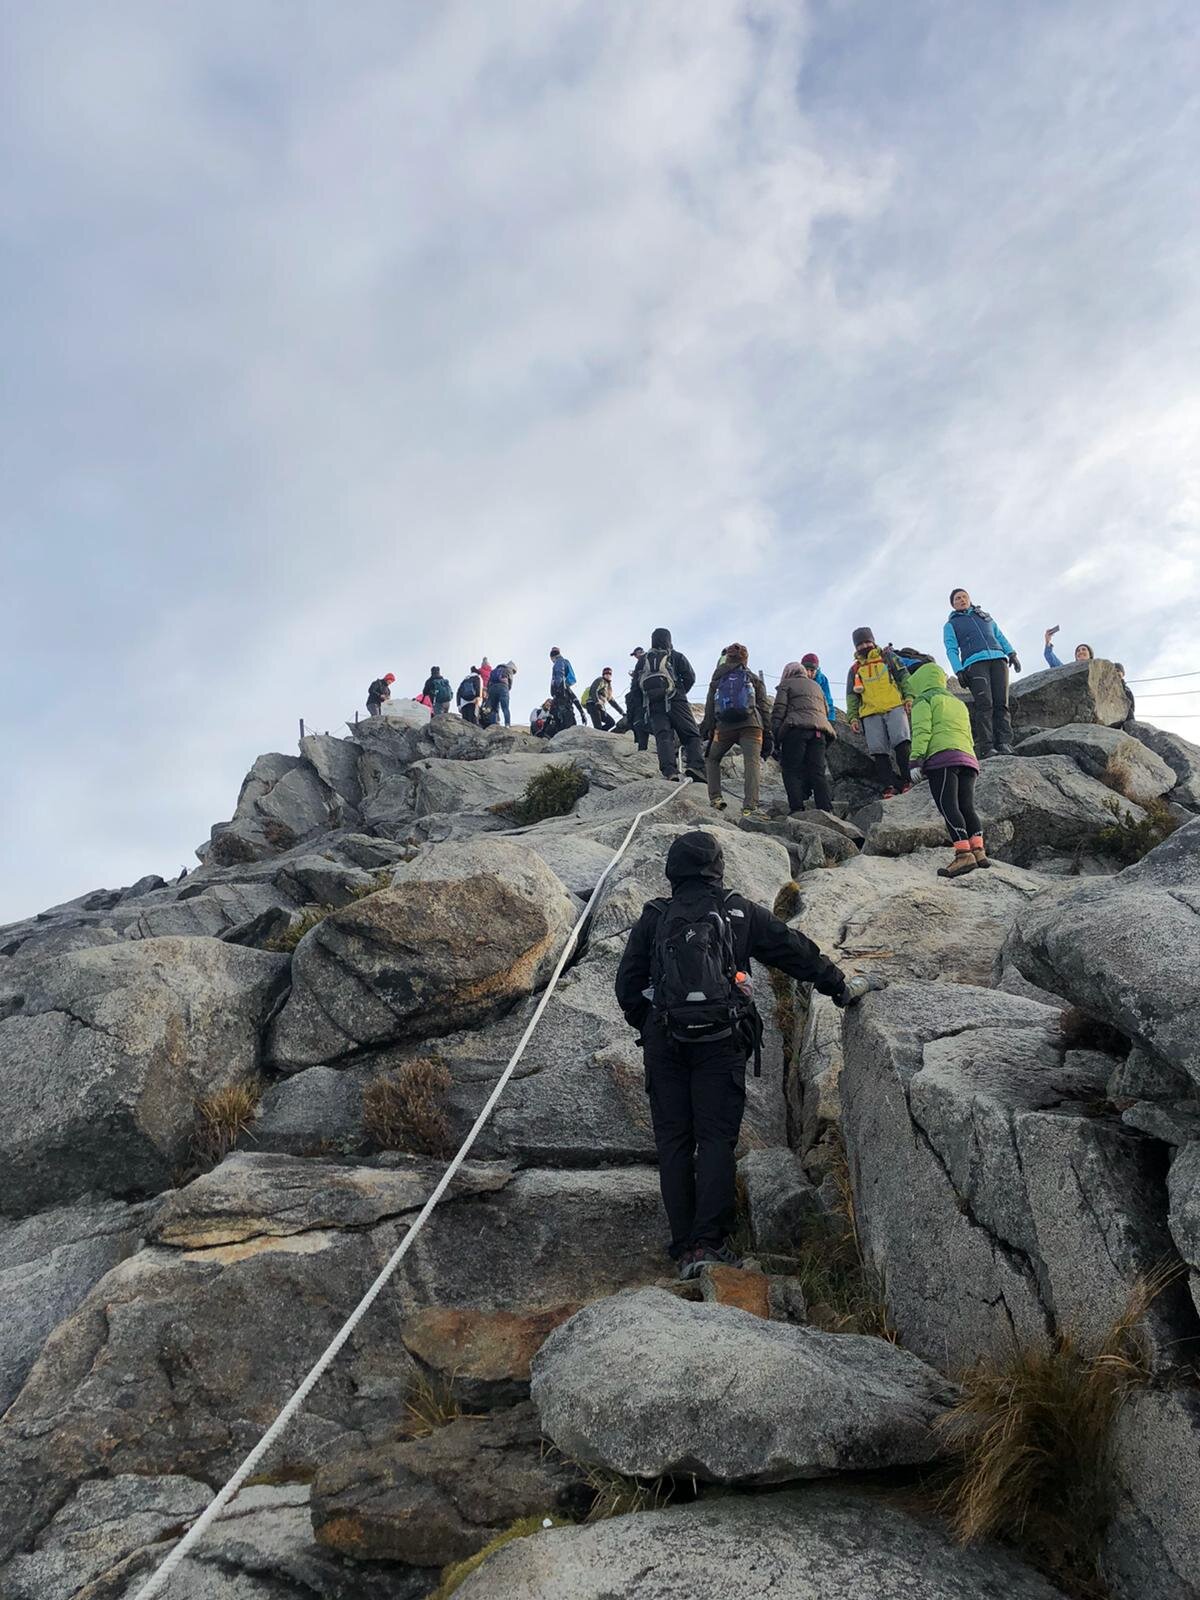
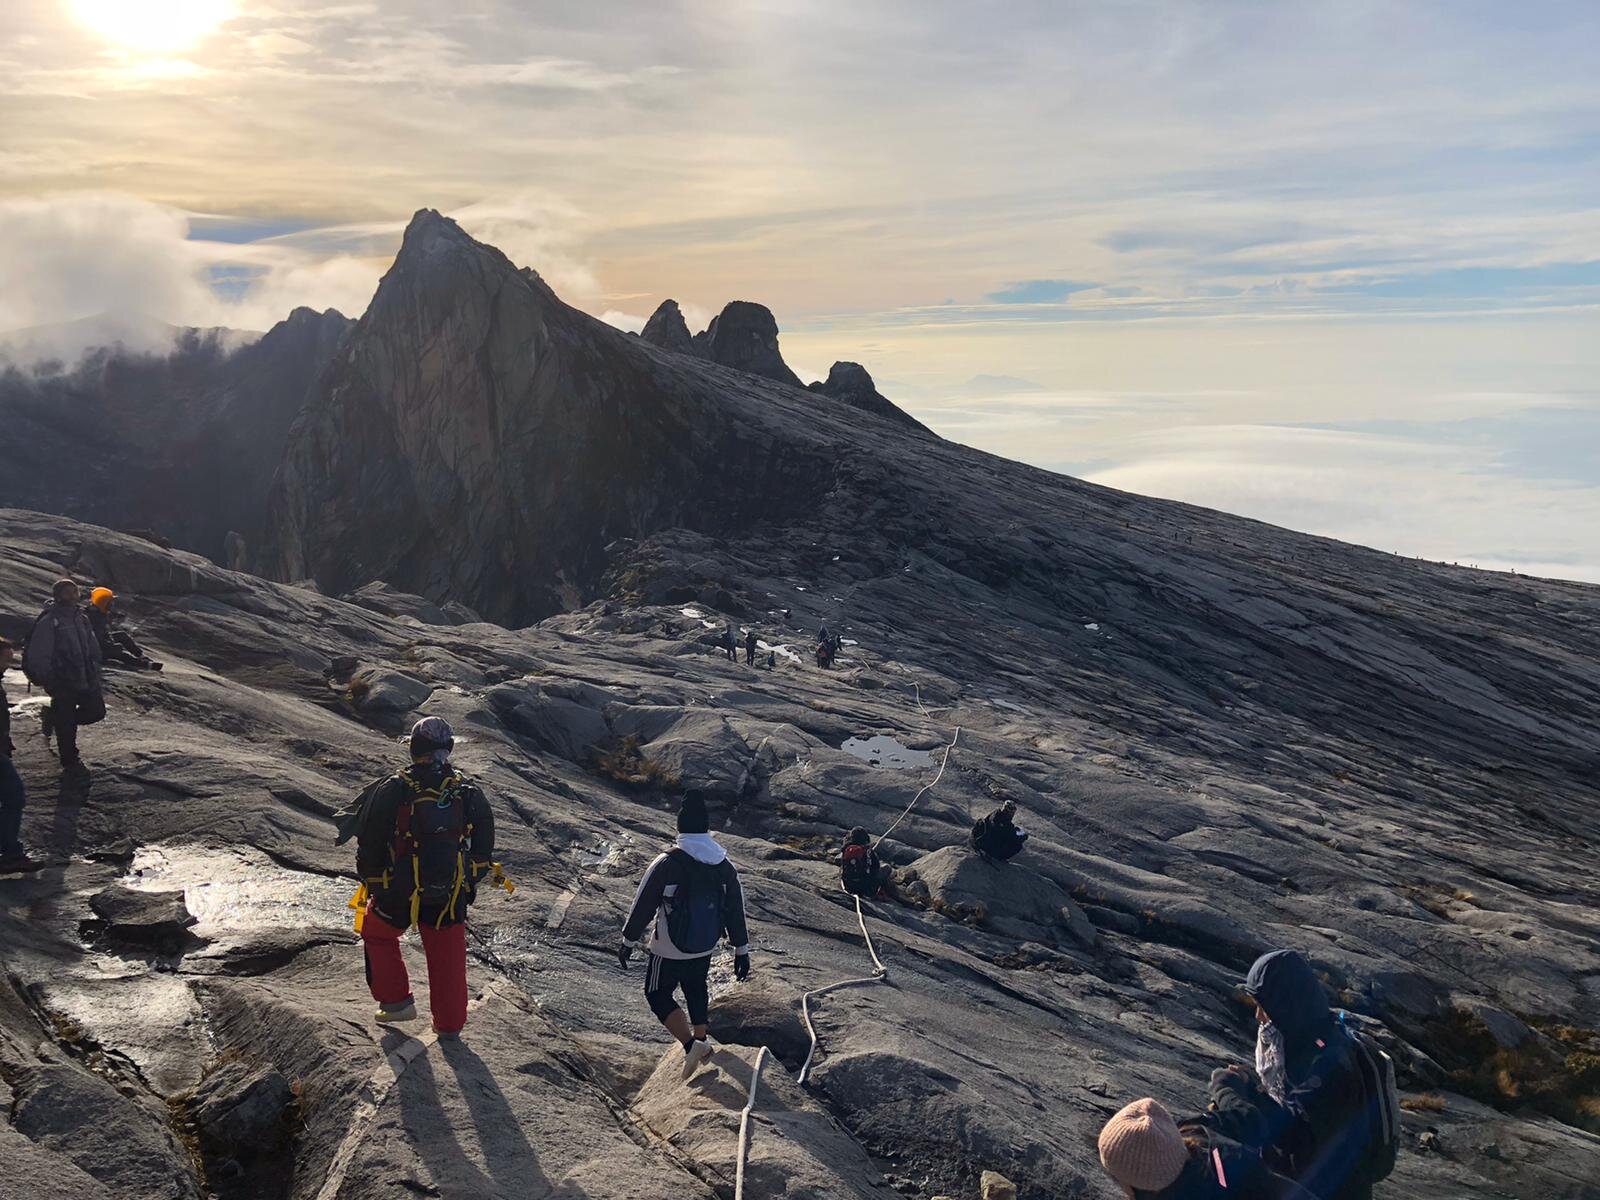
Since we were not allowed to stay longer up there, so we started heading down around 7 am. Climbing down those ropes were life-changing for me. I have never done mountain climbing before. I have only done wall climbing with a harness. In this climb, there is no harness, but there are ropes for climbers to hold. I was terrified, and I was looking for alternative ways to head down like sitting down and slide myself through down, but that’s very risky. I followed my guide, and soon I gain some confidence, and I felt less scared when I finally learn to do it. It’s fun and exciting. I could do this again, but maybe I would take up some climbing classes beforehand so I won’t freak out again.
SAYING GOODBYE TO THE MOUNTAIN

After our late breakfast, we started heading down at 11 am. It is a long way down, so I wore my kneepad to protect my right kneecap as I do get a bit of irritation on my right knee when I do any hiking or running. I used my trekking pole to help me while going down.

Checking out

Checking out

I have to say, going down is not my most favourite thing. I prefer ascending compared to going down because I am clumsy, and for some reason, my feet seem to have their own mind, and it doesn’t cooperate with what my mind what to do. Having that trekking pole had helped me a lot.

IT SUDDENLY RAINED AT 4KM

Upon descending from Layang Layang Shelter, it rained all of a sudden out of nowhere. There was no warning at all. Rain just started pouring down. I didn’t put on my raincoat at first thinking that the rain may stop soon, but it didn’t, and it never did. I can’t believe it, can this trek get any worse? We were so exhausted, and the rain just had to come. It’s like we are experiencing the whole package. Well, on the brighter side, at least I get to share this experience. Although it’s not a very good experience, but I consider this as an opportunity to say “Been there, done that”.

As the rain was getting heavier, the paths are even harder to step. I came to the point where I didn’t care about getting my shoes wet anymore. I just wanted it to be over. I was stepping on streams, and I almost slipped at least once or twice.

We also came across some of the climbers we met stranded in one of the shelter points. Two of them were injured, and it’s not ideal for them to descend under this circumstance, so they had to call on the rescue team to bring them down. God bless them. I hope they were fine.

ENDING THE ADVENTURE WITH MIX EMOTIONS

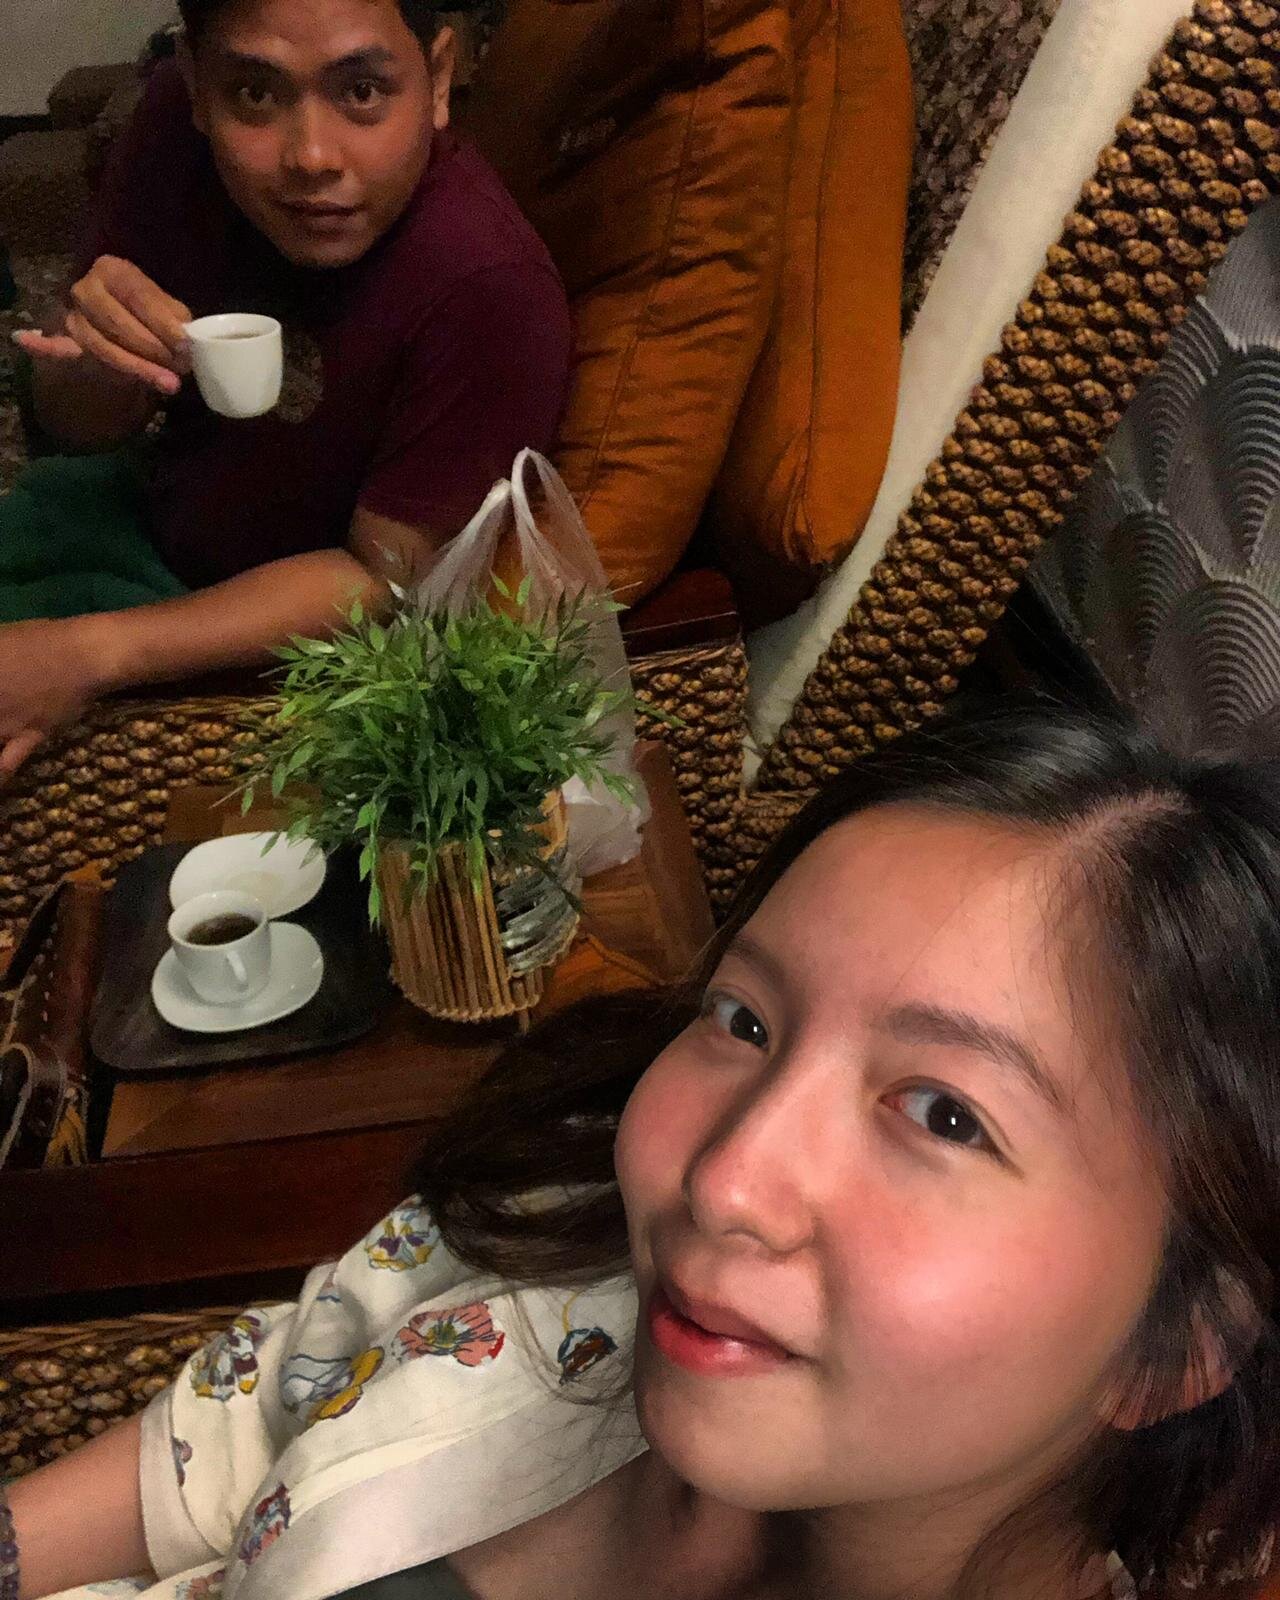
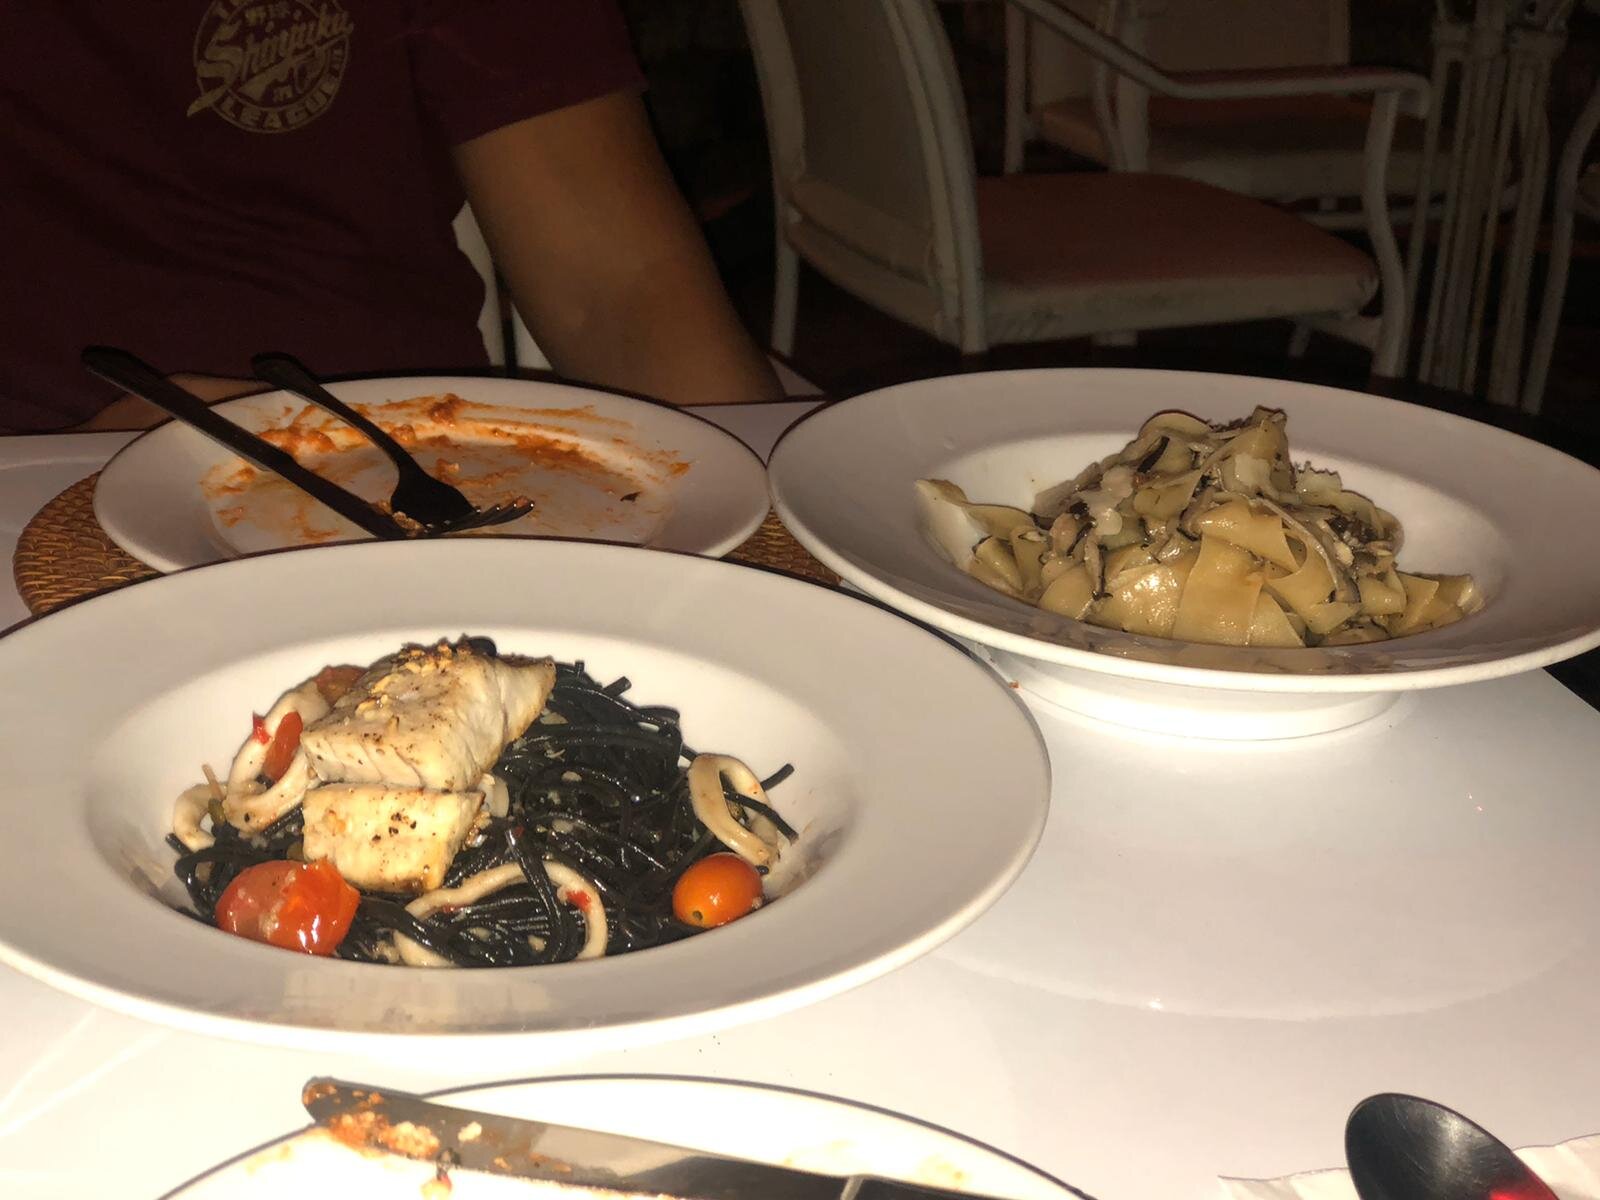
We ended our trek at Timpohon Gate, back to where everyone started. It was an excellent feeling being able to come back in one piece. No injury nor feeling sick. However, I do feel drained. My legs are cold from the rain, and my feet are numb. My clothes are wet. I can’t wait to get back to the headquarter and get change and have a good satisfying and celebratory dinner after a job well done.

On our way in the van back to Kota Kinabalu City, I was imaging everything all over my head, and it still hasn’t fully sunk in my mind that I have finally done this fantastic climb. It was my biggest climb ever and quite frankly, it’s overwhelming. There were many times when I would doubt myself, but I am so proud that I did not give up.
OVERALL EXPERIENCE

Climbing Mount Kinabalu is beyond my imagination. I am not born with a natural physique body nor fit to do intense physical activities. It was ambitious of me to think of doing this. I always crave for a new adventure, and I don’t let my shortcomings stop me from doing what I love. I always find a way to make things happen. I adjust myself when I have to. Just like doing this climb, I trained myself to be fit enough to do this. I did a lot of preparation before the climb. However, I still feel that it is still not enough, no matter what I did. I still struggled a lot, but like they say, ‘No pain, no gain’.

This adventure has been a life-changing to me. My knowledge has broadened, and I can say that I have gotten to know nature even better. The price that I paid to do this climb is nothing compared to what I have experienced. My mother used to tell me before the climb, “Why do you punish yourself?” I wouldn’t say that climbing a mountain is a punishment. It’s more like knowing myself even better and see how far I can go on.

Lastly, I am super grateful to my boyfriend, Ryan, for always being my rock and pushing me to my limits. I wouldn't have done it and come back in one piece without him by my side.
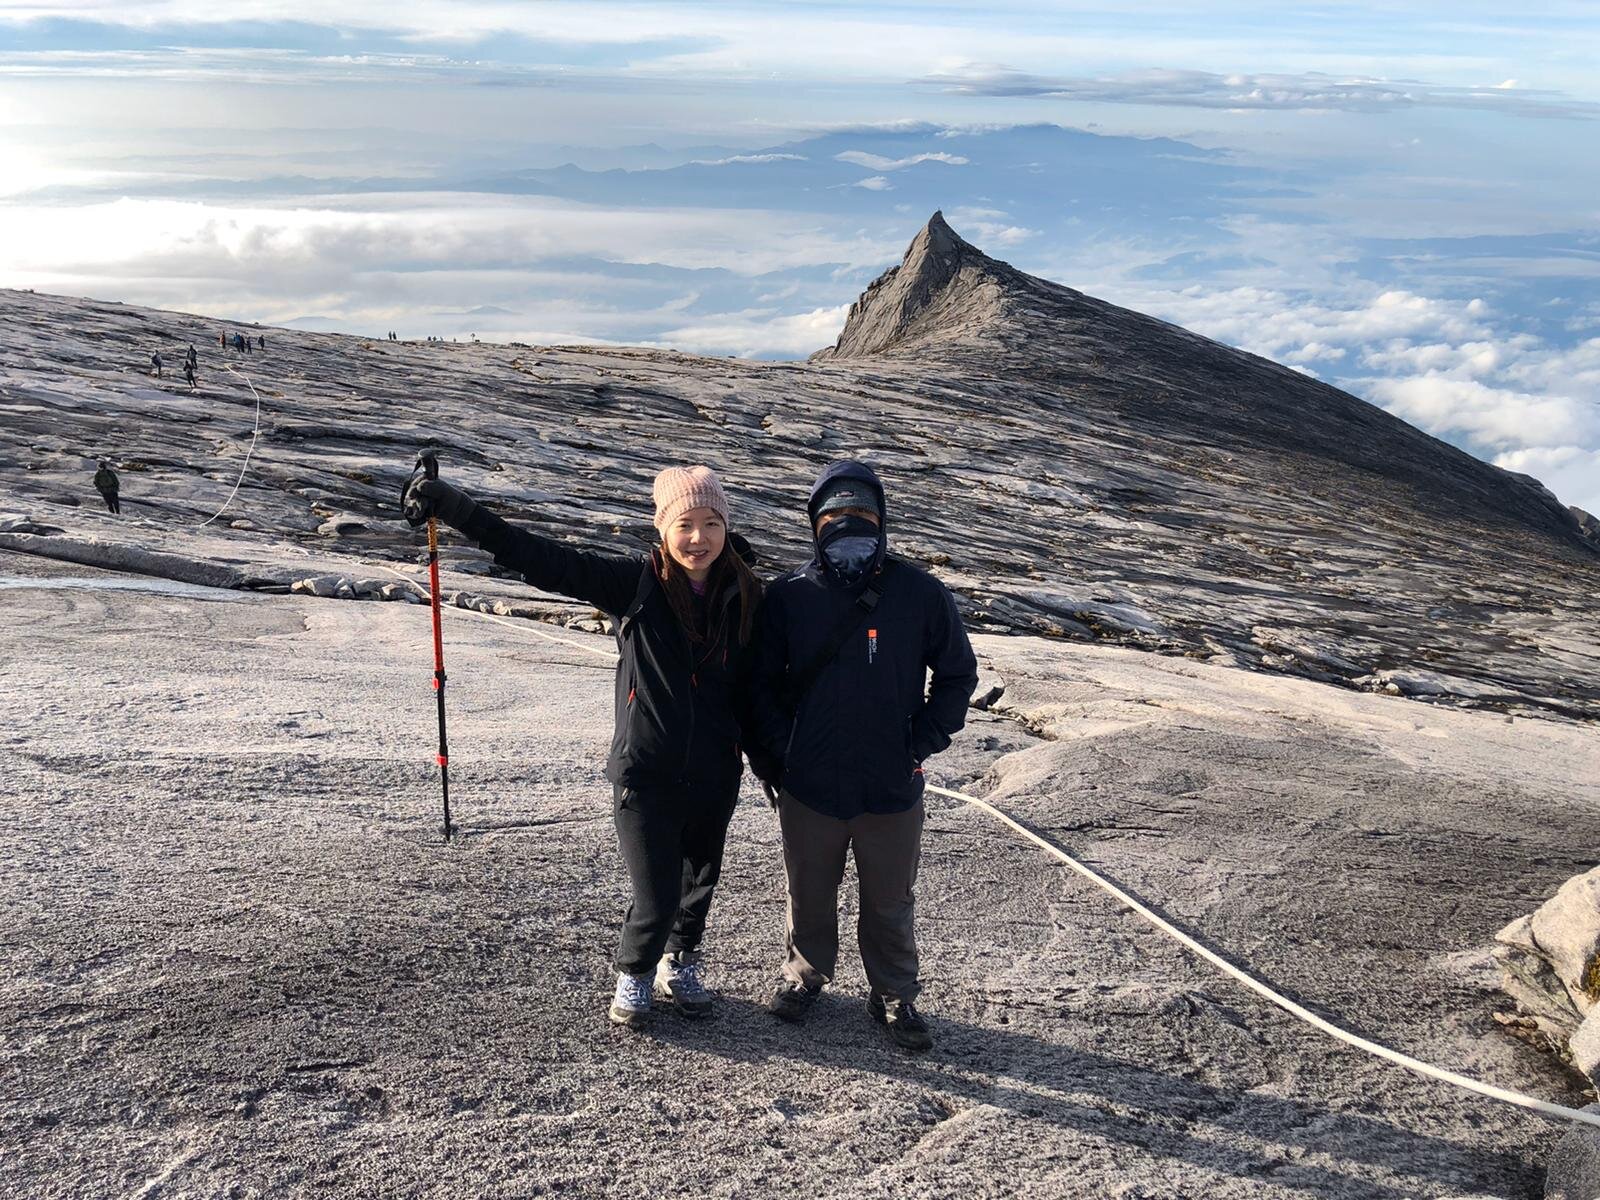
I hope this blog has been helpful. If you have any questions about the climb, feel free to leave a comment below. I will be more than happy to help.

Yours Truly,

Michelle Chan

Discover Panglao Island

COVER.jpg

It’s been a year since my last travel blog, and now I am back at it again. In this blog, I will be writing about my recent trip to the Philippines when I visited one of the many islands in the Philippines - Panglao Island. Let me share what  I have seen and experienced during this memorable trip.

ABOUT PANGLAO ISLAND

Panglao Island is in the Visayas region in Bohol. Panglao Island is becoming more accessible now through plane and ferry rides. There is an aircraft available to fly directly to Tagbilaran, 30 minutes away from Panglao. I believe Panglao Island will be the next Boracay spot in Bohol.

Panglao Island is indeed one of the beautiful islands in the Philippines and the Visayas region. Panglao Island is unusually small. Vacationers can spend a day roaming around the Island. So what's so unique about Panglao? Continue reading this blog to find out more.

HOW TO GET THERE

Getting to Panglao is a lot convenient to travel now. There are two types of transportation to take to reach the island.

OPTION 1 - TAKE A FERRY

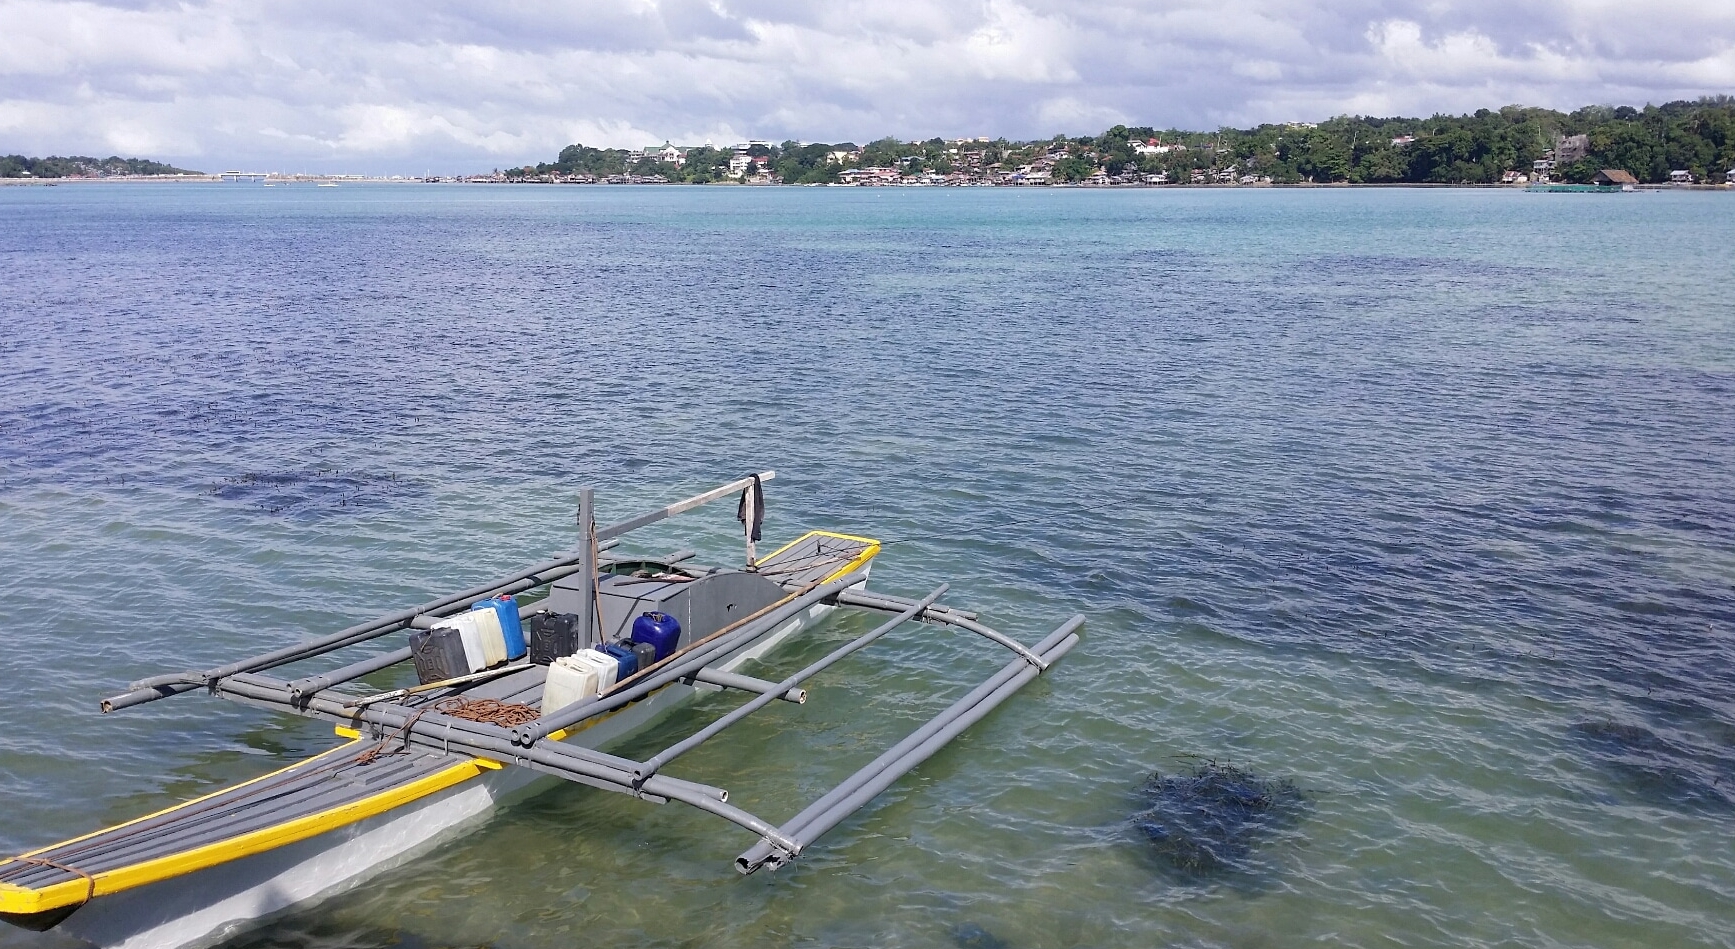
Taking the ferry is probably the most convenient and cheapest transportation to the island. I would highly suggest taking “OceanJet”. It only takes two hours to get to Tagbilaran Port from Cebu port with many time slots available every day. It is affordable, seats are assign to every passenger, luggage can be checked-in with some small charges, and it is quite comfortable to check-in your heavy baggage as it gives you more space for the next two hours. You may book your one-way or roundtrip tickets via their website, Klook or buy tickets at the terminal.

Once you reach the Tagbilaran port, you may first claim your luggage if you have checked-in yours. Then, head out to take a tricycle or a car service ride to the island to the hotel you are staying at. There are plenty of services out there even during peak season. Tricycle ride is usually cheaper, and drivers will charge about Php300-400 per trip, and car drivers will usually charge Php300-400 per person. I chose to take the tricycle as it is cheaper and faster to negotiate in terms of the price. I also get to enjoy the fresh air too.

The ride from Tagbilaran port to the island takes about 20-30 minutes.

FERRY 1.jpg

OPTION 2 - TAKE A PLANE

Philippine Airlines and Cebu Pacific Air have flights to Tagbilaran Airport. Taking the plane seems more expensive compared to option 1. The plane ride only takes 45 minutes from Cebu to Tagbilaran, and 1 hour 35 minutes from Manila to Tagbilaran.

From Tagbilaran airport, passengers can take a taxi or tricycle to Panglao Island.

WHEN IS THE BEST TIME TO VISIT PANGLAO ISLAND

Since the Philippines is an all-year-round summer season, the best time to pay a visit to the island is during summertime which is from March to May. However, bear in mind that it will be crowded and more touristy vibe during these times as it is the peak period.

Avoid going there during rainy and monsoon season around June to September. Lots of rainbands and possible storms can happen during this period.

Visiting during festive periods such as Christmas, New Years, Easter or any public holidays in the Philippines is an ideal time too. Just be prepared with the vast crowd.

THINGS TO DO IN PANGLAO ISLAND

There are plenty of things to do on the island. If you are up for some diving adventure, this is the right place for you.

ISLAND AND BEACH TOUR

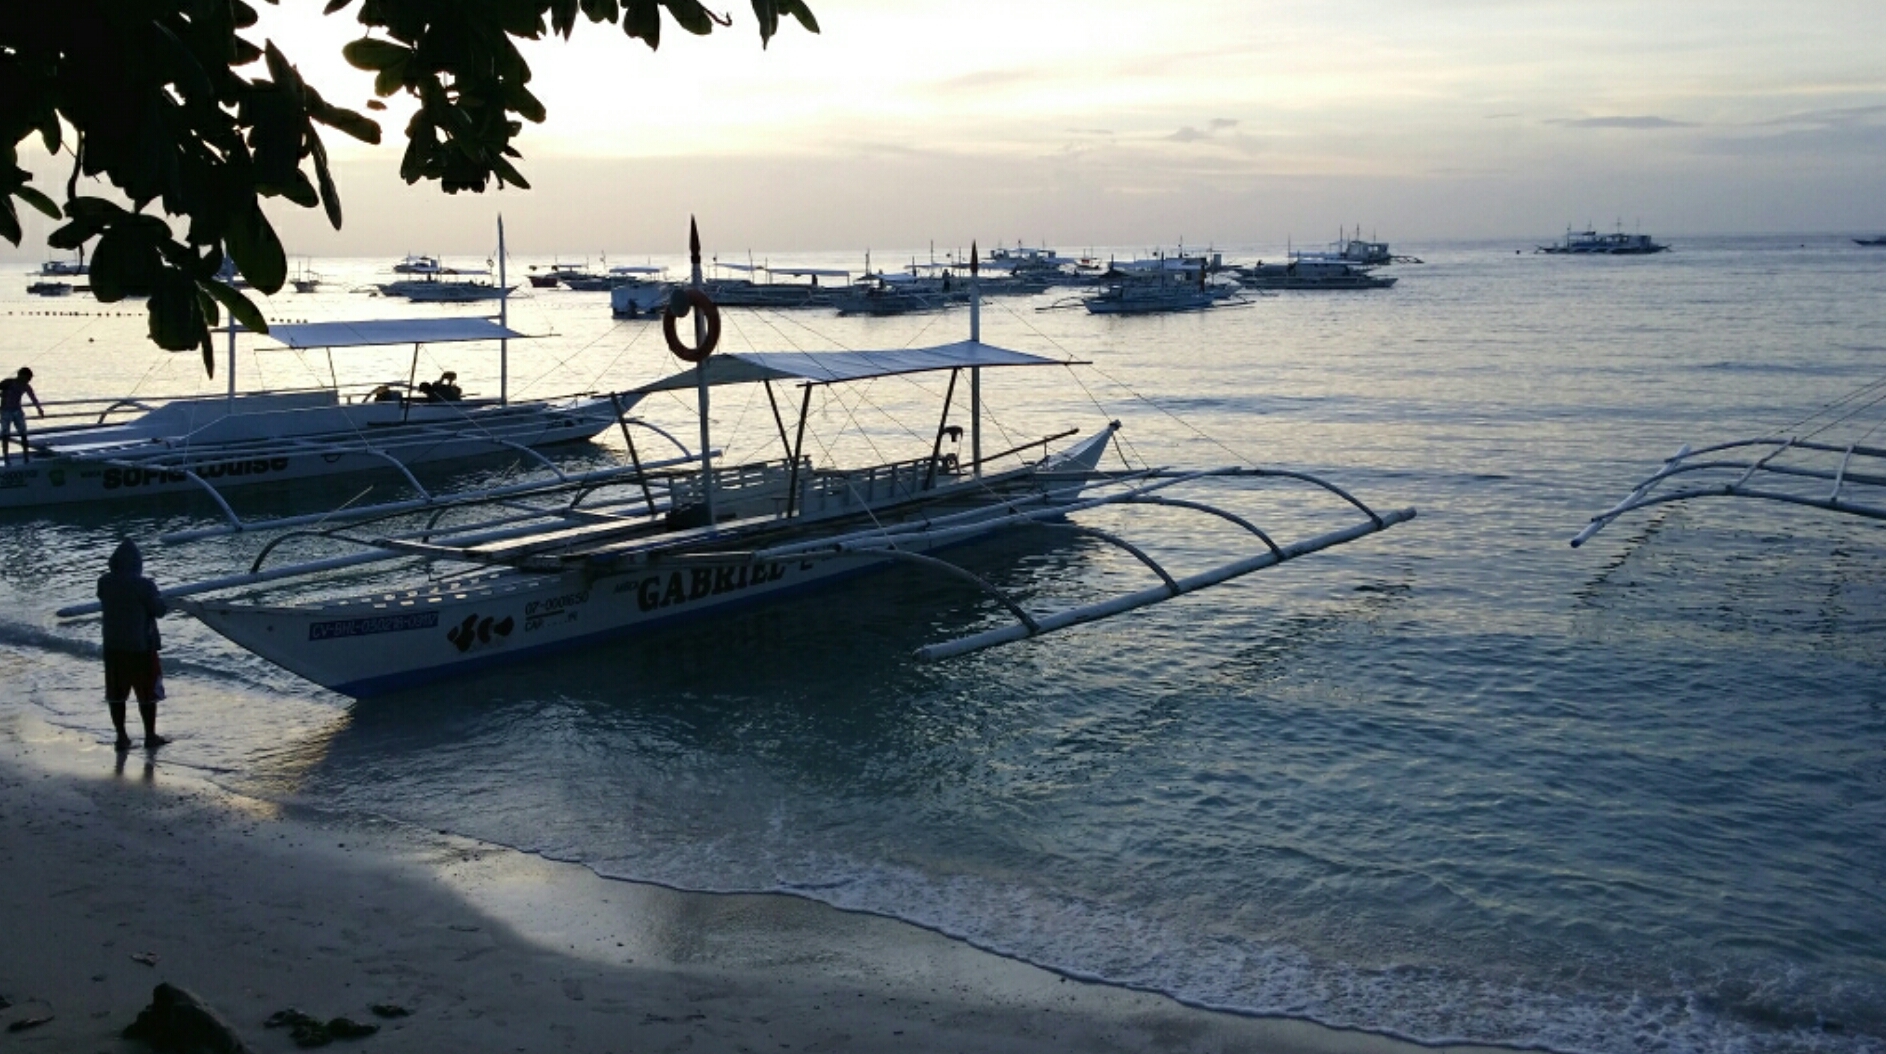
Island hopping is a must-do during your trip to Panglao. There are plenty of other islands around Panglao for you to dive, swim and stroll around as well as enjoy a hot sunny day by the beach with some coconut.

It is effortless to book your island hopping as tour agents are everywhere around the island, and it is recommended to book your trip a day or two in advance especially in the peak season as it can get fully-booked. The boats usually leave early in the morning between six to seven in the morning.

You may ask your boatman to bring you to the area where you can enjoy a few minutes to watch the dolphins leap around the ocean. If you are in luck, you may catch them jumping around the water.

Here is a list of Islands or beaches you can visit in Panglao:

  • Virgin Island - Watch out for starfish while you walk around the sand beach, they’re everywhere.

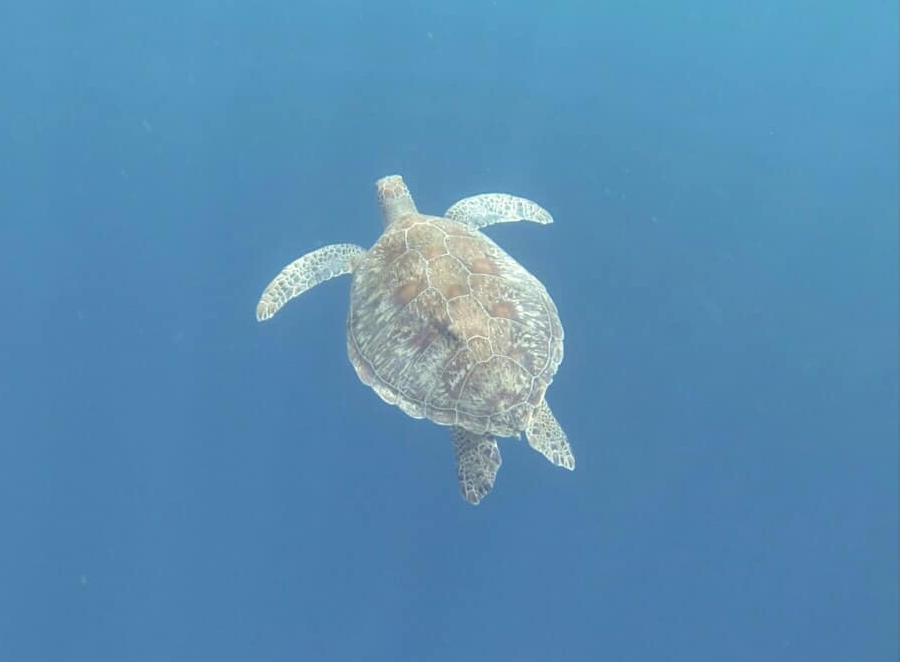
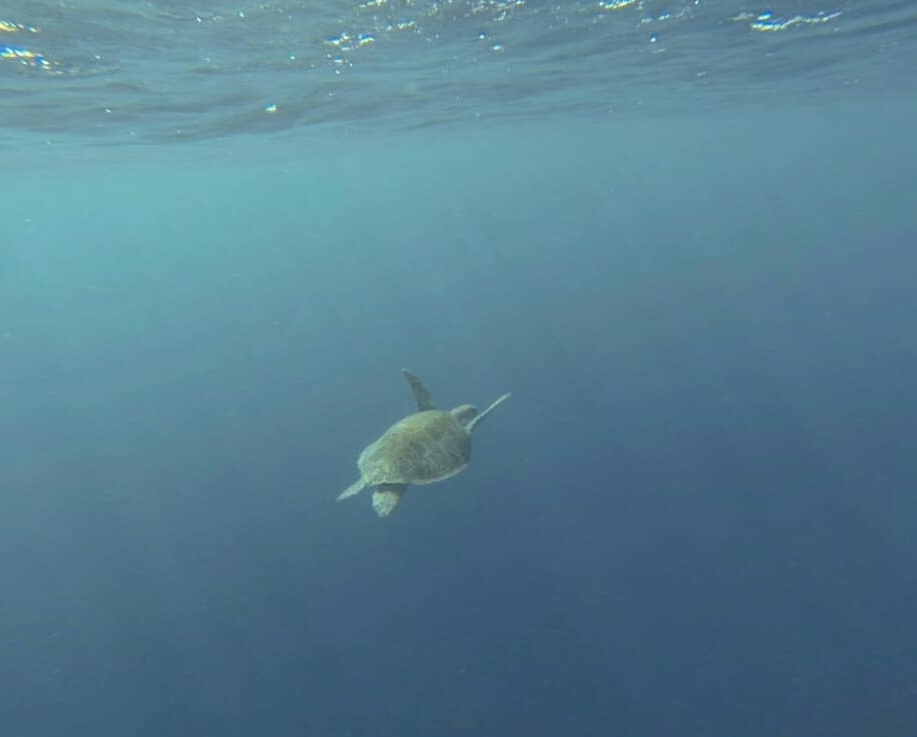
  • Balicasag Island - The home of the Pawikan (Sea Turtles). Try to catch them if you can!

  • Doljo Beach - Beautiful and crystal clear water.

  • Bogobo Beach - This beach has a very unique chalk-like sand.

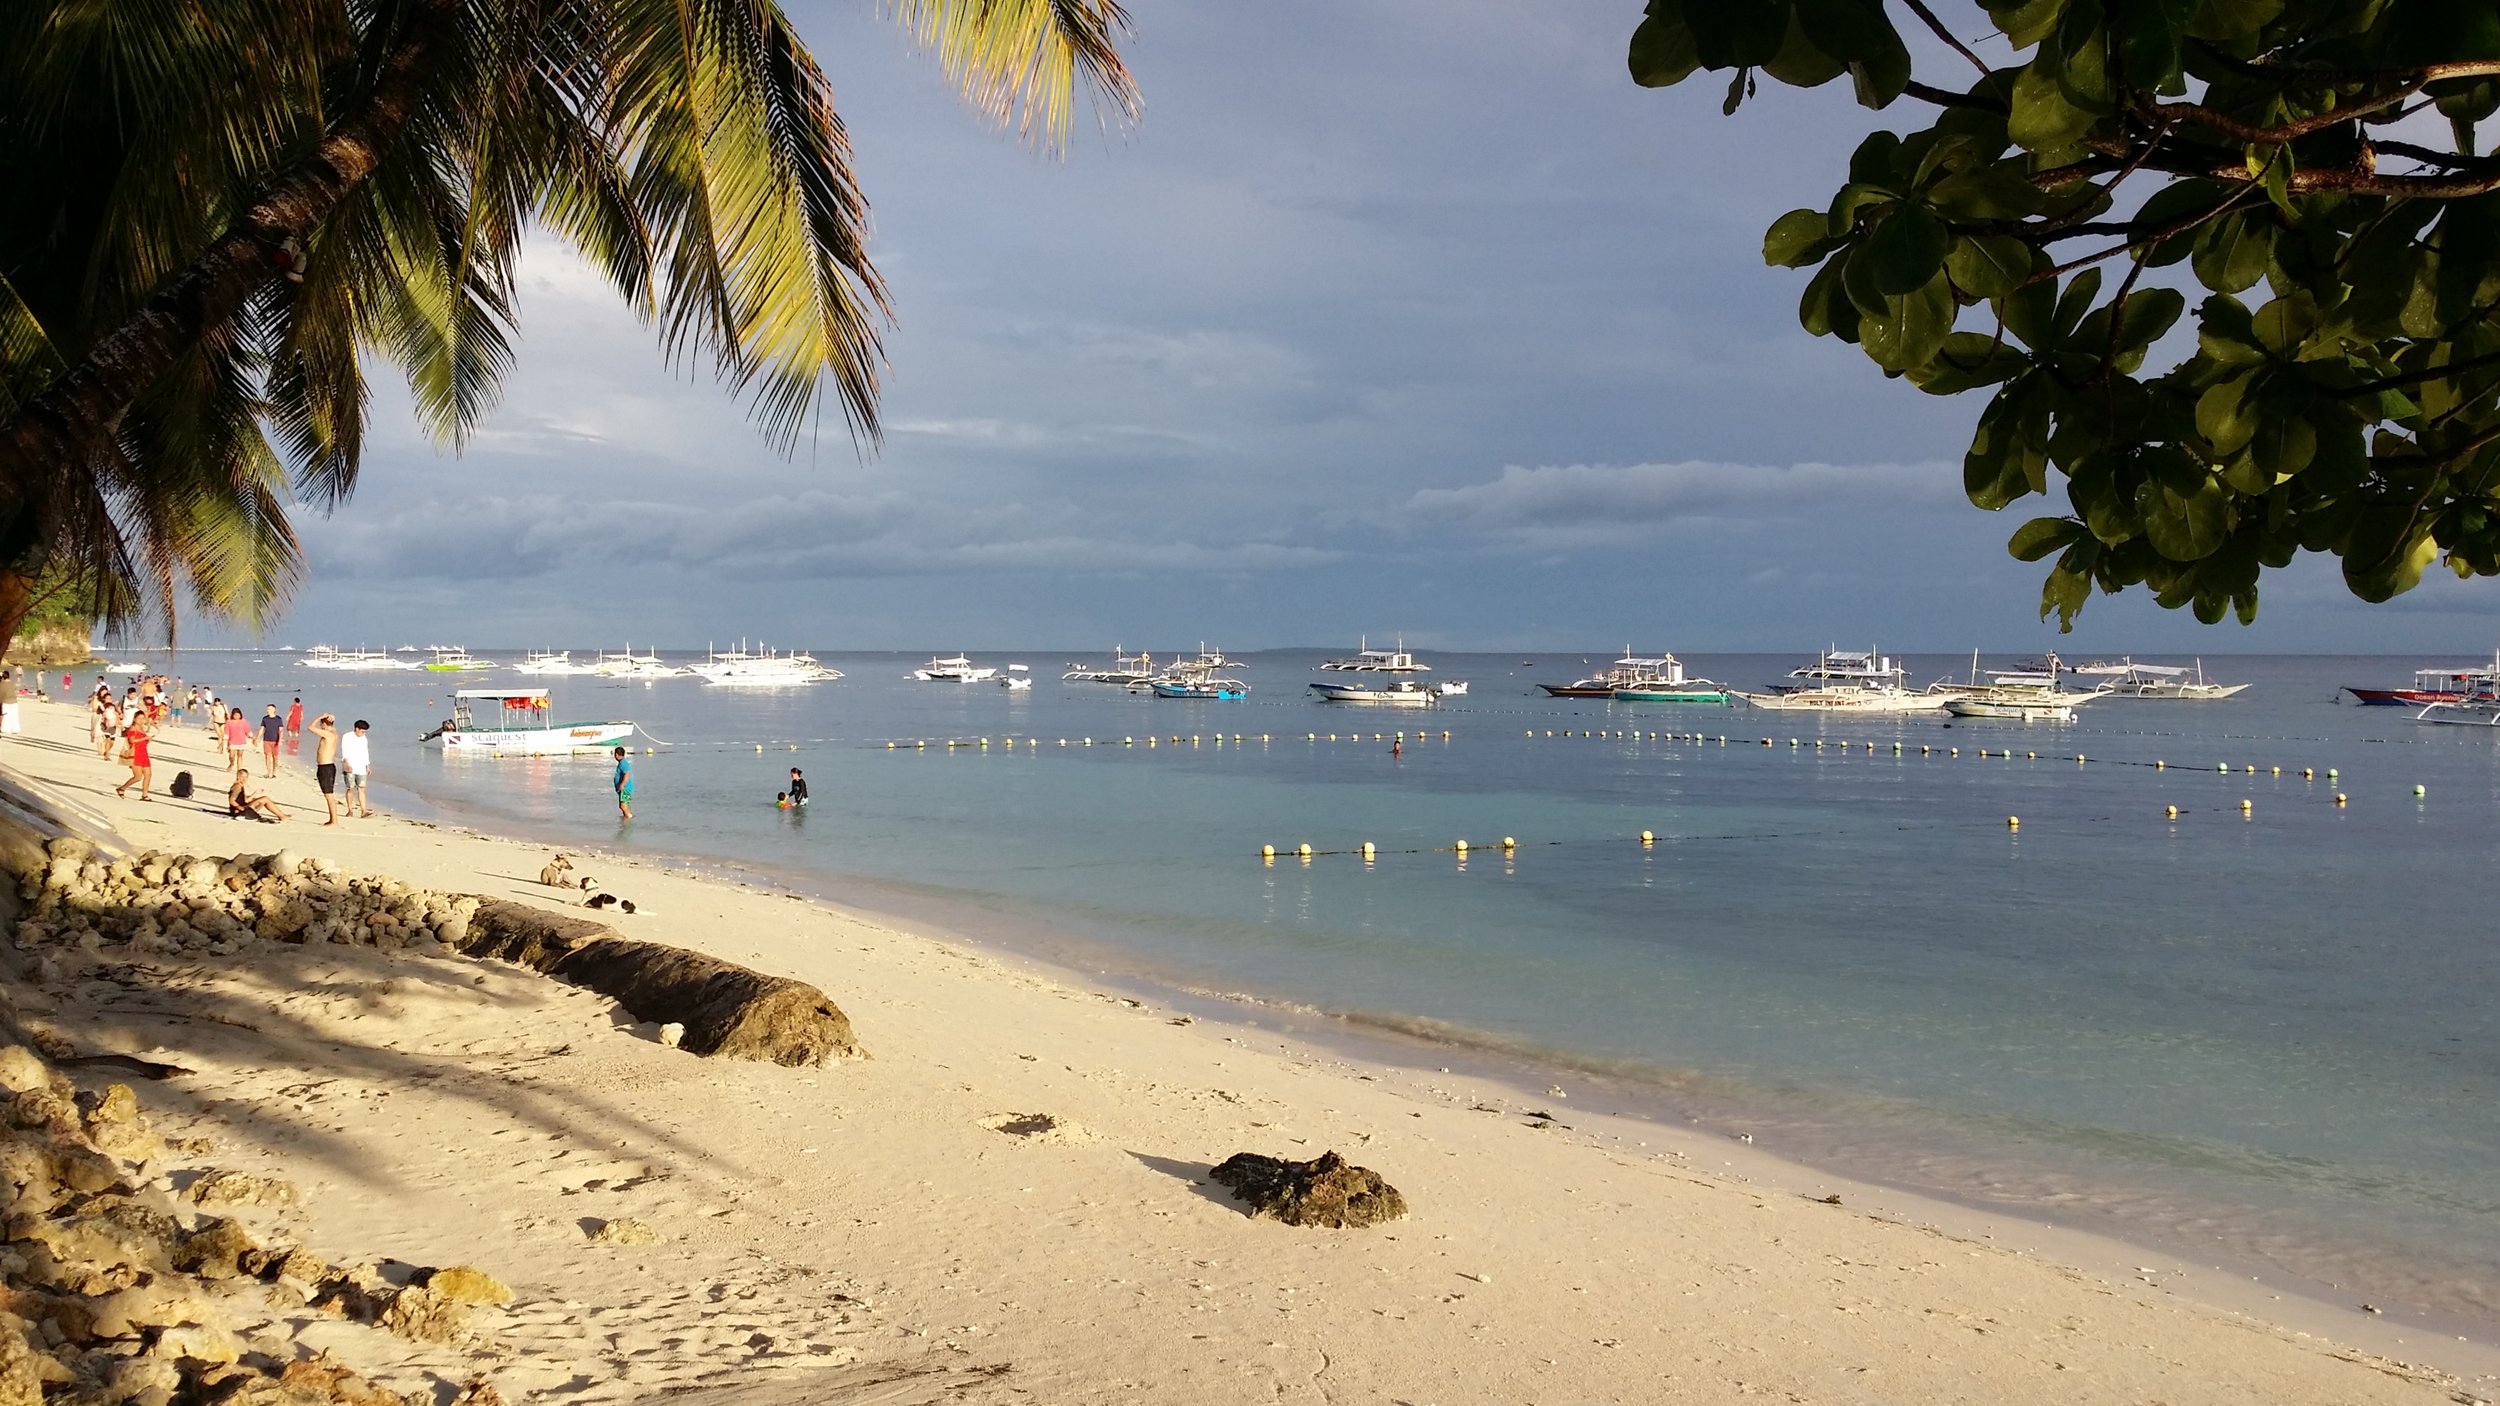
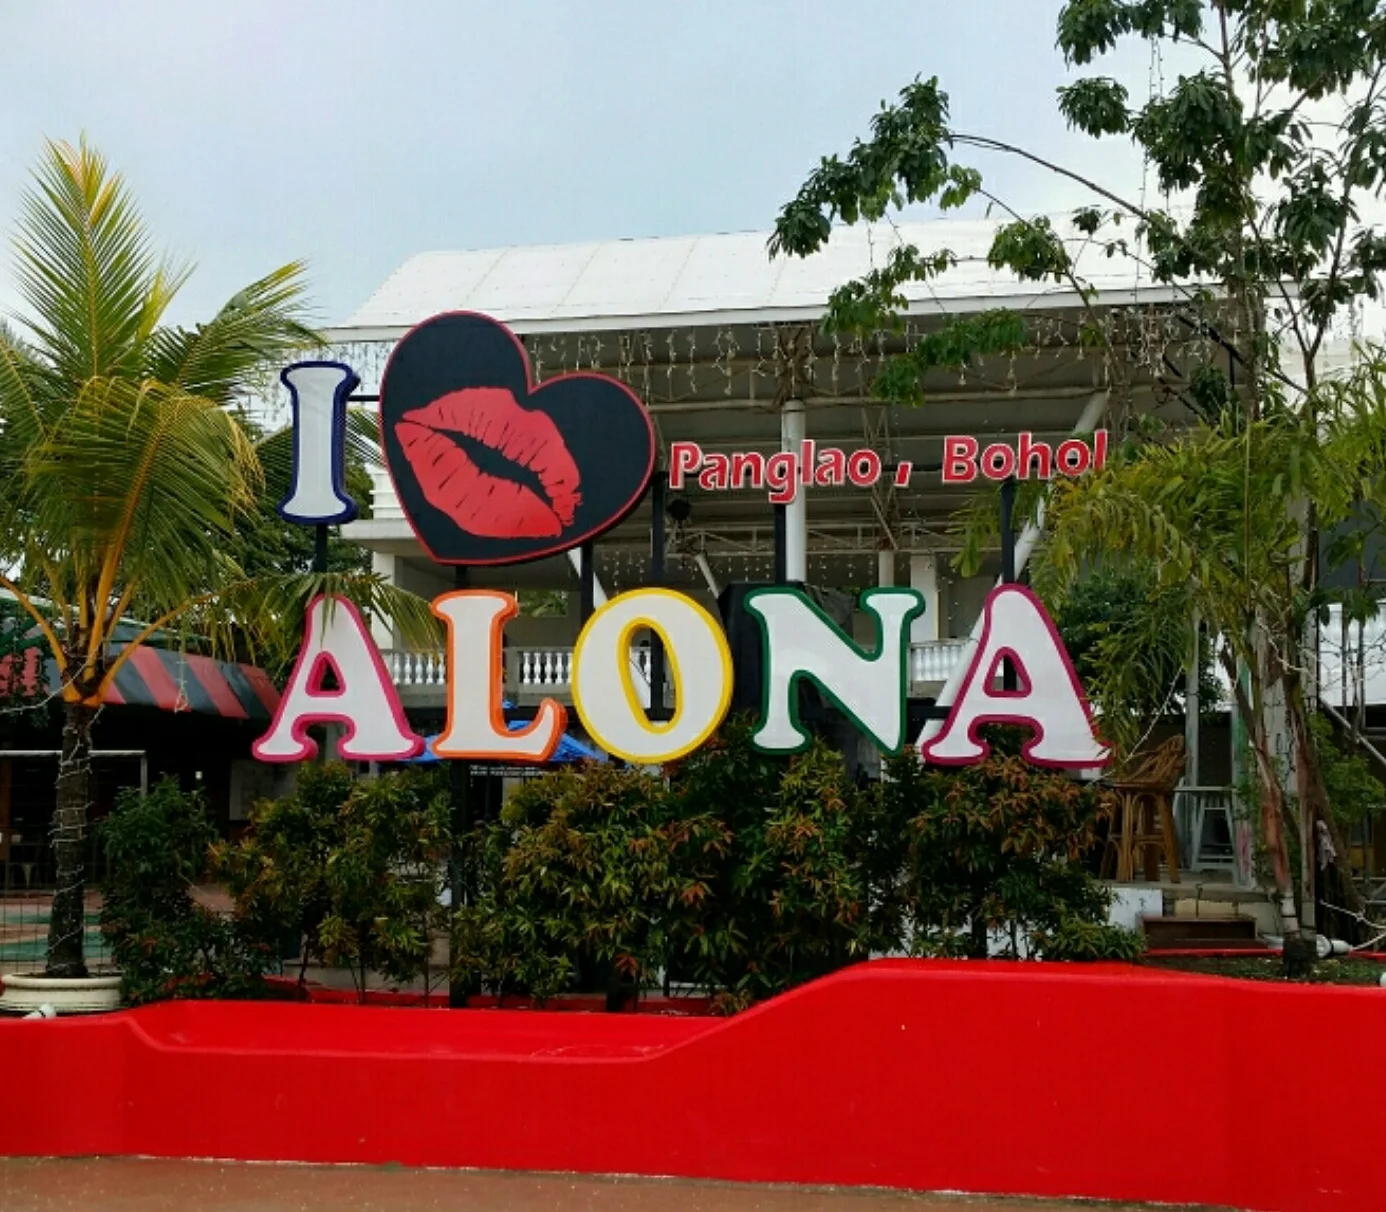
  • Alona Beach - The main beach and probably the most developed beach in Panglao.

  • Danao Beach - Standing next to Alona Beach. There are a number of resort situated there.

LAND TOUR

If you are looking to have a less tiring yet still enjoyable trip then, strolling around Panglao by car or tricycle is a great idea. There are plenty of places to book your land tour, or you may also hire a car or tricycle to bring you to places. Panglao is a small place, and you can stroll around almost the whole area within just a day if you start very early.

Here is a list of places to visit in Panglao:

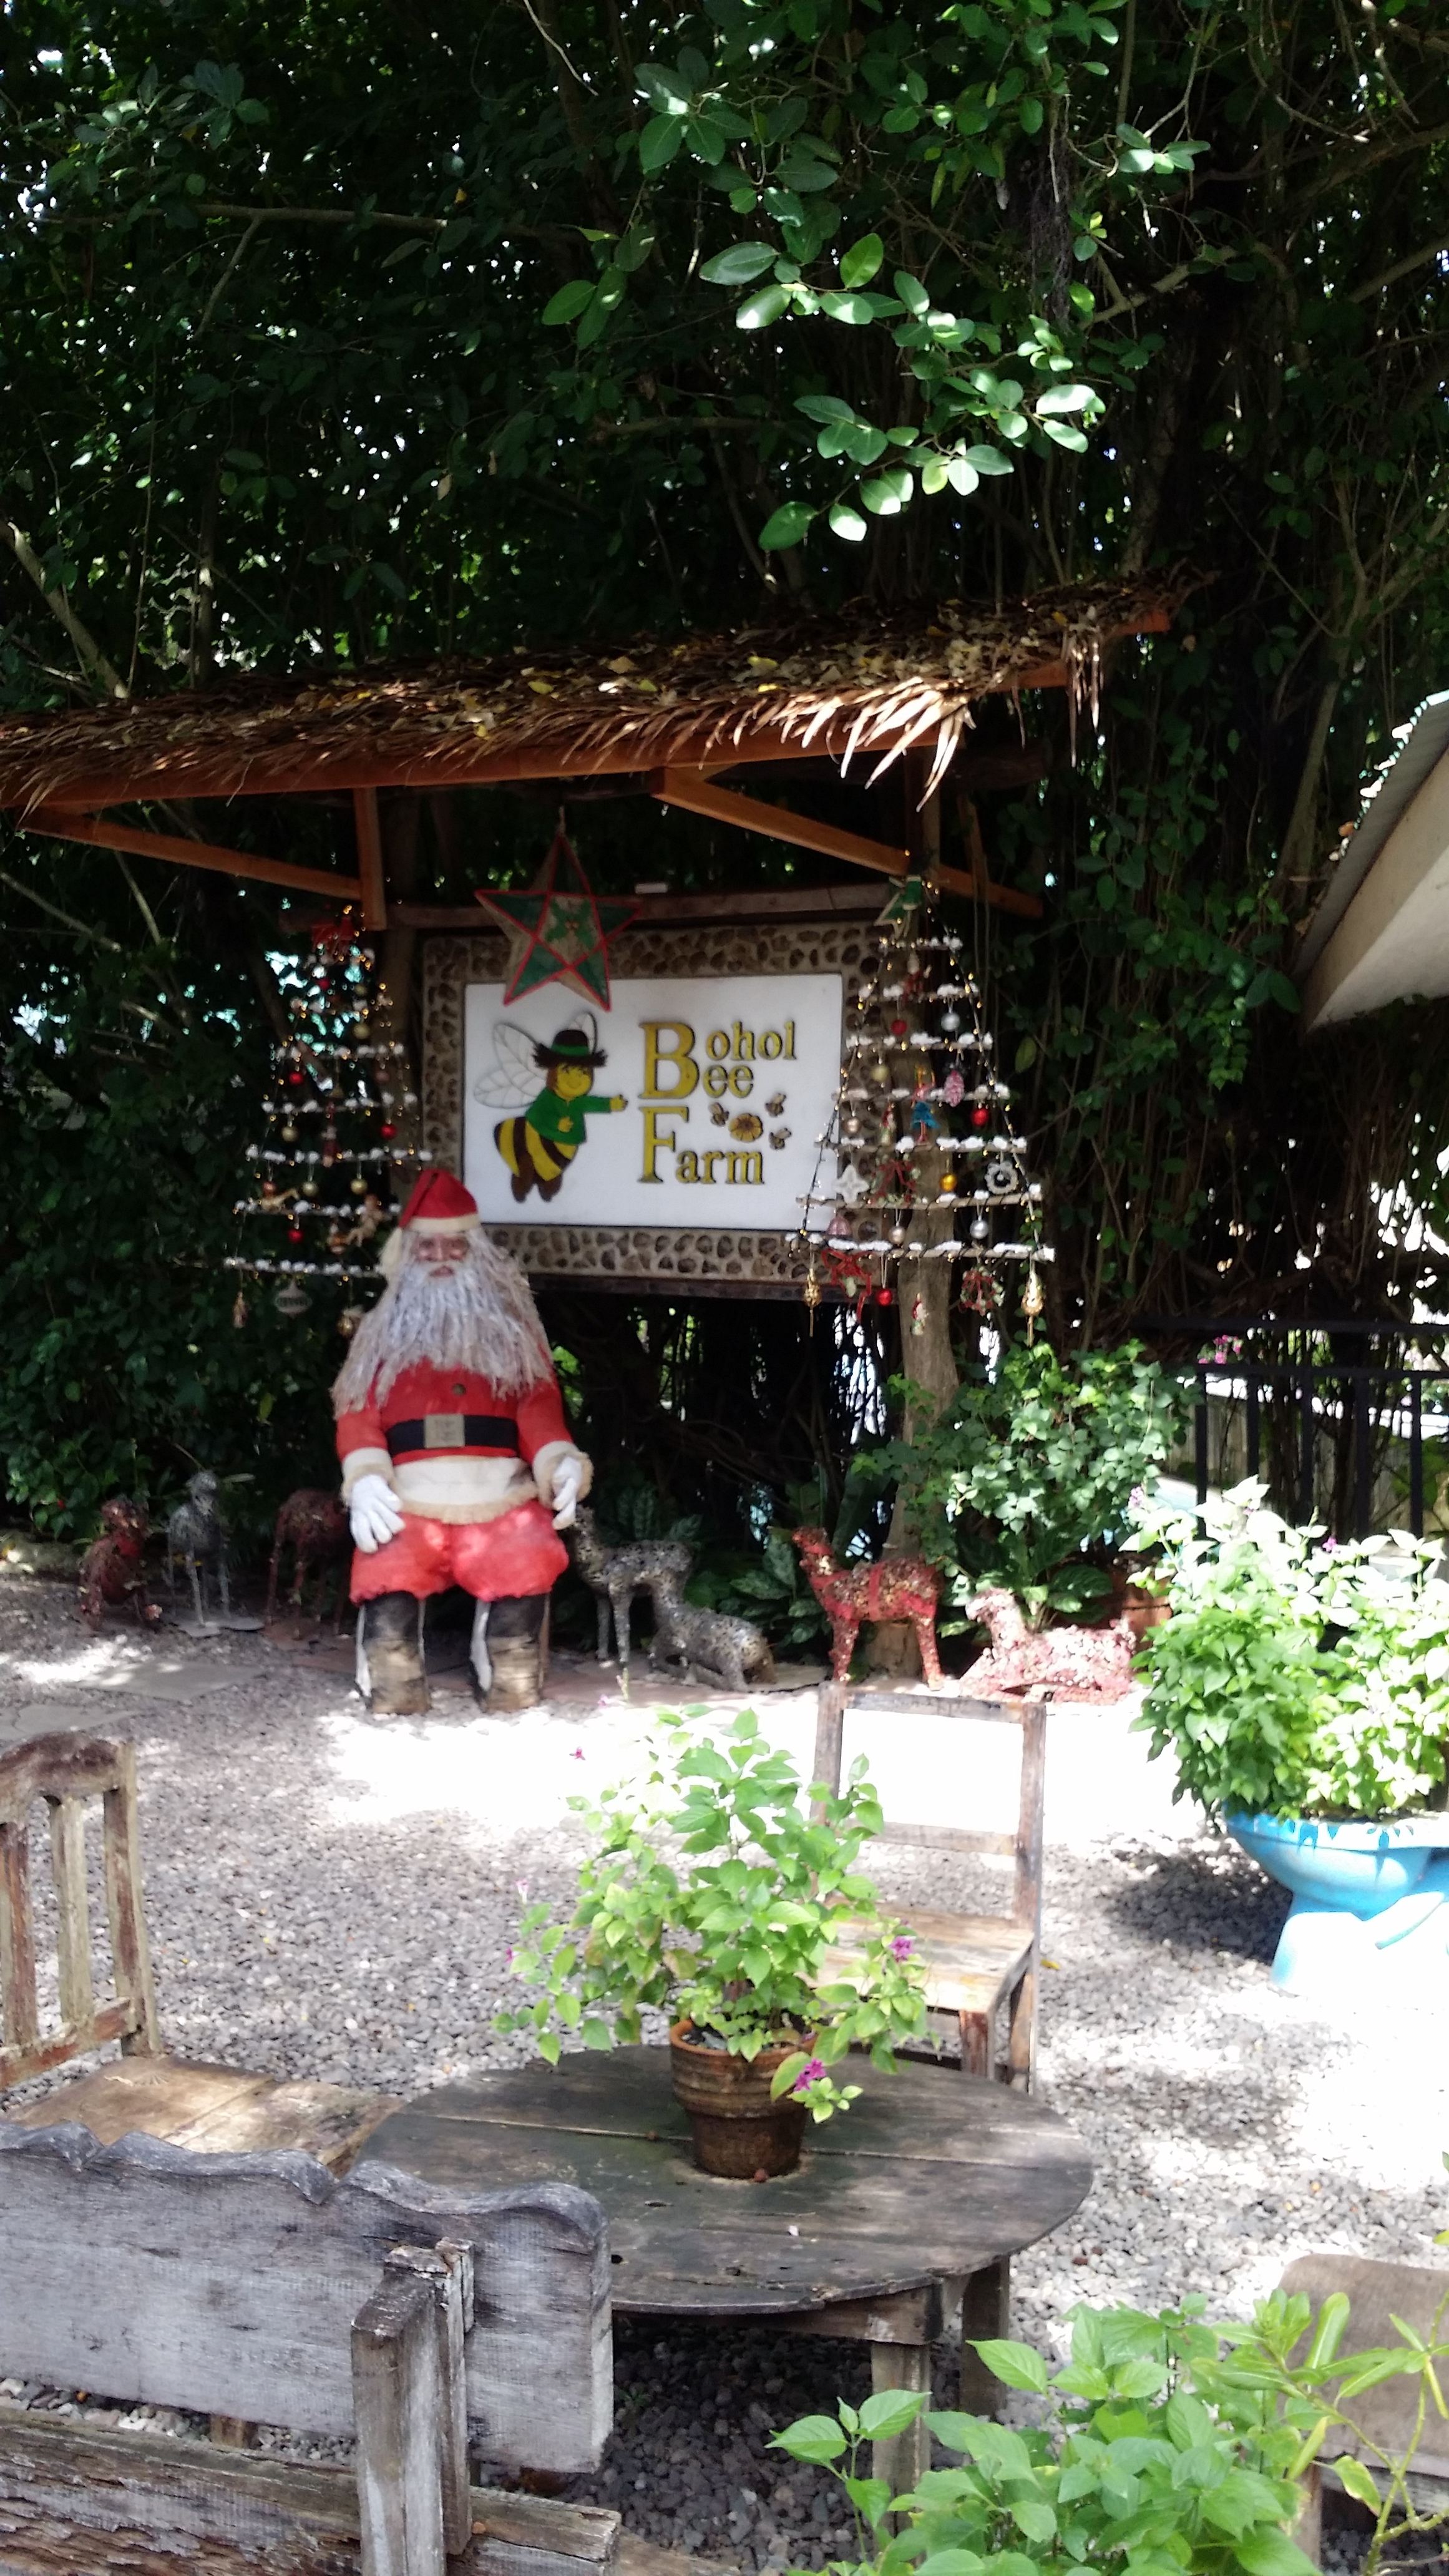
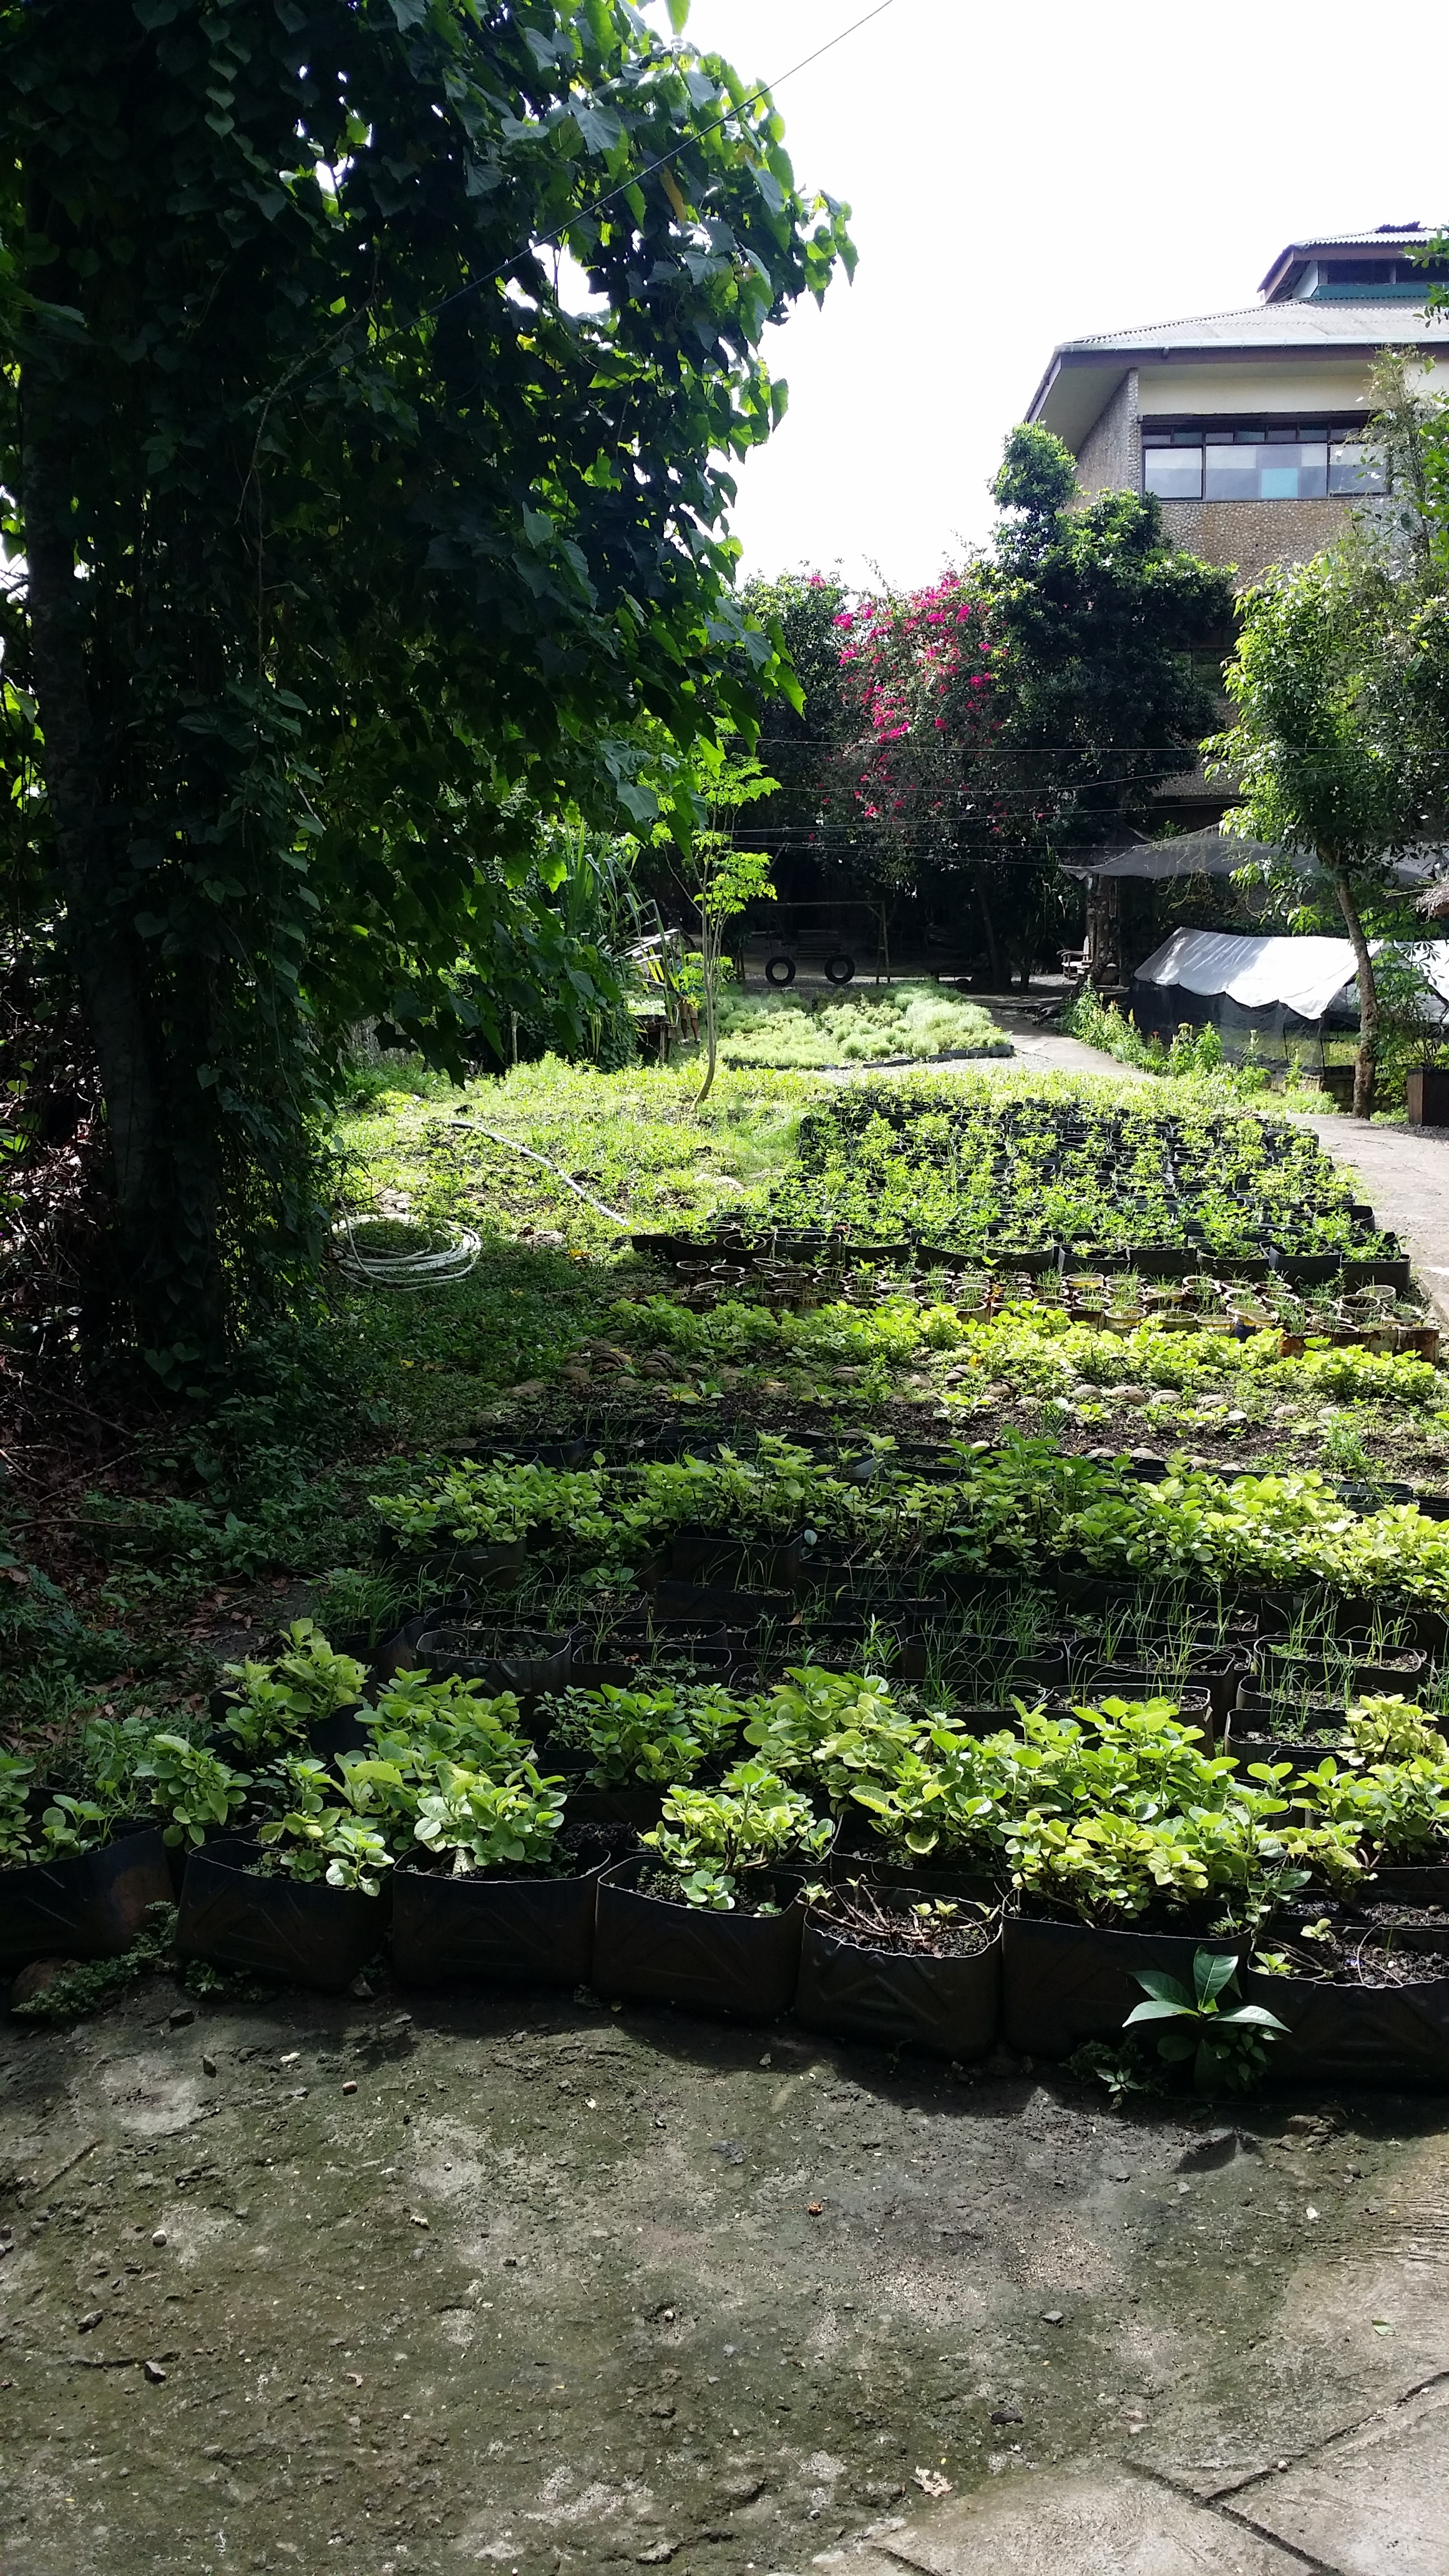
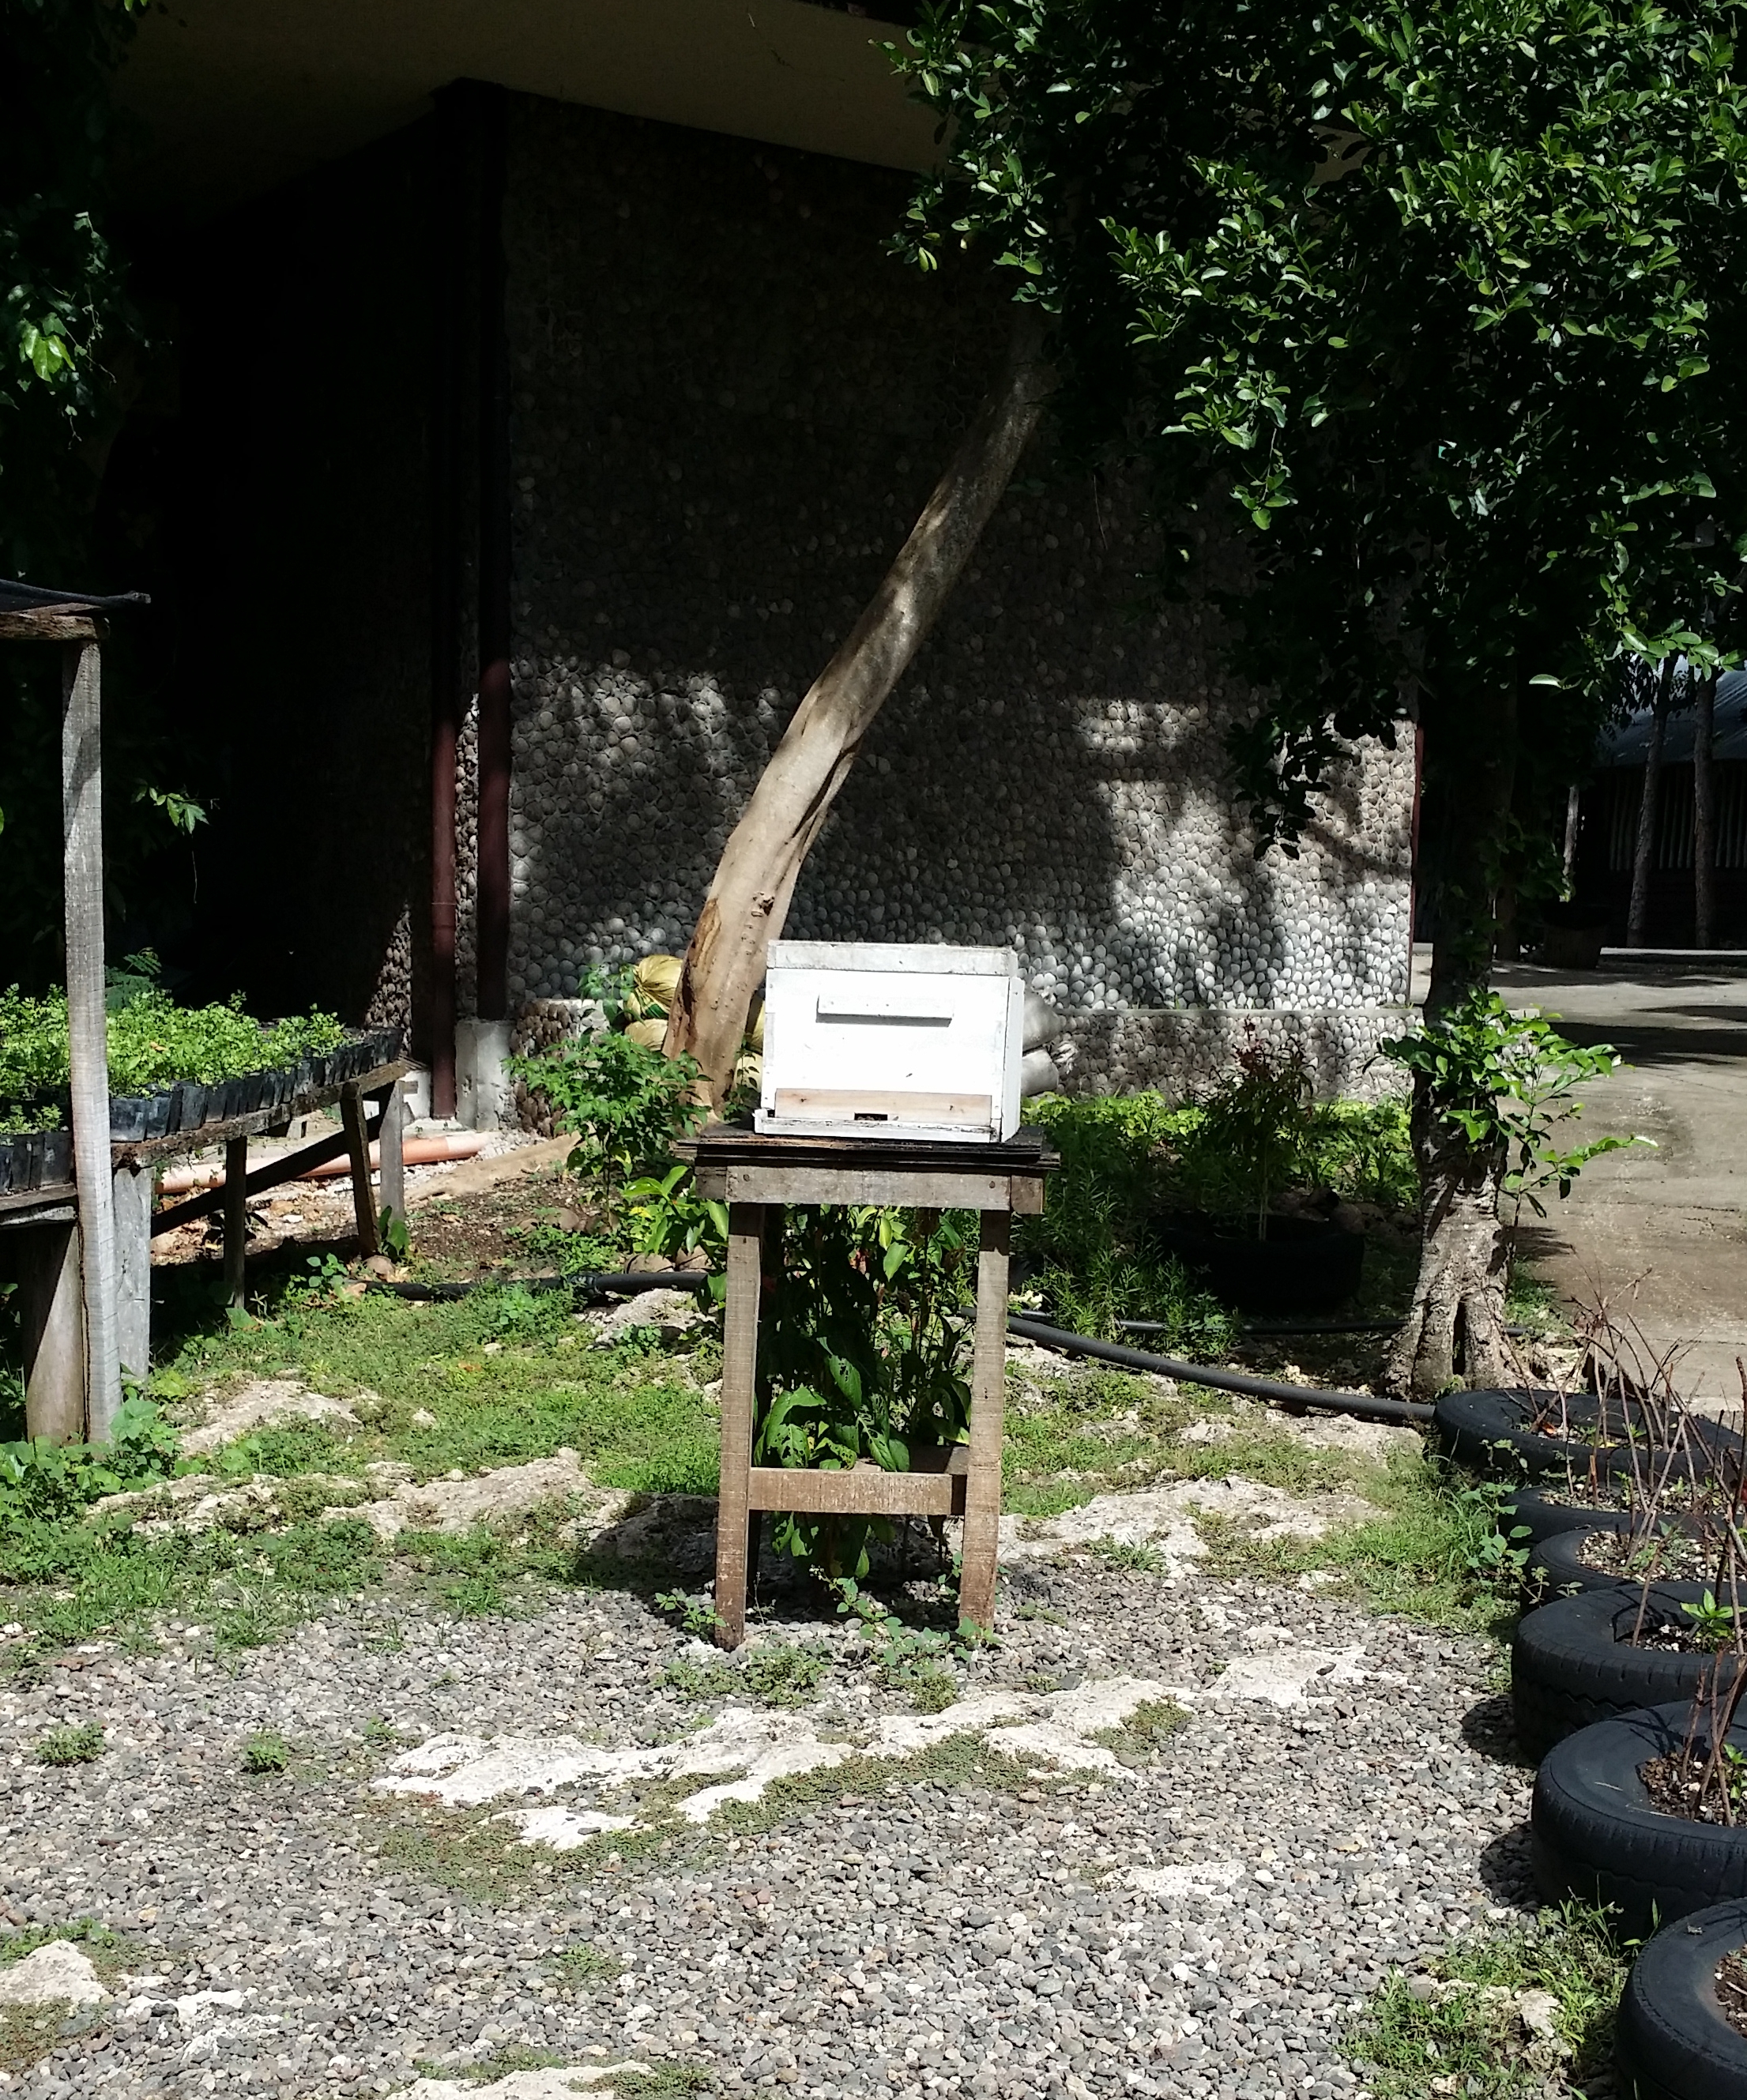
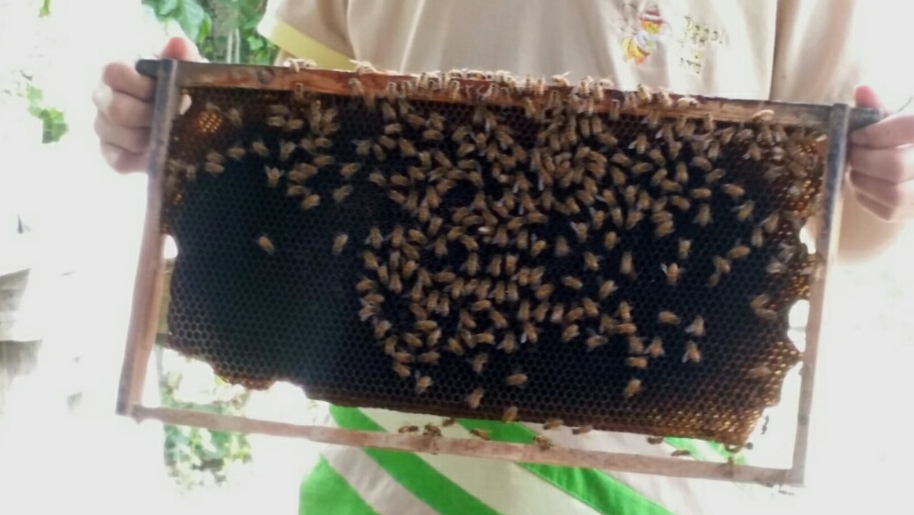
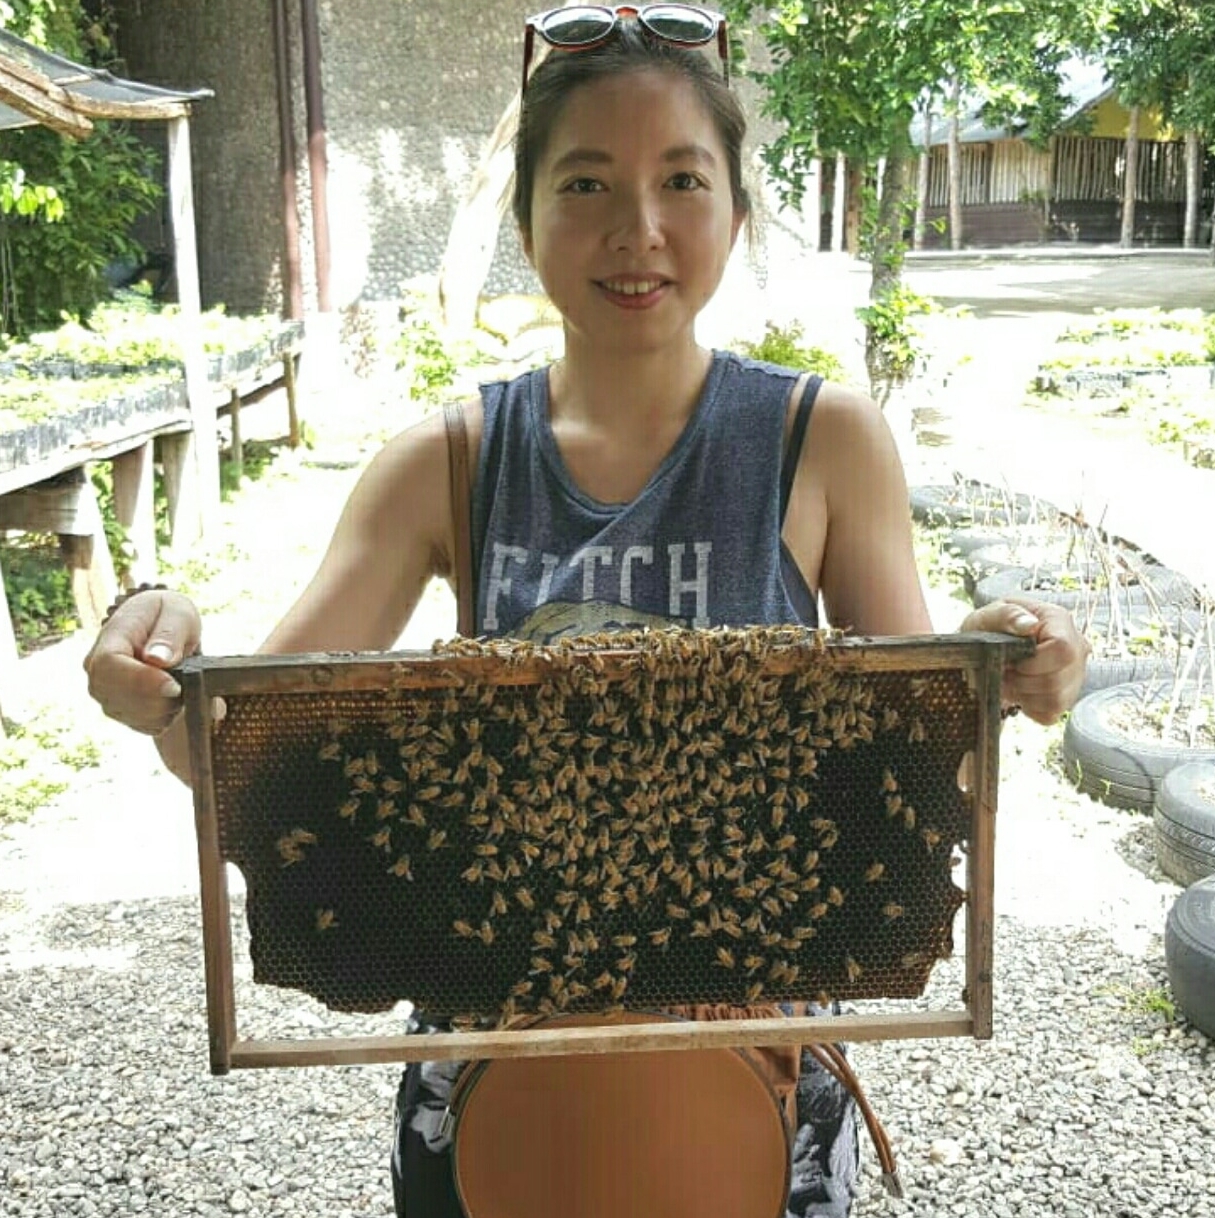
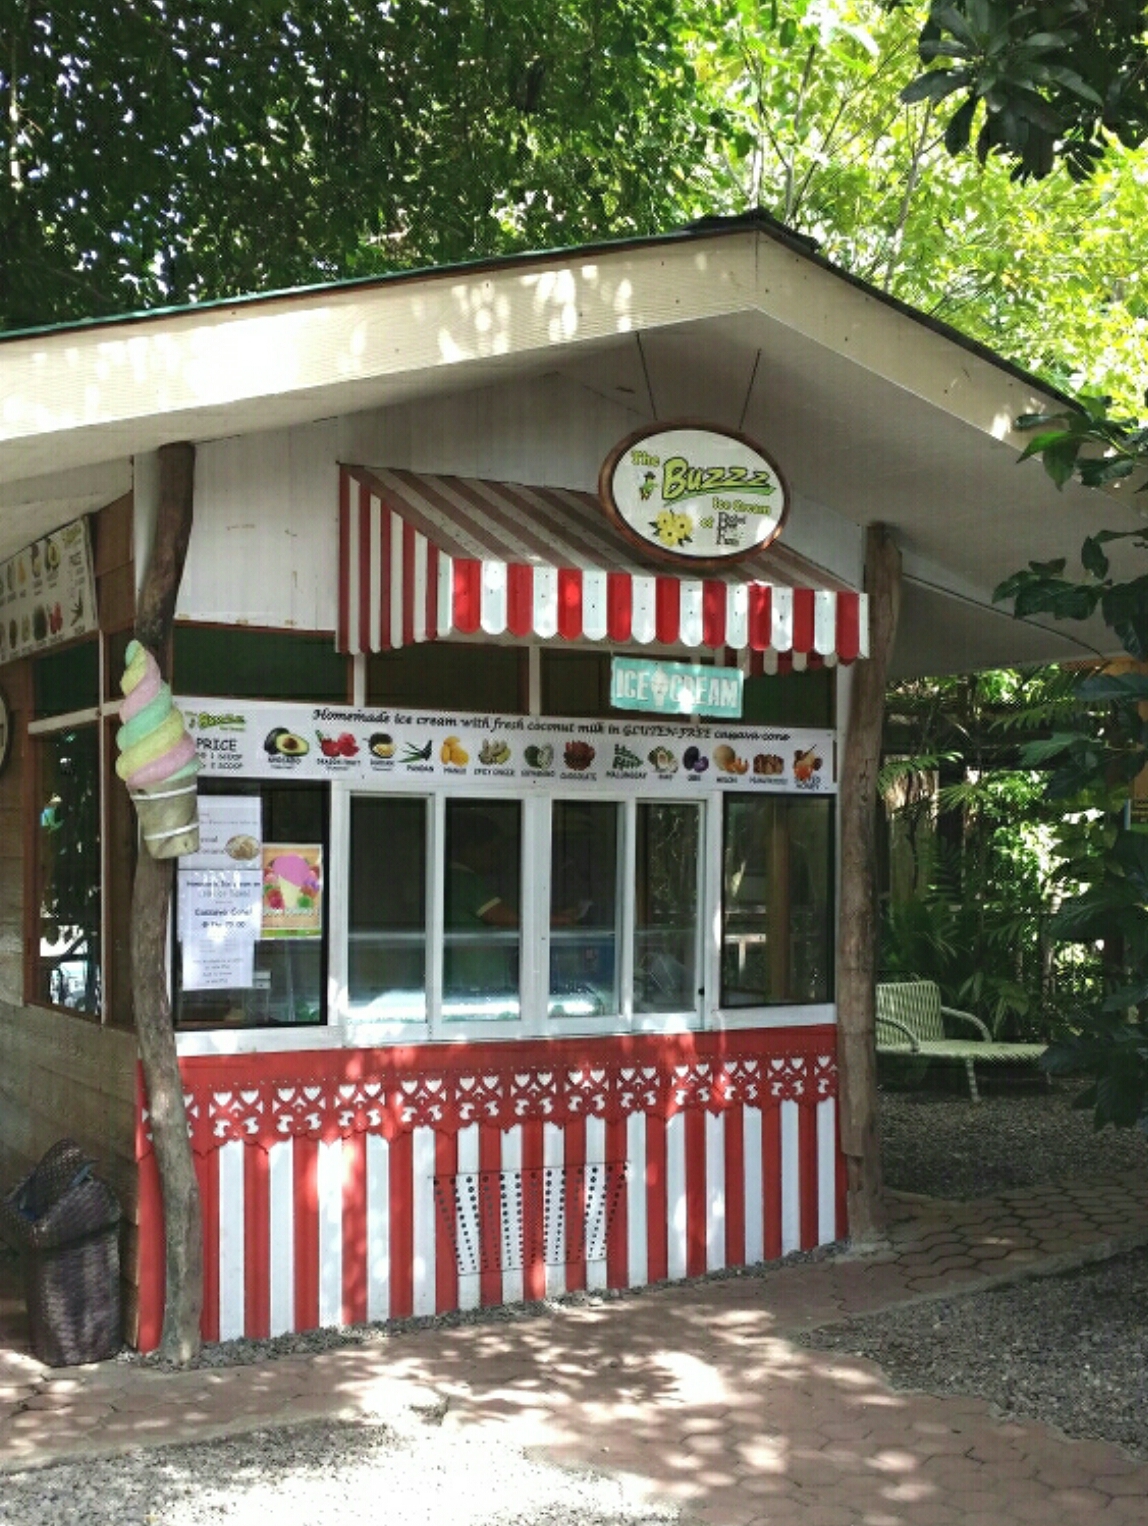
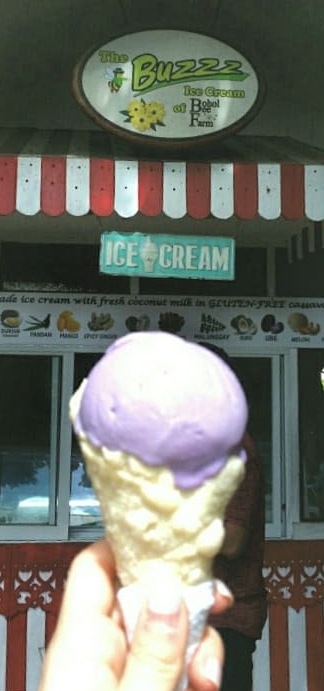
  • Bohol Bee Farm - Watch the working bees how they make honey and hear out the fascinating story about bees. Drop by the ice cream shop before you leave the farm. This is a gluten-free ice cream shop.

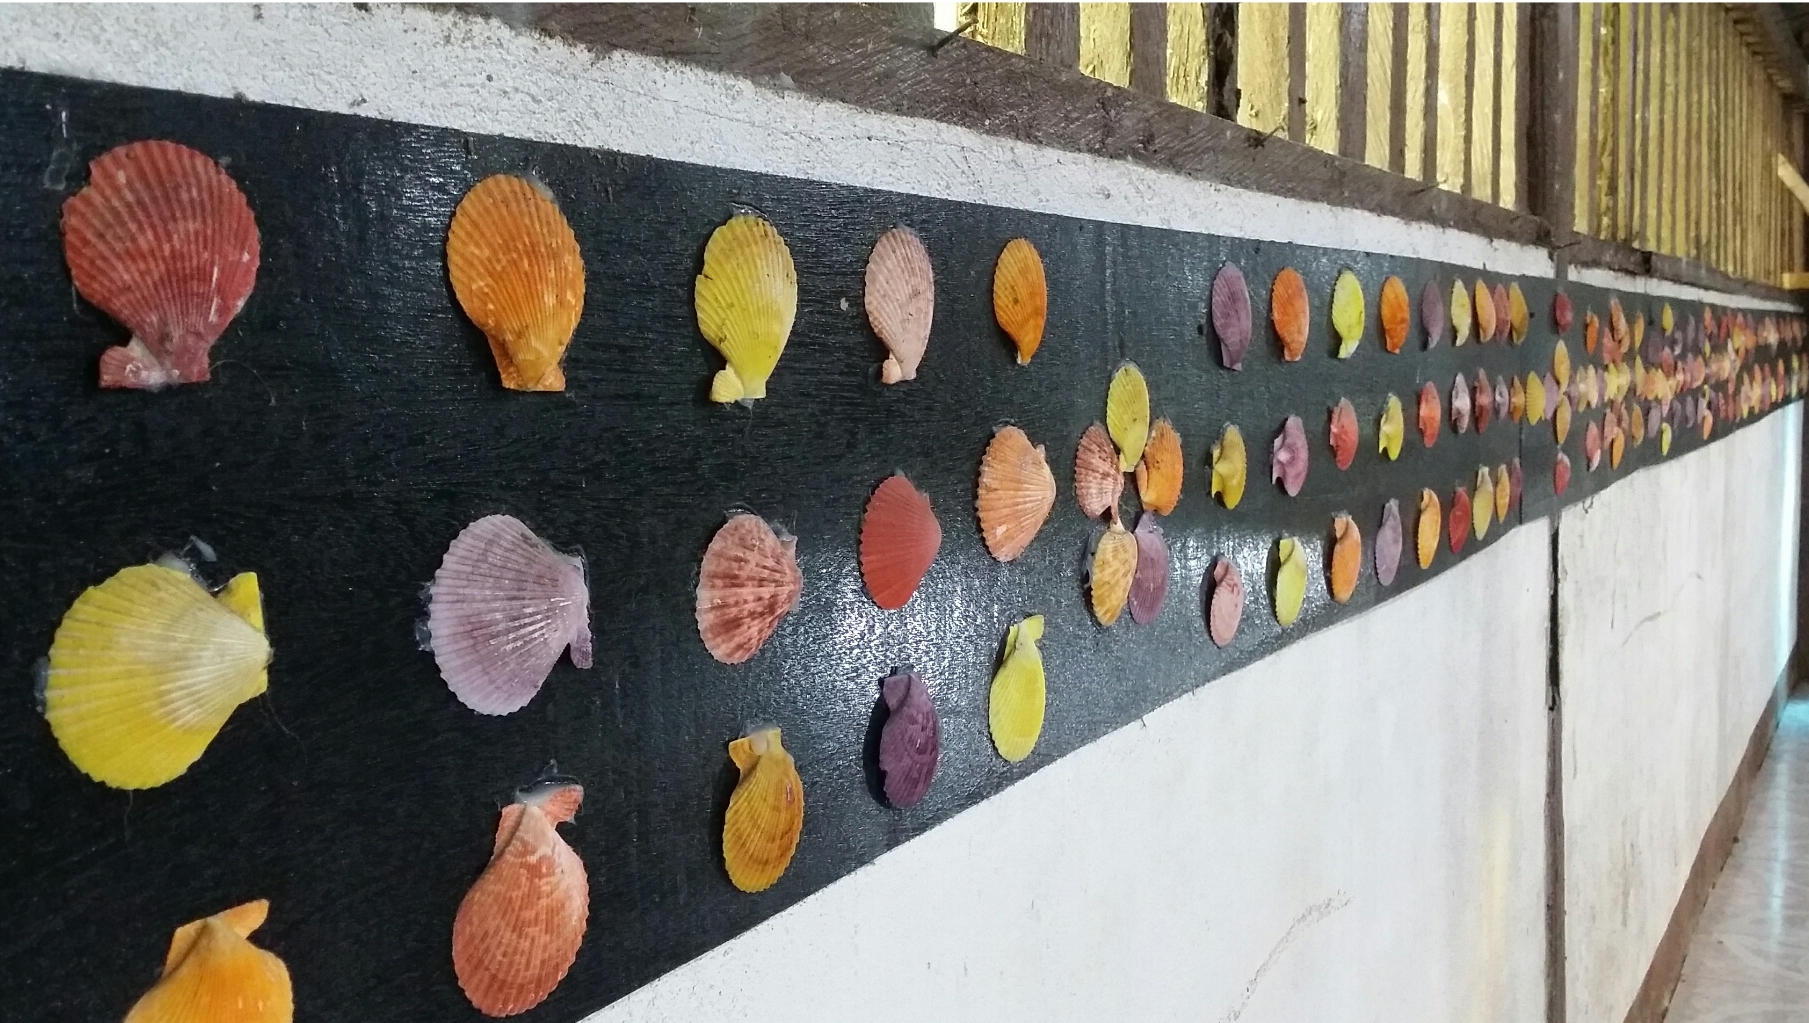
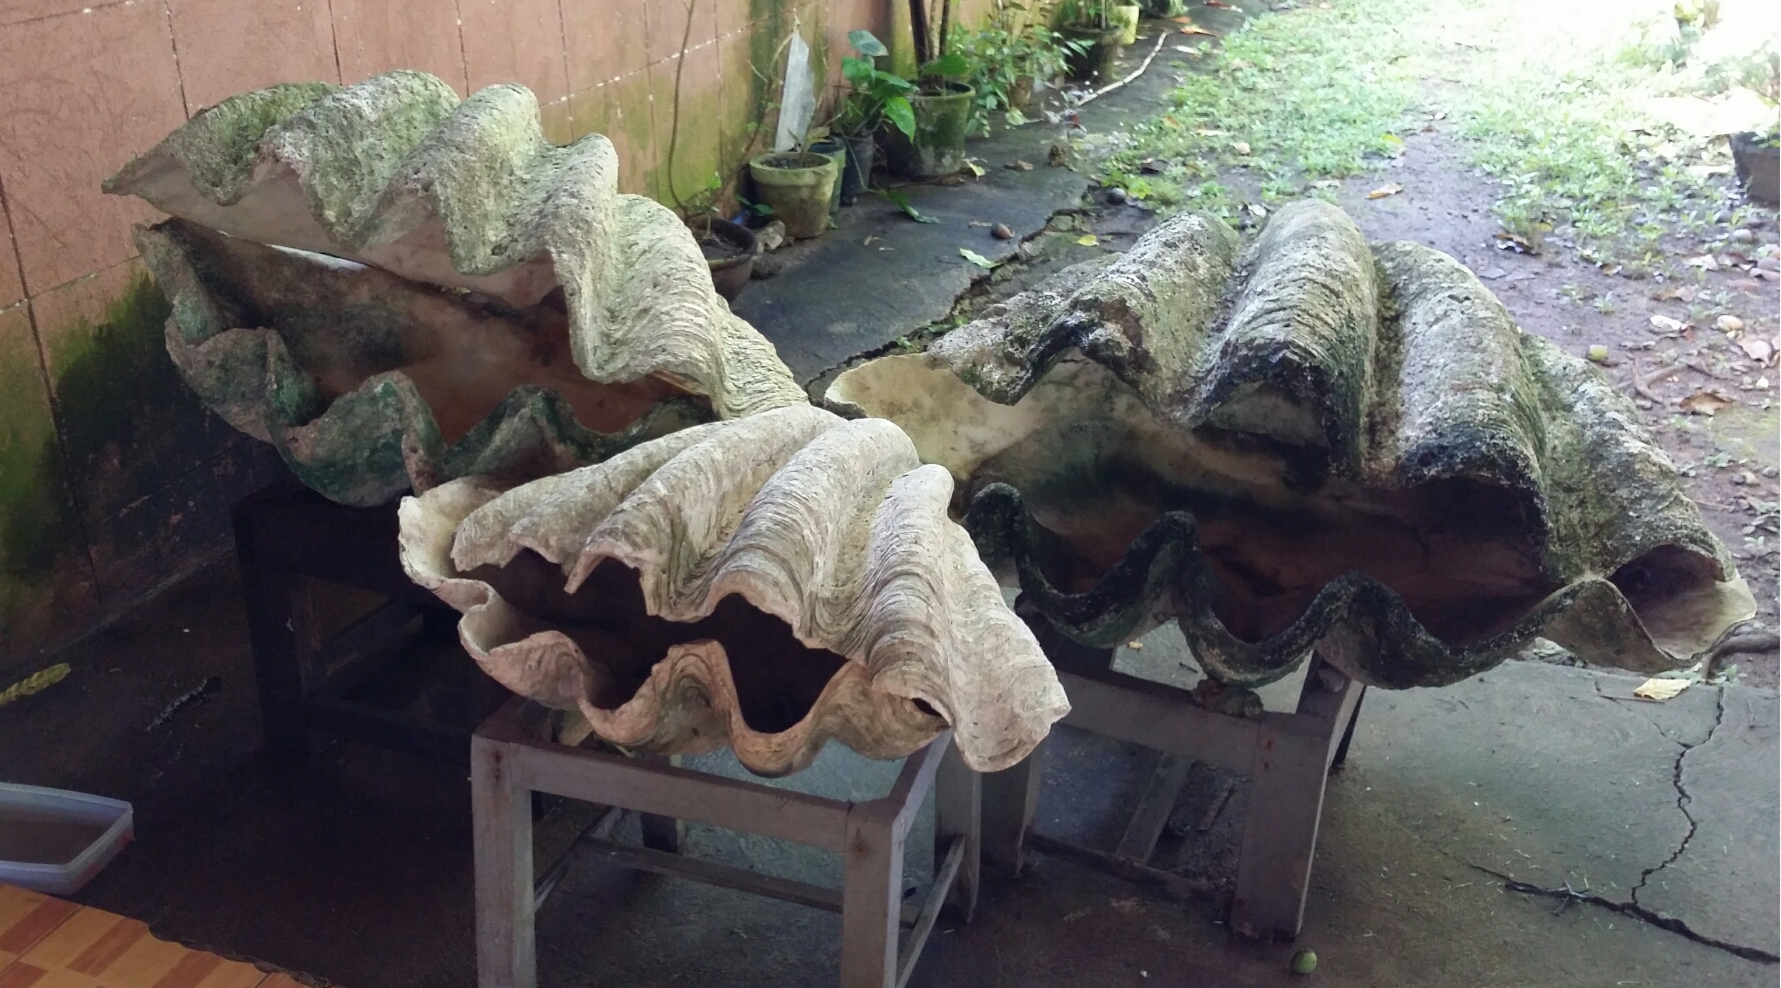
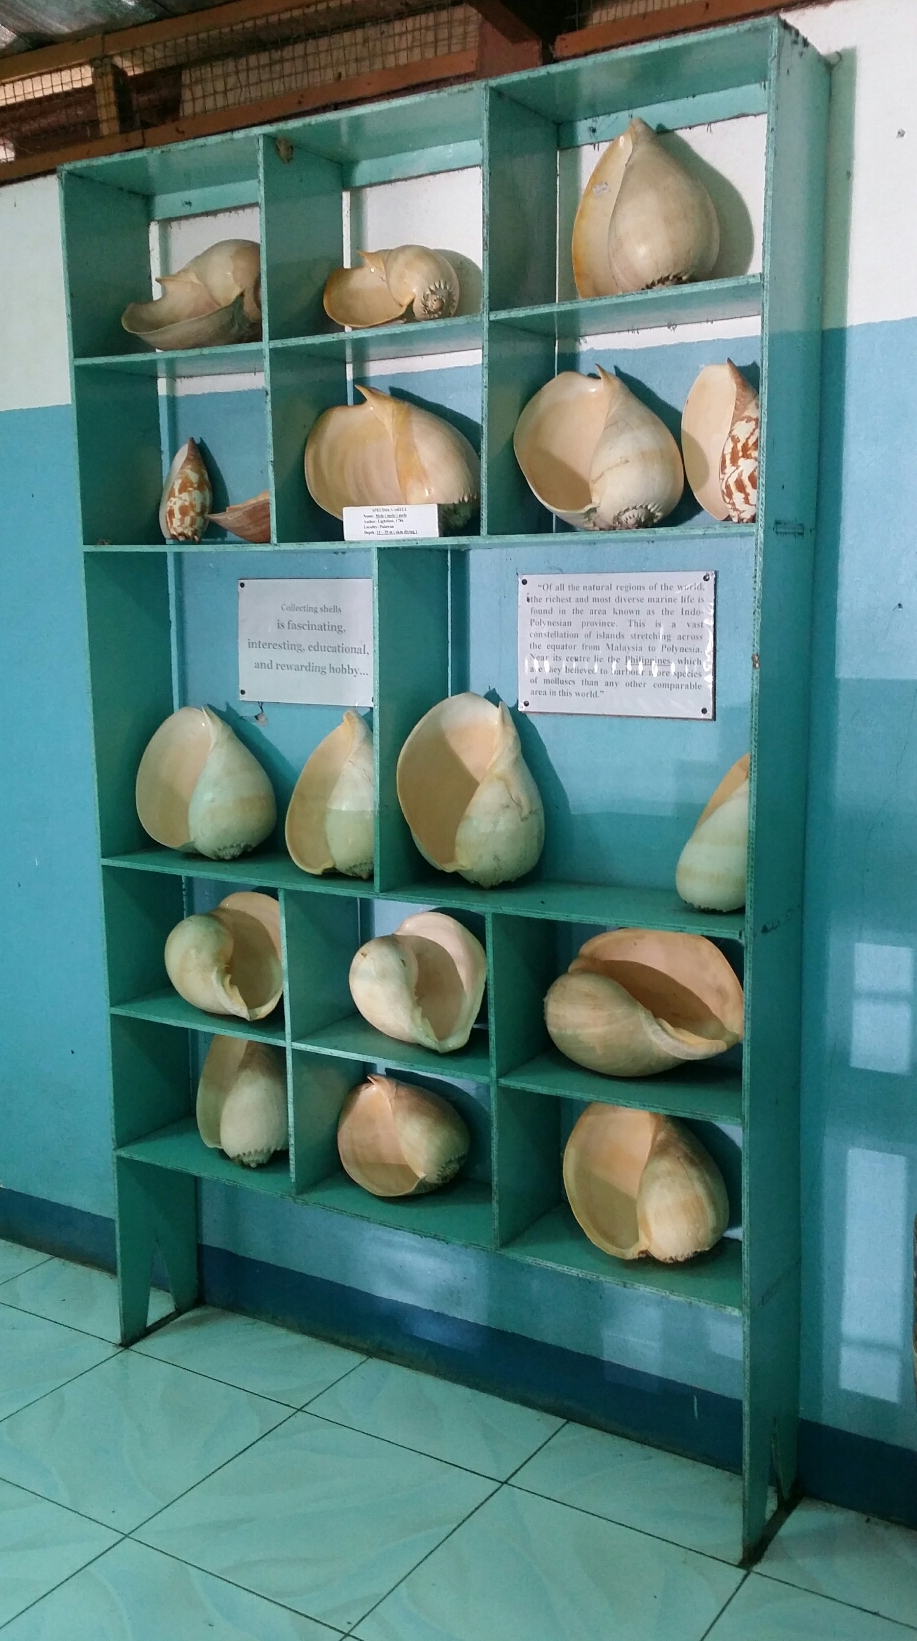
  • Shell Museum - Find some interesting shells and count them if you can.

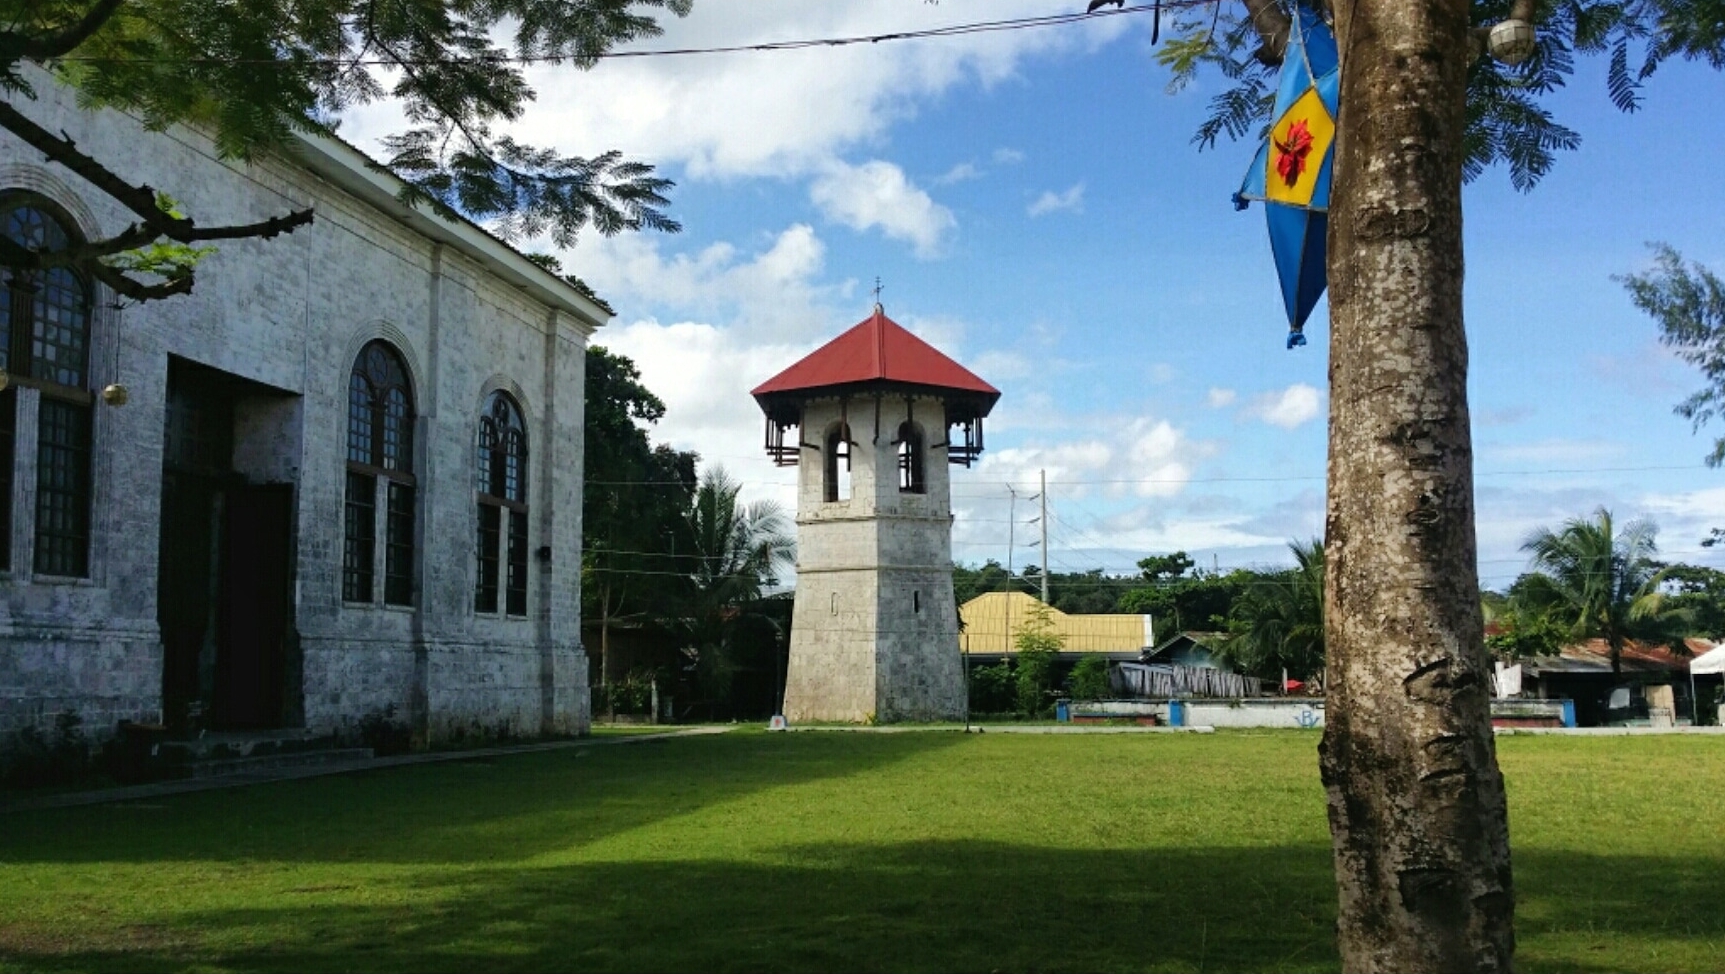
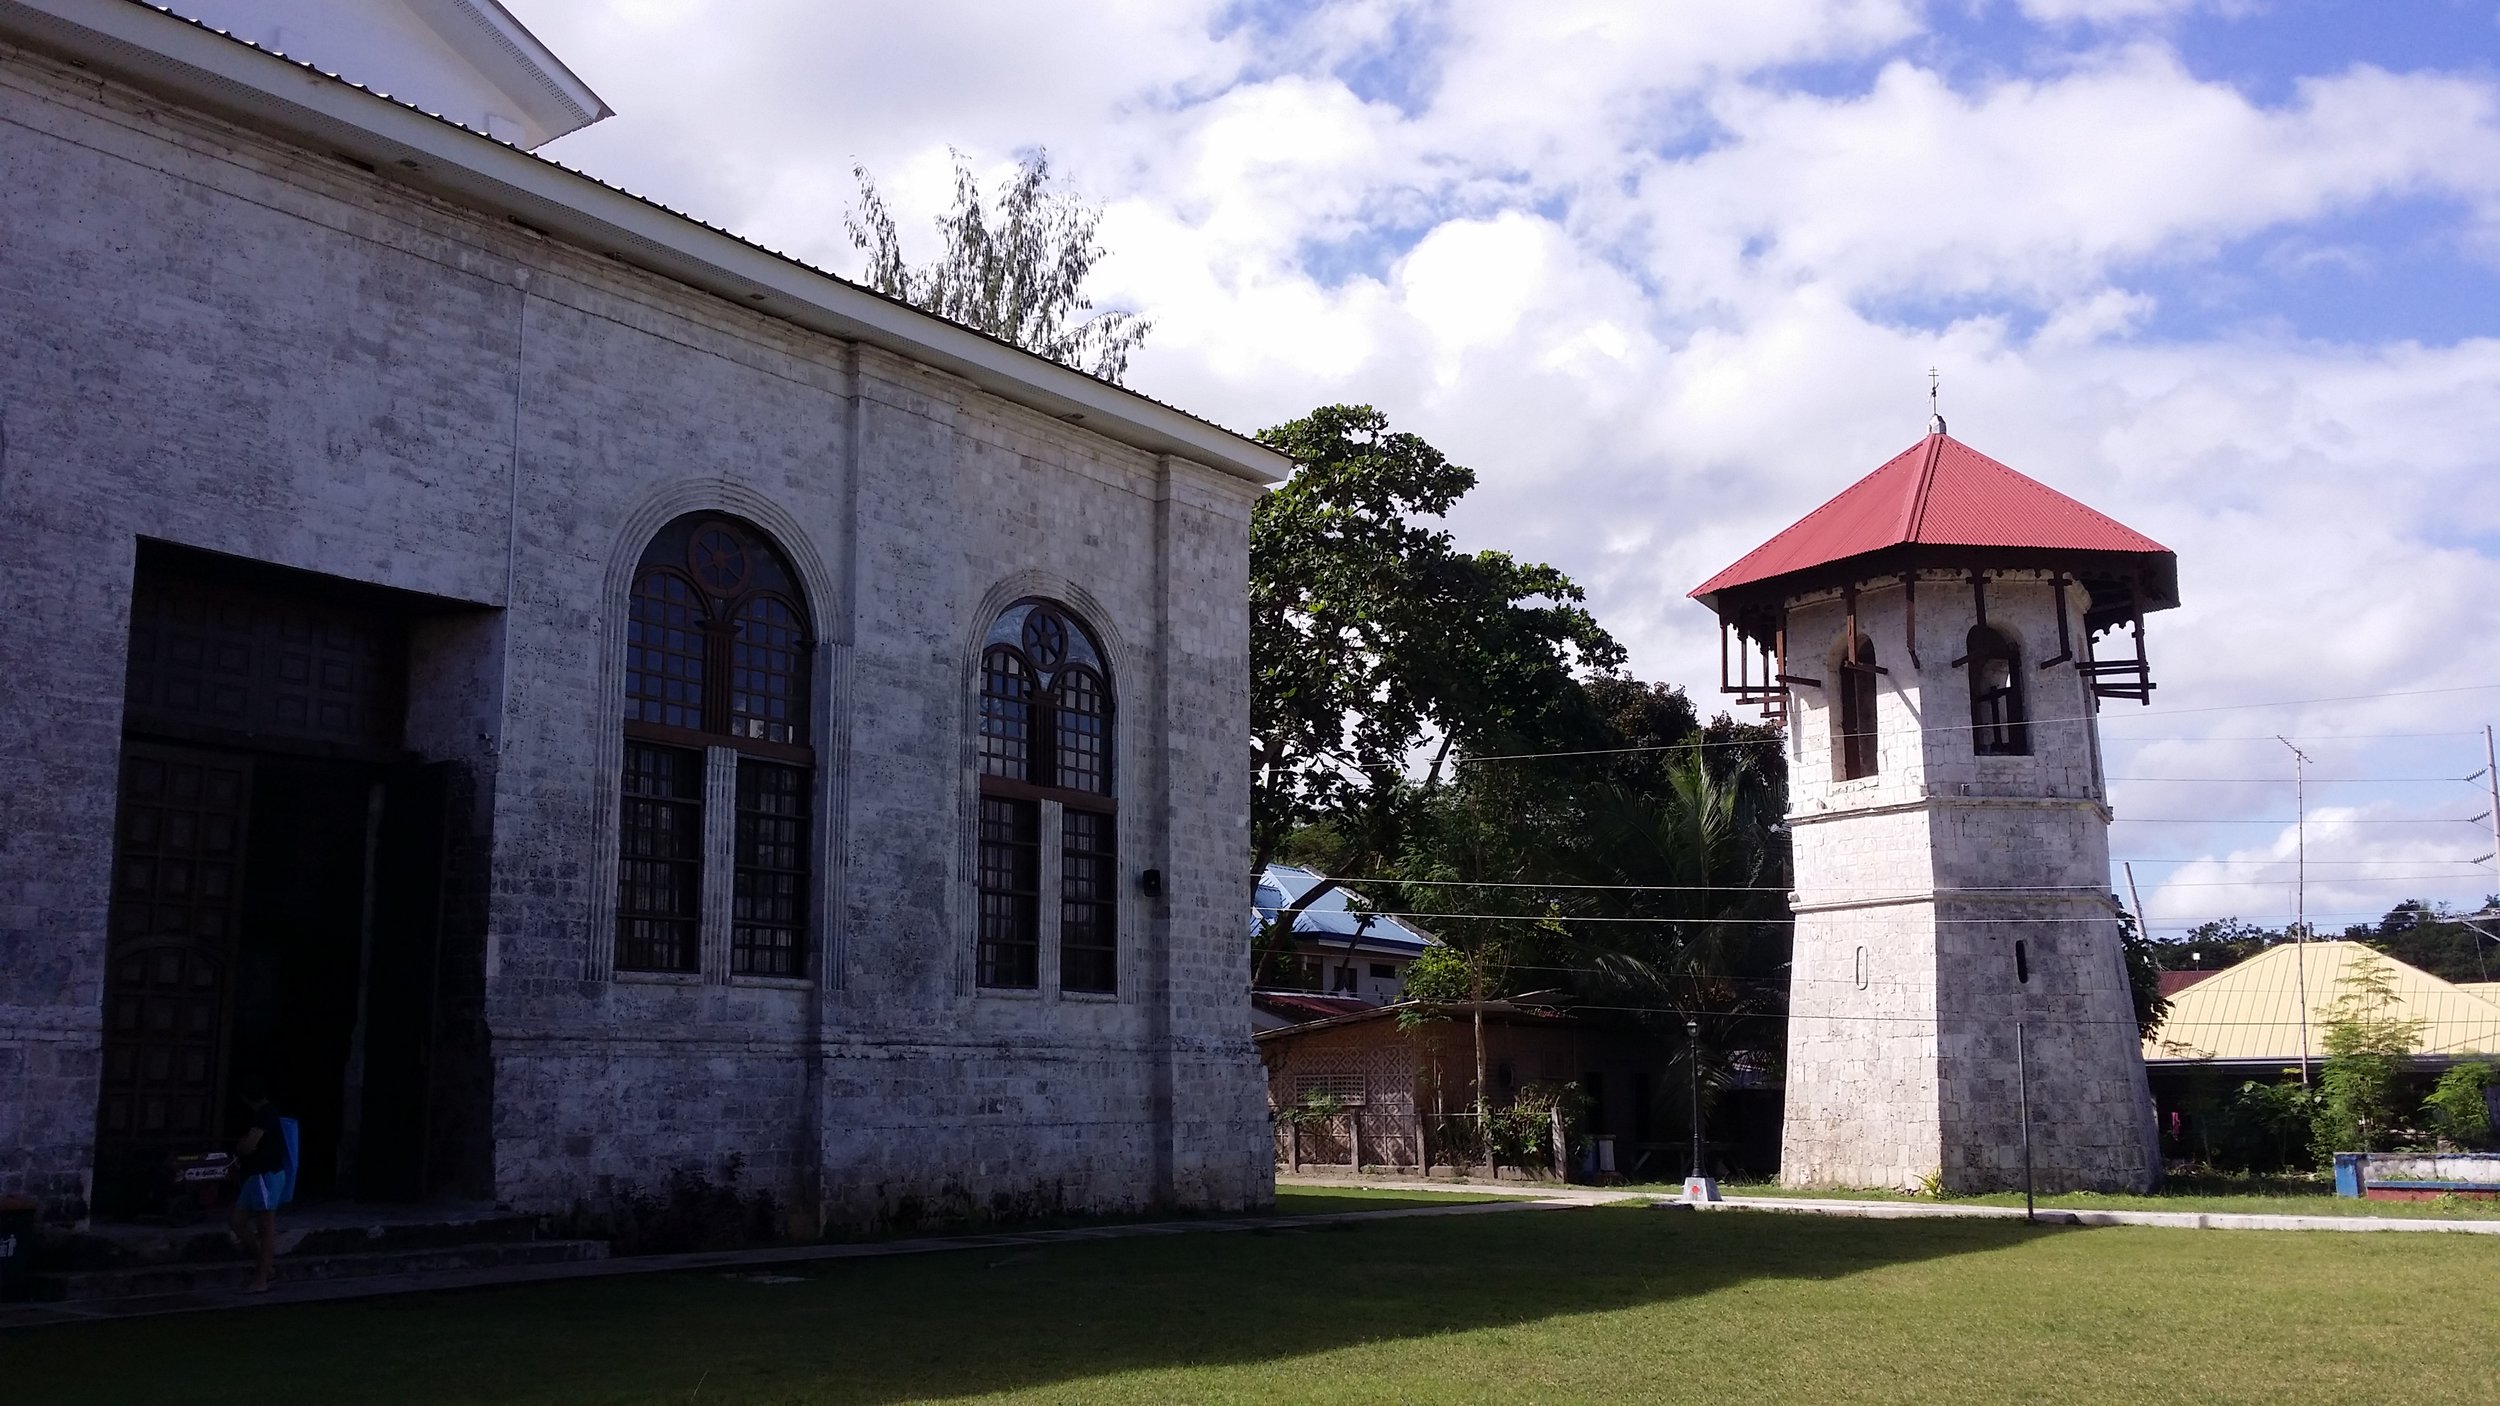
  • Baclayon Church - One of the oldest church in the Philippines. this church was once severely affected by a 7.2 earthquake in 2013.

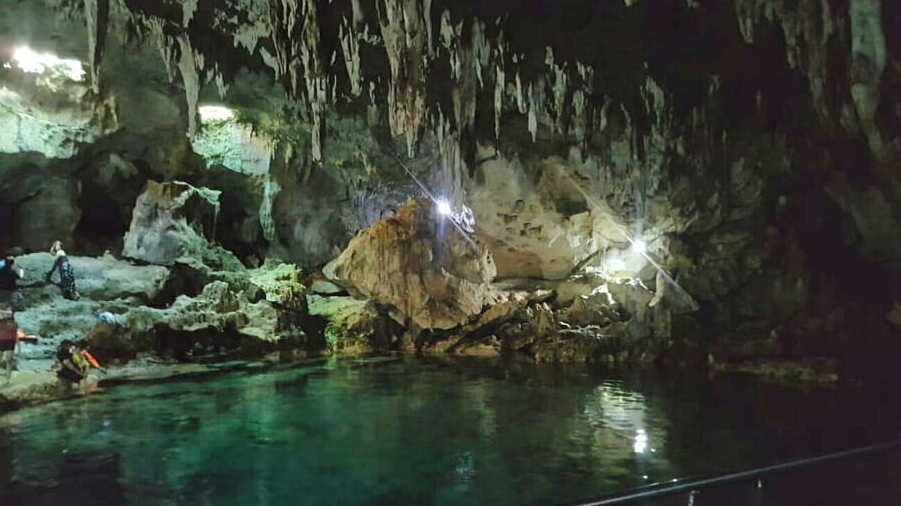
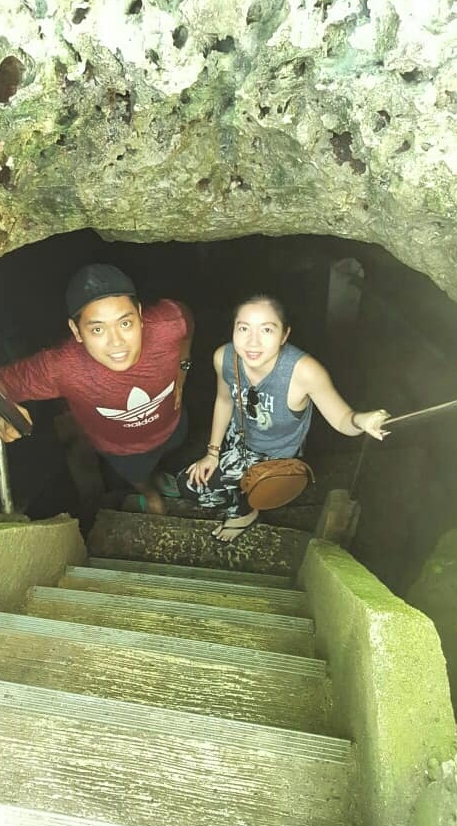
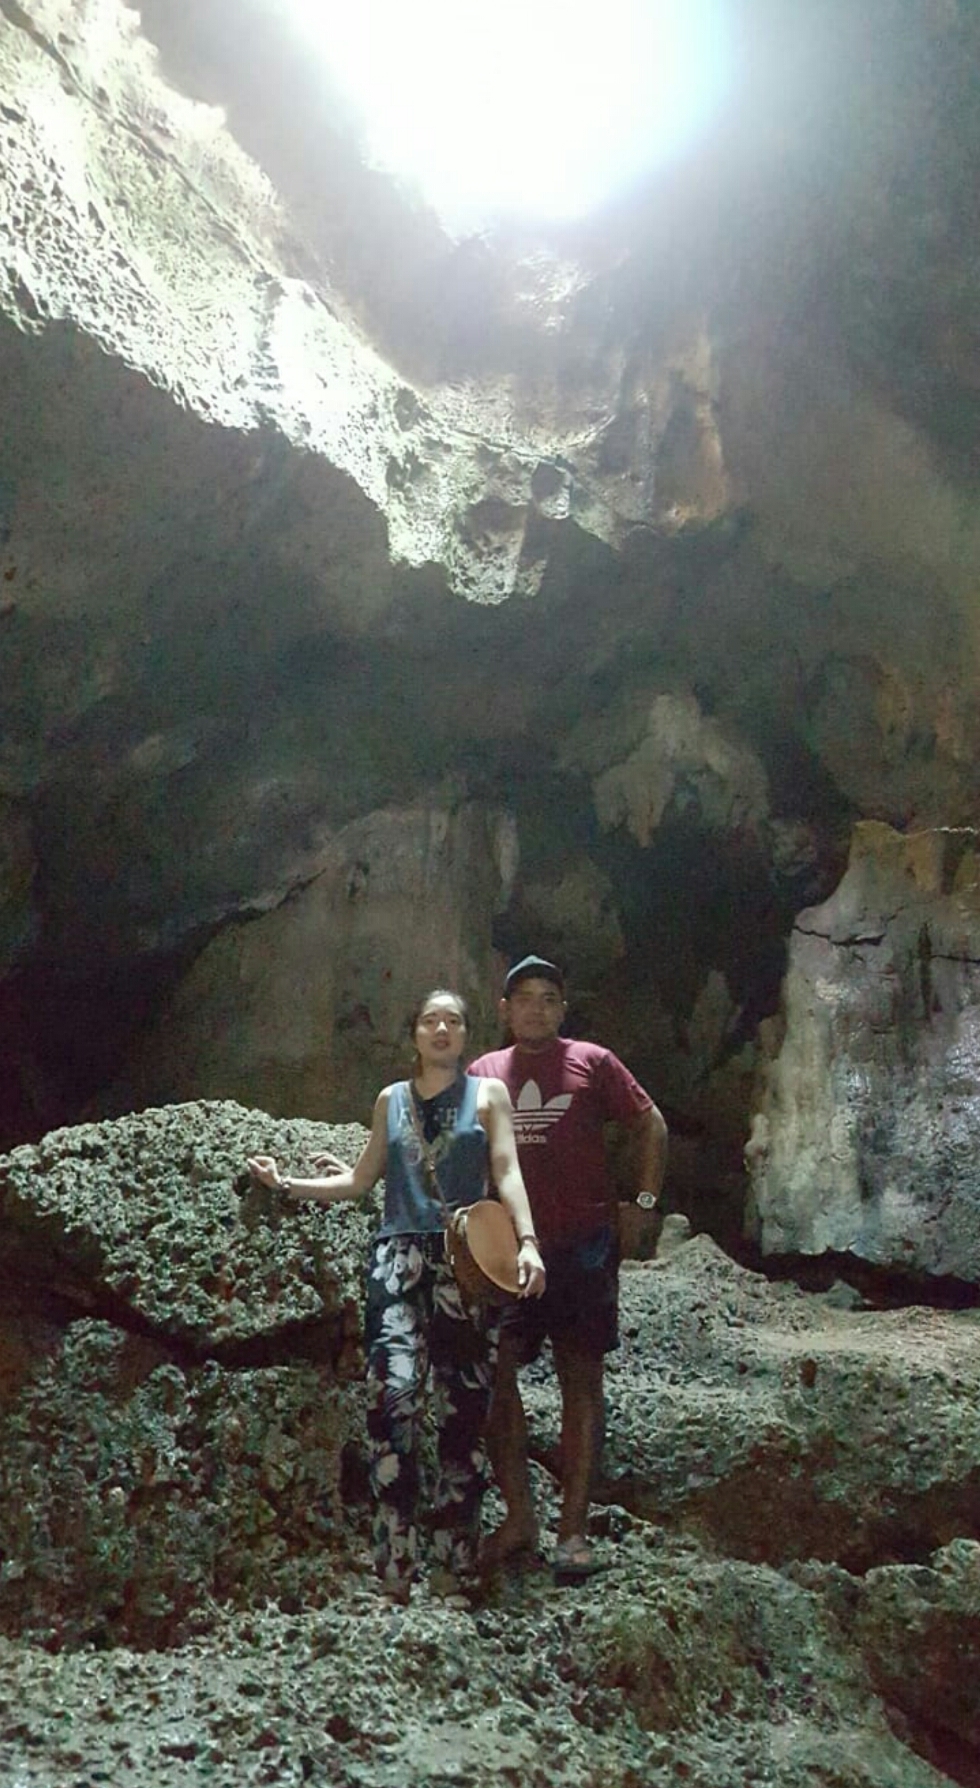
  • Hinagdaan Cave - It has natural light. It goes inside through the holes and creates some stunning light effects. There is also an enchanting lagoon that seems to be greenish on the surface because of the limestone at the bottom of the lagoon. Watch out where you step as it is slippery.

  • Panglao Watchtower - One of the heritage watchtower that was built in 1774.

SCUBA DIVING

There are plenty of diving agencies around the island. Booking your diving trip in advance is mandatory as it will need a lot of preparations beforehand such as arranging your boat, dive guide, fitting in the gears and how much required tanks for your diving journey.

Balicasag Island, Cabilao Island, Doljo Island, Habagat Wreck and Pamilacan Island are probably the best diving sites to consider in Panglao.

Check out this site “The Best Dive sites of Panglao” in to know more.

WATER SPORTS

There are many water sports for people to enjoy such as SUP (Stand Up Paddle), jet ski, kayaking, canoeing, surfing, windsurfing, scuba, snorkelling and parasailing.

Remember to book your trip in advance to secure your spot.

SIDE TRIP TO BOHOL

From Panglao Island, vacationers can do a side tour to Bohol. It is only two to three hours ride. Bohol is a beautiful place. There are many attractions and activities to do so it should be on your to-do list.

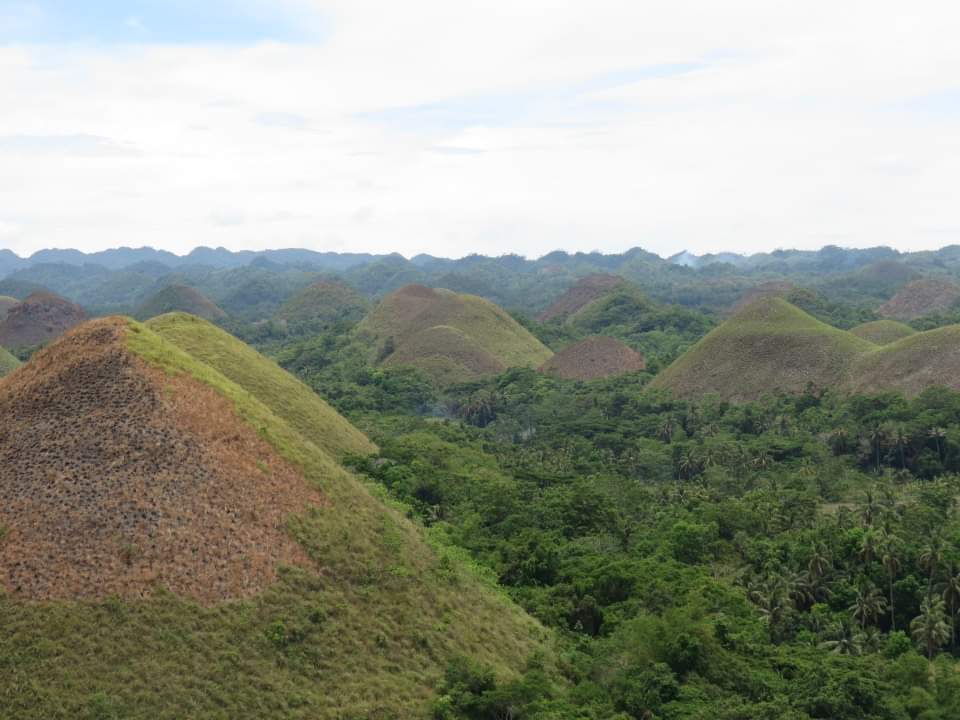
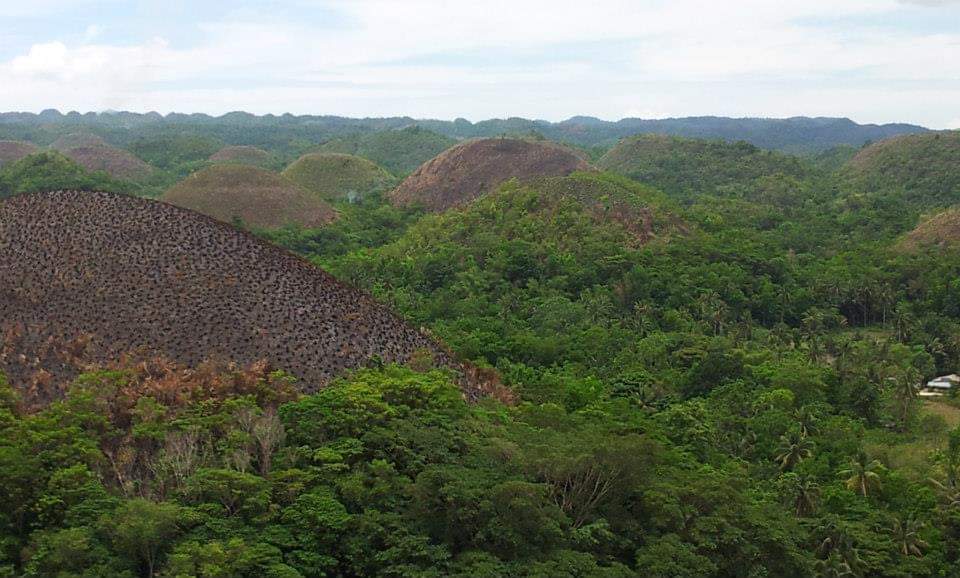
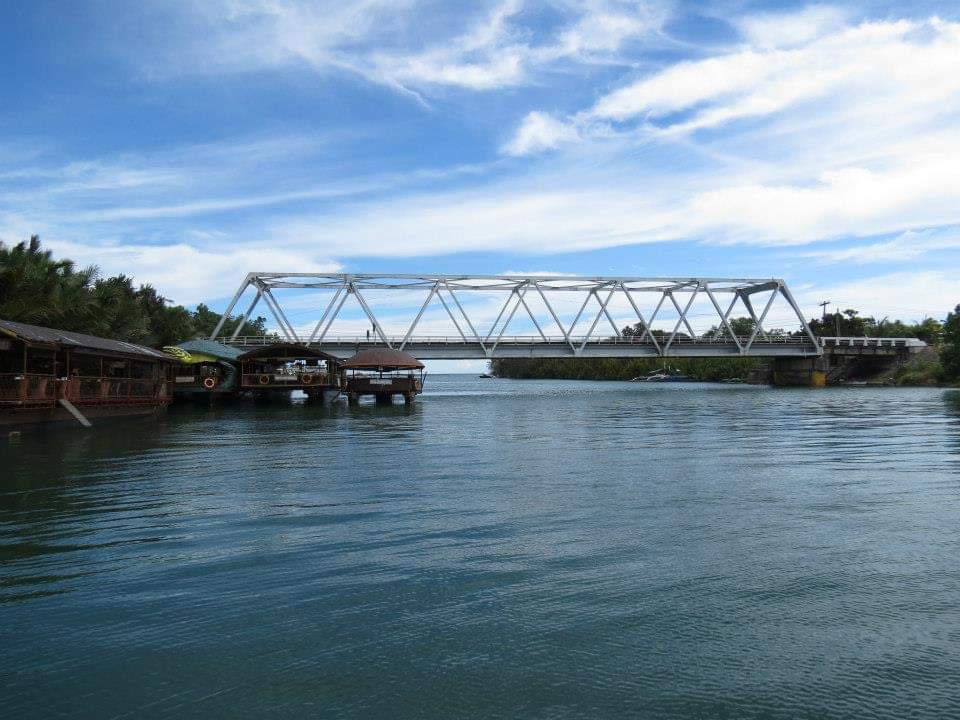
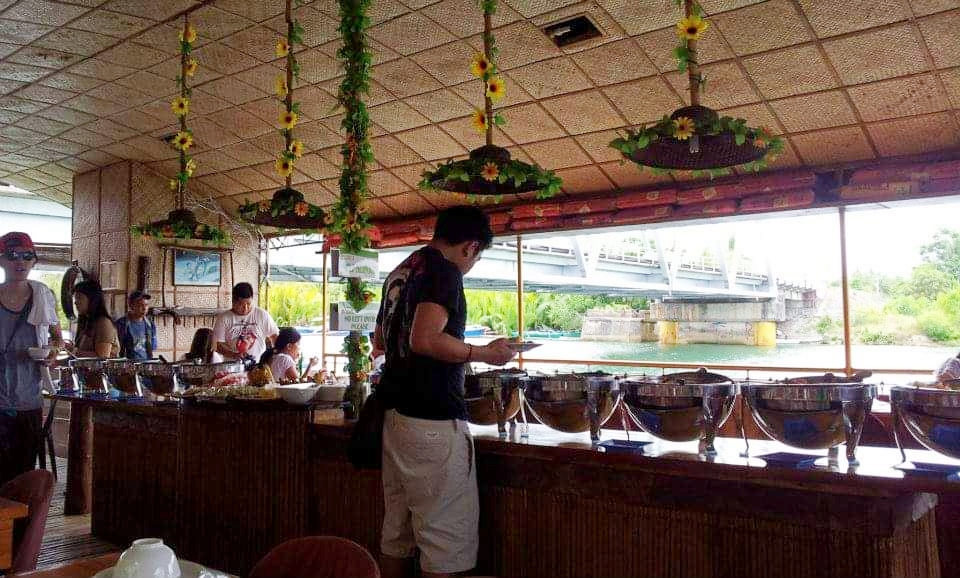
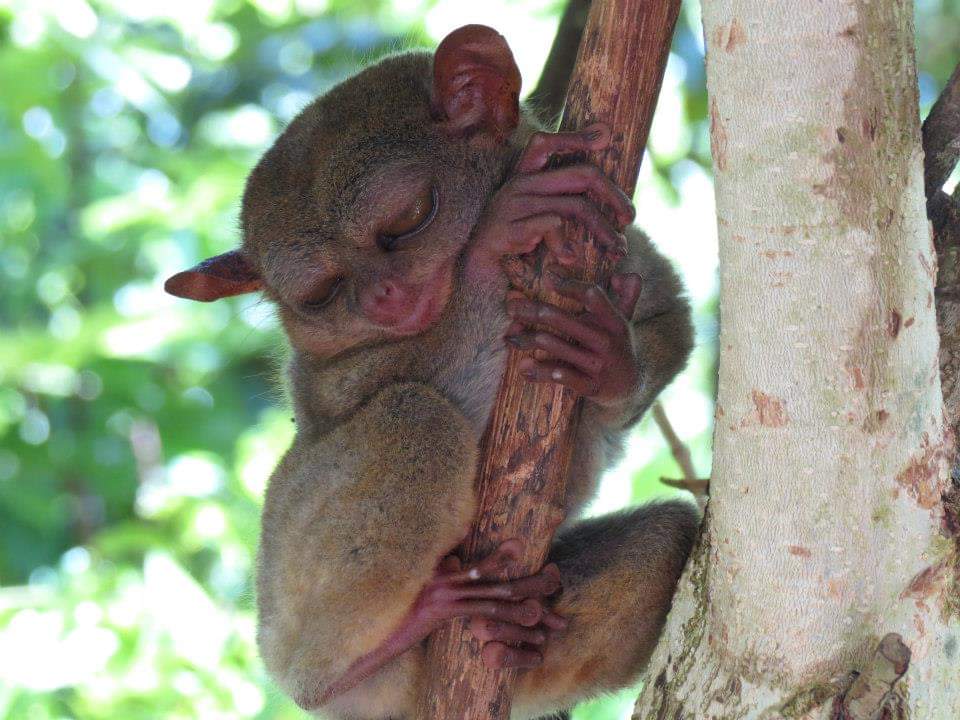
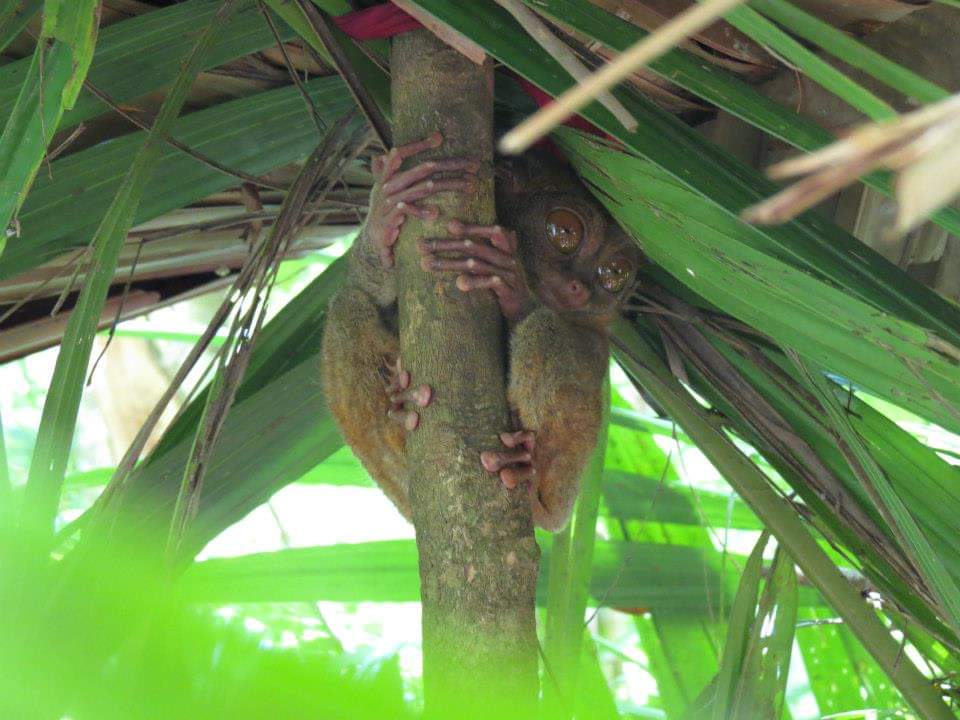
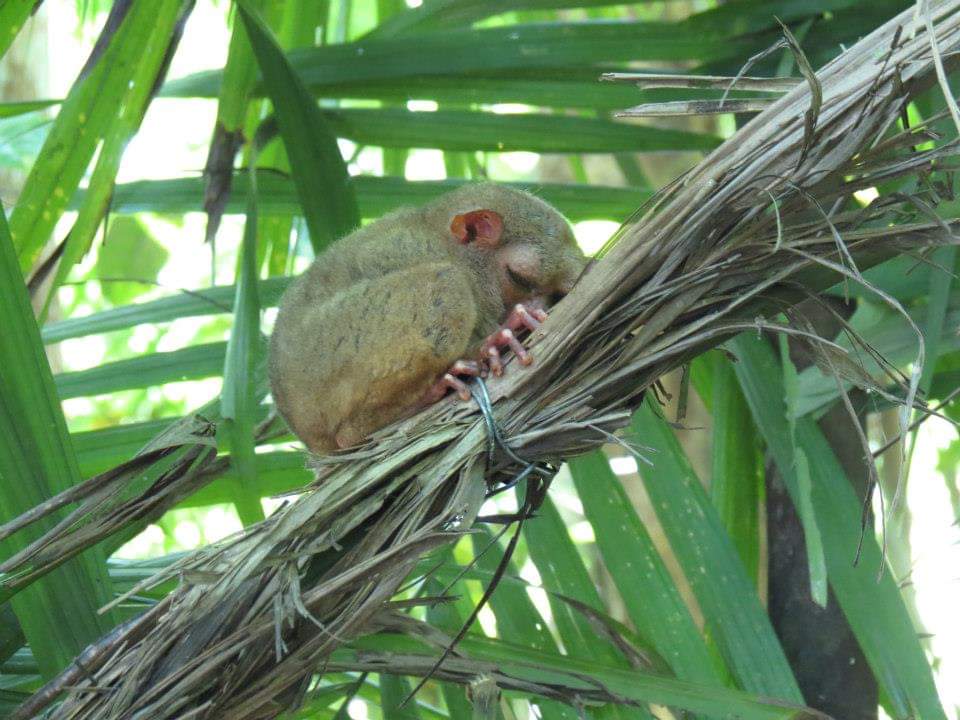
Attractions in Bohol includes The Philippines Tarsier, The Chocolate Hills, ATV ride around the hills, lunch buffet at Loboc Floating Restaurant, Loboc Eco-Tourism Adventure Park and Bohol human-made forest.

FOOD HUNTING

There are plenty of restaurants on the island. I find it hard to choose what restaurant to pick as there are too many and they all seem pretty good. You can find Filipino, Italian, Korean, Japanese, Spanish, Thai, American and Chinese cuisines. There is also some BBQ (cook to order) and buffet places to dine in. In simple words, Panglao has everything you need.

RELAXATION

Reward yourself with some relaxation treat. Trust me, we all deserve that from time to time! There are numbers of spas around the island. They are also plenty of massage services by the beach. Massage on the island is affordable and not super expensive.

If you are looking for some nail/ foot spa, there are a few shops available to tend to your needs too. Most hotels offer massage services in your room as well.

THE DO’S

  • Respect the rules in the hotels, restaurants, public areas such as the beach, park, etc

  • Try the Filipino cuisines and drink local beers (San Miguel or Red Horse)

  • Book your activities or scuba trip days in advance to avoid fully-booked or delaying your trip.

  • Be friendly to the locals so that they will be helpful to you too.

  • Tip your waiter, driver or masseuse accordingly. It will help with their daily expenses.

  • Always ask for the name and contact number of the person you are booking an activity. Ask for a receipt as proof.

  • Conserve water and only use it when needed.

THE DON’TS

  • Don’t litter anywhere. Put your trash in the bins.

  • Don’t cause any harm to nature.

  • When buying things or booking a trip, don’t bargain too much or unreasonable as they don’t earn much.

  • Don’t swim during night time as there will be no one to save you from drowning.

  • Don’t pay any advanced full payments for your activities; a deposit usually is what they will ask.

  • Don’t drink the tap water as it is not drinkable. Always drink from bottles.

OVERALL EXPERIENCE

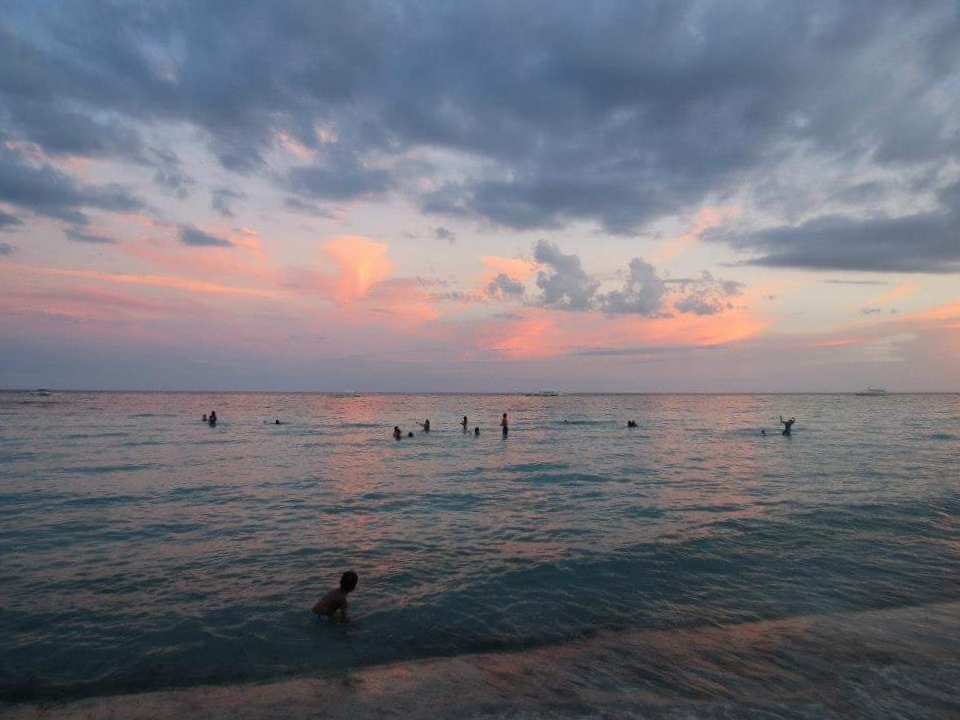
When I first arrived at Panglao Island and strolled around the beach area, I immediately thought of Boracay. Panglao has the Boracay-vibe which is a fun, relaxing and party place. Panglao is beautiful day and night. It is not over-crowded yet, but I believe it will become one very soon as more and more people are slowly discovering this beautiful island. I receive nothing but friendliness from the locals, and the accommodation was very warming.

Overall, I had a great experience, and I will be back for sure.

If you have any questions in terms of the trip, activities and which places to book, feel free to leave me a comment below. I will be more than happy to help.

Yours Truly,

Michelle Chan

The Mardi Himal Trek

1.jpg

As mentioned in my "Discover Nepal" blog, here is my blog about our Mardi Himal trek experience. I was very hype on writing this blog and i hope that the resources that i have provided in here would be useful. 

This blog contains information about the trek, routes, requirements, weather, best season, food, lodges, teahouses, the do's and don'ts, things to bring, what to expect, my personal experience and the ups and downs during the trek. 

A SHORT INTRODUCTION ABOUT MARDI HIMAL

Mardi Himal is located at the east of the ABC (Annapurna Base Camp) and facing front is the Macchapuchhre (Fishtail). Mardi Himal has been open since 2011 and every year, more and more trekkers are beginning to discover it. Mardi Himal is a very peaceful and not very crowded area compare to other major treks in Nepal such as the Everest Base Camp, Annapurna Circuit and ABC (Annapurna Base Camp).. Mardi Himal is surrounded with many beautiful flowers and plants. There are also many buffalos, donkeys, chickens around the trail and yaks/ naks can be seen at the Mardi Himal Upper View Point/ Base Camp. 

The highest point of the Mardi Himal trek is at 4,500 meters (Mardi Himal Base Camp). The minimum duration for Mardi Himal trek is 4 days and 6 days being the maximum. There are plenty of camps around the Mardi Himal route that trekkers can stay and also have their meals. 

THERE ARE 8 CAMPS IN THE MARDI HIMAL ROUTE:

  • Australian Camp (1,650 meters) - Plenty of lodges and teahouses are available in this camp
  • Pitam Deurali (2,100 meters) - Plenty of rooms for trekkers to stay and very nice people
  • Kokar Forest Camp (2,600 meters) - Plenty of rooms available and nice food
  • Babal Dada Low Camp (3,150 meters) - The best view of the Mt Machhapuchhre in the trek
  • Middle Camp - More lodges and teahouses are being build and should be ready by next year
  • High Camp (3,600 meters) - Limited space but more lodges are being build at the moment
  • Base Camp (4,500 meters) - No lodges or teahouses, need to bring your own tents
  • Sidding (1,750 meters) - The most beautiful lodge in the Mardi Himal route


WHY MARDI HIMAL

They are a lot of mountains in Nepal but why did we chose Mardi Himal? The reason is very simple, it is because Mardi Himal is probably the newest trek. It is also because we want to have a glimpse of the Annapurna South and the Mt. Machhapuchhre (also known as Fishtail). Machhapuchhre is a holy mountain and no one has ever climb that mountain. Mardi Himal is also not very crowded. It is definitely a perfect place and a good start for our first trek. 


HOW TO GET TO MARDI HIMAL

There are 4 options on how to get to Mardi Himal, from booking through an agency to doing it yourself. Do your research to know which of these options suits you best.

OPTION #1 - BOOKING A PACKAGE TOUR THROUGH ONLINE

The good thing about booking your trek online is that it is convenient and everything is arranged accordingly. There are plenty of online trekking agencies for you to choose, which also give you enough time to pick the right one.

Package tours include a set of an itinerary, a mountain guide, porter/s, food, accommodation and permits. Prices start from $700 up to $1,500 per person. Prices also tend to increase during peak season. 

However, booking through online can be very expensive. It is the most convenient option but expensive. 

OPTION #2 - BOOKING A PACKAGE TOUR IN NEPAL VIA TREKKING AGENCY

Booking a package tour within Nepal is a lot cheaper than booking through online. If you have extra days in Nepal, you may take some time to go and inquire about trekking packages around Pokhara and Kathmandu. Another good thing about this is that you get to talk face to face with the agency yourself and it is much clearer to deal with the trekking details in person. Plus, you will meet your guide in person and to confirm everything before starting your trek. 

Package tours include a set of an itinerary, a mountain guide, porter/s, food, accommodation and permits. Prices starts from $500 up to $800 per person. Prices also tends to increase during peak season. 

OPTION #3 - BOOKING A MOUNTAIN GUIDE ONLY VIA TREKKING AGENCY

Booking just a mountain guide can save you a lot of money. As the money that you pay for goes directly to your mountain guide and of course a bit of commission to the agency. This is a lot cheaper than getting the package tour. The good thing about this is that you can do the trek your way. For example, making your trek shorter, hence you pay your mountain guide a lot lesser. 

However, you will need to find and bargain your own room in the lodges and order your meals during the trek yourself. I mean, this is not hard as communication is quite easy. All the food and drinks menu are all in English and the lodge owners speak fair English. On the other hand, if you treat your guide nicely and if you try to build a good relationship with your guide, then the chances of your guide helping you out during your trek would be likely. 

Prices starts from $20 up to $50 per day, depending on how experienced your guide is. Your mountain guide should be paying for their own accommodation and meal throughout the trek. Be sure to discuss this clearly and agree on the terms. Also, make sure that your guide has a proper insurance and it is still valid. 

Aside from your guide ffee, there will be an additional charge for getting a trekking permit when booking from a trekking agency. I would really recommend people to try to book their mountain guide from an agency because it is safer and most of the guide are legit. Remember that your guide will be with you for a few days. 

OPTION #4 - INDEPENDENT TREKKING

If you are an experienced trekker/ mountaineer, then doing an independent trek to Mardi Himal is possible. This is probably the cheapest option to complete the Mardi Himal trek. You only need to pay for the permits, your insurance, transportations, food, water and accommodation. The trail in Mardi Himal is quite stable and you can ask around the mountain people about the trail in case you are in doubt. Independent trekking allows you to challenge yourself and achieve something. However, there are a few cons doing an independent trekking. 

THESE ARE THE CONS OF INDEPENDENT TREKKING

  • It is more challenging and the chances of getting lost is high
  • It may be harder for you to communicate better without a mountain guide
  • There might be some information or updates about the trek that you may not know of
  • It is not safe when you are doing it alone
  • In case of any accident, nobody is there to help you

HIRING A PORTER

Getting a porter for your trek will be good during the trek The best thing about it is that you don't need to carry your own backpack and you can relax more while trekking. It is less exhausting having somebody carrying your belongings. 

Please be reminded that if you are hiring a porter, remember not to put too much stuff in your backpack and don't take advantage of your porter. Try to pack light and be kind to your porter. The price for hiring a porter should be lower than what you are paying for your guide. 

5.jpg

But of course, if you are the type who likes challenges and hard work then you shouldn't consider hiring a porter at all. Nothing else feels better than achieving something without the help of anyone unless of course you have a health condition, then taking this challenge is just a bad idea. 

WHICH OPTION DID WE CHOOSE?

We chose option #3, which is booking a mountain guide only via trekking agency. Honestly, I think this is the most reasonable and the best value out of all the options. We booked through "Plan Himalaya" and we got this amazing mountain guide. Everything was settled smoothly and professionally.

Chandra, the owner of "Plan Himalaya" is very professional and he took time to meet us before we leave Kathmandu to Pokhara and quickly brief us about the trek. He have also given me advices and information about the Mardi Himal trek over the phone. He helped us arranged our trek and everything went perfectly. I would definitely recommend Plan Himalaya and I will book my next trek with Plan Himalaya again. 

Our mountain guide, Kapil is originally from the Mt. Everest Region and he has been a mountain guide for many years. He has plenty of experiences not just in mountain trekking but he also knows a lot about the nature, health, religions and the economy. He is very outgoing, open-minded and professional. I would definitely look for him when I do trekking in Nepal. 

HERE ARE THE CONTACTS OF THE AGENCY AND OUR GUIDE IN CASE YOU NEED IT:

TREKKING AGENCY - PLAN HIMALAYA

Website - www.planhimalaya.com

Contact - Mr. Chandra GT (Managing Director & Owner of Plan Himalaya)

Contact number - +977 985 1105516

MOUNTAIN GUIDE - KAPIL MANTHERBU KULU

Contact number - +977 982 3397547 OR +977 984 9501441

Meet our mountain guide, Kapil. He is a very kind and friendly man.

Meet our mountain guide, Kapil. He is a very kind and friendly man.


WHAT ARE THE REQUIREMENTS

TREKKING PERMITS

Trekking to Mardi Himal would require you to obtain some permits. You need trekking permits for ACAP (Annapurna Conservation Area Project) and a TIMS card (Tourism Information Management System). You can easily obtain these permit from any trekking agency and if you have are booking your trek from a trekking agency, then the permits should be already included in your package, 

On the other hand, if you are going for an independent trekking. Trekking permits are also available at the Nepal Tourism Board official offices in Pokhara and Kathmandu

If you have hire your own mountain guide, he/ she can help you to arrange your trekking permits. 

GET AN INSURANCE FOR YOUR TREK

it is highly recommended to buy an insurance for your trek. You should find an insurance that can cover you up for 5000 meters above sea level, if you are doing the Mardi Himal trek. 

I got my insurance at World Nomads. The price is reasonable and it covers emergency evacuation, medical insurance, travel insurance and many others. I would really highly recommend World Nomads as it is worldwide and one of the best insurance for trekking in the world. 

Click this link "World Nomads" to find out more about the packages. 

PHYSICAL & MENTALLY PREPARED

There is no need to be super fit in order to do this trek. I would say, you should just be fit enough to do it - No heart conditions and if you don't get fatigue very easily. If you also suffer from a regular stomach ache, then you should consider seeing your doctor to see if he/ she can prescribe with some pills to avoid any diarhhea.

You should also be mentally prepared for this trek as the trek last for 4 to 6 days. The weather might weaken your body and mind or the food might upset your tummy and affects your mood. If you are not used to being around nature/ forest/ mountain area, then this may require you some time to adapt to it. 

It is important to know if you are really prepared for all the things you will have to encounter during your trek, so you will be fully aware and prepared for it in case some circumstances comes up. 

DO's AND DON'Ts

Even though you are going to be in the mountain area, there are something that you must know about the Do's and Don'ts. It is good to be aware, so you can avoid offending anybody just in case. 

DO'S

  • Greet everyone you meet in the trek
  • Be friendly to your fellow trekkers and try to help when you can
  • Safety always comes first! If you feel like you are unwell, take a break for a while
  • Only order sufficient amount of food that you can finish
  • Turn off the electricity in your room whenever you don't need it
  • Drink Ginger Lemon Tea and Garlic Soup to avoid having altitude sickness
  • Take care of the nature, do not destroy them
  • Have plenty of rest and sleep before trekking
  • Have a good breakfast before starting your trek
  • Chat with your mountain guide and get to know him/her better
  • Always wash your hands and mouth before eating your meal
  • Close your door and windows at all times to avoid having any insects (moths, butterflies, flies) to come in your room especially at night time. 

DON'TS

  • No PDA (Public Display Affection), this is strictly prohibited and should be respected 
  • Do not throw rubbish anywhere in the mountain/ forest
  • Do not shout and talk too loudly, contain your volume
  • Do not go trekking with an empty stomach
  • Do not waste food and do not order too much food when you can't finish it
  • Do not bring a lot of things. The ideal weight for one backpack should be no more than 10kg.
  • Do not consume anything unusual. Trust me you do not want to trek with an upset stomach.
  • Do not waste electricity, try to save as much as you can
  • Do not swear too openly, try to swear in your mind
  • Do not bargain for something unrealistic
  • Do not harm any animals, try to conserve them or just leave them alone
  • Do not drink water from the tap, only drink from a water bottle or boiled water


WHEN IS BEST TIME TO GO TREKKING TO MARDI HIMAL

Knowing when is the best time to do the Mardi Himal trek is also important as your entire trek will depends on how good the season is. If you are not aware of when is the best time to go, your trekking trip might end up into a disaster. 

FIRST BEST SEASON - OCTOBER TO EARLY DECEMBER

October to early December are the best season to go trekking to Mardi Himal as the skies are clear during these months. This is also considered as the busiest months and peak season in Mardi Himal. As October is the start of the Autumn season, the weather will be chill and you can experience a lot leaves falling down from the trees. November to December will be the coldest months and there is a possibility that some trail may be covered with snows, which will make it hard to trek. 

SECOND BEST SEASON - FEBRUARY TO APRIL

February to April will be the second best season to go trekking to Mardi Himal. Around this time the dry season is almost over and it is not super cold anymore. The snows by then will be gone and the trail will be easier to trek. 

THIRD BEST SEASON - MAY TO JUNE

May to June will be the third best season to go trekking to Mardi Himal. It is the summer season and if you enjoy the sun, then this is probably the best time for you to go. Take note that by June, it will be the pre-monsoon season and occasional rain may happen during the trek. On the other hand, flowers are starting to bloom beautifully during these months. 

NON-PEAK SEASON - JUNE TO EARLY SEPTEMBER

June to early September will be the non-peak season to go trekking to Mardi Himal. The reason why it is the non-peak season is because this time around is the monsoon season. The chances of rain and thunderstorms are very likely and very high during this period. Also, this is also the time that leeches comes out as it is the wet season. Remember to wear long trekking pants, long sleeves, long socks and wear ankle trekking boots to avoid those tiny teeny leeches to get into your skin. 


THE LODGES/ TEAHOUSES

The lodges and teahouses around the Mardi Himal route are very basic and simple. The mountain people are very friendly and welcoming. As you enter a teahouse, you will automatically feel at home. Staying at the teahouse and lodges is very laid back and relaxing. I also felt that time is actually slower in the mountain area. 

FOOD AND DRINKS

Both food and drinks are available in the teahouses. There are quite a lot of food selection in the menu - both meat and vegetarian options are available. The food are quite delicious and the portions are big. I find the vegetables very fresh as every teahouses grow their own crops. The prices for both food and drinks increases as you get higher to the top. 

ACCOMMODATION

The rooms in the lodges are very simple and decent looking. Most of the rooms are made from woods or stones. Every room has a decent mattress with nice bed sheets and pillows. Small rooms (good for 2 people) and big rooms (good for 4-6 people) are available in most of the lodges. However, trekkers will need to share the toilet and most of the lodges only have 1 toilet available to use. There is, of course, a place for you to wash but there is no hot water, so that means you will have to wash with cold water. Hot water is available too but you will just need to ask the owners/ staff to boil you some hot water. There may be some extra charges for that. 


WHAT TO EXPECT DURING THE TREK

It is important to know what to expect before starting your trek. It is a must that you are aware of the possible circumstances you might experience during your trek. 

THE WEATHER

As we all know that the weather is very unpredictable and it changes all the time. Make sure to have your raincoat packed in your backpack and as well as jackets/ ponchos, thick socks, legs warmer and beanie/cap to protect yourself from the cold weather. Even though you are going to trek during the hot season, the weather in the mountain is different. The higher you get, the colder it gets. 

THE LEECHES, BEES AND OTHER FLYING INSECTS

During wet season/ monsoon time, there will be plenty of rain coming down, which means there will be a lot of leeches. This is the prime time for leeches to come out and find some people to hang on and have a taste of their blood. The good news is that leeches have their weakness too! You can throw some salt at them whenever they are on your skin. Another way to avoid those annoying leeches to get onto your skin is to wear something tight and cover up your ankles - wear ankle trekking boots, long sleeves, long pants and long socks.

There are also some bees and other flying insects. They are super annoying and they are just everywhere you go! Well, except when it is raining but once the sun's out then they are also out. As much as you hate them and their annoying buzzing sounds, you shouldn't really do anything to them. Do not try to fight with them or even try to hit them with something. Just simply leave them be and continue walking as if like they don't exist. 

THE DONKEYS AND BUFFALOS FOOTSTEPS

During the wet season, the trail will be very wet and muddy, which means the donkeys and buffalos will definitely ruin and make the way even more complicated to walk. It is quite difficult for us to get through the muddy paths. We had to find and make our own way to get through it. Just be careful and try not to fall in those muds.

POSSIBLE SICKNESS (ALTITUDE SICKNESS, FEVER, COLD, DIARHHEA)

Yes! This should be included in your top priority as staying healthy during your trek is a must because once you start to feel ill, then it is quite impossible to proceed to your trek. You should always watch out for any a headache or if you are feeling a bit of nausea, even a minor headache. When you feel that you are having any symptoms, then you should take some pills right away to eliminate any altitude sickness, headache or fever. Taking ginger lemon tea and drinking garlic soup could also help you a lot. 

MEAT SHORTAGE IN TEAHOUSES

For some unforeseen events, meat shortage may be possible around the mountain area while you are trekking. Running out of chickens and buffalos meat is possible especially during the non-peak season. On the other hand, there are vegetables and canned Tuna available if there is no meat available. Trying to be a vegetarian for a few days doesn't sound that bad. 


WHAT TO BRING WHEN TREKKING

In case you are wondering what you really need to bring when trekking. Here's a guideline for you to have an idea on what to bring and what not to bring, 

Take note that this is a "backpack travel", so trying to minimise your belongings would help you a lot while trekking. 

"Light packing should be always in your mind!"

ESSENTIAL THINGS TO BRING WHEN TREKKING

  • Trekking Pants
  • T-Shirts, Long Sleeves 
  • A set of sleeping clothes (use only for the sleeping time)
  • Quick-dry towel for body washing
  • Towel for sweat
  • Underwear
  • Sports Bra/ Bralette (for girls)
  • Waterproof and Windproof jacket
  • Raincoat (get the one that can cover your backpack as well)
  • Trekking poles/ sticks
  • Socks (bring some thick and some thin socks with you)
  • Trekking shoes (better get ankled trekking boots to avoid leeches and sprains)
  • Slippers or Crocs 
  • Sunglasses (with a good UV protection)
  • Cap (getting a waterproof cap would be ideal - for sweats and in case of rain)
  • Medicine kit (tablets for cold and fever, Betadine, band-aids)
  • Toiletries (soap, shampoo, deodorant, powder, cologne, alcohol, mosquito repellent, comb)
  • Sunblock lotion
  • Tissues and wet tissues 
  • Flashlight/ Torchlight/ Headlight (bring some spare batteries)
  • A travel journal or a small notebook and a pen (to write down your travel diaries)
  • Plastic bags (for putting rubbish)
  • Camera and charger
  • Adaptors (for charging)
  • Some protein bars/ energy bars/ Digestives (for snacks)
  • Trekking map
  • Hand gloves (if you have sensitive/ soft skin)

OTHER THINGS TO BRING WHEN TREKKING (OPTIONAL)

  • Playing cards (for pass time and free time)
  • Books to read when not trekking
  • Bum bag (to put all your important stuff like phone, wallet, passport, etc)
  • Water bottle (1L) or you may simply re-use a plastic water bottle to refill water
  • Duct tape (in case any of your stuff breaks)
  • Karabiners (for hanging wet cloths)
  • Padlocks (to lock away your bags, but most rooms in the lodges have locks already)
  • Shaver (It's not a long trek, so I'm sure you can let it grow a bit more)
  • Water purification tablets (in case you want to purify your own water)
  • Laundry powder (for washing of clothes/ underwear)

THINGS YOU DO NOT NEED TO BRING

  • Hair dryer
  • Your whole make-up and cosmetic sets (I mean you're only trekking!)
  • Ipad/ Laptop (you are there for nature and don't let electronics get in the way)
  • Pillow, blankets (the lodges will provide, so there's no need for that)
  • Kitchen utensils (the teahouses will provide)
  • Pieces of jewelry/ accessories (you don't really need that)


WHERE TO BUY YOUR TREKKING EQUIPMENT

Yes! Don't forget to add this to your list. People often forget the simple things like making a checklist of what equipment you need to bring for trekking. Find a time to do a shopping checklist first to see what you already have and what you are missing. 

Don't buy cheap quality equipment, especially when buying some trekking poles, jackets, trekking shoes, backpack and safety/ medicine kits. Remember that buying cheap quality would only bring you some problems and not solutions. There are no trekking shops in the mountain areas, so make sure that you got everything ready before starting your trek. 

BUYING TREKKING EQUIPMENT IN YOUR HOME COUNTRY OR ONLINE SHOP

Buying your trekking equipment directly in your home country or online shop should be a good idea. It gives you enough time to think about what you need and what you are missing. If you are the type who likes everything to be in order and ready to go, then this is definitely what you should do. 

BUYING TREKKING EQUIPMENT IN NEPAL

There are plenty of trekking shops in Nepal. As Nepal is filled with mountains, it is very possible that you can find all the equipment you need for trekking anywhere in Nepal, except the mountain area. Buying your equipment in Nepal could be a lot cheaper and in nice quality too. 


WHAT TO EAT AND DRINK DURING THE TREK

Knowing what to eat and drink can guarantee you a healthy and comfortable trekking endeavour. You need to watch out what you eat and drink while trekking as if you don't take good care of your diet then your trip might end up horribly. Trust me, you do not want to upset your stomach and having that while trekking in the mountain is not a good thing.

HERE ARE SOME TIPS ON HOW TO EAT & DRINK PROPERLY: 

WHAT TO EAT AND NOT TO EAT

  • Eat a lot of greens and vegetables
  • Eat chicken for protein
  • Don't eat too spicy food (especially if you are not used to it)
  • Don't eat cheese (if you are suffering from Lactose Intolerant)
  • Eat energy bars and Digestives for snacks
  • Don't skip any meal, eat 4 times a day (Breakfast, Lunch, Tea time and Dinner)
  • Eat more during Breakfast time

WHAT TO DRINK AND NOT TO DRINK

  • Drink garlic soup to avoid altitude sickness
  • Drink Ginger Tea/ Ginger Lemon Tea/ Honey Ginger Lemon Tea to avoid altitude sickness
  • Drink plenty of water (only drink from water bottle or boiled water)
  • Never drink water from the tap
  • Drink some vitamins to avoid any possible cold
  • Drink Ibuprofen (if you are feeling sick due to altitude sickness)
  • Try to avoid drinking any alcohol/ beers to avoid any possible hangover or headache


MARDI HIMAL TREK DIARIES

During our trek, I have written down things we did during our trek and the circumstances we had to face while trekking. We trekk for 6 days and I made sure that I wrote down all the details during this unforgettable experience so that I will be able to share it to people. 

TREK DAY 1 - NOT A LONG TREK BUT A GREAT START

On our first trekking day, we left our hotel at 7:00am. We rented a taxi to bring us to Kande, where we start our trek. We ate our breakfast while we were in the car as we didn't had any time to eat our breakfast in the hotel. The car ride took us 1.5 hour to reach Kande. 

Left - In the car while admiring the Mt Machhapuchhre viewRight - Mt Machhapuchhre

Left - In the car while admiring the Mt Machhapuchhre view

Right - Mt Machhapuchhre

When we started our trek, we were already feeling very excited. The weather seems very nice and clear. We met this male dog on our way and he followed and sort of guided us for hours. We decided to name him Blackie, the dog guide. 

Meet our dog guide, Blackie

Meet our dog guide, Blackie

We stopped at Australian Camp and Pothana after 2 hours and we submitted our permits at the registration area. Yes, trekking permits are required when trekking Mardi Himal. Please refer back to "What are the requirements?" to know more about it. Australian Camp was named after the Australian mountaineers arrived the camp area. It has plenty of lodges and teahouses. The camp looks nice and decent. 

Australian Camp

Australian Camp

Registration are at Pothana

Registration are at Pothana

After the registration, we continued to hike up to PItam Deurali for 1.5 hours. The trail was very stable and we saw a lot of plants and flowers. It was such a beautiful day for trekking. When we finally arrived at PItam Deurali, we stayed at "Trekkers Inn-Lodge". We were the only guest at that time as it is not the peak season yet. We occupy a room with a dining table outside the room. 

The lodge owners are very welcoming and very nice people. We got to go inside their kitchen and watch them cook our meal live in action. Thanks to our mountain guide, Kapil as he happen to have a very good relationship with the lodge owners. The food was very delicious and fresh. 

Although, we didn't trek for long hours today but it was a great start. I thought to myself that we will definitely be trekking for longer hours in the next 5 days. Today was a relaxing trek and we perfectly enjoyed it. 

Trekking Route (in order) - Kande, Australian Camp, Pothana, PItam Deurali

Total hours of trekking - 3.5 hours

Total hours of car ride - 1.5 hour

Highest Altitude - PItam Deurali (2,100 meters)

Overnight stay at Lodge/ Teahouse - Trekkers Inn-Lodge (Deurali)


TREK DAY 2 - A LONG WAY UP TO LOW CAMP

On our day 2, we wake up early to start our trek to Forest Camp at 7:00am. We have been told by our mountain guide, Kapil that there is no camp around the forest area, which normally take around 4-5 hours to reach the Forest Camp. We had packed some energy bars, so we can eat that when we get hungry. There are many different types of plants and flowers around the forest and Kapil was very generous to share us his knowledge about the plants and flowers we saw on our way. 

Left - Direction to start trek to Forest Camp from DeuraliMiddle - Small pond around the forestRight - More uphill

Left - Direction to start trek to Forest Camp from Deurali

Middle - Small pond around the forest

Right - More uphill

After that exhausting and dry forest trail, we finally arrived at the Forest Camp after 5 hours. We had our lunch in one of the teahouse. There are plenty of rooms available in the lodges and it seems like Forest Camp is where most trekkers go for overnight stay. There was no meat available, so we ordered all vegetables dishes. It's not really a big deal for me, since I love eating vegetables but I can see that Ryan wasn't very happy as he is a meaty person. But the food were delicious and that was the best lunch we had so far. 

The Forest Camp

We continued our trek at around 1:30pm. The trail started off well, a bit of steep and muds. Then suddenly rain started pouring. We all thought it's just a small rain but it's actually getting heavier and we struggled real hard. While trekking and suffering at the same time, we met some tiny sticky creatures, the leeches! There are everywhere around our raincoats, pants and shoes. This is our first time encountering these tiny little creatures and we definitely dislike them. We stopped over at the Rest Camp to cool down for a bit and wait till the rain slow down. The camp is very small and there is no lodges, mainly only for resting for trekkers, guides and mountain people.

As soon as the rain has settle down a bit, we continued our trek to Low Camp. It was very challenging ascending to Low Camp. It is very muddy and slippery. Our shoes are all wet and full of muds in and out and leeches kept biting and drinking our blood on our ankles. We were all tired and we just want everything to be over. 

After trekking for 4 hours, we finally arrived at the Low Camp. We quickly settle down into our rooms. We dry and wash ourselves. We had to wash our shoes with freezing cold water because our shoes was very muddy. The temperature at the Low Camp obviously dropped especially it was raining. It felt like it was 10 degrees up there. 

Hotel Machhapuchhre

Hotel Machhapuchhre

Trekking Route (in order) - Pitam Deurali, Forest Camp, Rest Camp, Low Camp

Total hours of trekking - 9 hours

Highest Altitude - Low Camp (3,150 meters)

Overnight stay at Lodge/ Teahouse - Hotel Machhapucchre (Low Camp)


TREK DAY 3 - ALL IS WELL UNTIL WE START TO ASCEND TO HIGH CAMP

On our day 3, we woke up very early to have our breakfast. The sky was very clear and we were fortunate enough to have seen the Mt Machhapuchhre in clear view while having our breakfast. It was the best breakfast experience ever! 

We left Low Camp at 8:00am sharp and we ascend up to Middle Camp first. The trail was stable and not very muddy. When we arrived at the Middle Camp, we took some time to take pictures with the spectacular "bed of clouds" view. The sky was very clear and nice. The phone and internet connection at the Middle Camp is quite stable, so I took some time check my messages and update my family and friends back in Hong Kong about our whereabouts. There are also a few lodges being build and it should be ready by early next year as Mardi Himal has been attracting more and more people.

"Bed of Clouds"

Middle Camp

On our way to High Camp

On our way up to High Camp, the trail started steep followed by plenty more of steep trail. It was challenging and I actually slipped once because I stepped onto some clay soil. I swear, those clays are traitors! Do not step on those! We have also seen plenty of buffalo and they stopped whatever they were doing and was just staring at us. The buffalos in the mountains are not very used to people and seeing them frightens them. 

Everything was going well until suddenly out of nowhere, some raindrops started pouring down. Everything happened very quickly but we manage to get our raincoats out just in time. It's a shame how we were just 30 minutes away to the High Camp and it was a pity that we all had to experience getting wet again and of course we had to deal with the leeches again. The trail are muddy and slippery once again. 

When we finally arrived at the High Camp, we saw some teahouses and lodges being build. I have a feeling that Mardi Himal will soon be filled with trekkers. We quickly settle down into our room and dry ourselves while our lunch meal are being prepared. As the rain didn't stop, we decided to postpone our plan to ascend Upper Viewpoint in the next morning.

Trekking Route (in order) - Low Camp, Middle Camp, High Camp

Total hours of trekking - 4 hours

Highest Altitude - High Camp (3,600 meters)

Overnight stay at Lodge/ Teahouse - Hotel Trekkers Paradise


TREK DAY 4 - ANOTHER RAINY AND FOGGY DAY AT HIGH CAMP

On our day 4, we woke up at 4:30am and it was still pouring outside. We were planning to ascend to Upper Viewpoint but the weather was just really bad. The rain and fog are just surreal. It rained all morning till afternoon. We were somehow loosing hope but we still decided to stay one more night at High Camp and plan to go to Upper Viewpoint the next morning. 

So, we spent the whole afternoon at High Camp in our room and at the dining hall. We played cards game and chat around. The rain somehow stopped for some time, so we walked around and hike up a bit for 30 minutes. Then, the rain came back! It comes and it goes. 

Left - Inside our room, just chilling and restingMiddle - Directions at High CampRight - It's going to be a long way up to Upper Viewpoint

Left - Inside our room, just chilling and resting

Middle - Directions at High Camp

Right - It's going to be a long way up to Upper Viewpoint

We met a few trekkers who manage to get to the Upper Viewpoint. We asked about how the trek went and as expected, there was no view. It was all fogs and the weather didn't really cooperate. However, they had a rare Yak farm experience, which made their trek a bit better in spite of the rain and fogs. It's good to know that there's something else good in there. 

Trekking Route - High Camp

Total hours of trekking - 30 minutes

Highest Altitude - High Camp (3,600 meters)

Overnight stay at Lodge/ Teahouse - Hotel Trekkers Paradise


TREK DAY 5 - FINALLY CONQUERED OUR QUEST

On our day 5, we wake up super early at 4:00am and our guide, Kapil went to check out the weather situation and he came back with a great news that we can head on to Upper Viewpoint. We left High Camp at 5:00am. It was still very dark and we have to use our torchlights and headlights in order for us to see, of course! It was very cold and a bit windy but we warmed up after some time. While ascending, the weather started to get clear followed by a few fogs. It was drizzling a bit but not too extreme. 

We reached Upper Viewpoint after 2.5 hours and out of nowhere the sky became foggy again. We still try to head on further at the Viewpoint. We waited for some time. We can see that the fogs are eliminating but then some more fogs are on its way. 

While waiting for our luck, we stayed at the Yak farm and drank some fresh warm yak milk. It was a good experience and this is our first time seeing and being close to the yaks and naks. Yaks are male yaks while Naks are female yaks. I'm not so sure why people call it yak milk, i guess it's because it's a lot easier for people to say it, 

After waiting for some time, we decided to head down to High Camp before the weather worsen. Although, we didn't get to see what we came for, which is the Annapurna South and Mt Machhapuchhre view, but at least we reached the top at 4,200 meters above sea level and the breakfast at Low Camp with the breathtaking Mt Machhapuchhre view are already good enough. There is always a next time. We would definitely look for a better season when the sky are much clearer. We manage to see the Annapurna Base Camp but it was still covered with some clouds and it was pointless to try to take a picture of it. There is always a next time. 

Descending back to High Camp is very challenging. The trail are steep and plenty of rocks and stones. Most of the big rocks are actually moving when we step onto it. There were times that I though I would fall but Thank God none of us did. As soon as we arrived at the High Camp, we packed our belongings, had a quick breakfast/ lunch and descend to Low Camp. 

It was still drizzling when we left High Camp and it was very muddy everywhere. Everything is wet and slippery. The trail are harder to cross and we had to take more time to find another path that is safe to walk. It was horrible to be honest. We felt very dirty and we just didn't care about those muds getting into our shoes, all we wanted is to not pay too much attention on the muds but to just finish the trek. We had enough of rain and being wet for 4 days straight. The tiny and annoying leeches are of course in our way and it didn't failed to spoil our mood even more. But this this time we had our weapon, some salts. Yes, leeches are afraid of salts and they become weak after splashing them with some salt. 

After 3 hours of descending, we finally arrived at the Low Camp and as usual, we cleaned ourselves up and we took some rest as we are super exhausted. It was a long day and a wet one too.  

Trekking Route (in order) - Upper View Point, High Camp, Middle Camp, Low Camp

Total hours of trekking - 6.5 hours

Highest Altitude - Upper View Point (4,200 meters)

Overnight stay at Lodge/ Teahouse - Hotel Machhapuchhre (Low Camp)


TREK DAY 6 - LAST GOODBYE AND A TOUGH DESCEND

On our day 6, we woke up at 7:00am, we had a quick wash up and packed up all of our belongings. It was our last breakfast at Low Camp with the Mt Machhapuchhre view. We had apple pancakes and ginger lemon tea for breakfast. I'd say this is by far the best apple pancake I ever had in my life. 

We left Low Camp by 8:00am and started our trek down to Sidding. The trail was a bit dry, since the rain had already stopped. There are still some trail that are a bit muddy. We were so glad that the leeches had finally stop attacking us. Unfortunately, we had encountered many donkeys in the way. They were delivering supplies up to the high camps. They totally ruined the trail, while making it extra harder for us to pass without stepping into muds. Anyways, we still made it and found our way down. Descending down is not very easy. It is actually quite tough and tiring. The donkeys made our trek longer because we need to find another way to walk. It feels like we have been descending forever. 

After 3 hours of trekking, we finally reach Sidding. We saw a lot of donkeys assembling and ready to hike up to the high camps to deliver supplies, such hardworking donkeys! The lodge in Sidding is probably the most beautiful and modern looking lodge in the Mardi Himal route and they have a decent toilet. We had our lunch at "Hotel Trekker's Home Nepal" while waiting for our jeep ride to bring us back to Pokhara. 

Left - The most beautiful lodge in the Mardi Himal routeRight - Entering our last stop in the Mardi Himal route

Left - The most beautiful lodge in the Mardi Himal route

Right - Entering our last stop in the Mardi Himal route

Left - Donkeys assembling Right - Some buffalos dipping in the water

Left - Donkeys assembling 

Right - Some buffalos dipping in the water

We left Sidding at 2:00pm and we arrived to our hotel in Pokhara after 3 hours. The ride was super bumpy and the roads were not very even, especially coming down from the hill. We had some mini adrenaline rush while inside the jeep. It was a rare experience and it was quite fun quite frankly. We also passed by the Mardi River. The water drop from the Mt Machhapuchhre. The jeep ride cost us 10,000 NPR but we had other people inside the car, so we sort of shared the cost. We paid 3,500 NPR for 2 people. 

Left - Some waterfalls while we were inside the jeepRight - The Mardi River

Left - Some waterfalls while we were inside the jeep

Right - The Mardi River

Right after we arrived at our hotel, we quickly freshen up. I think I spent more than 30 minutes in the bathroom. I have never felt this good taking shower before. Just imagine 6 days of no proper shower. We also unpack our belongings and we bring out our dirty clothes for laundry. After that, we went to the Lakeside to celebrate for conquering our Mardi Himal trek together with our awesome mountain guide/ friend, Kapil. 

Trekking/ Jeepney Route (in order) - Low Camp, Sidding, Lumre, Pokhara

Total hours of trekking - 3 hours

Total hours of jeepney ride - 3 hours


A LIST OF OUR COST IN THE MARDI HIMAL TREK

* The prices indicated below was during September 2017 and it is good for 2 people

  1. Mountain guide and trekking permits via Plan Himalaya = $240
  2. Food and drinks at teahouses = 20,920 NPR
  3. Lodges (overnight stay for 5 nights) = 2,540 NPR
  4. Taxi ride from Pokhara to Phedi = 2,000 NPR
  5. Jeepney ride from Sidding to Pokhara = 3,500 NPR
  6. Tips for our mountain guide = 5,000 NPR
  7. Tourist Bus from Kathmandu-Pokhara-Kathmandu = $28 (roundtrip)

Total in US Dollars = $268

Total in Nepalese Rupees = 33,960 NPR

Total Spending (for 2 people) = 60,760 NPR ($608 US Dollars)

We were genuinely happy with what we have spent. The money that we spent was super worth it and this is probably where most of my travel savings will be placed on. 


THE PRO'S AND CON'S ABOUT MARDI HIMAL TREK

There are some good things and some bad things during our Mardi Himal trek. Well, there is no such thing as perfect isn't it? Every goal comes with a price, hence the consequences. 

HERE IS A SUMMARISED LIST OF THE PROS AND CONS OF OUR AND SOME OTHER TREKKERS' EXPERIENCES IN THE MARDI HIMAL TREK:

PROS

  • The teahouses and lodges are in good shape
  • The food is made freshly and the teahouse owners grow their own vegetables
  • You can charge your electronics in some of the lodges
  • There is WIFI available in some lodges but connection might be limited and slow
  • You get to spend more time and get to know the nature even better
  • There is hot water available for shower, all you need to do is ask the owners
  • You get to sleep early and wake up early for 4-6 days straight
  • An opportunity to meet new people and socialise 
  • Good for meditating

CONS

  • There are no internet and mobile connection starting from the Low Camp area
  • There is only 1 toilet room in every lodges/ teahouses, so there might be some queue at times
  • The chances of having to deal with leeches during wet and rainy season is very high
  • The muds and unstable trail while trekking
  • Time is slower and you need to find things to do for pass time
  • It is very cold especially during night time at the High Camp
  • The weight of your backpack stays the same throughout your trek (if you don't have any porter). It doesn't get any lighter.
  • You may need to wear your clothes repeatedly (if you are packing light and smart)


Overall, my Mardi Himal and my first trekking experience has been great and I will always cherish these memories with me. The things I have gone through during the trek are not something I can find in my daily life. I challenge myself and even trained very hard at the gym to make myself fit enough. I did what I thought I couldn't. I proved to myself that I am capable and strong enough to take on this challenge. After this once in a lifetime experience, I will surely be craving for more. 

12.jpg

If you have any questions, feel free to comment below or send me an email. I will be more than happy to help.


WHAT'S NEXT? 

This is a very good question, what's next after conquering the Mardi Himal trek? As this is my first trekking experience, in which it turns out very well. Sure, I had some bad experiences too during the trek but i'm not going to let this stop me from doing what I love to do. 

My next trek would probably be still in Nepal. Why? I fell in love with Nepal and I want to see more of its beauty. I am thinking of trekking to Annapurna Base Camp or Everest Base Camp next. Let's see how things goes. Stay tune!


Yours Truly, 

Michelle Chan

Discover Nepal

140.jpg

Nepal is a very beautiful country and I have always wanted to visit this place. It has been 2 long years that me and my boyfriend, Ryan started planning our trip to Nepal. The reason why It took us this long to make this trip happen is due to our work schedule and we also needed a good amount of time to train ourselves to be physically fit for some trekking adventure. We both felt that 2017 is the right time for us to visit and that we are definitely ready for Nepal.  


A SHORT INTRODUCTION ABOUT NEPAL

Nepal is located in South Asia between China in the north and India to the east, west and south. Nepal is surrounded by mountains and rivers. The world's highest mountain can also be seen and climb in Nepal, the mighty Mount Everest measuring about 8,848 meters above sea level. 

The weather in Nepal runs like the 4 seasons. Summer (May-July), Autumn (August-November), Winter (December-February) and Spring (March-April). Temperatures varies in different places.

Nepali is the official language of the state. English is also highly spoken by many Nepali nationals. Nepalese hospitality is very warm and they are very humble people. 

"Visiting Nepal once is never going to be enough." To find out why, feel free to continue reading my blog.


HOW TO GET TO NEPAL

You may reach Nepal by taking a plane ride when travelling from another country or a bus ride when coming from India. Unfortunately, there are only a few airlines that brings you directly to Nepal with limited and selected flying schedule. I can name at least 7 countries that are able to fly directly to Nepal, which is Hong Kong, DOHA, Abu Dhabi, India, Singapore, Guangzhou and Thailand. These are the airlines that I saw flying direct when I was at the airport. In order to reach Nepal, connecting flights will be required. All international flights only stop at Kathmandu (Tribhuvan International Airport) and going around within Nepal by plane can be taken by their local airlines (Buddha Air, Tara Airlines and Himalayan Airlines). 

Left - Our plane tickets coming from Hong Kong to NepalRight - Waiting for our baggages. It was very crowded.

Left - Our plane tickets coming from Hong Kong to Nepal

Right - Waiting for our baggages. It was very crowded.


WHEN TO VISIT

The best time to visit Nepal will depends on what kind of excursion, festivals or activities you are looking for. The best time for trekking season is during October, being the most peak season and until February. The weather are supposedly to be nicer and cooler. If you are looking to experience some Nepalese festivals, then you will definitely need to check when the celebrations are being held and whether it is the right fit for you. Other activities such as Paragliding, bungee jumping, zip lining, water rafting and other outdoor activities are known to be available all year round but it is not highly recommended during the monsoon season which is around July, August to mid-September.

HERE ARE THE LIST OF POPULAR AND MAJOR FESTIVALS IN NEPAL:

  • Dashain and Tihar (September) - This is the biggest festivals based on religion in Nepal
  • Buddha Jayanti (May or June) - The birthday of the Buddha
  • Gai Jatra (August - September) - One of the most popular festivals in Nepal
  • Teej (August - September) - The fasting of Nepalese women, lots of prayers and purification
  • Janai Purnima - Celebrated by the Hindu community of Nepal
  • Shree Krishna Janmastami (August - September) - The birth of Lord Sri Krishna
  • Fagun Purnima (late February or early March) - The celebration of colours, the Holi festival
  • Indrajatra (August - September) - Celebrated by both Hindus and Buddhists
  • Maghe Sankranti (mid January) - The harbinger of the holy month
  • Mahashivaratri (February - March) - A celebration dedicated to the Lord Shiva


THE DO'S AND DON'TS  

Just like any other countries, there are some Do's and Don'ts that visitors should be aware of and should be respected accordingly.

DO'S

  • Cover up and don't wear anything too revealing
  • Tip the staff. Be generous!
  • Try different types of restaurants and dishes, especially Nepalese delicacies
  • Respect the locals and those who are older than you. Address them with "Dai" for men and "Didi" for women.
  • Take pictures of everything. For example, receipts, tickets, certificate, etc
  • Always ask questions when unsure especially when you are doing trekking
  • Make the effort to learn some Nepalese simple phrases. For example, greet everyone "Namaste" which means good day, good morning or hello and say "Dhanyabad" for Thank you. 
  • Be kind and be friendly to whoever you meet in Nepal
  • Always buy your bus tickets or activities via agency or hotel
  • Take good care of your belongings and don't be clumsy

DON'TS

  • Do not touch someone's head or feet as this is considered as impolite
  • Do not wear short shorts especially for women
  • NO PDA (Public Display Affection). Most of the Nepali people are conservative and it is disrespectful to show any signs of affection towards your loved one. 
  • Do not drink water from the tap. Always drink water from a water bottle or boiled water
  • Do not give money to beggars as it will just encourage them to rely on begging
  • Don't go to any unknown places, make sure you are with someone 
  • Don't feed the monkeys when visiting temples with monkeys around
  • Avoid being dehydrated, always have a bottle of water with you
  • Don't take any pictures of someone without their permission
  • Avoid bargaining too much, only bargain once and try to be reasonable and sensible too
  • Don't order too much food, try not to waste food. Think about the people who have nothing to eat or struggling to work for meal.


THE NEPALESE CULTURE & ETHNICITY

Visiting some of Nepal's museum and reading informations from the internet helps me to know more about the people and its ethnicity. Nepal is filled with different types of ethnicity. There are about 101 ethnic groups in Nepal and with over 92 languages. Nepali is the official language and it is what majority of the local people understand and speak in daily life.  

There are many kinds of customs and traditions in Nepal depending on which ethnicity they came from. Festivals occurs almost every month and it is the most colourful and eventful of their time. In Nepal, religion is an important matter and it is being practiced on a daily basis. The religion in Nepal consists of Buddhism, Hinduism, Islam, Christianity, Jainism, Sikhism and animism. 

HERE ARE A LIST OF DIFFERENT ETHNIC GROUPS ON NEPAL:

THE NORTHERN HIMALAYAN PEOPLE

The northern Himalayan people are mainly the Sherpas, Lopas, Manangis, Dolpa-pas and Baragaonlis who speaks Tibetan language. 

HILLS AND VALLEY PEOPLE

The hills and valley people are among the Magars, Gurungs, Tamangs, Newars, Thakuris, Chepangs, Brahmins, Sunuwars, Thakalis and Chhetris. 

THE TERAI PEOPLE

The Terai people consists of the Tharus, Darai, Majhi and Kumhal who speaks north Indian dialects. 


HOSPITALITY

While Nepal is known for its warm and welcoming hospitality especially towards the visitors. I have notice two things about the hospitality in Nepal while I'm visiting that I would like to share.

So for starters, I honestly find Nepal's hospitality very welcoming. It immediately made me felt like I'm at home already as soon as I landed in Nepal. The Nepalese people are very friendly and they are absolutely easy to talk to. If you are lucky and of course if you also got a friendly personality, then you might get a lot of information from the local whenever you are in doubt. Nepalese people also enjoys entertaining guests and making sure that they are being taken care of. 

Meanwhile, there are some locals that are quite laid back and it almost looks like they are on holiday too. What I meant about this is that, the service is quite slower than usual and some really take their time to bring you your order. I'm not saying that this is a bad thing but this is just what I have noticed while I'm in Nepal. I feel like the time is slower in Nepal. But I do believe that there are always room for improvements. 

But overall, I am satisfied with the hospitality. I admire how some locals would still try their best to communicate with the tourist even though they don't speak a lot of English. Sometimes, it's not about how much you know but it's the effort that you put into it. I truly appreciate the warm welcome from the Nepalese people that I have met during my visit. 


NEPALESE FOOD  

Nepali food has been influenced by Tibetan and Indian styles of cooking. The regular and daily Nepali food is Dal Bhat (Lentil soup with boiled rice) together with some curried vegetables and some pickles. Momos (steamed or fried dumplings) would be the second most popular Nepali dish. 

Left - Steamed Chicken MomoRight - Chicken Dal Bhat with crispy chip

Left - Steamed Chicken Momo

Right - Chicken Dal Bhat with crispy chip

I love eating Nepalese food. There are so much richness and spices in almost every dishes. Before coming to Nepal, I have already tried plenty of Nepali dishes here in Hong Kong, so I am quite familiar with the dishes. I have my top 5 favourite Nepalese dishes that I would recommend everyone to try.

Take note that Nepal doesn't serve any Beef as Cows are Nepal's national animal, so it is very obvious that they don't eat beef, let alone serve it to the people in the restaurant. So don't ever look for beef in the menu. 

HERE ARE SOME OF MY TOP 5 FAVOURITE NEPALESE DISHES:

MOMO

Left - Tuna and Cheese MomoCenter - Buffalo Momo Right - Vegetable Momo

Left - Tuna and Cheese Momo

Center - Buffalo Momo 

Right - Vegetable Momo

One of the most popular Nepalese dish will be the "Momo" - Dumplings with meat or veggies with Chatne sauce. Momo are served with various types of meat such as, Chicken, Pork and Buffalo. There is Vegetable Momo available in any restaurant too for those who don't eat meat. My most favourite Momo would be the Buffalo Momo because it has more flavour and very mouth-watering. 

DAL BHAT

Left - Chicken Dal Bhat with ChapatiCenter - Chicken Dal Bhat with rice and crispy chip on topRight - Another dish similar to Dal Bhat, Mashed Cheese with vegetables and curry sauce

Left - Chicken Dal Bhat with Chapati

Center - Chicken Dal Bhat with rice and crispy chip on top

Right - Another dish similar to Dal Bhat, Mashed Cheese with vegetables and curry sauce

Dal Bhat is very popular in a lot of Nepalese restaurant. This is a set meal good for lunch or dinner time. Dal Bhat is served with rice or Chapati with lentils, potatoes or beans on the side. The main meat for Dal Bhat would be Chicken, Buffalo and Goat. There is also a Vegetable Dal Bhat.

CHOWMIEN

Left - Chicken ChowmienRight - Vegetable Chowmien

Left - Chicken Chowmien

Right - Vegetable Chowmien

Chow mien is served with fried noodles with a lot of vegetables such as carrots, cabbages, bell peppers, garlic and onions. Chow mien is also served with Chicken, Pork and Buffalo.

THUKPA

X.jpg

Thukpa is a soup noodle in Nepalese dish. Just like the Thukpa, it contains a lot of vegetables and it serves with meat such as Chicken or Pork with lemon to add more flavour. The soup is very tasty and satisfying. This is one of my favourite Nepali dishes and this is something I will always be craving for.


ALOO KAULI (GOBI)

Aloo gobi is prepared with some sliced potatoes, cauliflowers and spices. The dish itself looks very simple but the taste is very nice and trust me you won't be able to stop yourself from eating this dish once you started. 


NEPALESE BEVERAGES

TEA

Tea is probably my favourite drink of all time. Coming to Nepal makes me more excited to try out different types of teas. The teas are served with the tea spices and fresh fruits. I would definitely recommend the Ginger Lemon Tea, Fresh Lemongrass, Fresh Mint Tea and Black Tea. 

MASALA CHAI/ TEA

Masala Chai is very popular all around Nepal. Masala is served with fresh milk. I have tried Masala tea in lots of different styles. I love how I got the chance to taste Masala Tea in many different styles. 

YAK MILK

E.jpg

It is a must for you to try Yak Milk when visiting Nepal for trekking. If you are lucky to bump into a Yak farm while trekking, you should definitely give Yak Milk a go. It is fresh and good to drink it while it's warm. 

BEER

The top 2 popular local beers are Everest and Gorkha. I have actually tried both of these famous beers and I absolutely love it. I thought the taste would be a lot stronger than other commercial beers like San Miguel or Carlsberg. In my opinion, it is quite smooth and I really enjoyed drinking them. 

KHUKRI RUM

Khukri Rum has an alcohol content of 42.8%. The Khukri Rum is placed in a bottle with the shape of Nepalese Gurkha dagger, Kukri. I have never tried this drink yet, but I would definitely try it when I go back to Nepal. 


EXPENSES AND CURRENCIES

The currency in Nepal is the Nepalese Rupees (NPR). The notes are divided into 5, 10, 20, 50, 100, 500 and 1000 being the highest notes for Nepalese Rupees. For your information, there are no coins in Nepali money. You may exchange Nepalese Rupees all around the cities in Nepal. I heard that Thamel is a good place to exchange with better rates. It is impossible to exchange your money to Nepalese Rupees outside Nepal unless you are exchanging it from your Nepali friend overseas. Make sure to ask for smaller notes when exchanging, for paying smaller bills. Be sure to also exchange your Nepalese Rupees back to your original money currency before leaving Nepal or better yet just keep it, in case you are planning to come back to Nepal next time. 

On the other hand, US dollars are also highly used in Nepal. Some rates are indicated in USD too. 


WHY NOW IS THE TIME TO VISIT NEPAL

Do I have one question? Yes, why wait? Just do it!

But seriously, Nepal is a very beautiful country. It is filled with plenty of giant and breathtaking mountains, plus the world's highest mountain is there, the great Mount Everest. Although, Nepal have no beach but Nepal is surrounded with a lot of large and amazing lakes all over Nepal.  

Since the 2015 massive earthquake occurred, it is a sure thing that Nepal will not suffer another natural disaster until 60-70 years later. So it's pretty much safe to visit Nepal now. 

Another reason to visit Nepal is that the more people visit the country, the more it will help develop the country even better and help the Nepalese people to earn more income. Traveling to Nepal is also like traveling with a cause, which is helping them grow. 


KATHMANDU

"A very busy and chaotic city I ever seen in my life" 

Now that is what I thought about Kathmandu when I first arrived. The roads are bumpy and the floors were not even. Aside from the traffic and rough roads, there are many things to do and see in Kathmandu. This is the main city of Nepal, which explains why it is so busy and crowded. 

Left - Shopping areas in KathmanduRight - Cows chilling around the side roads

Left - Shopping areas in Kathmandu

Right - Cows chilling around the side roads

We were fortunate enough to have our Nepali friend, Bijay accommodating us when we were visiting Kathmandu. I feel like without our friend guiding us and bringing us to places, we wouldn't survive Kathmandu or we might have a hard time getting into places. 


THINGS TO SEE IN KATHMANDU

THE HIMALAYAN MOUNTAINS

Visiting Nepal will not be complete without experiencing any treks in Nepal. Mountains and hills are the golden treasures of Nepal, it is their pride and expertise. There are a wide range of trekking selections for you chose from being easy to difficult treks. There are plenty of trekking agencies for you to chose around Kathmandu. Please note that Trekking permits are required on most of the trekking routes around Nepal (TIMS), make sure to add this to your list of requirements. 

HERE ARE A LIST OF TREKKING ROUTES STARTING IN KATHMANDU:

  • Everest Base Camp (5,416 meters) - 12-13 days
  • Everest Base Camp 3 Passes Trek (5,540 meters) - 18 days
  • Mount Everest Summit (8,848 meters)
  • Gokyo (5,357 meters) - 12 days
  • Island Peak Trek
  • Cho-Oyu (8,201 meters)
  • Lhotse (8,586 meters) 
  • Makalu (8,463 meters)
  • Kangchenjunga (8,586 meters)


THE GREAT BOUDHA STUPA

H.jpg

The Boudha Stupa is one of the world's heritage site. This is the largest stupa in Nepal and the holiest Tibetan Buddhist temple. It was built in the 14th century. This heritage is not only for meditation but it is also a popular tourist site. The stupa consists of 3 large platforms and the top tower bears the Buddha eyes on all four sides. 

The entrance fee for a tourist is 400 NPR for a one day ticket. Inside the heritage, you can also see a lot of shops selling different types of goods such as, spices, cloths, souvenirs, paintings, sculptures, snacks, pots, religious beads and stones and jewelries.

I.jpg


DURBAR SQUARE

Durbar Square was built between the 12th and 18th century by the Malla kings. Durbar Square was where the city's kings were once crowned. Durbar Square has became a living museum from past to present. 

Since the deadly 2015 earthquake occurred, Durbar Square had been damaged horribly and most of its temples and buildings had been torn apart. Up until this day, you may still see the destruction caused by the 2015 earthquake. 


THAMEL

J.jpg

Thamel is a place for shopping, food and drinking. There are plenty of shops to buy your souvenirs and restaurants to fill your hungry stomach. There are also plenty of drinking places such as pubs, restaurant & bars, live bands, clubs and shisha bars around Thamel. Thamel is probably the only area that opens until late night. It may get crazy at night so be careful. Don't go there alone, always go with a group of people. 


KAISER LIBRARY

Kaiser Library is also known as the Leshar Library. Visiting this library should be on your list as the main reading room contains some antique globes, stuffed tiger's heads and antique armours. 


THE LIVING GODDESS

Kumari, the living goddess can be found in Basantapur, where the Kumari (goddess) lives. While visiting Nepal, you should definitely take the chance to have a glimpse of the living goddess. During late August or early September, the festival "Indra Jatra" is being celebrated and it is one of the most colourful festival in Nepal. The Kumari will also parade across the city in her golden palanquin. 


THINGS TO DO IN KATHMANDU

MOUNTAIN TREKKING

Trekking in Nepal is probably the most popular thing to do. Majority of the people visiting Nepal will most likely go for some trekking adventure. Why is that? The reason is that Nepal have so many beautiful mountains to trek. As you stroll around Kathmandu, you will see plenty of trekking agencies and trekking shops. 

When I visited Nepal on September 2017, I went trekking to the Mardi Himal for 6 days. I booked through "Plan Himalaya". I had a nice experience and I have definitely achieved what I came to Nepal for. I would be more than happy to share my trekking experience with you all.

My blog about my Mardi Himal Trek will be added within 2 weeks. 


ROADTRIP

K.jpg

Roadtrip around Kathmandu can be a fun and a thrilling experience. Getting around different places in Kathmandu would give you a chance to know more about the culture and its heritage. It is easy to rent a car in Nepal but be sure to look for a reliable car renting company and driver. 


FOOD TRIP

Food hunting is probably one of the things every visitors would appreciate. Trying out different types of dishes would want you to crave for more. There are plenty of nice restaurant around Kathmandu. Here are some of my recommendation of restaurant for you to try on.

Left - BBQCenter - Pad Thai Noodles in Nepalese styleRight - Buffalo Momo

Left - BBQ

Center - Pad Thai Noodles in Nepalese style

Right - Buffalo Momo

  • Tom Yum Goong
  • Atithi Satkaar Restaurant
  • The Tulip Kathmandu
  • Thamel House Restaurant
  • Thamel Momo Hut
  • Utsav Authentic Nepali Restaurant
  • Gorka Palace Restaurant & Bar
  • Zibro Restaurant & Bar


BUNGEE JUMP ADVENTURE

If you are craving for some adrenaline, then bungee jumping in Nepal should be on your list  It is situated in a 160-meter above a suspension bridge. Imagine free-falling from a 160-meter bridge to one of Nepal's wildest rivers and get a touch of its water onto your face as you fall. That sounds a bit scary but thrilling isn't it? 

It is a 3 hour ride from Kathmandu to the Bungee jumping area. Getting there would require you to through an area near the Tibet border and the famous Friendship Bridge to reach the jump location. The price starts from 70-150USD depending on seasons and different packages.   


SHOPPING

Most of the shops will offer you a good price and bargaining is fine but be sure to be reasonable of what price you are asking for. There is also a higher chance to get a better deal if you buy more things from the shop. But to be honest, everything in Nepal is very affordable.


POKHARA  

Pokhara is known as the city of lakes. There are about 9 lakes in the city surrounded by more than 20 something stunning mountains. The largest lake in Pokhara is the Phewa Lake and from there you may visit some of its heritage and temple. There are also plenty of mountains/ hills to do for trekking. 

V.jpg

I love staying in Pokhara as there are many places to do and see around this area. It is also  tourist-friendly and less chaotic than Kathmandu. Even though the journey going to Pokhara and getting out of Pokhara is hard but it was worth it. To know more about why it is a tough ride to Pokhara, read "How to get to Pokhara from Kathmandu' below. 


HOW TO GET TO POKHARA FROM KATHMANDU

Getting to Pokhara from Kathmandu takes about 210 kilometres. Pokhara is reachable by plane, tourist bus, local bus and even private car. 

BY PLANE - EXPENSIVE BUT FAST

Taking the plane to Pokhara would be the fastest way to get there within 30 minutes but the cost is not cheap. It would cost around 100-120USD per person for a one-way ticket via Buddha airlines, Tara airlines and Himalayan airlines. But of course taking the plane would reward you with a more comfortable ride and a nice view of the mountains and if you're lucky enough maybe Mount Everest might even pop out when it's not foggy. 


BY TOURIST/ LOCAL BUS - CHEAPER BUT LONGER RIDE

The most ideal transportation for budget travellers would be taking the tourist/ local bus to Pokhara. Most of the tourist visiting Nepal and even some locals would most likely take the tourist bus. Why? Because it's more convenient, it's air-conditioned, seats are more comfortable compare to local buses and not a lot of stop-overs. The travelling time to Pokhara via tourist bus takes 6-7 hours (if no traffic, engine break down or accidents). The prices starts from 4-20USD depending on the season and which bus company you are taking. Be sure to find a reliable bus company, do your research and don't forget to read customer's feedback to know more. The buses normally assemble at Kantipath Bus Station. All buses leaves at 7:00am sharp.


BY PRIVATE CAR

Please note that by taking a private car does not guarantee you a faster ride to Pokhara and vice versa. It will still be about 5-7 hours ride and probably a rough ride too. The only good thing about taking private car is you get to stop whenever you want to and the whole car belongs to you. The price for renting a private car will start from 60-100USD for a one-way ride. 


MY PERSONAL EXPERIENCE ON GETTING TO POKHARA

It is always good to GPS your location while traveling just to know where you are heading and how long will it take you.

It is always good to GPS your location while traveling just to know where you are heading and how long will it take you.

Being a budget traveller, i obviously chose to take the tourist bus to get to Pokhara. I took a tourist bus form "Global Vacation Travels & Tours" for 7USD. The ride took us 7 hours to get to the "Bus Park" in Pokhara. There were about 3 stop-over, one for toilet break, second for breakfast plus toilet break and third for lunch and toilet break. The ride was a bit bumpy and dusty but since it is an air-conditioned bus, the dust didn't really bothered me that much. I took a few minutes nap from time to time and enjoying the view. 

While the journey to Pokahara was smooth, going back to Kathmandu was very rough. I booked with "Blue Sky" for 7USD. The ride was smooth for the first 5 hours, no traffic and only two stop-overs for toilet break and lunch. After having lunch, the most unpredictable thing happened, our bus engine broke down and had failed to recover. So we had to wait and hitch in another tourist bus. The bus that we got on does not have any air-conditioner and we sat all way at the back, since that's the only available seats left. It was hot, dusty and horrible. We were stuck for some time when we reach the highway, maybe some accidents? (guess we'll never know). Overall, the ride took us 11 frigging long hours. My bums hurts and i feel very dirty with all the dust all over me. But I am still thankful that we reached back to Kathmandu safely without getting stuck there any longer than 11 hours and also we were not involved in any kind of accidents. This is an experience that I would never forget. 


THINGS TO SEE IN POKHARA

THE HIMALAYAN MOUNTAINS

U.jpg

Visiting Nepal will not be complete without experiencing any treks in Nepal. Mountains and hills are the golden treasures of Nepal, it is their pride and expertise. There are a wide range of trekking selections for you chose from being easy to difficult treks. There are plenty of trekking agencies for you to chose around Pokhara. Please note that Trekking permits are required on most of the trekking routes around Nepal (TIMS), make sure to add this to your list of requirements. 

HERE ARE A LIST OF TREKKING ROUTES STARTING FROM POKHARA:

  • Annapurna Base Camp (ABC) (4,30 meters) - 7-10 days
  • Annapurna Circuit (5,416 meters) - 15-20 days
  • Mardi Himal Trek (overlooking the Machapuchre) (5,587 meters) - 5-7 days
  • Sarangkot Naudanda Hiking - 1 day (4-5 hours)
  • Poon Hill Trek (3,210 meters) - 5-7 days
  • Manaslu Trek (5,135 meters) - 14 days
  • Khopra Danda Trekking - 6-7 days
  • Dhampus Village Trekking - 1-2 days
  • Upper Mustang Trekking (3,810 meters) - 10-15 days


WORLD PEACE PAGODA

N.jpg

The World Peace Pagoda is a massive Buddhist stupa and it is situated on top of a hill on the southern part of the Phewa Lake. The view up there is fantastic and it is definitely gives you a panoramic view of the himalayan mountains. 

We took a boat ride from the Lakeside to get to the other side for 650 NPR for 2 people for a one-way ride. The boat takes us about 15 minutes to get to the other side of the lake. Then, we hike up for 30 minutes up to the Pagoda. We met a nice dog along the way and he followed us until he wasn't allowed to enter the World Peace Pagoda. There is no entrance fee to the World Peace Pagoda. 

Getting back to the Lakeside can do the same direction as how you reach the Pagoda in the first place or you may take a shorter trip by taking a taxi back to the Lakeside. The taxi fare cost us 900 NPR. 


OLD BAZAAR

If you have spare time in Pokhara, then you must visit Pokhara's Old Bazaar. This is where the old market started before Lakeside became the new shopping destination. One of the most important Shrine the "Bindhyabasini Mandir" is situated in the Old Bazzar. It is around 4km from the Lakeside.  

While visiting the Old Bazaar, you may notice that most of the shops are closed. Don't be surprise as this is very normal as most of the shops have already moved to the Lakeside, where the business are. However, there are still some shops offering you some golds, jewelries, spices, cloths and cosmetics. Visiting the Old Bazaar is not just for shopping but also to take some time to visit one of the heritage in Pokhara and to also help out the locals to earn some living by buying some of their goods. 


INTERNATIONAL MOUNTAIN MUSEUM

Left - Memorial for mountaineers who have lost their livesCenter - My favourite photograph in the Museum. It is a picture of a Porter carrying some heavy bags and sacks filled with equipment, cloths and food.Right - The founders and creators of the …

Left - Memorial for mountaineers who have lost their lives

Center - My favourite photograph in the Museum. It is a picture of a Porter carrying some heavy bags and sacks filled with equipment, cloths and food.

Right - The founders and creators of the International Mountain Museum

International Mountain Museum is one of the largest museum and the only mountain museum in Nepal. If you love mountains or if you are about to go for some trekking activities then visiting the Mountain Museum would be resourceful before doing your trek. The reason why Pokhara was chosen to build the Mountain Museum was because of its scenic location. 

The museum is very simple and informative. It has 4 different sections for visitors to see.

1 - Hall of Mountain People 

2 - Hall of World Mountains

3 -  Hall of Mountain Activities (equipments, ecology and environment)

4 - Hall of Temporary Display (Lakhang, library, artificial climbing wall, Mt. Manaslu & Yak model)

We took a taxi ride for 900 NPR (roundtrip). The museum charges 400 NPR for tourist, 80 NPR for Nepali nationals and 40 NPR for students. 


BARAHI TEMPLE

P.jpg

Barahi Temple is located in the middle of the Phewa Lake. Barahi Temple is a very important religious monument in Pokhara. It is used to worship by both Hindus and Buddhists. The temple is small but very peaceful and relaxing. Getting there will require you to take a boat ride, you can easily rent a boat around the Lakeside for a roundtrip ride. 


THINGS TO DO IN POKHARA

MOUNTAIN TREKKING

Trekking in Nepal is probably the most popular thing to do. Majority of the people visiting Nepal will most likely go for some trekking adventure. Why is that? The reason is that Nepal have so many beautiful mountains to trek. As you stroll around Pokhara, you will see plenty of trekking agencies and trekking shops. 

T.jpg

When I visited Nepal in September 2017, I went trekking to the Mardi Himal for 6 days. I had a nice experience and I have definitely achieved what I came to Nepal for. I would be more than happy to share my trekking experience with you all.

Check out my Mardi Himal Trek experience by clicking this link "The Mardi Himal Trek" to know about the trek.


PARAGLIDING & ZIP LINING

Q.jpg

If you are craving for some adrenaline rush, well then Paragliding and Zip Lining are definitely your thing. it both gives you a 360 degree view of the Lakeside and some mountain views. 

You can easily book a Paragliding tandem flight and Zip Lining anywhere around the Lakeside in Pokhara. Just make sure to find the right and trustworthy agency. For booking of Paragliding, it must be done a day before your designated date. 

I booked my Paragliding flight with Buddha Paragliding for 65USD (including pick-up from hotel and pictures and videos)


ULTRA LIGHT & HELICOPTER TOUR

Ultra Light and Helicopter tour both brings you to a closer and nicer view of the mountains. There are different types of packages for both rides, which starts from 15 minutes to 1 hour. Prices may increase or may be cheaper depending on the season. Both of these tour operates daily and with a very precise schedule time too. They mostly do it in the morning time.


WATER RAFTING

If you fancy some water sports in Nepal, then you would probably enjoy water rafting. There are many rivers in Nepal and in Pokhara. The famous one would be the Mardi River, the water comes from the Holy mountain, Machapuchre. 

Water rafting can get really fun and wet too. I would say that you should definitely pick a perfect and suitable time to do this activity. 


SHOPPING

R.jpg

There are plenty of shops around the Lakeside in Pokhara. You can find a lot of cashmere and wool clothing shops, souvenir shops, stones and runes shops, trekking shops, supermarkets, tea shops and many more others. 


Most of the shops will offer you a good price and bargaining is fine but be sure to be reasonable of what price you are asking for. There is also a higher chance to get a better deal if you buy more things from the shop. But to be honest, everything in Nepal is very affordable.


FOOD TRIP

There are plenty of nice restaurants in Pokhara. Most of the restaurant are actually open very early but close quite early at night time. For some reason, people tends to close early around Nepal. 

S.jpg

HERE ARE SOME OF MY RESTAURANT RECOMMENDATION IN POKHARA:

  • The Blind Tiger
  • The Moondance Restaurant and Bar
  • Busy Bee Cafe
  • Dunga Restro & Lounge Bar
  • The Harbor at the Glacier
  • Merhaba Kebab House
  • Pokhara Thakali Kitchen
  • Pokhara Pizza House
  • Cafe Concerto
  • The Black and White


RENT A BICYCLE

You can rent a bicycle but not a motorcycle as it is banned by the government due to road safety. Renting a bicycle is very easy. All you have to do is pay the deposit plus the rent fee and while handing over and leaving your passport or identification may be required, in case you didn't return their bikes. A nice bike ride around the Lakeside sounds very refreshing and relaxing. 


Overall, my Nepal experience was great and it is something I would cherish all my life. I would definitely come to Nepal and explore more places that I didn't have the chance to visit.

Would I recommend Nepal? Of course my answer will be Yes! Nepal is very rich in culture and I feel that people should come to Nepal to experience it themselves. 

If you got any questions, feel free to comment below or by email. I will be more than happy to help.


Yours Truly, 

Michelle Chan

A Secret Prison in Cambodia

As promised from my blog on "Discover Cambodia" , this is a blog about Tuol Sleng Genocide Museum, also known as the S21 Prison. Now the reason why I decided to make a blog about this is that I find this incident the most horrific and barbaric genocide I have ever read in history in my 26 years. 

This blog contains essential information about the secret Prison and some stories that I had learned from the audio guide tour when I visited Tuol Sleng Genocide Museum & The Cheoung Ek Killing Fields and based on my self-research, courtesy of the internet. Some images and statements are written and posted in this blog may be sensitive to some people. This is the stories of the 14,000 victims in the hands of the Khmer Rouge. These victims may have died brutally, but their deaths will not be left forgotten. It will forever stay in history.  


THE KHMER ROUGE

Khmer Rouge is a communist party in Cambodia, who took control of Cambodia on April 17, 1975, until 1979. The Khmer Rouge wanted to transform Cambodia into a classless society in which there are no rich and no poor people. Group gatherings are forbidden as this is a sign of plotting a war against the Khmer Rouge. They have forced around 2 million people in Phnom Penh and other cities for some agricultural work and whereas thousands of people had died during the hard labour work through endless work, starvations, beatings or executions. The Khmer Rouge had set up secret prisons, where they captured, brutally tortured and executed thousands of people.


THE S21 PRISON

The Tuol Sleng Genocide, also known as the S21 Prison, used to be a school before it was turned into a secret prison by the Khmer Rouge. The secret Prison was operated for four horrific years, which also means four long years of tortures and executions of mostly innocent people. 


WHO WERE CAPTURED, TORTURED AND KILLED

Most of the people who are brought into the secret Prison are either guilty or innocent and has nothing to do with whatsoever the war that the Khmer Rouge are having during those time. The Khmer Rouge members/ soldiers/ guards or other civilians are also pins pointing at some random people or somebody who may potentially look like a traitor in their eyes. These innocent victims were tricked for a job opportunity. Little did they know that they are being brought into a dark place. While some people were captured because they are traitors, but I guess we will never know who are the real traitors and who is not. You will find out what I meant about the previous sentences I have written as you continue to read this blog.

The image above shows the rules inside the S21 Prison. If the image is a bit small for you to see, then here are the list of the regulations.1. You must answer accordingly to my questions - Don't turn them away.2. Don't try to hide the facts by maki…

The image above shows the rules inside the S21 Prison. If the image is a bit small for you to see, then here are the list of the regulations.

1. You must answer accordingly to my questions - Don't turn them away.

2. Don't try to hide the facts by making pretexts this and that you are strictly prohibited to contest me.

3. Don't be fool for you are a chap who dare to thwart the revolution.

4. You must immediately answer my questions without wasting time to reflect.

5. Don't tell me either about your immortalities or the essence of the revolution.

6. While getting lashes or electrification you must not cry at all.

7. Do nothing, sit still and wait for my orders. If there is no order, keep quiet. When I ask you to do something, you must do it right away without protesting.

8. Don't make pretext about Kampuchea Kromin order to hide your secret or traitor.

9. If you don't follow all the above rules, you shall get many lashes of electric wire.

10. If you disobey any point of my regulations you shall get either ten lashes or five shocks of electric discharge.


THE EVIDENCE

PHOTOGRAPHS OF THE PRISONERS

The photographs of the prisoners' headshots and torture photographs were found and discovered by the Vietnamese Army. The prisoners' names were all changed into numbers. In other words, they are no longer identified by their names but by numbers appointed to them instead.

Photographs of the S21 prisoners

Photographs of the S21 prisoners

TORTURE ROOMS 

There are plenty of torture rooms in the S21 Prison. The torture rooms are used as interrogation rooms as well. The prisoners are tied up and must answer the questions that are being asked by the interrogators. Refusing to answer a question or making up stories will face an extreme and painful torturing. Some torturing method that the interrogators used are electric wires, drownings and some other terrible and inhuman ways.

TOOLS AND EQUIPMENT USED FOR TORTURING PRISONERS

When S21 Prison was discovered, the remaining of the tools and pieces of equipment for torturing prisoners were recovered as well. The people who have survived this had explained and demonstrated how the equipment works. But I rather not share this as it is very heartbreaking to hear, but if you want to know more about it, you may google it to know more information about their torturing methods.

This is one of the torturing equipments found in S21 Prison. No caption needed, you may use your own interpretation based on the image on the right.

This is one of the torturing equipments found in S21 Prison. No caption needed, you may use your own interpretation based on the image on the right.

JAIL CELLS

They have built jail cells for the prisoners around the premises. The jail cells are tiny, and by the looks of it, it is just enough for one person to fit very tightly inside the cell. The prisoners were tied up while their faces were covered with a sack and limited hole for them to get some air to breathe. The prisoners are not allowed to speak with any other cellmates or fellow prisoners, they are to remain silent under any circumstances.

Jail cells in S21 Prison. I felt a bit of goose bumps when I enter the room as if like I can feel imagine how the prisoners lived in this tiny jail cell.

Jail cells in S21 Prison. I felt a bit of goose bumps when I enter the room as if like I can feel imagine how the prisoners lived in this tiny jail cell.

CLOTHES OF THE PRISONERS

Plenty of the prisoners clothing was found after the Vietnamese army discovered the prison. The clothes were pilled together in memory of the victims.

MASS GRAVE AT CHEOUNG EK (THE KILLING FIELDS)

Cheoung Ek Killing Fields was known to be the worst mass grave in Cambodia. The reason for this is that there are so many people who have died here. Some victims were buried alive and also the fact that this mass killing was very secretive until the Vietnamese Army finally discovered it. Imagine if they didn't, then more people could have been dead as well.

Mass grave in Cheoung Ek KiIlling Field

Mass grave in Cheoung Ek KiIlling Field

RECOVERED PIECES OF BONES AND THE SKULLS

Pieces of bones, teeth and skulls of the prisoners were found buried in the mass grave at the Killing Field as part of the evidence of this barbaric crime. 


WHEN DID THE KILLINGS END

VIETNAM CAME TO RESCUE

In 1979, the S21 Prison was discovered by the Vietnamese Army after four long years of barbaric acts of the Khmer Rouge towards thousands of people. 

THE PUNISHMENT

Most of the remaining leaders of the Khmer Rouge were sentenced to life imprisonment by the ECCC (Extraordinary Chambers in the Courts of Cambodia) for crimes against humanity. Life imprisonment doesn't completely justify what the Khmer Rouge had done to the dead prisoners. I believe that the punishment should be as brutal as what they had caused to the thousand lives of the prisoners. 


HOW MANY PEOPLE SURVIVED IN THE S21 PRISON

There are only seven survivors that are known to have survived the S21 Prison. 7 out of 14,000 victims that is just sick! Three of the survivors are still alive, and they can be seen around the museum. You may have a quick chat with the survivors if you want to. I'm sure they will be more than happy to share their life story back in S21 Prison.
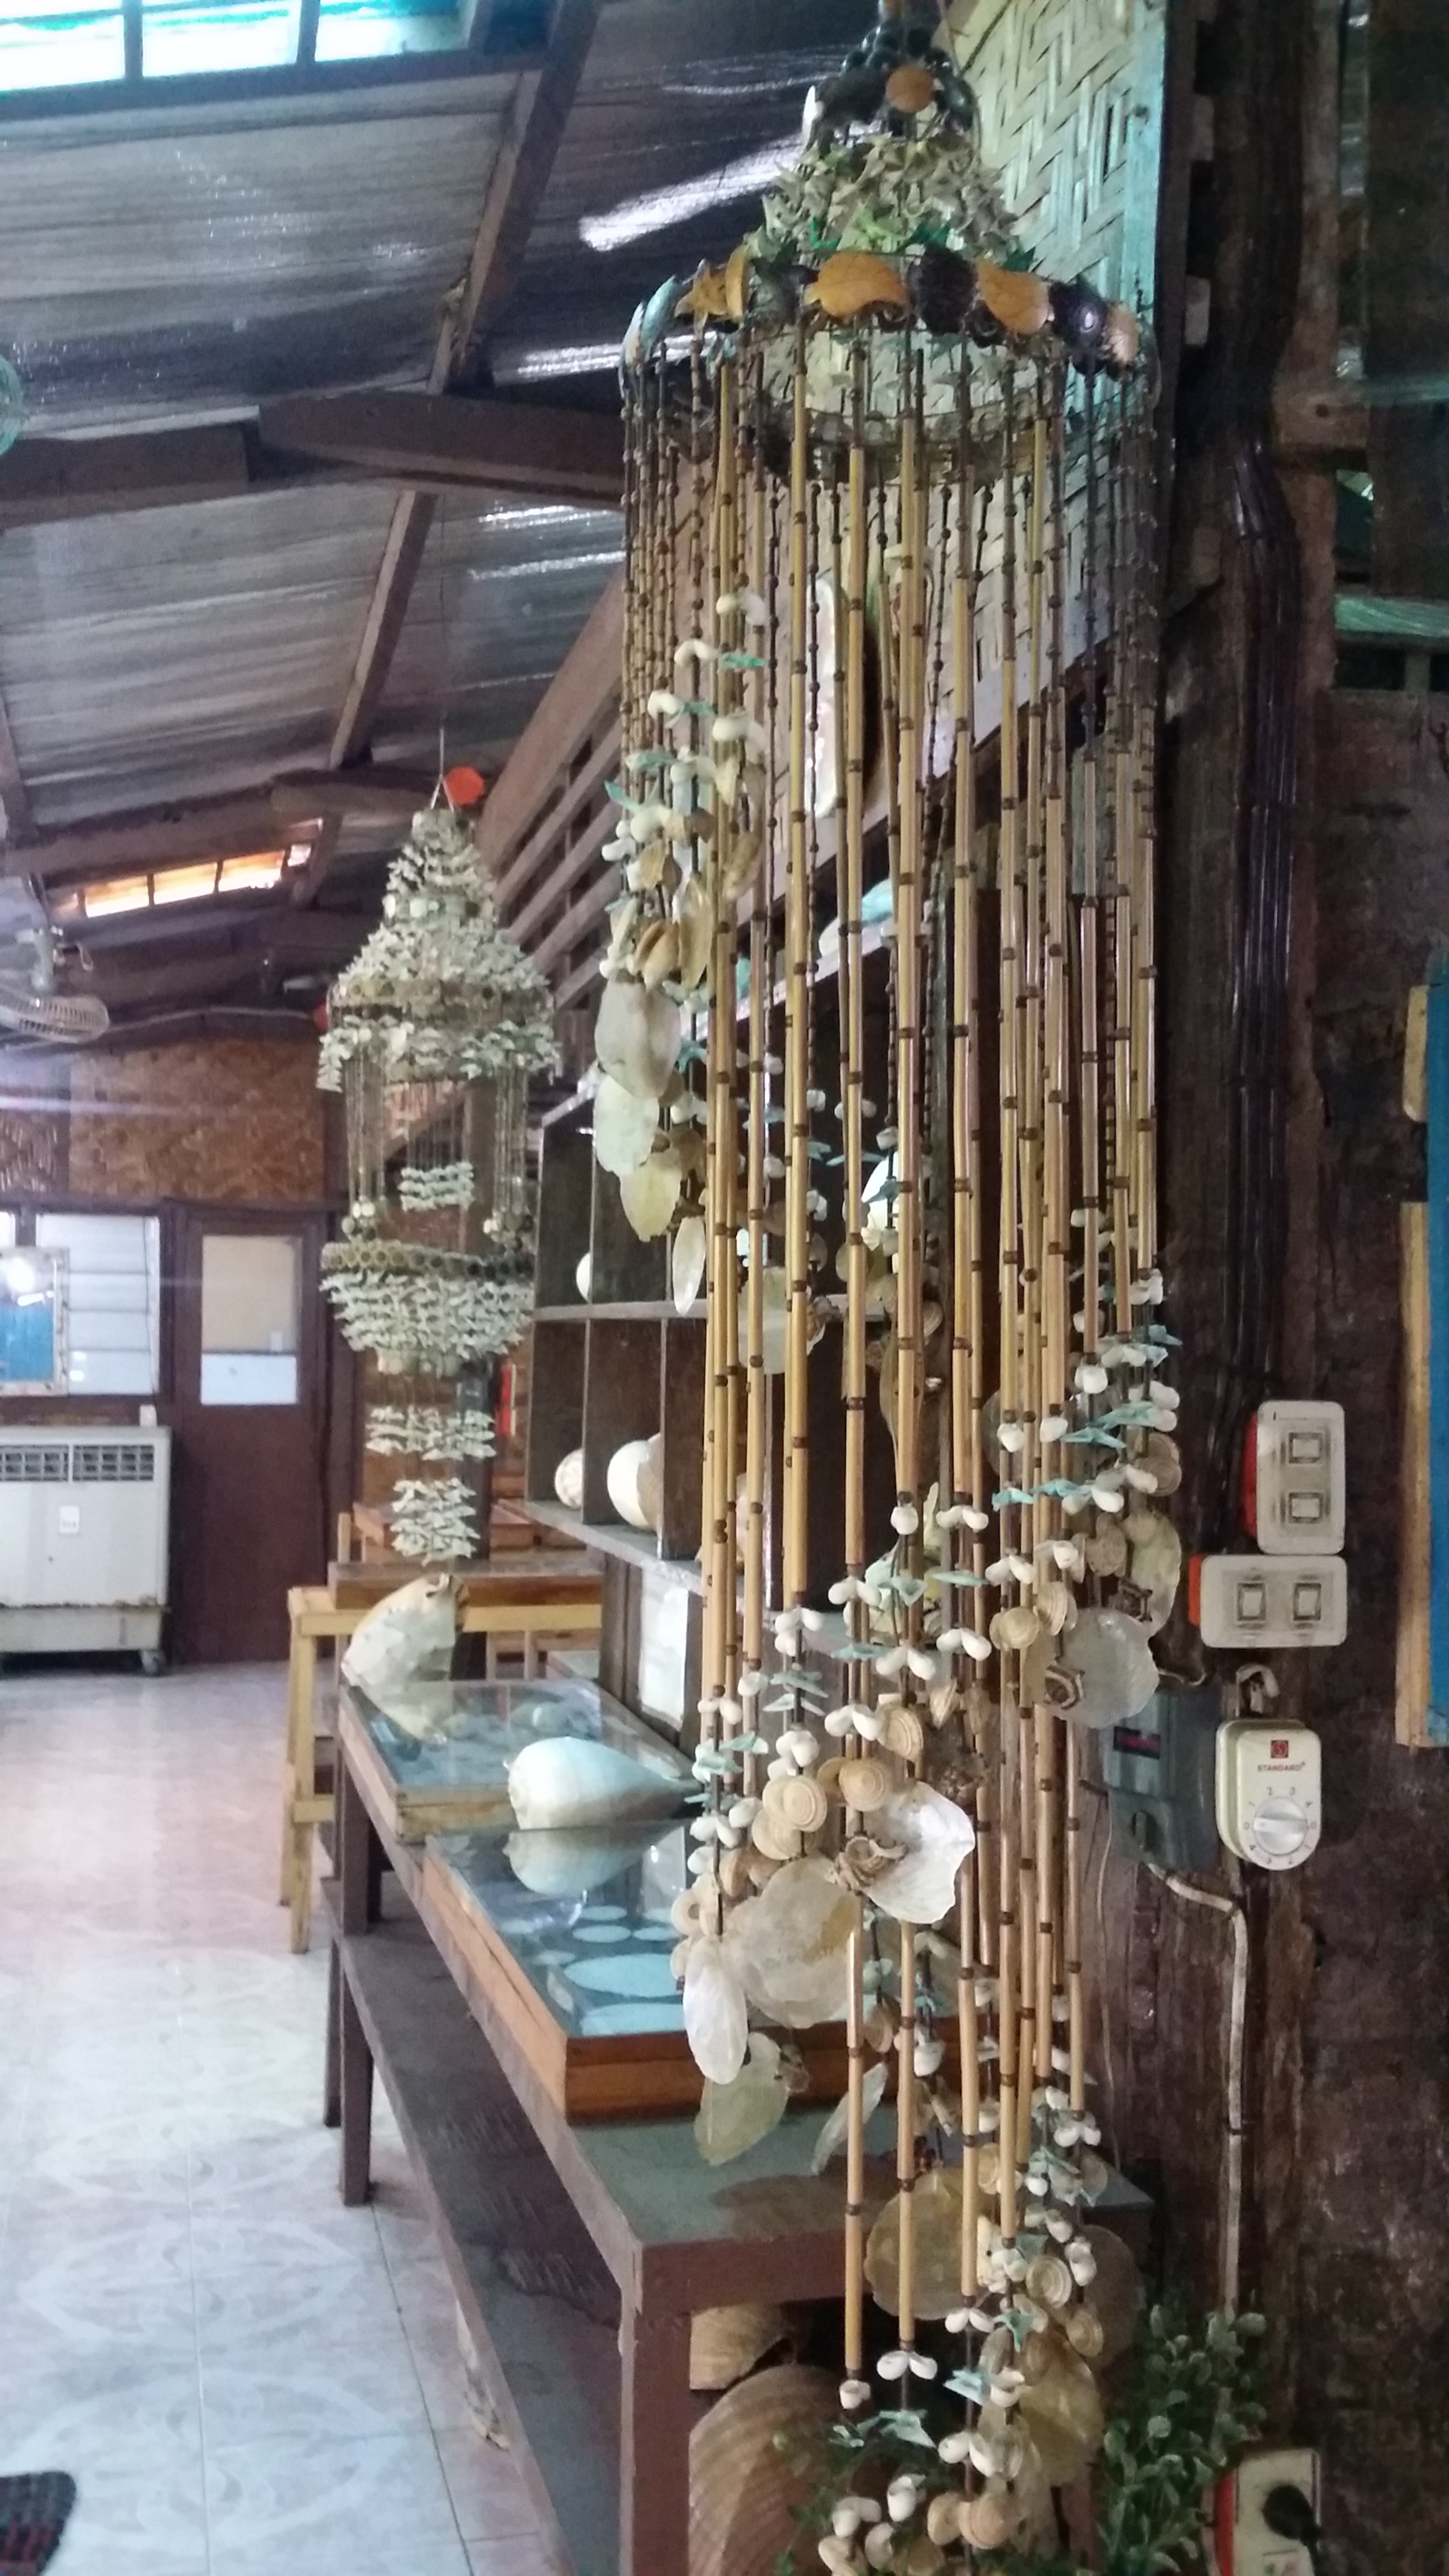
 

A 16 YEARS OLD BOY WAS RELEASE DUE TO A STRANGER'S SACRIFICE

This story is base on the story that I have heard from the audio guide tour. There was a 16 years old boy who was captured and unaware of what was going on. He had lost his family along the way and was forced to stay with the other prisoners. A kind and a selfless man begged a prison guard to spare the boy. The man insisted "He is too young, please let him go". The man did not stop asking the prison guard until one day, the boy was released, but in return, the prison guard executed the man who had helped, and he sacrificed himself to save the boy. The boy did not know the man's name, but he will forever remember and be grateful to what the man had done for him to live.
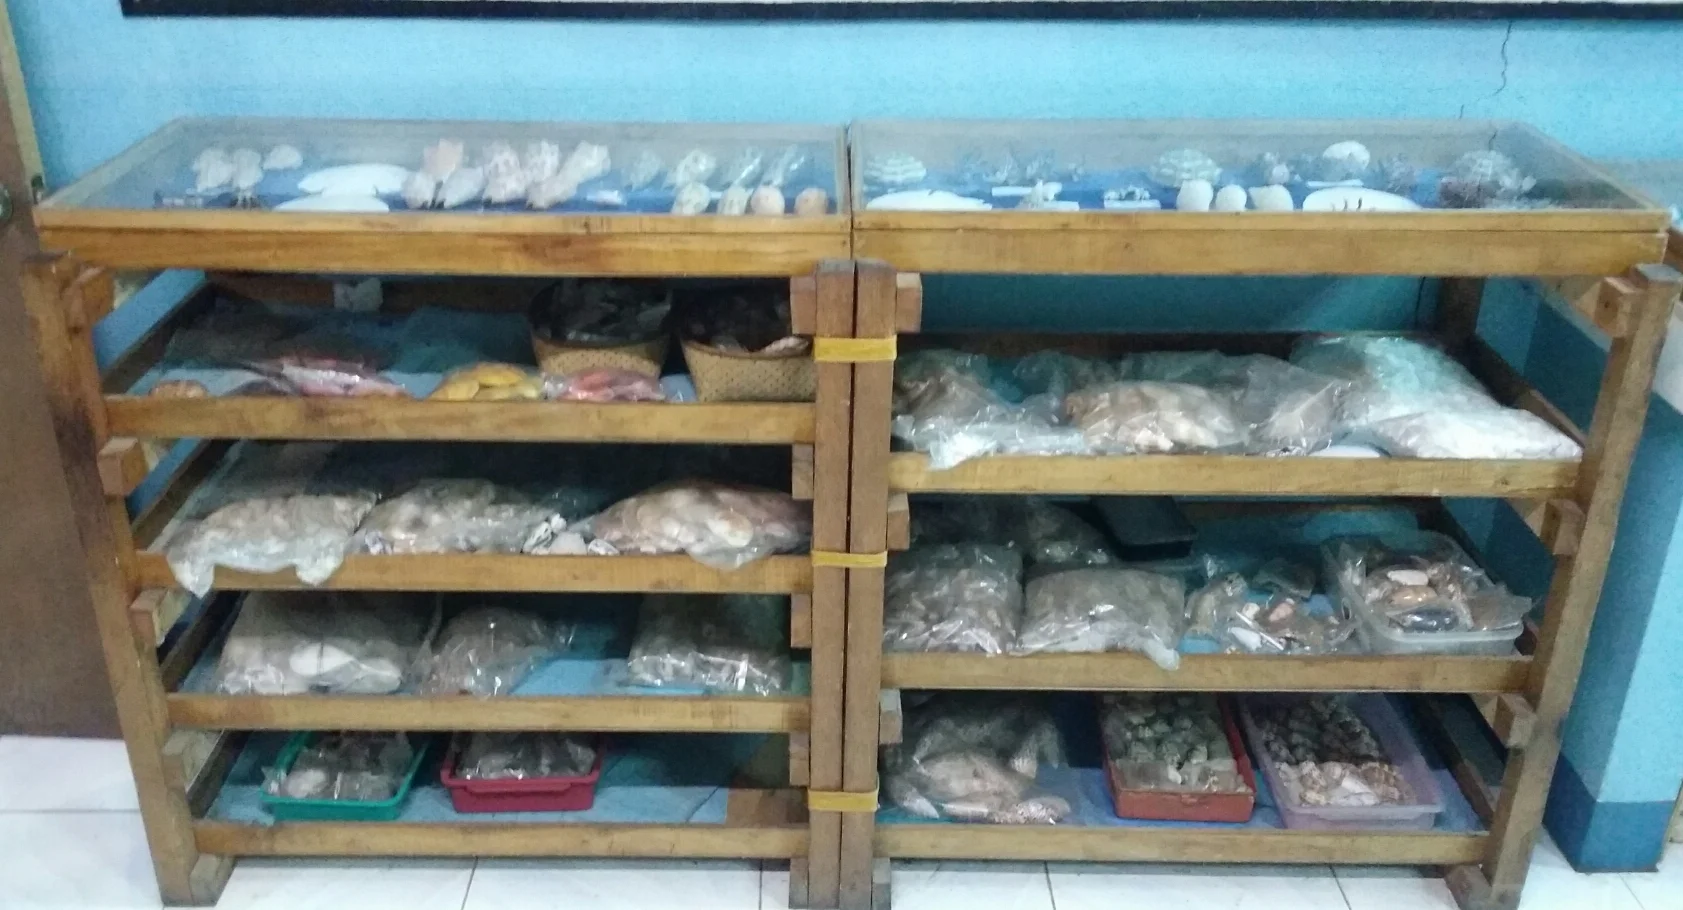
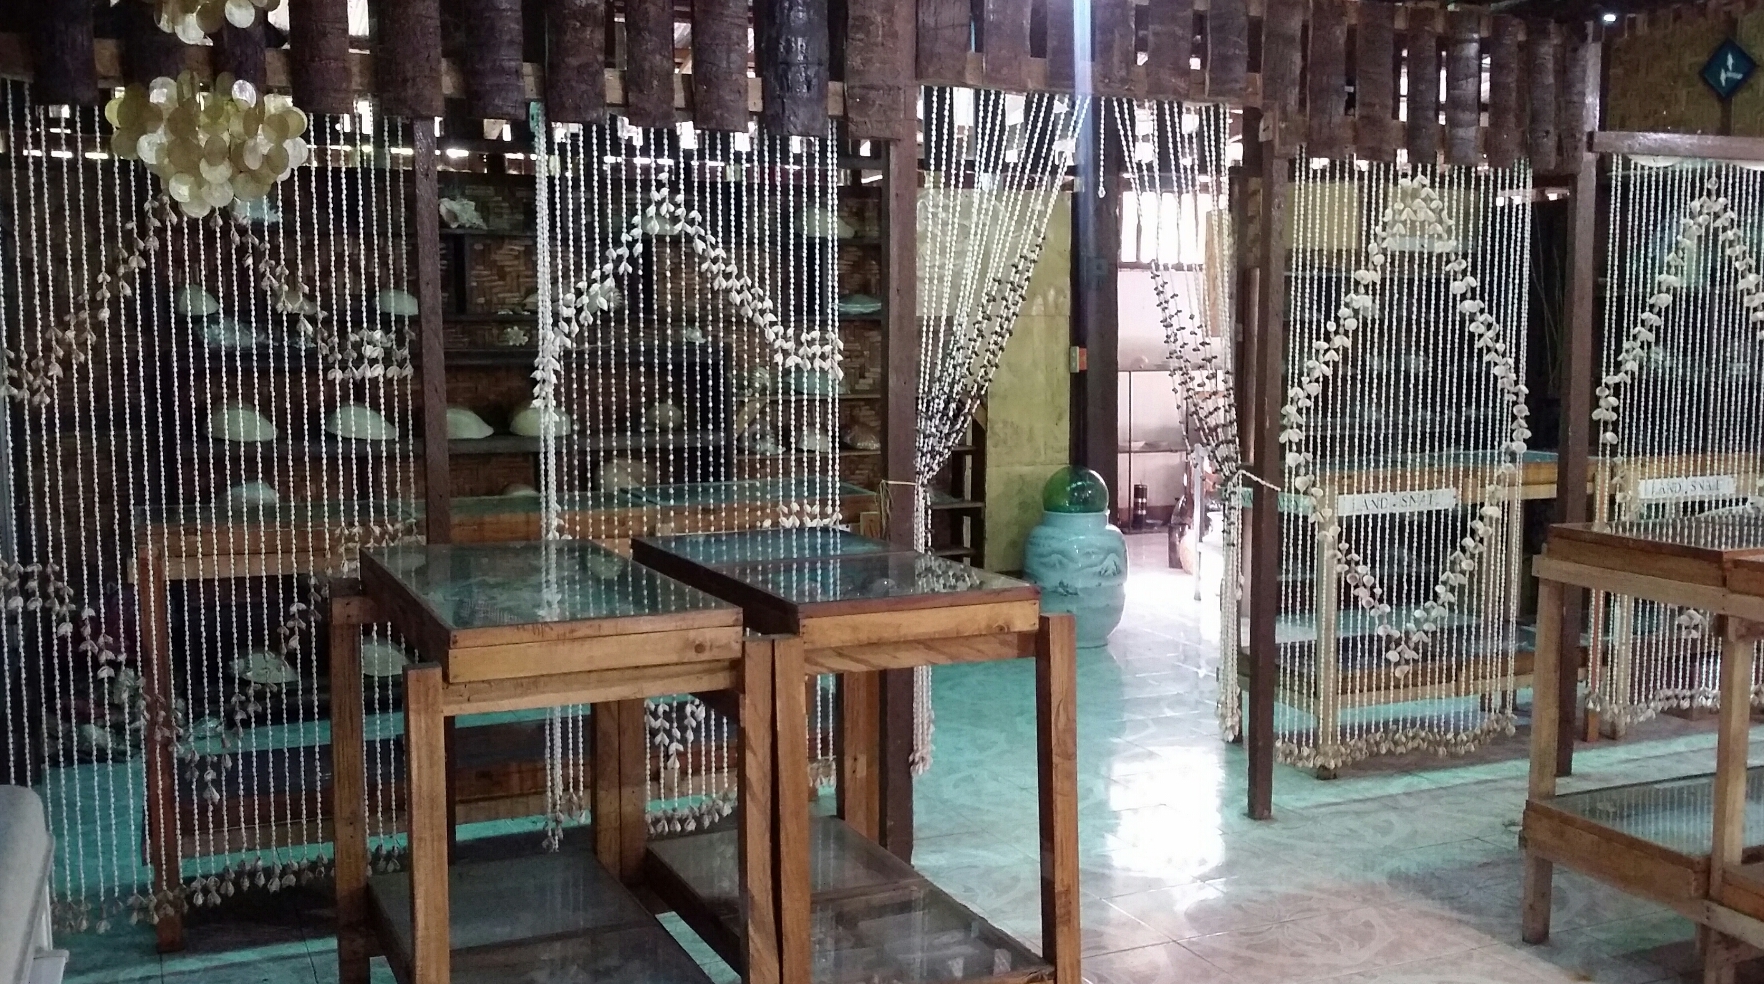
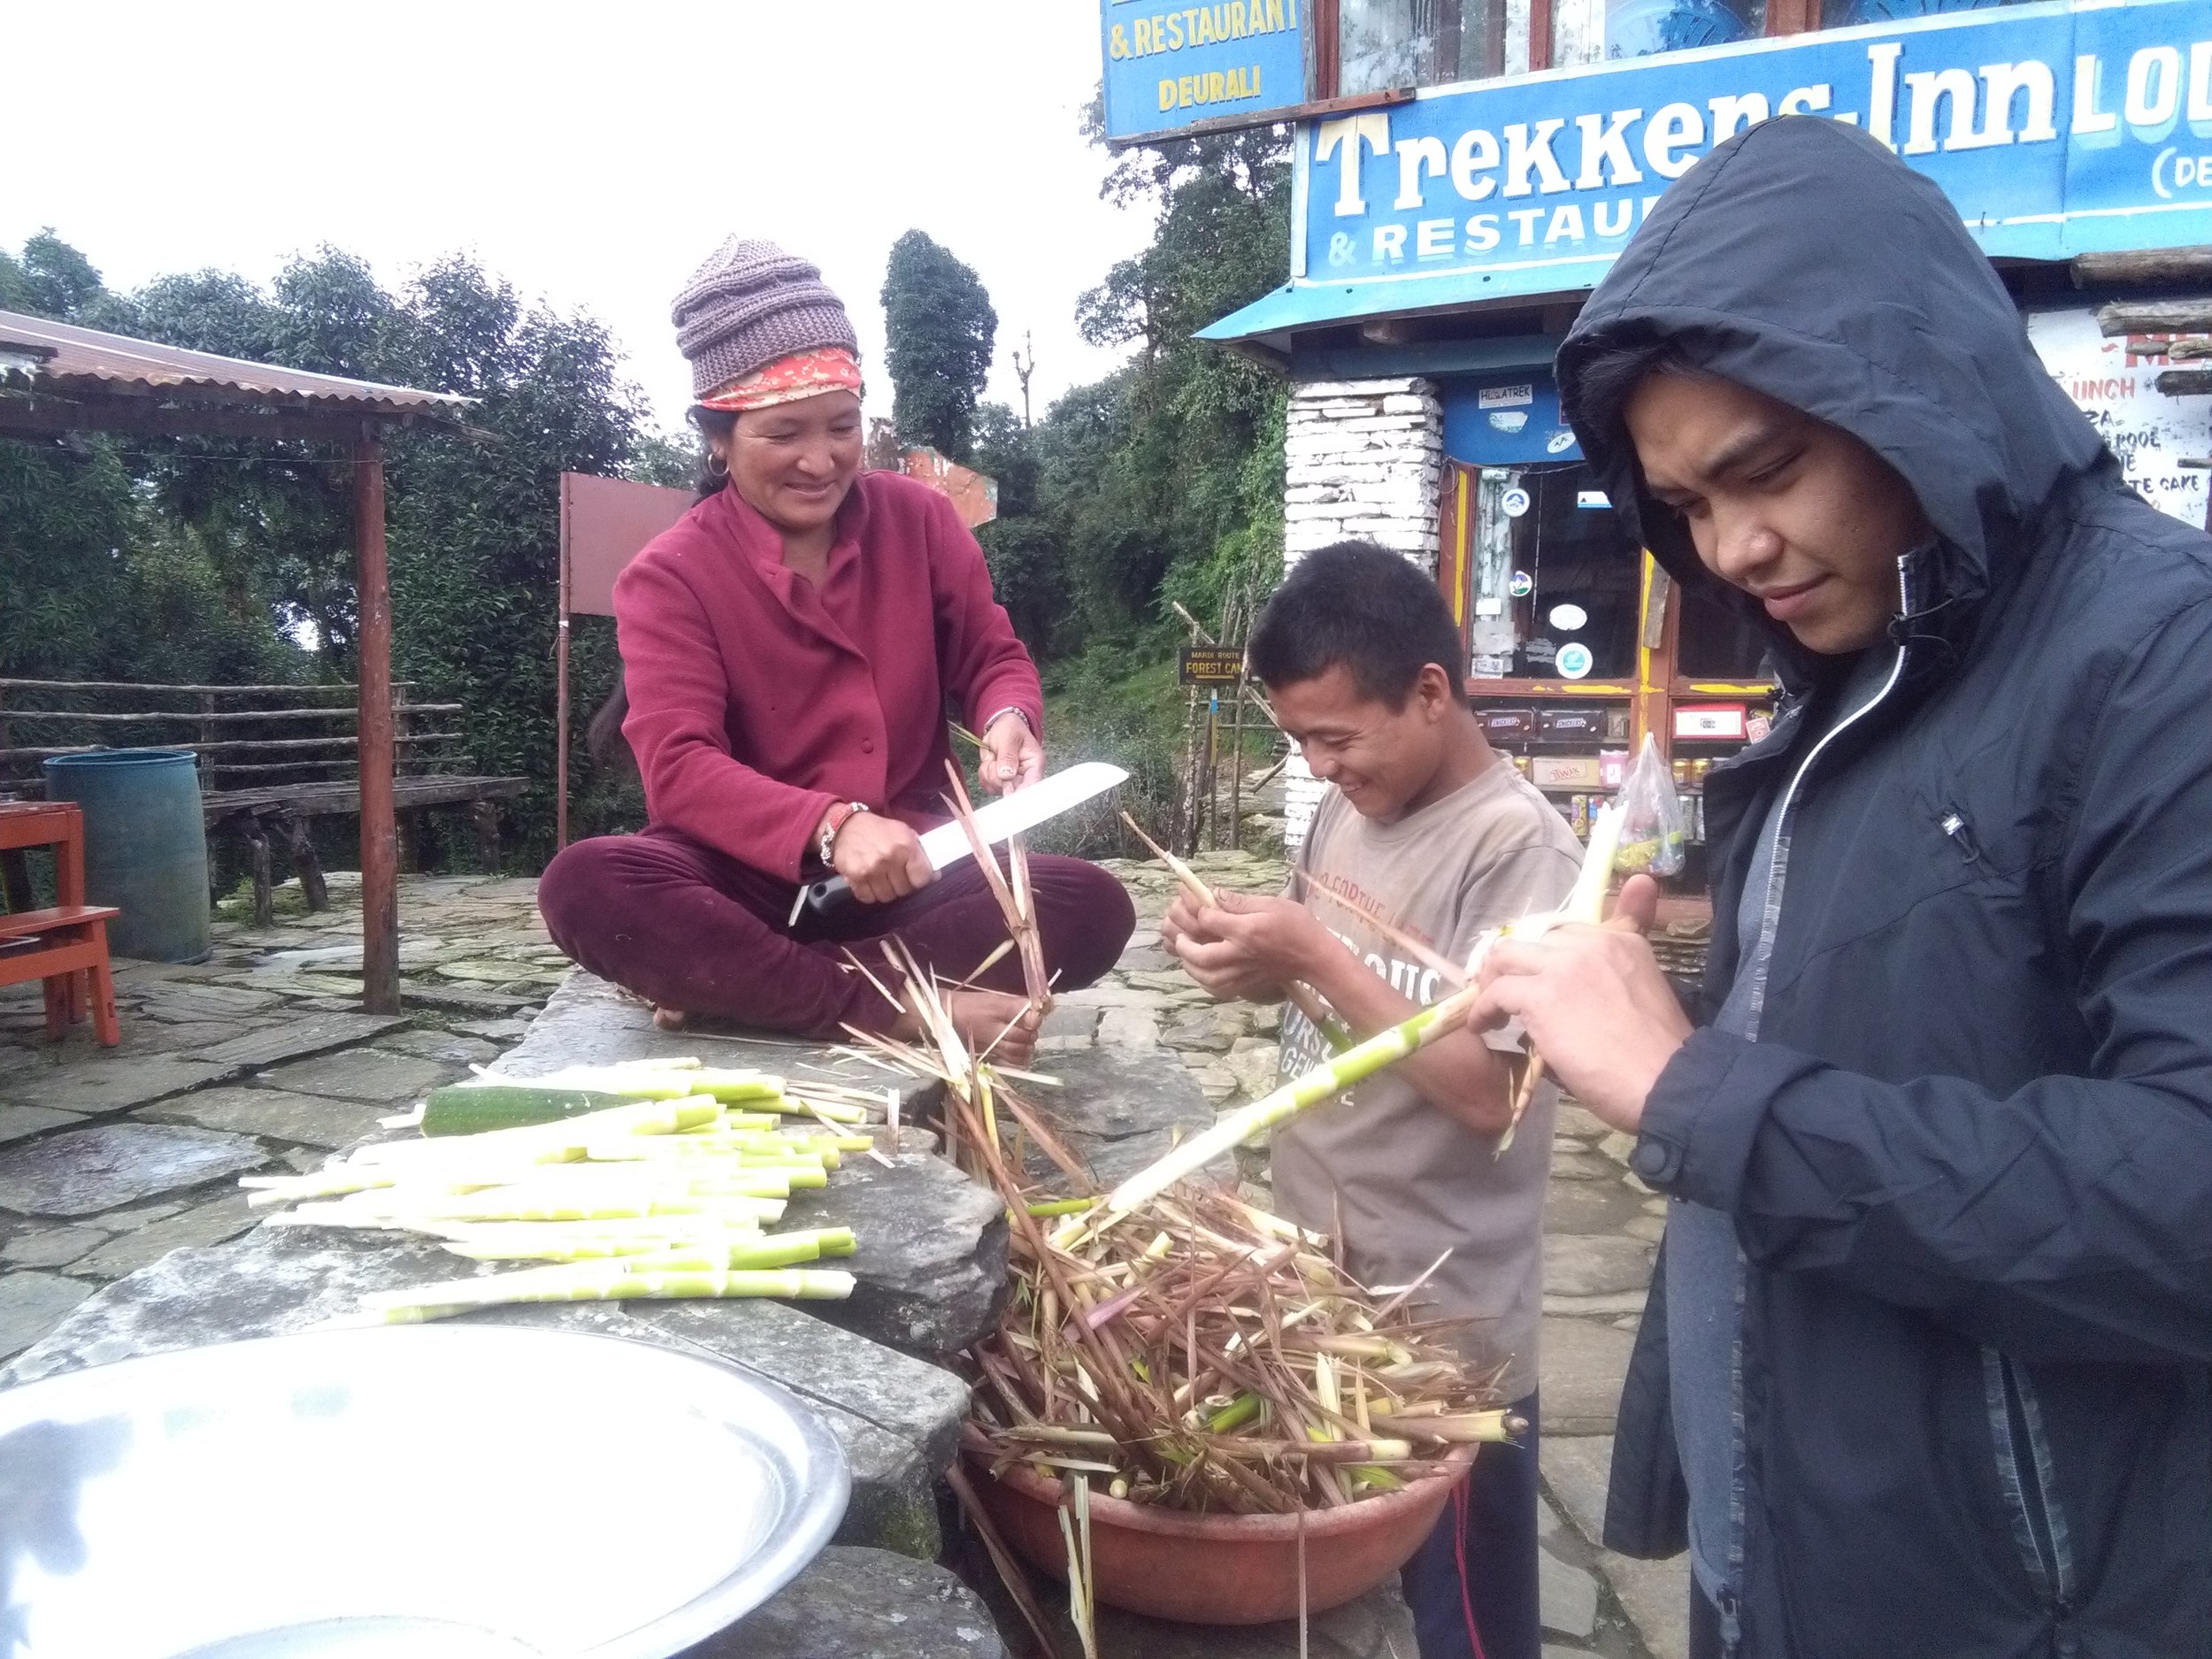
 

VISITING THE TUOL SLENG GENOCIDE MUSEUM (S21 PRISON)

Tuol Sleng was formerly a high school. It was the secret prison held by the Khmer Rouge in 1975-1979. There were about 14,000 people who were imprisoned there with only seven known survivors. There are around 4 buildings in the premises. The Khmer Rouge had turned those 4 buildings as interrogation rooms, torture chambers, jail cells, torture equipments room and many more other barbaric acts. It was discovered by the Vietnamese army in 1979. 

BUILDING A

Building A is the closest to the entrance of the S21 Prison. 

Building A is the very first place prisoners were brought into to have their photographs taken and their information written down. Once they have registered, their names were no longer their names, they were given numbers instead. They were forced to give up whatever belongings they have brought into the prison.

INTERROGATION AND TORTURE ROOM

Soon after they were settled, the prison guards brought the prisoners into the interrogation room where they were forced to talk about their life in detailed and to confess to their sins. The prisoners are not allowed to scream, cry or have any emotions when they are being tortured. Each prisoner was scheduled to be interrogated and tortured at least twice a day and every day, and so on. 


BUILDING B

PHOTOGRAPHS, TOOLS AND EQUIPMENT FOR TORTURING

This building was filled with the victim's headshots, photographs of the leader, tortures and dead prisoners due to extreme beatings or starvation. Some equipment for torturing can be seen being displayed around the building with images of how it is used.


BUILDING C

JAIL CELLS

This building was the prisoners' jail cells. If you look closely, the building was covered with metal wires. The metal wires were placed around the whole building so that the prisoners won't attempt to escape.


BUILDING D

MORE PHOTOGRAPHS AND MOVIE ROOMS

You may find more photographs of the prisoners, prison guards, the leaders, executions and other documents in this building. There are two movie rooms for some documentaries clips about the S21 Prison. Please note that there is a scheduled time when you can enter and watch the short films.

Another Khmer Rouge's killing methods as stated on the board,The Gallows - This pole with cables attached to it had been used for the student to conduct their exercise. The Khmer Rouge utilised this place as interrogation room. The interrogators tie…

Another Khmer Rouge's killing methods as stated on the board,

The Gallows - This pole with cables attached to it had been used for the student to conduct their exercise. The Khmer Rouge utilised this place as interrogation room. The interrogators tied both hands of the prisoners to the back by a rope and lift the prisoners upside down. They did like this until the prisoners lost consciousness. Then they dipped the prisoner's head into a jar of smelly, filthy water, which they normally used as fertiliser for the crops in the terrace outside. By doing so, the victims quickly regain consciousness, and that the interrogators could continue their interrogation.


VISITING THE KILLING FIELDS IN CHEOUNG EK

Cheoung Ek also known as The Killing Fields. After the interrogation, beatings, manipulations and starvation, this is where victims were brought to face their cruel execution. There is an audio guide tour included in the package deal to tour you around to all the sites in the fields and where the people were buried. At the end of the audio tour, The Memorial Stupa will be the last stop where the remains of the victims (The skulls) are preserved and are colour coded by genders and how and what weapons were used to execute the victims. You may pay your respect by lighting a candle or offering some flowers. 

1. TRUCK STOP

The prisoners were tricked by the guards and were told that they are bringing them to a new home while being blindfolded, only to find out that they are not going to last in this world any longer.

As written in the text,Truck Stop - Here, was the place where a trucks transporting victims to be exterminated form Tuol Sleng Prison and other places in the country, stopped. Trucks would arrive 2 or 3 times a month or every 3 weeks. Each truck hel…

As written in the text,

Truck Stop - Here, was the place where a trucks transporting victims to be exterminated form Tuol Sleng Prison and other places in the country, stopped. Trucks would arrive 2 or 3 times a month or every 3 weeks. Each truck held 20 to 30 frightened, blindfolded and silent prisoners. When the trucks arrived, the victims were led directly to be executed at the ditches and pits or were sent to be detained in the darken and gloomy prison nearby. After January 7, 1979, one truck remained, but it has since been taken away.

2. DETENTION AND THE EXECUTIONER'S WORKING SPACE

After transferring the prisoners to the Killing Fields, they were brought into a small hut while being blindfolded, just waiting for their time to get executed. 

As written in the text from Left photoThe Dark and Gloomy Detention - Here, was the place where victims transported from Tuol Sleng and other places in the country were detained. Usually, when the truck arrived, the victims were executed immediately…

As written in the text from Left photo

The Dark and Gloomy Detention - Here, was the place where victims transported from Tuol Sleng and other places in the country were detained. Usually, when the truck arrived, the victims were executed immediately. However, as the number of victims to be executed was increased up to per 300 per day, executioners failed in attempt to kill them within a day. That is why they were detained for execution the next day. The detention was contracted from wood with galvanised steel roof. its wall was built with two layers of flat wood were to darken and also prevent prisoners seeing each other. Unfortunately, the dark and gloomy detention was dismantled in 1979.

As written in the text from Right photo

The Executioners' Working Office - Here, was the place where executioners stationed permanently at Choeung Ek worked. The office as well as the Killing Fields were equipped with electric power which enabled them to conduct executions and to read and sign the rosters that accompanied the victims to the site at the night time.

3. STORAGE ROOM FOR KILLING TOOLS

Before the hut was removed, there used to be a room, where the guards stored their killing tools. 

As written in the text from Left photoThe Killing Tools Storage Room - Here, was the place where the killing told such as shackles, leg irons, a hatchet, knifes hoes, digging hoes, shoves, iron ox, cart axles were stored. This instrument was lost in…

As written in the text from Left photo

The Killing Tools Storage Room - Here, was the place where the killing told such as shackles, leg irons, a hatchet, knifes hoes, digging hoes, shoves, iron ox, cart axles were stored. This instrument was lost in 1979. The storage room was constructed from wood with a galvanised steel roof.

As written in the text from Right photo

The Chemical Substances Storage Room - Here, was the place where chemical substances such as DDT.. was kept. Executioners scattered these substances over dead bodies of the victims at once after execution. This action had two purposes; Firstly to eliminate the stench from the dead bodies which could potentially raise suspicion among people working near by the Killing Fields and secondly was to kill off victims who were buried alive.

4. THE LAKE

Who could ever thought that this lake was once buried with dead people, most of them were children. 

5. VICTIMS CLOTHING

You may find some clothing laying on the ground just like how they were found when the rescuers have discovered this secret Killing Fields. You may also find some pieces of broken bones left on the ground.

6. VICTIMS BONES AND TEETH

These are the remaining bones and teeth that were found around the Killing Fields. 

7. THE KILLING TREE AND THE MAGIC TREE

The Killing Tree was used for the execution of infants or newborn babies. The Khmer Rouge believed that once their parents were executed, these little ones should be executed too so they won't seek any revenge. What is even more depressing is how they ended their life. The executioners smashed the babies head onto the tree; it is the easiest way to commit an execution according to the audio source. That is just inhuman and barbaric. 

The Magic Tree was installed with a loudspeaker, which they will play loud music whenever they are scheduled to execute a group of prisoners. The purpose for this is that they are avoiding any nearby neighbours to hear the prisoners screams while executing them. Just imagine, the music that was being played at those times was the last music that the prisoners had heard before they die.

Left - The Killing TreeRight - The Magic Tree

Left - The Killing Tree

Right - The Magic Tree

8. MEMORIAL STUPA

This stupa is where all the recovered skulls are placed as a memorial stand for the purpose of remembering this horrific crime. The skulls were divided and colour coded into genders, ages, and what weapons were used during their execution. Since the executioners were saving bullets and may alarm the nearby neighbours, they used weapons to hit the prisoners head once or some even twice and then slits their throat and let them bleed to death.

9. THE MASS GRAVE AROUND THE KILLING FIELDS

Some visitors will leave some flowers, bracelets or notes (donations) as a sign of paying respect for the victims of S21 Prison. 


PERSONAL EXPERIENCE AND THOUGHTS ON THE TOUR

First of all, I would like to share that there are no beyond words that can describe these horrific crimes that were committed by the Khmer Rouge. I have read and studied about The Holocaust held by the Nazis or The Japanese Occupation around Asia in World War II. There are both wrong and horrible. However, the S21 Prison is what I felt the most heartbreaking. I think it's the fact that S21 Prison was kept secret and nobody knows about it for four years, and the hands of their own people implemented it.

I am getting emotional while writing this blog. All of the things I have seen inside the museum and the things I have heard from the recorded audio guide are coming back in my mind as I write this blog. It is indeed hard to explain what I had felt on that day when I visited. It's like I can hear them scream in my mind at some point and imagining how those victims were tortured and executed. I can picture them in my mind, and it is horrible and quite traumatising actually. It is just so cruel.

However, don't get me wrong, I felt blessed to have visited S21 Prison, and I had learned a lot of information during my visit. I would say that reading history through the internet or books are not enough resources. You got to be there, right on that spot to see it with your own eyes. 


HOW TO GET THERE

Getting to Tuol Sleng Genocide Museum (S21 Prison) - The easiest way to get there is by tuk-tuk or private taxi.

Getting to The Cheoung Ek Killing Fields - It is around 30-40 minutes away from the S21 Prison. You may take a tuk-tuk or get a private taxi to get there.


PRICE AND THE OPENING HOURS

TUOL SLENG GENOCIDE MUSEUM (S21 PRISON)

Entrance fee - The fee for S21 Prison is 3 USD per person and add 3 USD for an audio guide, with different types of languages (English, Chinese, French, Spanish, Japanese, Korean, German). A tour guide is available upon request with an additional charge. 

Opening hours - It opens every day from 8:00 am to 5:00 pm.


CHEOUNG EK  KILLING FIELDS

Entrance fee - The fee for the Killing Fields is 6 USD per person with audio guide included, with different languages too.

Opening hours - It opens every day around 8:00 am to 5:00 pm.


I hope you find this blog useful. I try to put as many information as I can in memory of the victims. Hopefully, this horrible thing won't happen anymore. Nobody deserved to have suffered the way the S21 prisoners did and any other victims. 


Yours Truly,

Michelle Chan